10 Tips For Shooting in a Professional Rental Studio

Written by Adorama
|
Published on August 31, 2016
Adorama
Adorama ALC

If you are thinking about renting a professional studio for the first time, there are many things you’ll need to consider before even setting foot in the space. Recently, AdoramaTV Host and photo expert Mark Wallace did a great video about this very topic. Here we’ve condensed some of his most important tips for shooting in a professional rental studio.

shutterstock_435927403

    1. Understand the pricing structure. Often when you walk into a studio, you’ll see lights, softboxes, background paper, etc., but using that gear may not be included in your rental price. In some studios they will add the price of any gear used during the shoot on to your bill at checkout, leading to a surprising and unexpected bill. So it’s very important that you talk to the studio manager before you shoot to confirm any gear that’s included.
    2. Have a clear purpose for your shoot. Are you being paid by the model for headshots? Then she will be calling direction when it comes to looks/hair and makeup. Otherwise, have a clear idea of what expectations need to be met for yourself and/or client.
    3. Prepare craft services the day before. If you are working with a crew and want your shoot to run smoothly, always feed and hydrate your team!
      Shutterstock/Dmytro Zinkevych
      Shutterstock/Dmytro Zinkevych


    4. Designate a hair and make-up area for the model, as well as a place for wardrobe changes. The model should have a separate section to change in and out of clothes, and there should be enough space for a makeup table, etc.
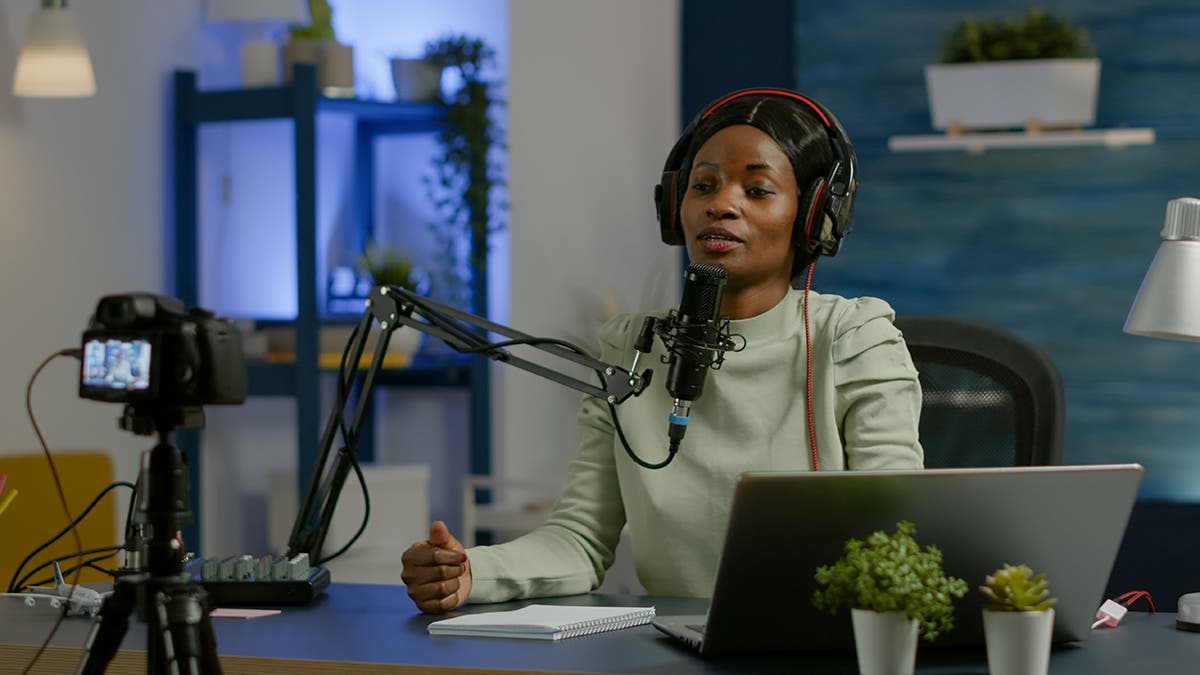
    5. Have additional seating area. You’ll also want to make sure you have an additional section of space for people to hang out and sit in between shoots (many studios have a couch or seating area for this purpose).
    6. Review and coordinate your wardrobe and makeup options with your model. You want to make sure you’re both on the same page for the looks you are trying to capture.
    7. Have your model release forms ready. Easy Release for iPad is a great app to have for this purpose. The release should have all information about the shoot ranging from the length of the shoot and payment expectations. The model should sign the release upon completion of the shoot. You should also have another member of crew sign as a witness.
    8. Go over your pre-shoot checklist while the model is in hair and makeup. This is the time to check the ISO on your camera, that you have a blank memory card, a fully charged battery, and a clean lens.
      shutterstock_433966414
      Shutterstock/Photographee.eu


    9. Review your model’s poses after the first light set-up This way you can give the model an idea of what poses are working, and what vision you have for the shoot as you move on to your next light setup.
    10. Make your first round of selects in the studio with your client and/or model. Once you are finished with the shoot, it’s great to mark your best shots along with your client to save a lot of time later going in and picking the best ones out of that first round edit.
Adorama's 42West is the content destination for photographers, filmmakers, audio creatives and all things electronic. Check out our up-to-date editorial features on all the latest gear, how-to's and interviews with today's most relevant industry insiders.