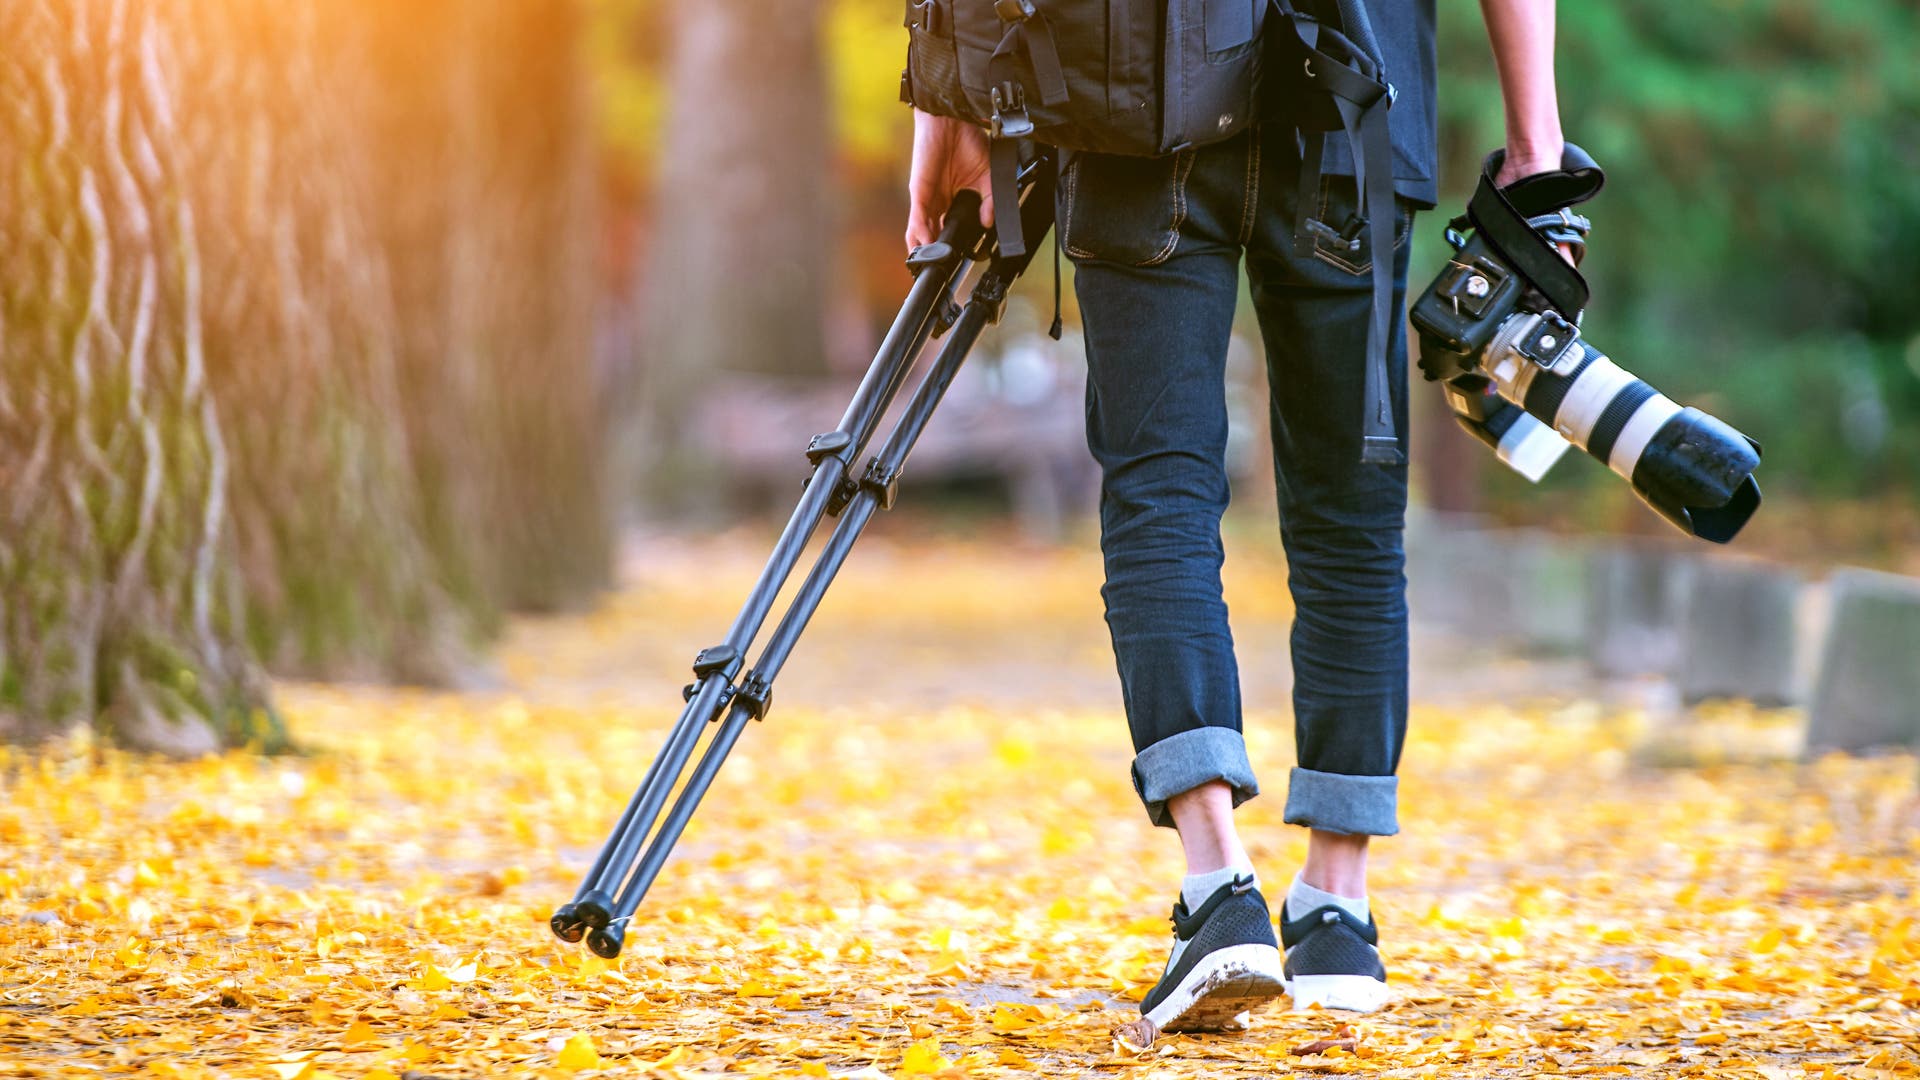
You just poured a ton of money into a new DSLR camera…and a new lens: equipment you plan to utilize for a hobby, as an amateur photographer or as a professional photographer. You know you need a tripod to create tack sharp images but you’ve already stretched your budget so much just to buy that camera and lens that your eyes start looking over to the rack in the store where that cheap $25 tripod hangs. Stop! Rewind. How much did you spend on that camera and lens? And you’re hoping to stabilize it on a $25 tripod? Well, you either need to prepare yourself for a near-future big loss and a short stint in photography, or you can take a moment and read on while I explain a few things about tripods to help you save money and your precious investment.

Obtaining a stable support system for your camera is one of the most important things you should do right after you buy any camera and lens. It’s amazing the number of students I’ve seen in the past who spend hundreds or thousands of dollars between a camera and lens (and maybe a flash too) along with other necessary and unnecessary equipment, but they were unwilling to spend enough on the support mechanism for their major investment. This is almost like being too cheap and unwilling to put a good UV filter on your lens, which can help protect the front element from breaking if dropped. Not obtaining a proper tripod to support your camera and lens unit can result in the unit falling and becoming damaged – sometimes beyond repair. How much did you spend on that camera and lens again?
You might make an excuse and say, “I’ll get this one for now and I’ll invest in something more substantial later.” What happens is that your “now” tripod may last a few uses, if that, and when that breaks, you are still not ready to invest in a good tripod, so you spend a little more than the first tripod and use that “next” tripod for maybe a few uses longer than the first tripod. Then the cycle turns over and over until you’ve spent more money on “cheapie” tripods than you would’ve spent just purchasing what you needed in the first place. That’s if your camera and lens survived the first tripod or two and you haven’t already quit photography because it got too expensive replacing broken equipment. I know this happens. I lived this cycle when I first got into photography and thought that I just had bad luck with tripods!

Why Would I Want or Need a Tripod?
If you are newer to photography, you might ask, “why would I want or need a tripod?” Any professional will tell you that you’ll need a tripod for any of the following purposes:
- Stabilize your camera for creating tack sharp images
- Keep your ISO as low as possible to prevent unwanted noise from being introduced into your image
- Increase depth of field and sharpness in low-light situations while using a slow shutter speed
- Create a sharp image when using a manual focus lens
- Support a long and/or heavy lens

You might also want a tripod for the following purposes:
- Create long exposure images
- Produce an HDR (high dynamic range) image where you would need multiple exposures of the exact same framing.
- Take a selfie using a remote or camera timer
- Producing a panoramic image
- Time-lapse photography
- Product and close-up/macro photography
- Low-light and night photography, and/or
- Creative light painting… and more!
Why Tripods Get a Bad Rap…
Unfortunately, tripods tend to lose popularity contests for several reasons of which are minor issues that can be resolved compared to the result of not getting a sharp image without one or destroying your equipment due to buying an unstable version. Some of those excuses include:
- they can be heavy
- they take up too much room in your suitcase when you want to travel and still create sharp images
- they’re difficult to use in crowded environments
- they take too long to set up properly
- good tripods are just too darn expensive!
I hate to be a broken record but… How much did you spend on that camera and lens again? Do you like making sharp images or do you like making excuses for those slightly blurry images you tend to create because you do not have or use a proper tripod? If you value your investment and want better images, continue reading on how to make an informed decision on your “Forever” tripod purchase.
Considerations When Purchasing a Tripod
There are several good questions to ask yourself to help you determine which tripod system is right for you to buy when you’re finally ready to buck up and get a proper support system for your camera.
- What do you shoot and how often do you shoot it?
- Do you shoot indoors, outdoors or both?
- Do you need to move quickly and/or into random different angles between shots?
- What camera do you shoot with and what is your heaviest lens? Do you plan to upgrade that system in the next 5 years?
- Do you own or will you own an external flash?
- How tall are you?
- Do you shoot when you travel?
- How much does a tripod weigh?
Components of a Tripod
Tripod Legs
Tripod legs can come in a variety of sizes made of either carbon fiber, aluminum, steel, basalt or wood and with legs that can be locked with one of two locking mechanisms: flip-locks or twist-locks.

Tripod Size (Height)
One of the most important things to consider when choosing a tripod is the size. You will want a tripod to extend at least up to a height of your shoulder level from the floor as once you add on a head and a camera, your eye should be able to look into the viewfinder without bending over. If you get something taller than you, this is still ok as you can adjust the height by adjusting the legs down. It is easier to take away too much height by adjusting long legs than to not have enough leg to extend. Remember, if you’re uncomfortable when using a tripod, you’re less likely to use it!
In addition to how long a tripod will extend, is: what is the minimum length of the tripod legs, folded? Take out your regular travel suitcase. Measure the interior length. A regular suitcase measures between 22-24” in length. You want your tripod legs’ minimum height to be able to be at or under that number so that it will fit into your suitcase and you’re more likely to bring it along without accidentally leaving it somewhere along your travels.
Tripod Weight
Another consideration when deciding on which tripod is right for you is: how much will the darn thing weigh? If it’s too cumbersome to carry with you on a regular basis, you’re more likely to leave it at home. Carbon fiber is the lightest, yet the most durable, material you can get for a tripod, but unfortunately, it’s not cheap! Wouldn’t you pay just a little more for something built to last anyway? Carbon fiber legs weigh just a few pounds whereas tripods made of something like aluminum can weigh 5 pounds or more – just for the legs. Aluminum also tends to dent easily, sometimes causing legs to not properly open or close. Steel and basalt are a little heavier and not practical for moving around a lot and you really want to select a tripod that is not only easy on the back but also versatile.
Weight Rating
While the weight of the tripod is one important characteristic to look at, its weight rating is another. How much weight will the tripod legs support? Since this is a bit of an investment, it’s best not only to add up the weight of your current camera, your longest lens and the possibility – if not reality – of an external flash; but factor in the possible weight of gear that you anticipate upgrading to next too – plus add a pound or two for putting weight on the camera when holding the camera and/or pressing the shutter to take a picture. This total number will help determine the weight capacity your tripod legs need to be able to hold. For instance, you may now have a crop-sensor camera. Perhaps one day, you’ll upgrade to a full frame camera, which weighs can weigh a few pounds more. Since you probably don’t have an eye on your next camera yet (considering you may have just gotten this one), it’s generally a good idea to use the doubled the weight of your existing gear as a reference for a weight rating.
Tripod Heads
One can get lost in the sea of tripod heads available out there, but before we get into the common types of heads for tripods, know that one thing that you want for certain is a head that has a quick-release. As photographers, we want quick anything when it comes to set-up so that we can get to the fun part of making the image! The quick release system consists of a plate that screws to the bottom of your camera to allow your camera to slide right onto the head of the tripod and lock.

What is the other alternative? Manually screwing the tripod itself to your camera, which can be a workout leaving you too tired to shoot once you finally have your camera secure to the tripod.
The most common tripod heads that you might look into are pan-tilts and ballheads. Which to get is really a matter of preference. I personally feel like I have more control over the angle of my shot with a ballhead because I can swerve the camera around on my tripod any way that I like, including securely turning it on its side. However, some photographers may like to use handles to turn the camera. I feel as though handles are protrusions that can break off if not careful and I prefer to have one less thing to worry about breaking!

Pistol grip heads require a squeezing action for moving the head. A Gimbal head is useful for supporting a long lens. Panoramic heads are self-explanatory: good for panning on an even plane for panoramic shots.
Like tripod legs and with any tripod head you get, you’ll want to check the weight rating to make sure the head can support the weight of your camera, lens and flash. In addition, make sure you add the tripod head weight into your weight rating needs for your tripod legs!
Centerpost
Many tripods nowadays have something called a centerpost. A centerpost is the middle leg on the tripod legs that allows for an extended height for your tripod. I do not recommend relying on your centerpost for adding height to your tripod. Some refer to the centerpost as having a monopod on top of your tripod and how stable can that be? You’ll certainly introduce vibration if you are using a longer lens. Some of the tripod centerposts I’ve encountered in the past shake and wobble while in place, however, some newer and more expensive tripod models now have a more secure grip. While I discourage the use of a centerpost to get your camera’s viewfinder to your eye level (just make sure to get legs that match your shoulder level!), a 90 degree centerpost can be useful for shooting straight upward or downward. I was extremely impressed by the Manfrotto MT055CXPRO3 Carbon Fiber 3 Sections Tripod with Horizontal Column due to its solid secure centerpost when affixed in a 90-degree position. It works much like a boom arm, but in a much more stable way.
Tripod Feet
Rubber tips come as standard feet on most tripods, however, there are additional feet options out there that can be useful on tripods that allow for interchangeable feet. Know that this is not a standard option and typically raise the price tag on tripod legs.

Common indoor use feet are rubber feet. Suction cup feet are also available to keep a tripod from moving in more slippery conditions. Spike feet are more common for the great outdoors.
Tripod Weight Bag & Hook (Optional)
One small tripod accessory often overlooked is a weight to hold your tripod down to keep it stable and to prevent it from toppling over. A weight is typically hung from the centerpost by hook or secured to the legs of the tripod to keep your tripod from falling over.
 A very inexpensive double use tool at $9.95 is the Flashpoint Tripod Butler which can be used to store items you are using on your shoot but all of which you place into it also serves as weight for your tripod.
My Recommendations
LEGS
I’m not going to get into exact make and model recommendations for tripod legs as it all depends on your height, how much you are honestly willing to carry when you shoot and your budget. I will, however, reiterate that you are less likely to use a tripod that is too heavy or too big so a safe bet, though a little more pricey, is to bite the bullet and get carbon fiber tripod legs. Your back will thank you and you will thank me when you avoid leaving your tripod legs on the floor next to you in the airport because they didn’t fit in your suitcase, you forgot you set them down and you were distracted when you left. I speak from experience.
Since I am currently in the market for upgrading my tripod legs, I would consider one of the following to tripod legs to be something worth looking at:
“Middle of the Road”
Manfrotto MT055CXPRO3 Carbon Fiber 3 Sections Tripod with Horizontal Column
- 4.41 lbs (weight could be better but the other features and price make this choice ok)
- 19.84 lbs Load Capacity
- 66.93″ Maximum Height (I like the height)
“The High Road”
Gitzo GT1532 Mountaineer Series 1 Carbon Fiber 3 Sections Tripod
- 2.93 lbs (SUPER light!!)
- Up to a 25 lb load capacity (wow!!)
- 55” maximum native height (with a head and camera – the perfect height for me…)
I can’t really recommend a budget set of legs because it is not something I would recommend skimping on.
HEADS
Tripod heads are a little bit easier to recommend as they do not depend on height and there’s a variety of price points. Please – just don’t get a plastic head – whatever you do!
“Budget Lane”
Manfrotto 057 Magnesium Ball Head with Q5 Quick Release
- 2.9 lbs
- Supports 33 lbs
“Middle of the Road” (really a “High Road” option too…)
Gitzo Series 3 Quick Release D GH3382QD
- 1.7lbs
- Supports 20+ lbs
“The High Road”
Arca Swiss Monoball Z1G+ with Classic Quick Set Device
- 2.1lbs
- Supports up to 20 lbs.
No more excuses photographers. Put ALL of your next photography equipment purchases on hold until you acquire your “Forever” tripod, or at least one that will hold your equipment solid and stable for a long time. Avoid a cheap set up at all costs… It’s better to hand hold your camera and make blurry images until you can afford a good tripod than to put your camera on a cheap, unstable tripod that can topple over and break your wallet. I’m not trying to sell you a tripod, really. I’m trying to help you save money and sleep better at night – not worrying about that impending tumble that your camera will someday take without the right support.


