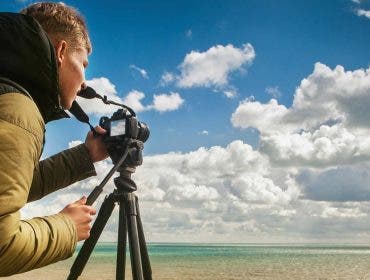
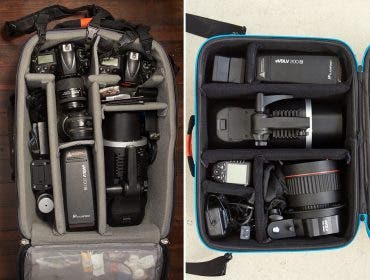
Filming is most efficient when you can plan your shots, set up properly and triple check your settings, but as any filmmaker knows, it’s rare to have those luxuries.
Sometimes you’re attempting steady shots while offroading in a 4×4 vehicle that exaggerates every bump. Sometimes you’re trying to film a moving object that refuses to stay in frame. And sometimes, you’re experiencing a combination of the two — not to mention an ever-present cloud of dust that’s determined to scratch your lenses.
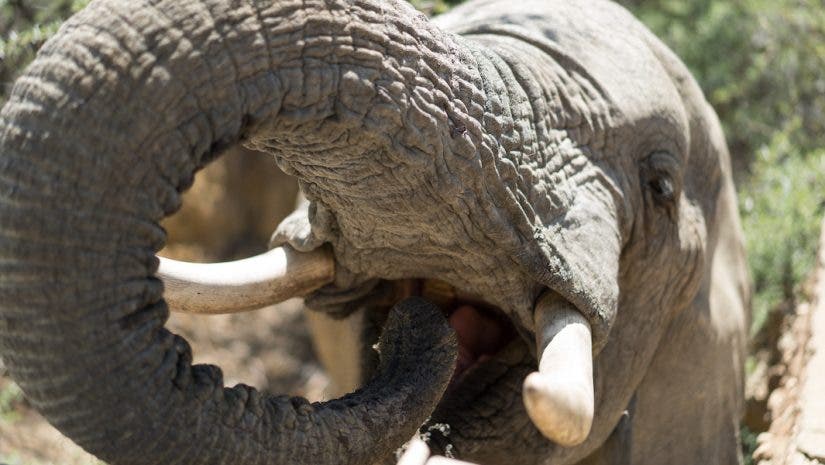
Welcome to filming on safari, one of the most incredible yet defeating opportunities for travel filmmakers. It’s incredible because, well, you’re filming some of the world’s rarest and most dazzling animals in their natural habitat. At the same time, safari filming is nothing if not defeating. You’re facing basically every potential film hazard in the book — unpredictable subjects, unstable grounds, crazy wind and nonstop dust storms, to name a few.
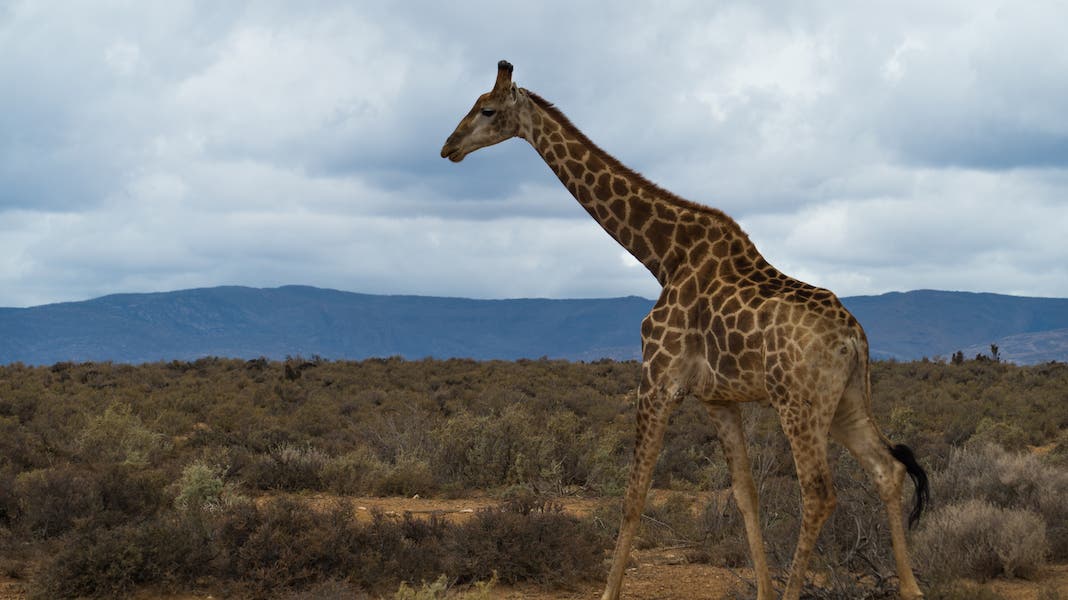
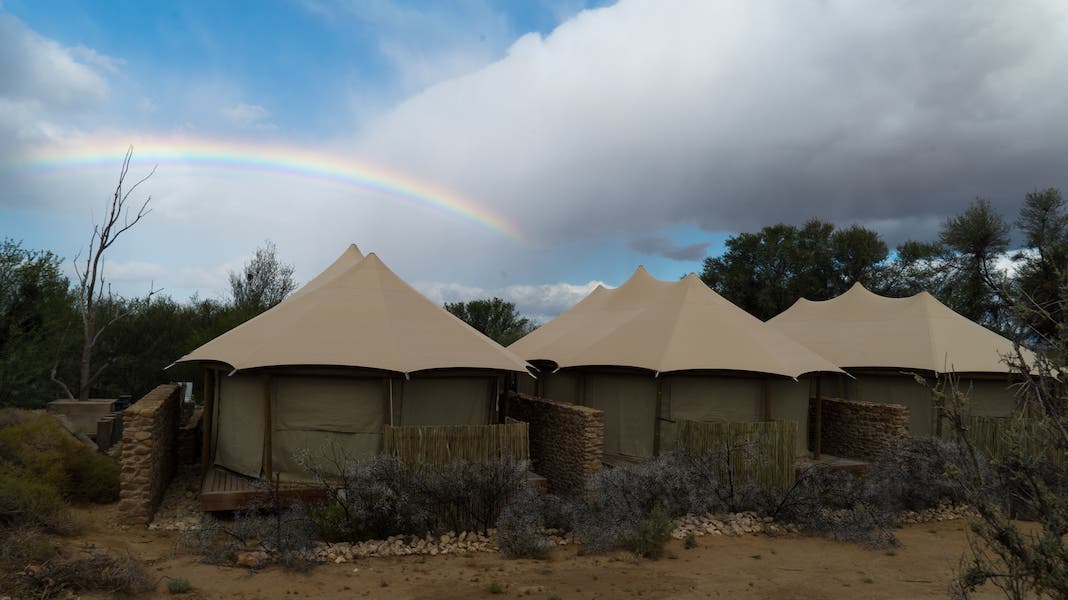
There’s a reason professional cinematographers for National Geographic spend months or years in the field — it takes that long to track these animal movements and get the perfect shot. Unfortunately, we can’t all be National Geographic videographers, and few of us can take one or two weeks for a safari, let alone a year.
But that’s OK. Despite the time constraints and the filming odds against us, there are still plenty of ways to capture amazing safari footage. Here are eight safari filming tips I learned from numerous wildlife adventures in Africa.
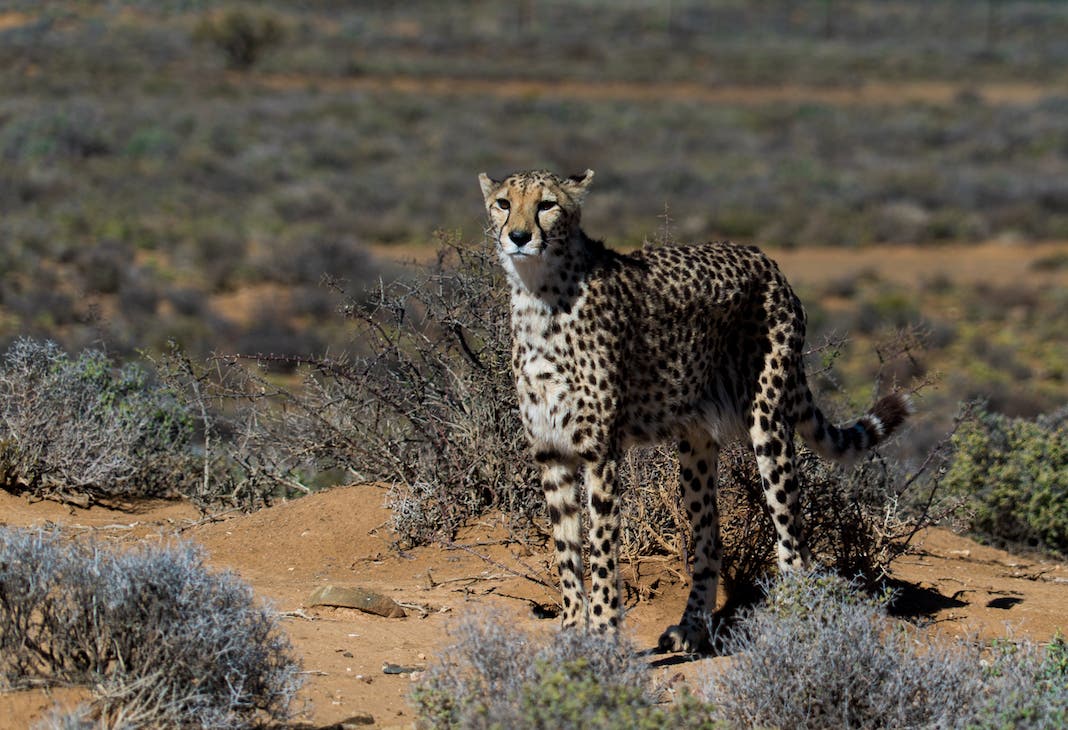
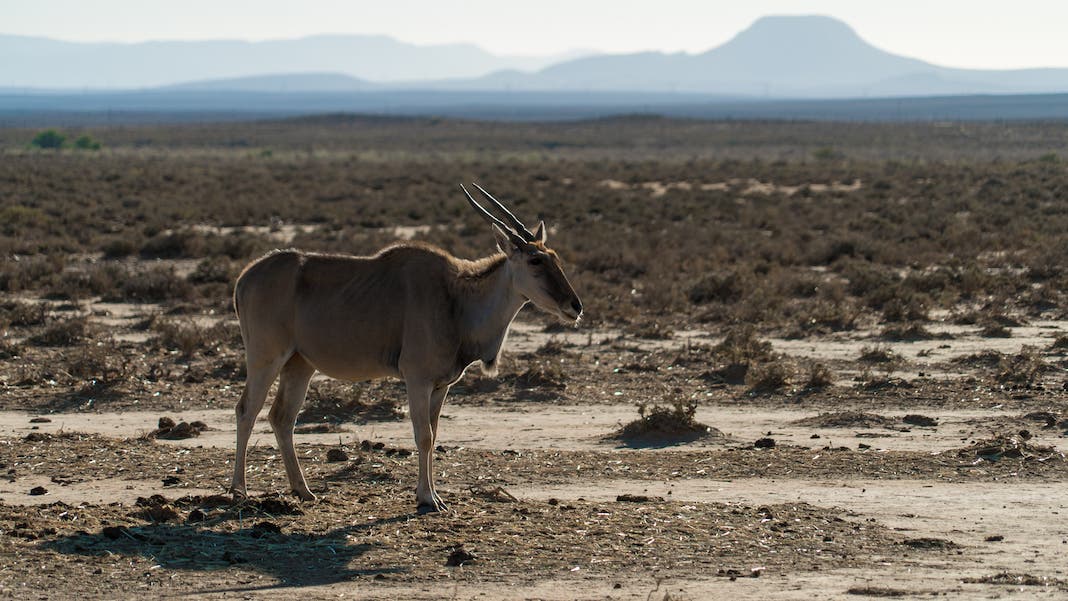
1. Get a good zoom lens
On a good safari day, the animals will come right up to your vehicle, but that’s not always the case. In the truly wild areas like Tanzania’s Serengeti, animals are startled by the sound of a vehicle, which means you’ll need to zoom in — until the animals get used to your vehicle’s presence — for those gorgeous close-up shots. If you stay in one place long enough, the animals will eventually get used to your vehicle and resume their normal behaviors. Patience is key!
You’ll want your zoom lens to reach at least 300mm, with 400mm being preferable if you can afford it. And, as it typically goes with lenses, the higher-end lenses (while more expensive) will give you crystal clear images at all focal lengths, while the kit lenses may lose quality the further you zoom.
2. Monopods are a must
Zoom lenses are great for capturing wildlife close ups, but given the size, they make it nearly impossible to hold your camera steady. That’s where the trusty monopod — perhaps my favorite accessory of all — comes into play. A versatile monopod like the Manfrotto XPRO Monopod will help you stabilize your shots from a number of different heights. If you’re filming through the open safari vehicle window, you’ll need one height. If you’re filming over the open roof, you’ll need another. Either way, this small contraption is your best bet for getting smooth close ups of those gorgeous safari animals.
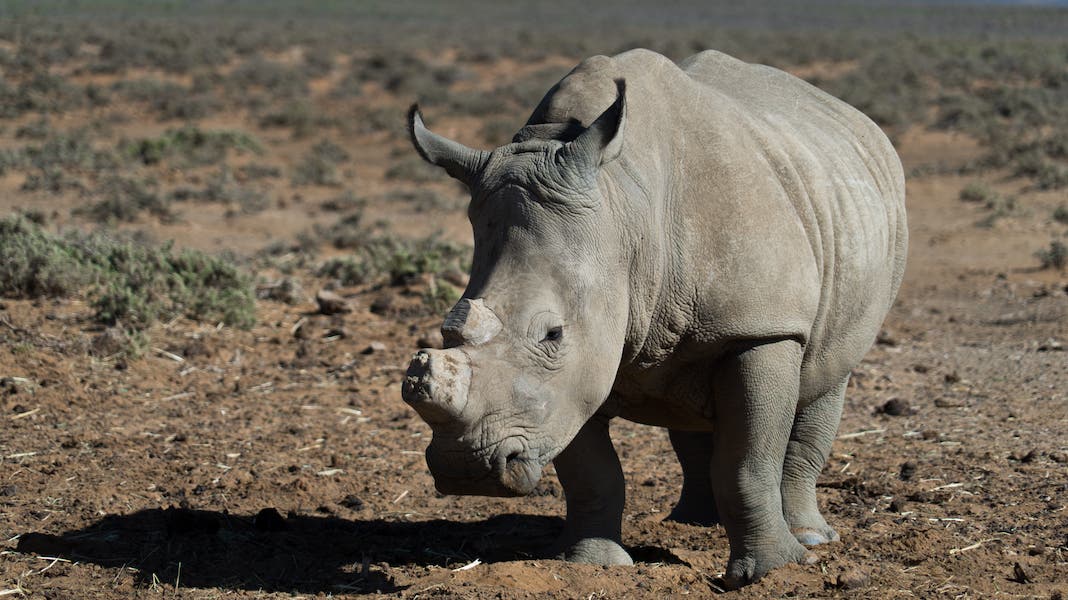
3. Pack your audio equipment
Yes, safaris are highly visual and you’ll spend most of your time capturing video, but the sounds of safari are almost as equally impressive. If you’re camping in the Serengeti, you’ll wake up to the sounds of hyenas and hippos. When you’re surrounded by wildebeest, you’ll hear some of the most bizarre “snort-groans” in the world. These sounds are unique to safari, and can add major depth to the wildlife films you hope to create.
Now, with clothes and camera gear, my bags are stuffed as it is, so I keep my audio equipment light with a simple Zoom H4N and on-camera microphone like the Rode Video MicPro; I like to keep my audio recording while we’re filming. Don’t forget to keep your Zoom H4N handy overnight, too, because you never know what sounds like you’ll wake up to!
4. Protect yourself from dust
Expect to leave each and every safari day covered in a layer of dust, which is fine for your clothes — but not so great for those lenses. Keep your lens cap covered tightly when not in use, and if you’re on the forgetful side, try a lens cap tether to keep the cap on you at all times.
Equally important — particularly for mirrorless cameras — is protecting the sensor. Take extra precaution when changing your lenses. Make sure you’re not moving (that’s when dust is the worst) and use a blower brush to keep those tiny specks of dust from attaching to your sensor and messing up your shots.
5. Look for a camera with strong auto focus capabilities
Manual focus is great for, say, a lounging lion, but if you’re capturing a quick-action cheetah hunt, the last thing you want to worry about is focusing in on the action. That’s why auto focus is a must for safari filmmaking, which means you’ll need a camera with strong focus features.
While several cameras promise quick auto focus, the latest Sony cameras — including the Sony A7iii — are rising to the top.
6. Establish expectations early with your guide
Bring your guide in the loop on your filming goals early to ensure you get all the shots you need, the way you need them. If your guide doesn’t know you’re filming, they’ll make sudden movements that add unwanted shake to your film, or they’ll take off for the next stop before you get the shots you want. The same goes for your safari mates — make sure they understand your needs as a filmmaker (cough, no jumping from seat to seat, cough).
Filming takes time, and requires help from all parties in the vehicle. To get participants on your side early, promise to share the film with them after the trip (and make sure you follow through).
7. Don’t “chase” the animals
It’s nearly impossible to keep wild animals in frame at all times (they are wild, after all!). This means you’ll spend most of your time frantically panning and zooming to get them back in the shot. Instead, take a beat.
Rather than chasing madly and getting choppy shots, start at one point, and let the animal walk in and out of the frame — and, before following it again, hold the empty-framed shot for two or these seconds to complete the scene. This style of shot gives the viewer a sense of closure, and makes your film feel more cohesive and professional than the rapid-fire “chase and follow” method.
Trust me, this one takes patience and persistence — I still have to remind myself to slow down and hold the shot.
8. Accept the imperfections
The safari ride is bumpy. The wind will challenge your stability. At times, it feels like the animals are doing all they can to mess up your shots. But it’s OK. Go into the safari knowing that things won’t go as planned, and that’s what ultimately helps your safari film stand out.
Embrace the zebra who refuses to show you its face. Capture footage of the safari drive, even though it’s impossibly rough. And record those moments when, say, the safari guide makes a joke or the hippo lets out unexpected bubbles, because those small, silly moments will make your video unique.
Check out a video of my latest safari trip below:
Kuganha Luxury Tented Camp | Highlight Film from Stephanie Vermillion Studio on Vimeo.
