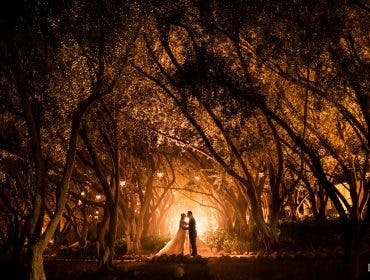
Do you ever do this? You see photos published in a magazine or online that feature subjects in epic locations. You tell yourself, “Oh, man! Anyone could take great pics at a spot like that!” It’s true that shooting in a nice location can add visual interest to your imagery. However, if the quality of your photos is predicated on having extraordinary backdrops, you may want to challenge yourself to create amazing photos in ordinary locations.
I have an exercise for you that will help you see the potential wherever you find yourself, whether it’s “Instagram-worthy” or not. The best part is you don’t even need to leave your home. All you need to do is consider the tips below and put them into practice. We’re going to look at some photoshoot ideas at home — no permit required — to make sure you’re ready to capture awesome photos anywhere.
7 Photoshoot Ideas at Home For Awesome Images
Tip 1: Scout Your Location
You probably know the layout to your living space better than the back of your hand. Still, it’s worth scouting your location to explore different photoshoot ideas at home. The same holds true for client sessions at locations you’ve shot many times before. There’s always a new way to capture an old spot if you take the time to consider the possibilities.
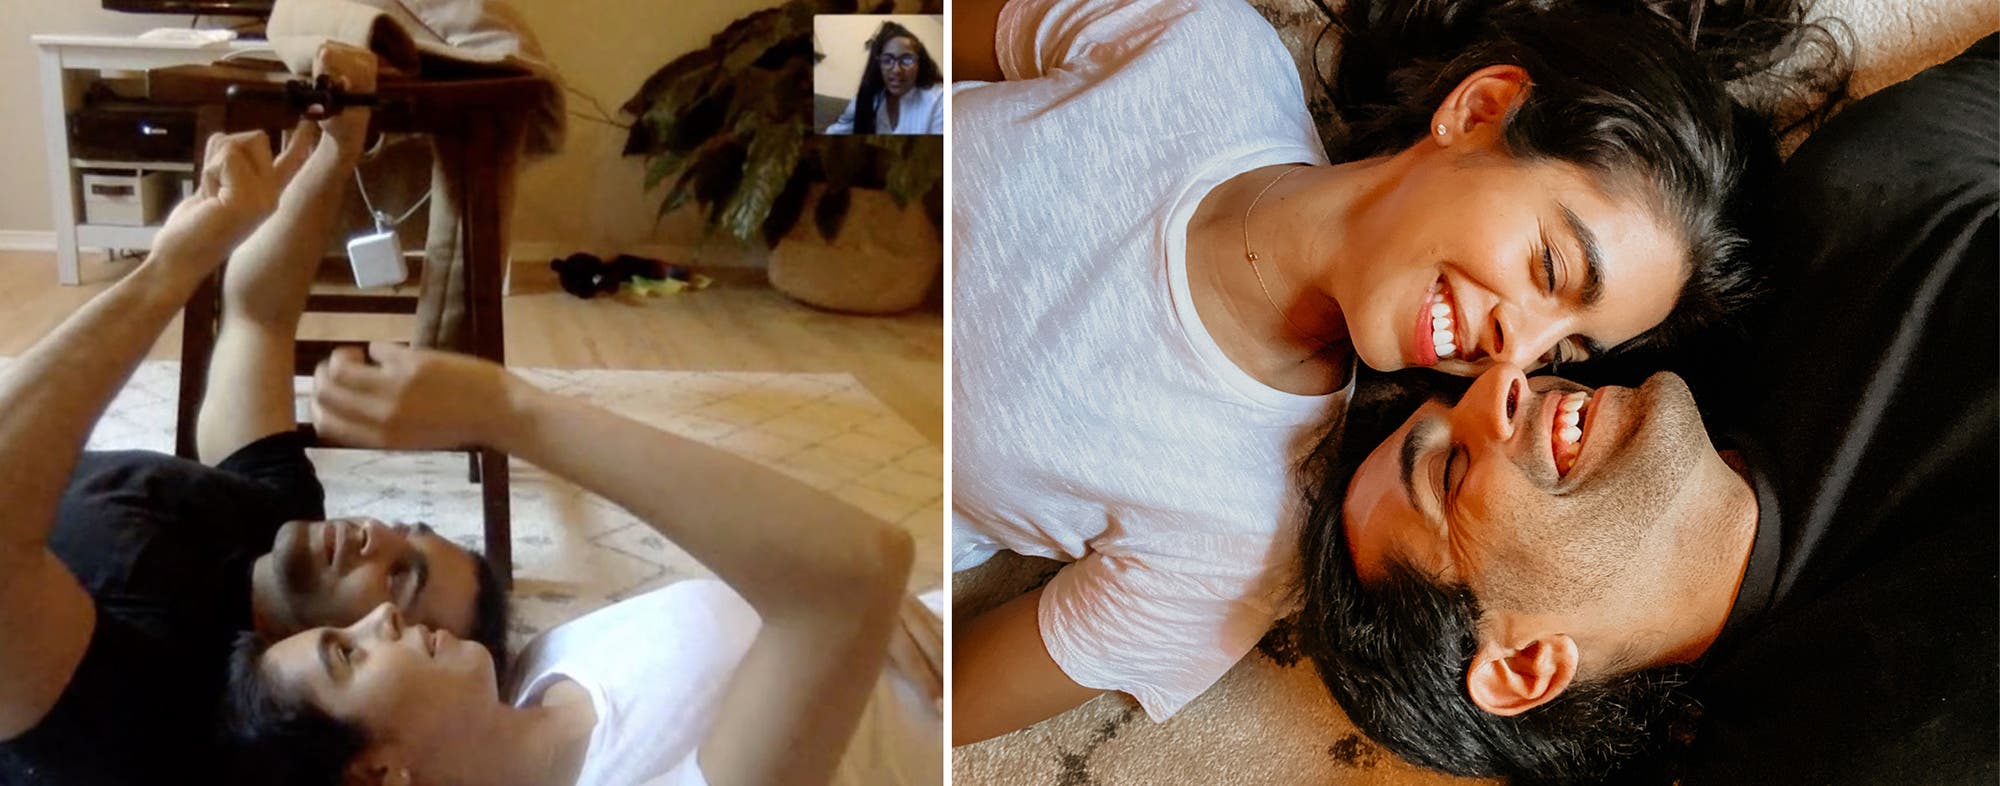
One of the main things to keep in mind while scouting for your home photoshoot is to look at each spot from different angles. This might include viewing a location from different directions as well as from various vantage points, including lower or even top-down angles. Doing so can open up opportunities to really transform the scene.
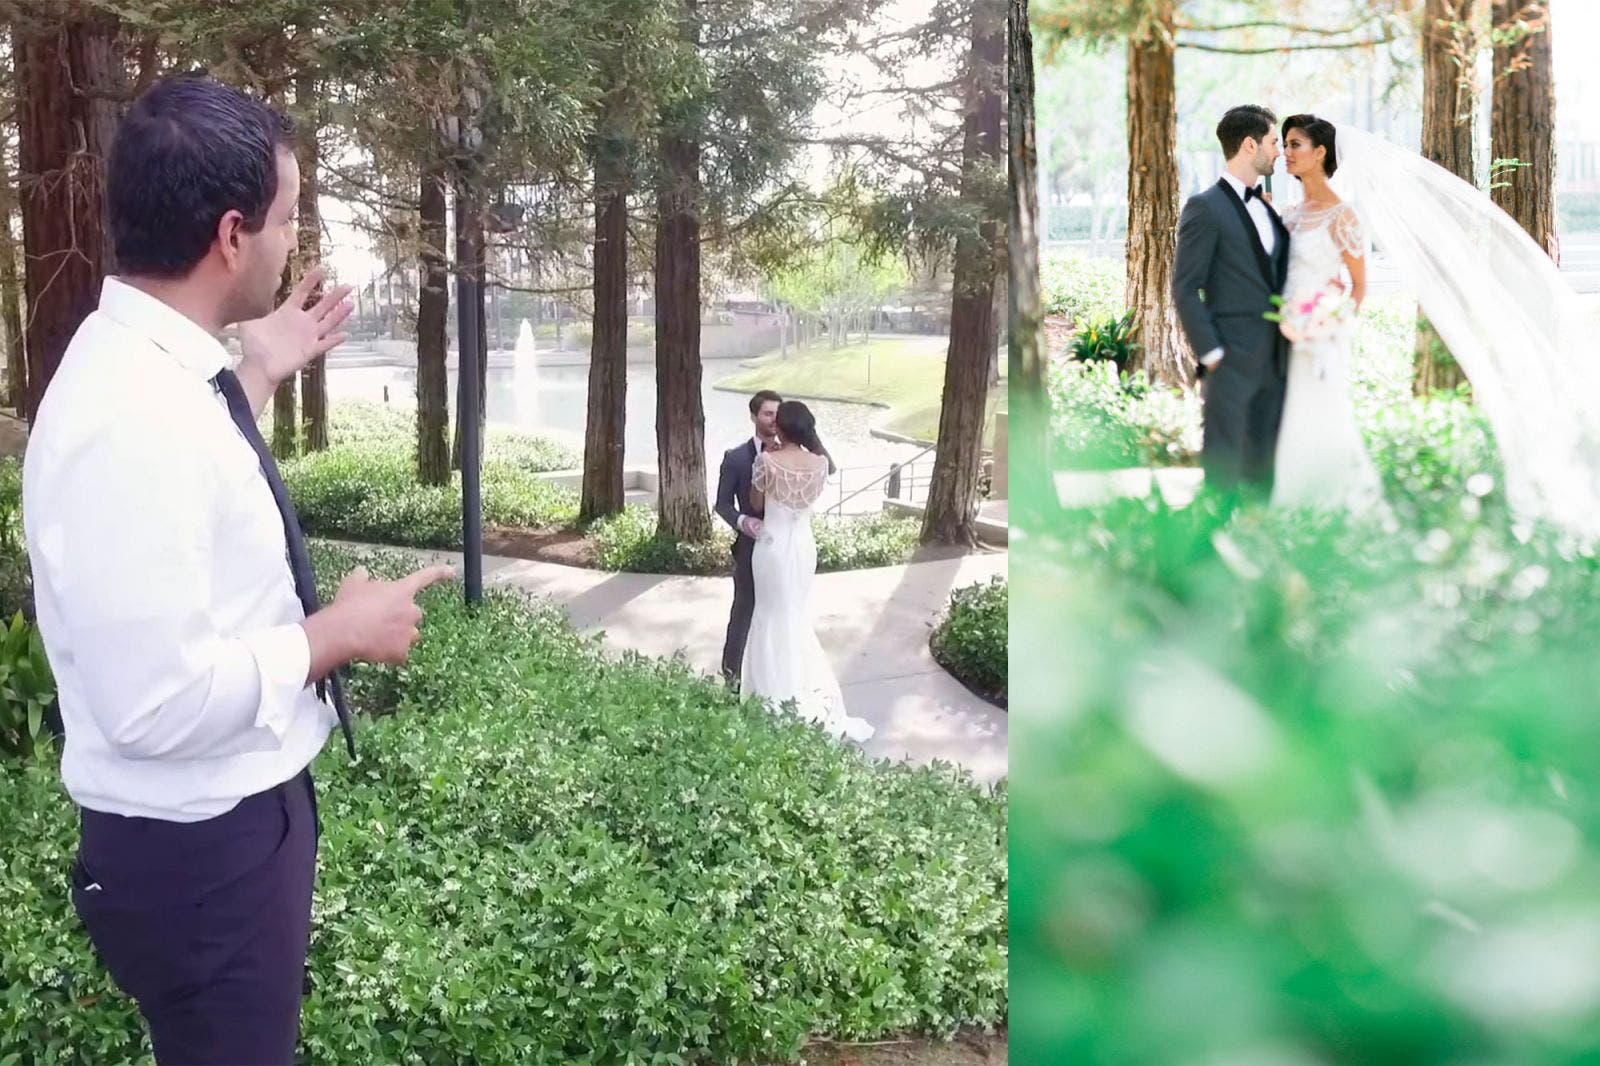
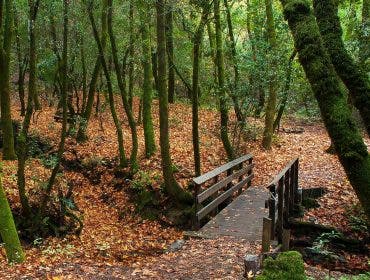
Some locations might inspire you from every direction and look great no matter which way you shoot, but others may need some help to look their best. In the outdoor image above, for example, we shot at a lower angle and used the leaves in the foreground to alter the environment. This leads to our next point.
Tip 2: Play with Different Compositional Elements
After scouting the location and picking a spot, I like to set up my shots using the C.A.M.P. Framework (Composition, Ambient Light Exposure, Modify or Add Light, Pose and Photograph). If you’re interested, I covered the C.A.M.P. Framework in more detail in this article on light painting here on the blog. In the meantime, let’s figure out our composition. We can use composition to influence how our viewers look at our images and make our photos more visually appealing. Here are some different compositional elements to look for while considering photoshoot ideas at home.
Depth of Field, Foreground Objects, and Lens Compression
Adding layers, or depth, to our shots is one of the most effective ways to guide viewers to our subjects. We have a few ways to do it.
Depth of Field
As I noted in this look at shallow depth of field, which touched on factors to consider for shallow depth of field, “depth of field describes the distance in an image, nearest to farthest from the lens, in which objects appear acceptably sharp. We typically measure depth of field in one of two ways: shallow vs. deep.”
Shallow Depth of Field
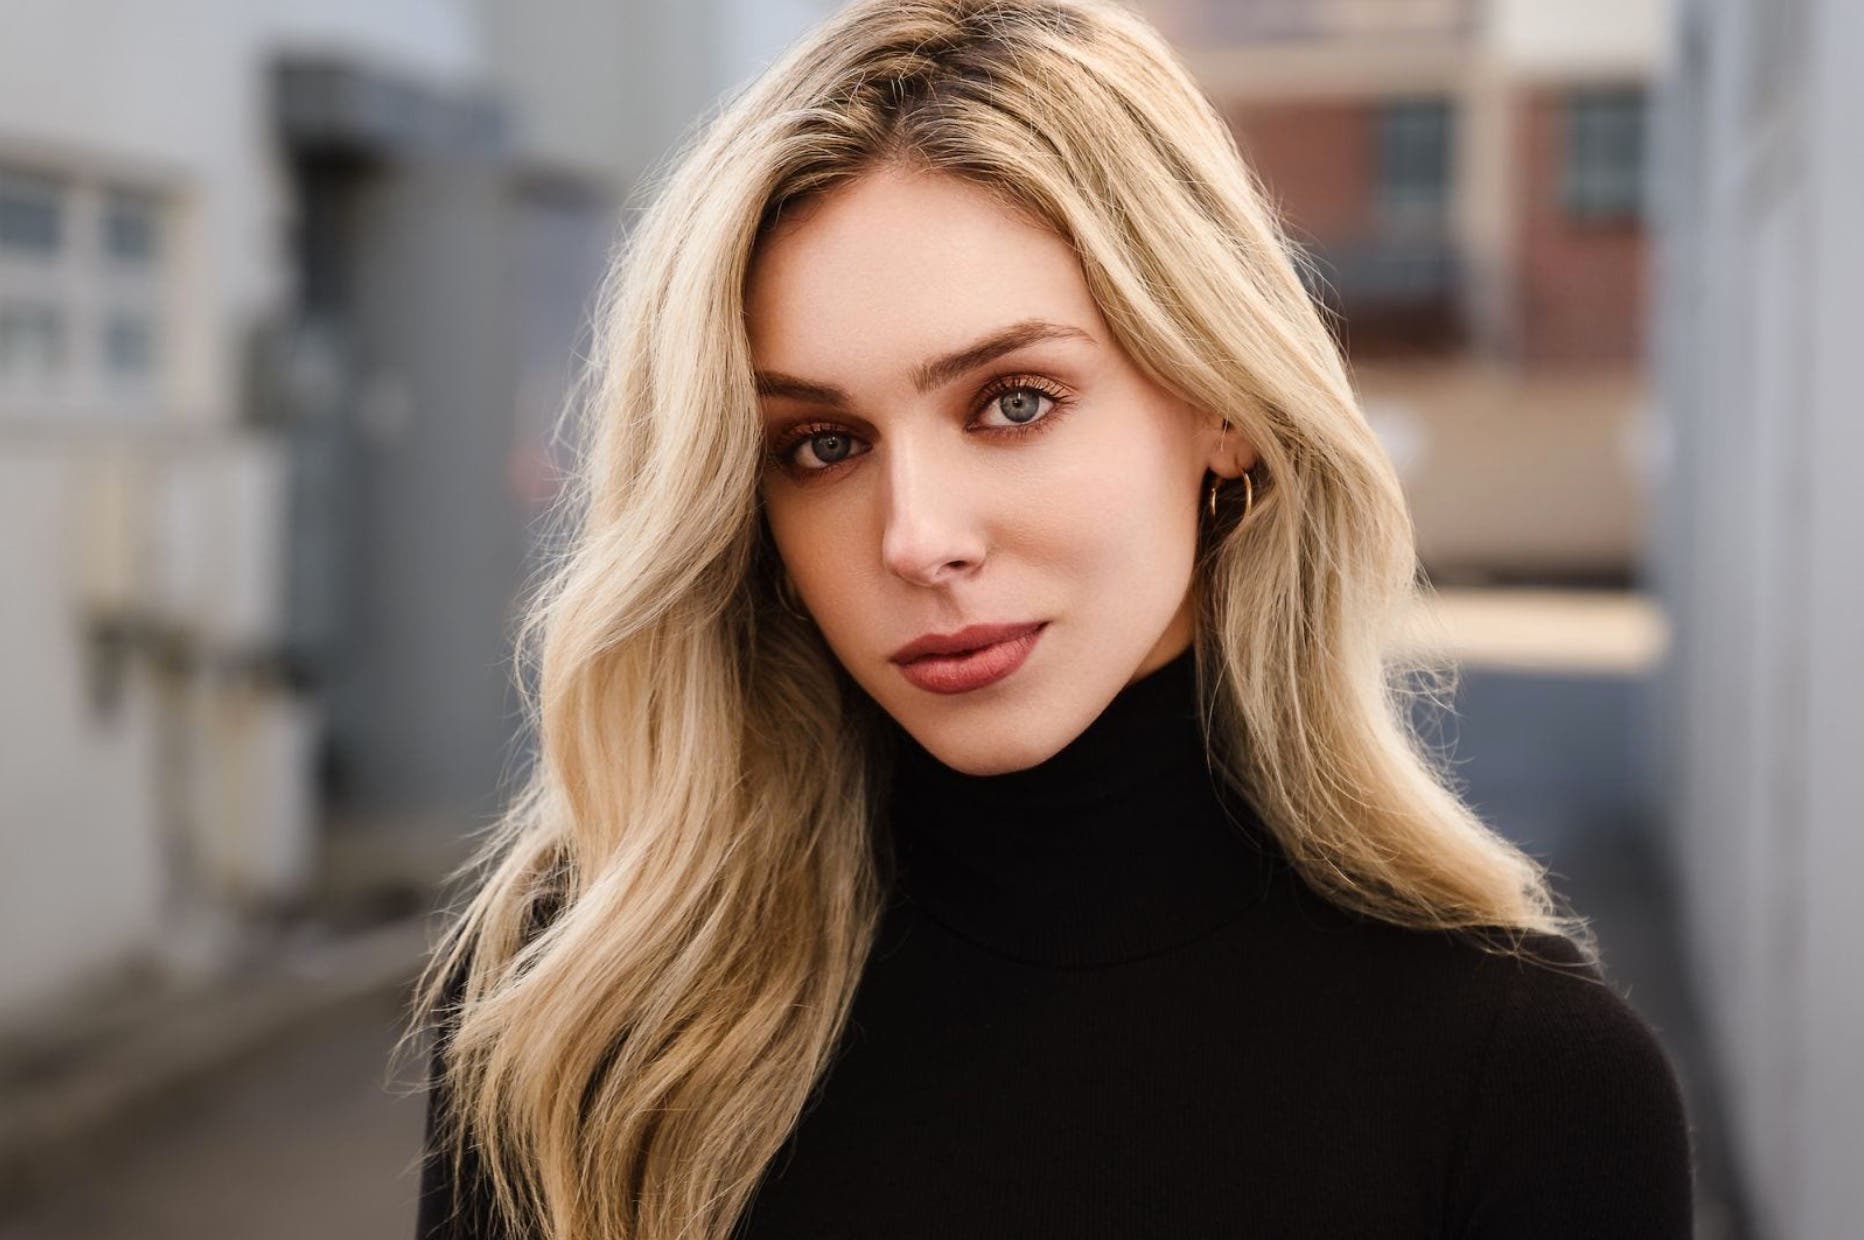
The image above features a subject posed in an alleyway that, if not for the shallow depth of field, would not typically make for an ideal backdrop. It works here, however, because the subject is clearly separated from the background, which has been blurred almost beyond recognition. To achieve this look, place the lens a close distance from your subject (will vary based on the focal length you’re using), and place the subject a great distance from the backdrop, all while using a wide open aperture and a longer focal length, which in this particular case is f/2.8 at 70mm on the Tamron 17-70mm lens.
Deep Depth of Field

On the opposite side of the depth of field spectrum, we can use a wider focal length and stop down the aperture (f/13 in the image above) to retain more detail in the image. This would work wonderfully when photographing a portrait of a subject in front of a location in which the details in the location lend themselves to the story you’re trying to tell with the photo. At home, this could be useful when taking a picture in front of important heirlooms or other objects you want to remember. The above image captures the glory of the outdoors with everything from the mountain range and trees, to the man and his dog sharply in focus.
Foreground Objects
For photoshoots at home, you can incorporate household objects like plants, chairs, or even doors and use them as foreground objects. Using foreground objects, especially in tandem with a shallow depth of field, can really transform the scene and help conceal unwanted elements.
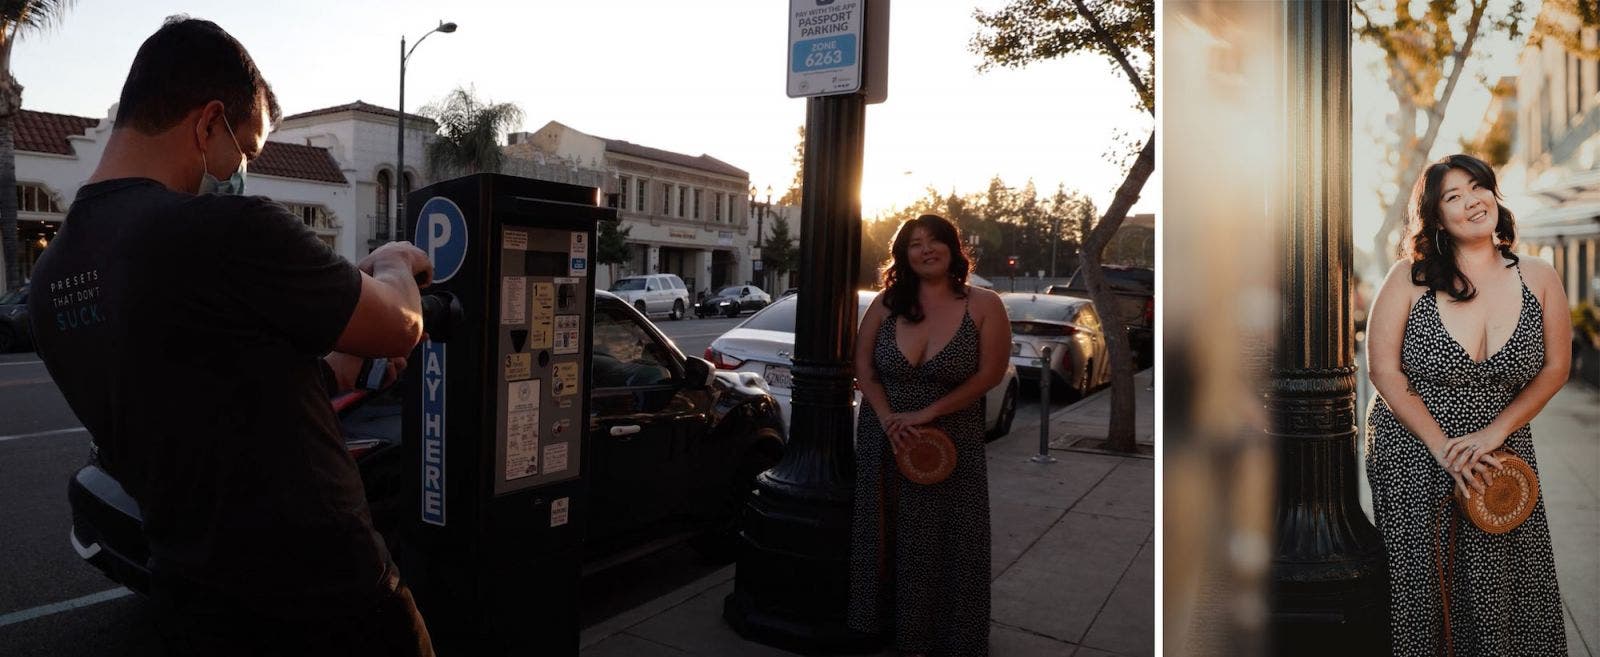
In the image above, from a street photography video I made for Adorama’s YouTube channel, I used an old payphone box on the sidewalk to conceal the cars parked against the curb. At the same time, the shallow depth of field creates pleasing bokeh in both the foreground and the background, which in turn guides our viewer’s attention to the subject.
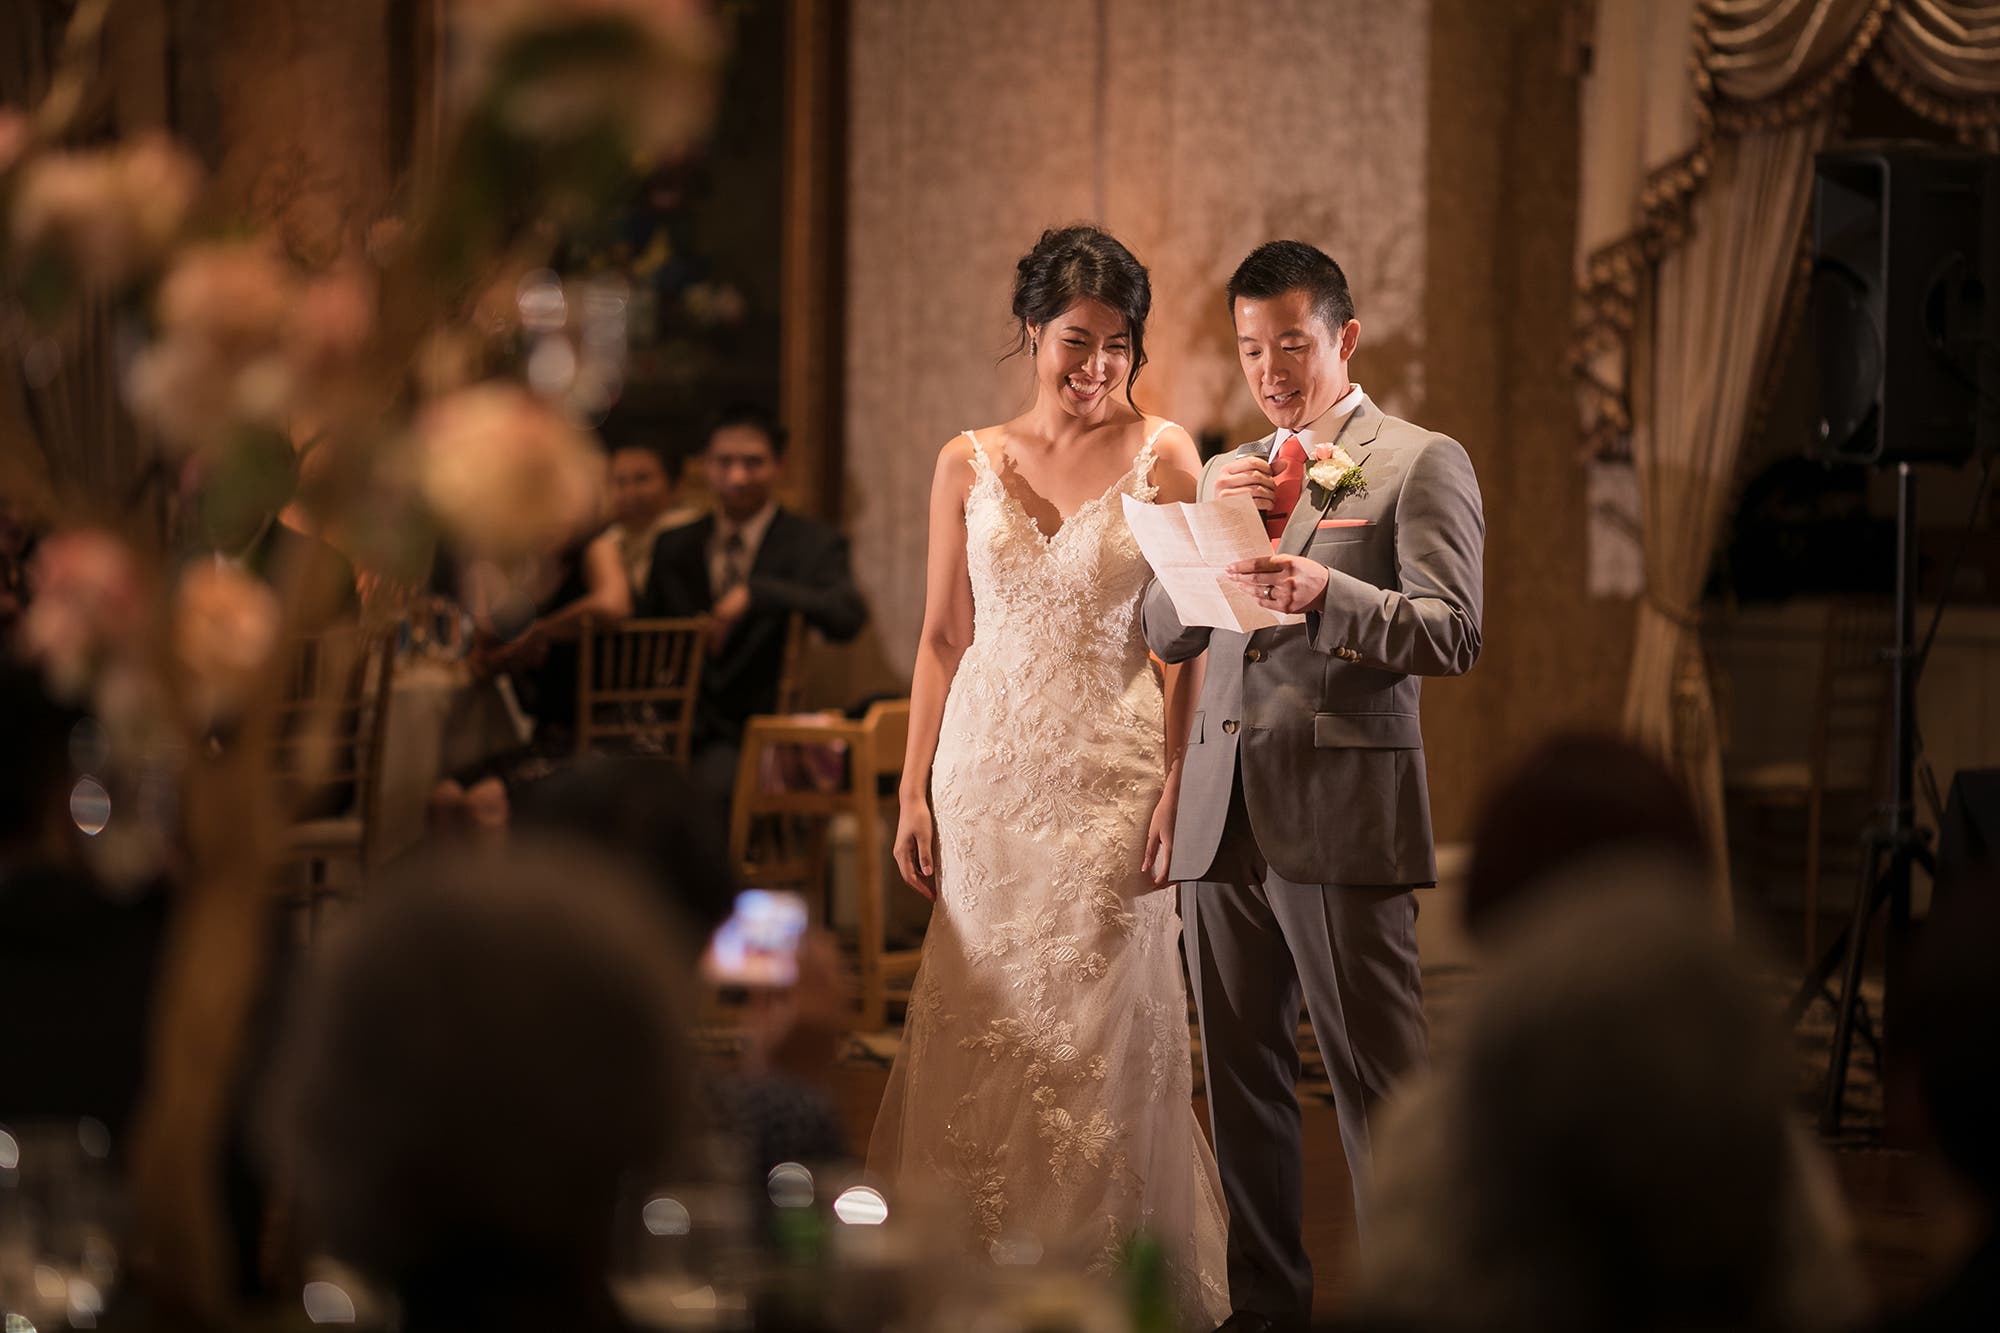
You can use this same principle in your home by placing objects on a table or countertop and shooting “through it” to focus on the subject. You’ll also see this technique used often for wedding toasts or even shots of decor.
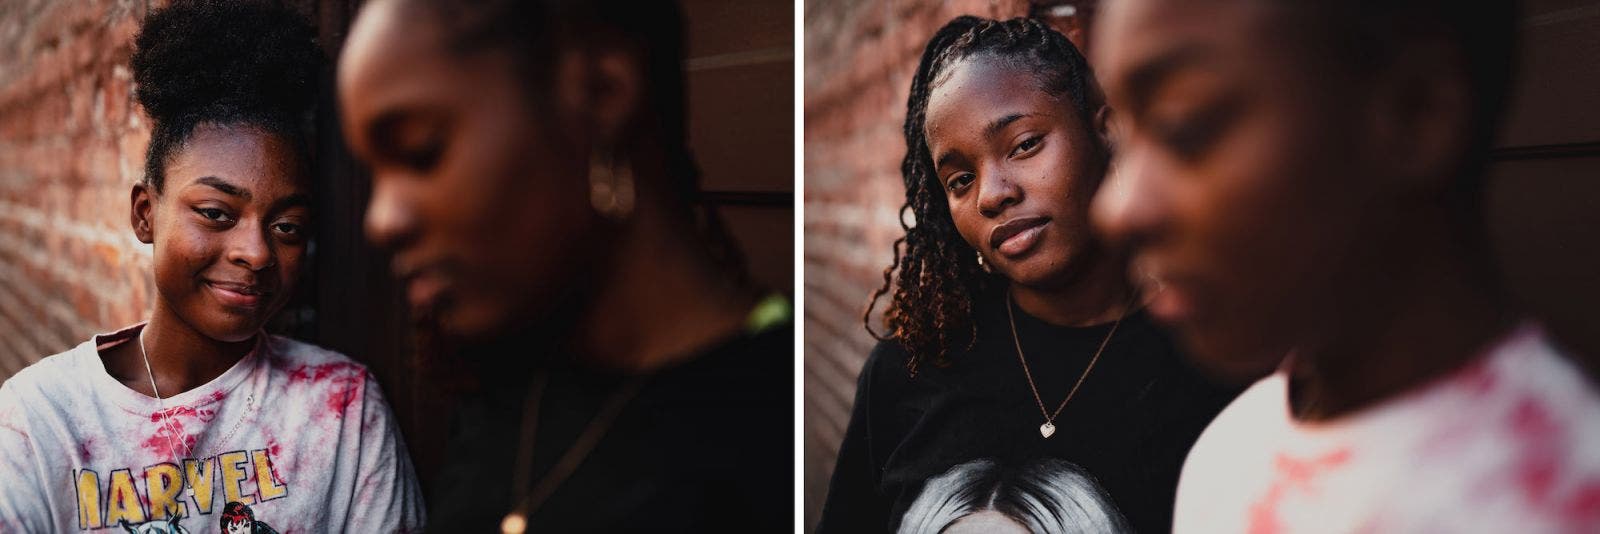
Here’s another example of using foreground objects in your portraits. This time we are placing a person in the foreground to draw attention to the other person in the frame.
Lens Compression
Another way to control depth in an interesting way in your photos is through lens compression, sometimes referred to as perspective compression or distortion. In simple terms, lens compression refers to the phenomenon of making the background appear closer to our subjects when we use longer focal lengths (e.g. 85mm, 105mm, 200mm, etc.).
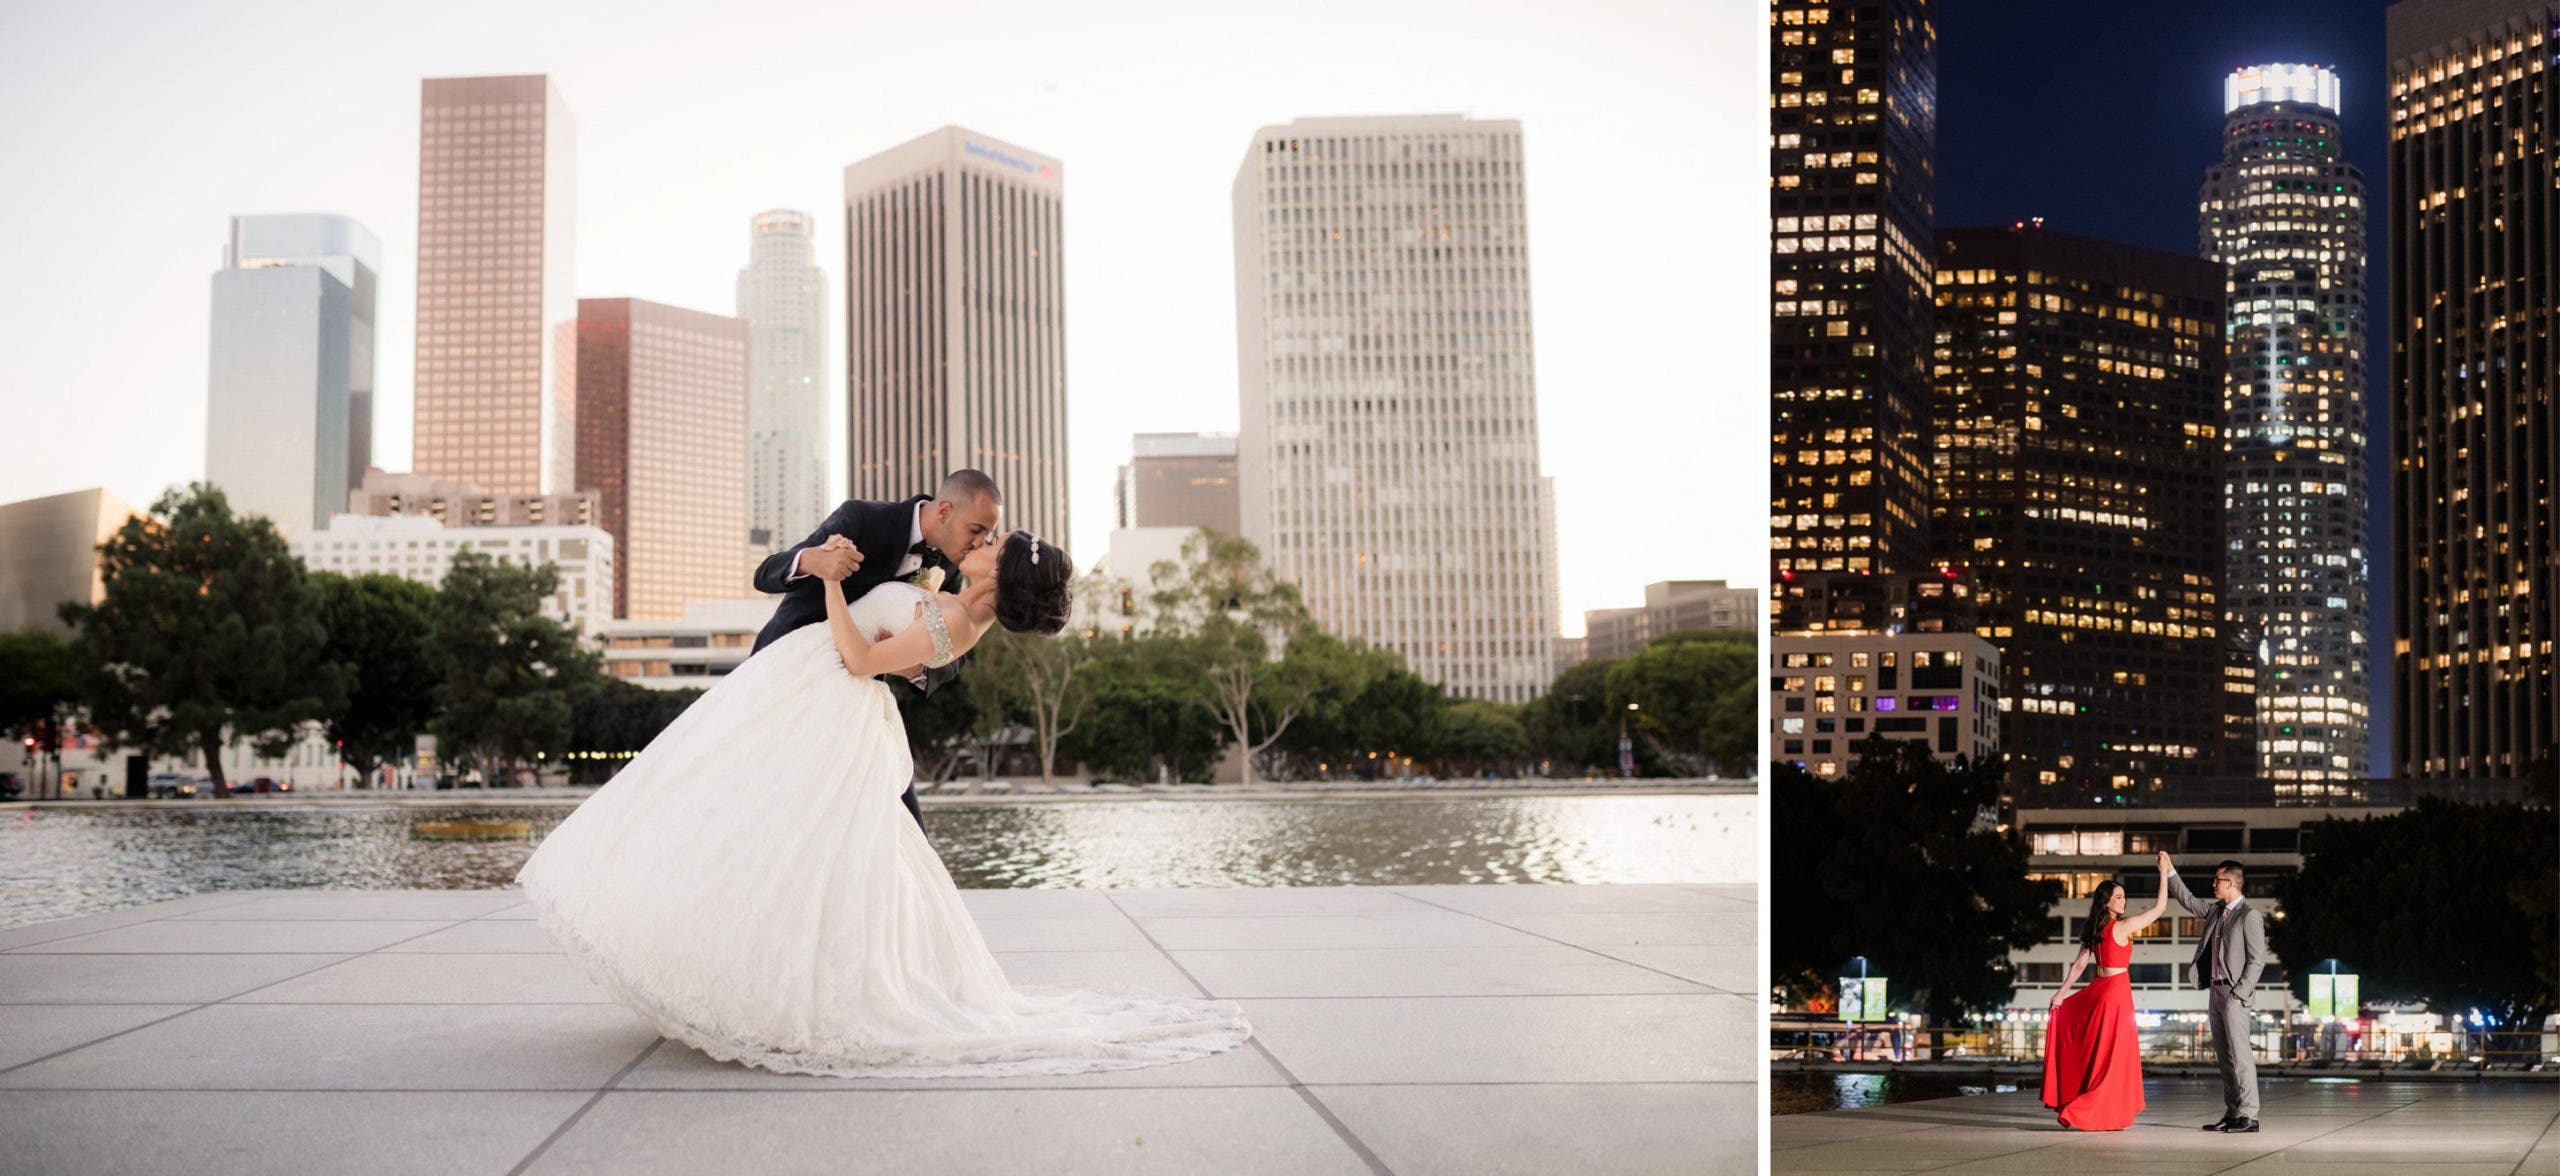
In the image above on the left, a wider focal length (35mm-50mm) was used at a relatively close distance to the couple, capturing more of the cityscape in the background. The image on the right was shot in almost the exact same spot and location. As you can see, however, it looks quite different (and not just because it’s a night shot).
The second shot features a longer focal length (100mm-200mm) and was taken at a greater distance from the couple. As a result, the skyscrapers in the background appear to be much closer to the subjects. This is something to keep in mind when running through different photoshoot ideas at home. The compression effects from longer focal lengths will allow you to fill the frame and add unique depth to the image.
You can learn more about lens compression and how to use it here.
Leading Lines and Frames
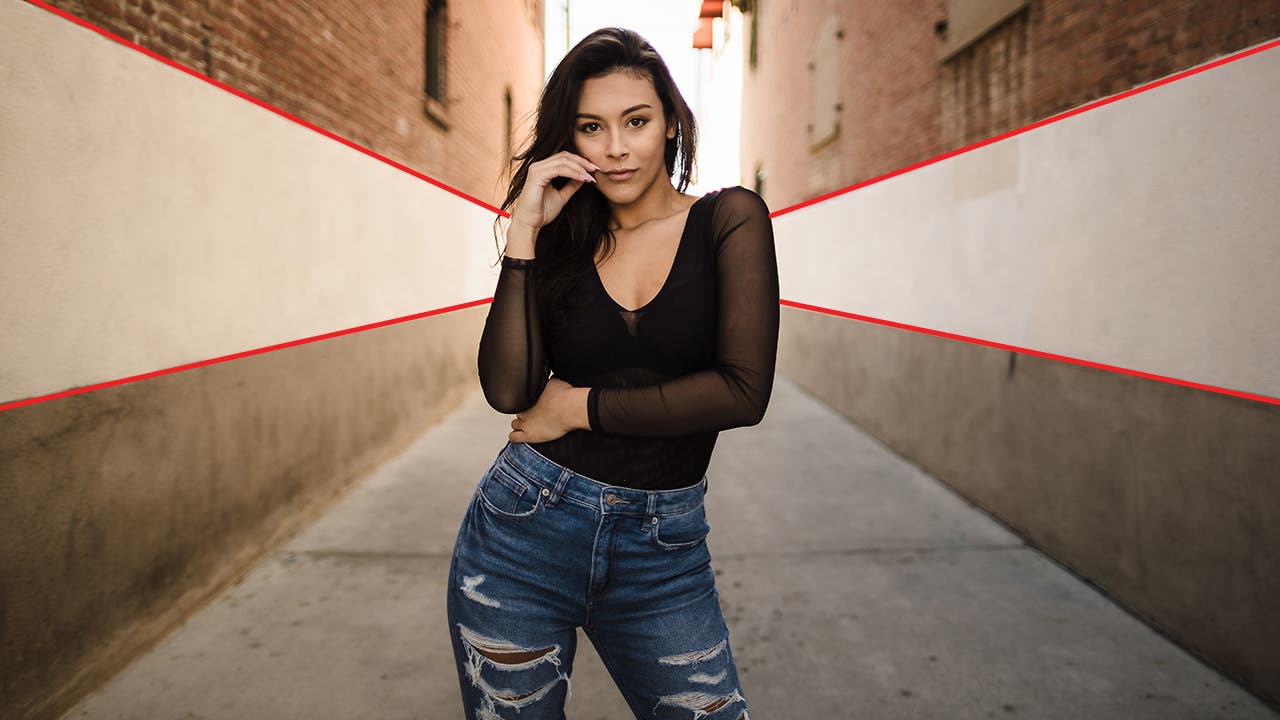
One surefire way to draw attention to your subjects is to take advantage of any leading lines in the scene. The technique works the way it sounds. Look for lines to use in the scene, such as those created by the different textures in the alleyway featured in the image above, for the purpose of directing the viewers’ attention to our subjects. The lines should create an easy-to-follow path to our subjects and enhance the image’s overall visual appeal. Inside the house, hallways work similarly to the alley pictured above in using perspective to create leading lines.
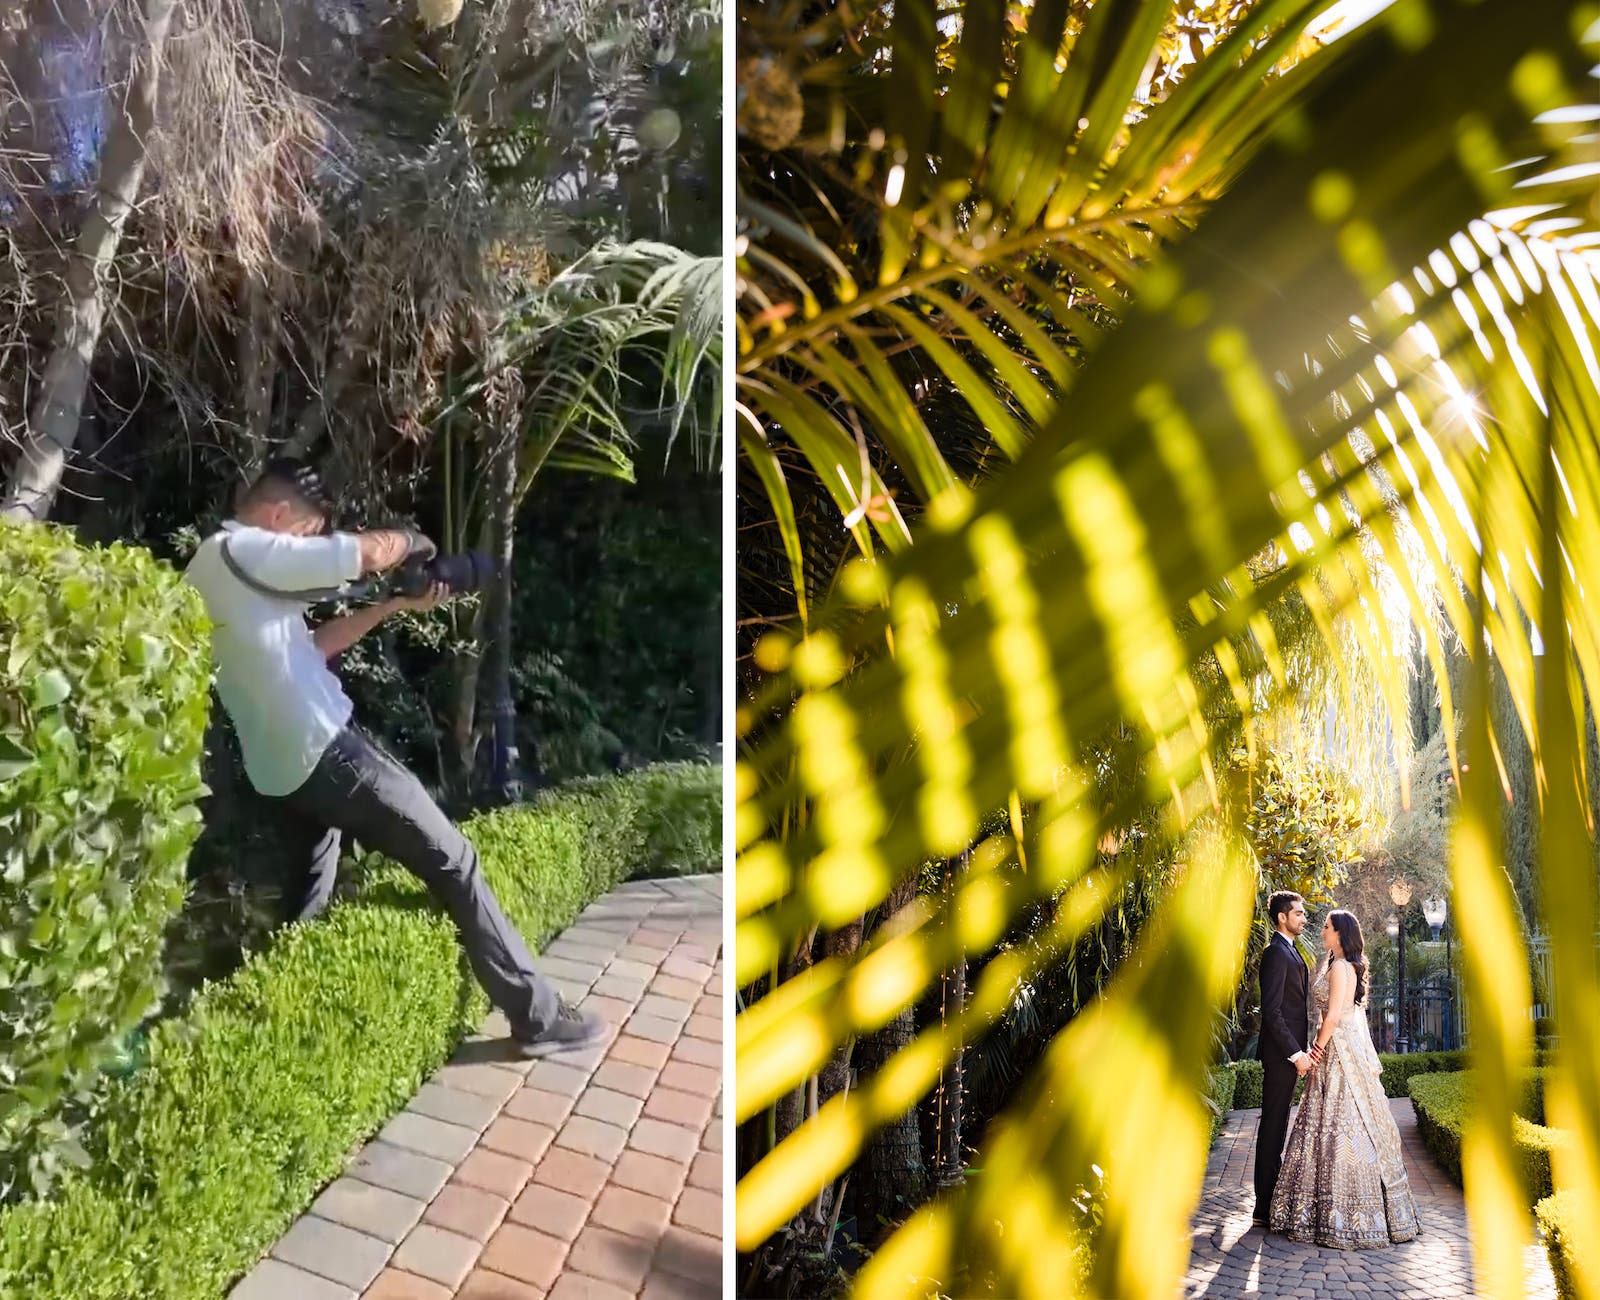
In this example, you’ll notice leading lines at work alongside a clever use of framing using light, shadows, and palm fronds. If you’re in the house, you can use door frames, windows, or even picture frames to literally frame your subject.
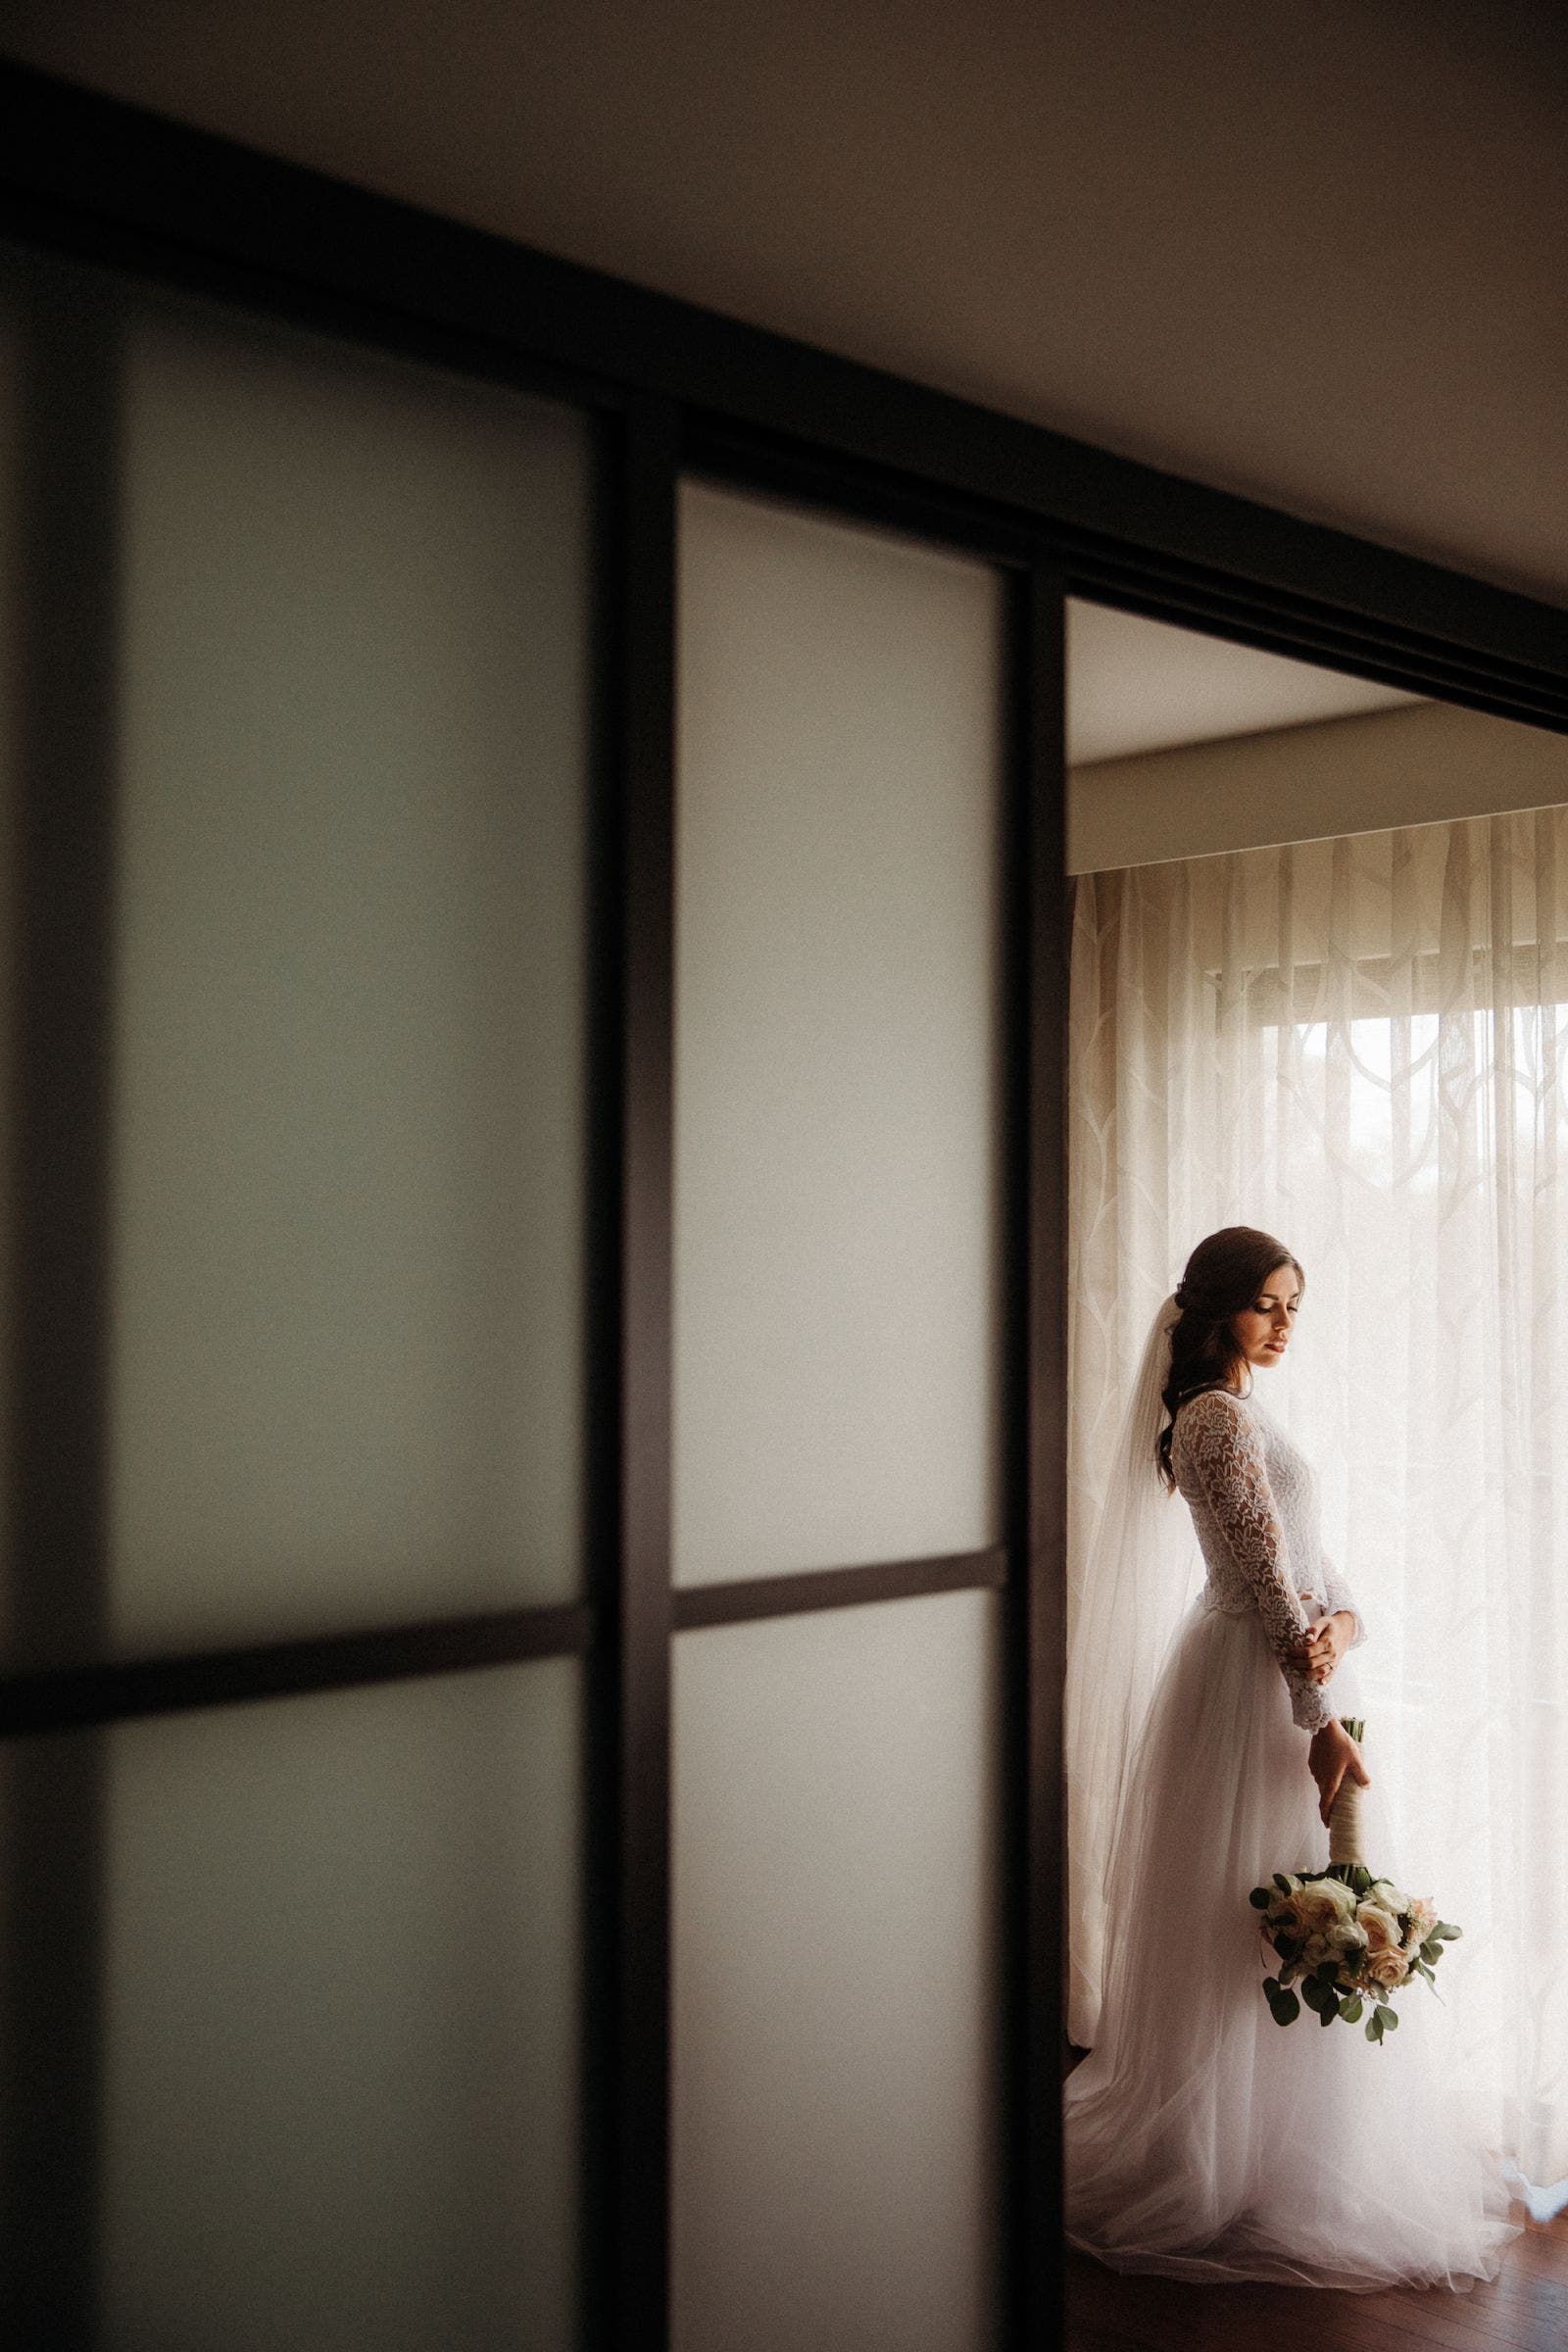
This bridal portrait employs several compositional tools. Notice how the bride occupies the right third of the image (incorporating the rule of thirds). She’s also framed by both the doorway and the window in the background. In addition, we’ve placed her in the brightest part of the image (yet another effective compositional technique).
Color, Textures, and Patterns
Although we might not always notice, every scene presents a color palette and a variety of textures. If we pay attention, we can zone in on these elements and use them to our advantage or else know when to minimize their presence in the frame. We can also add our own.
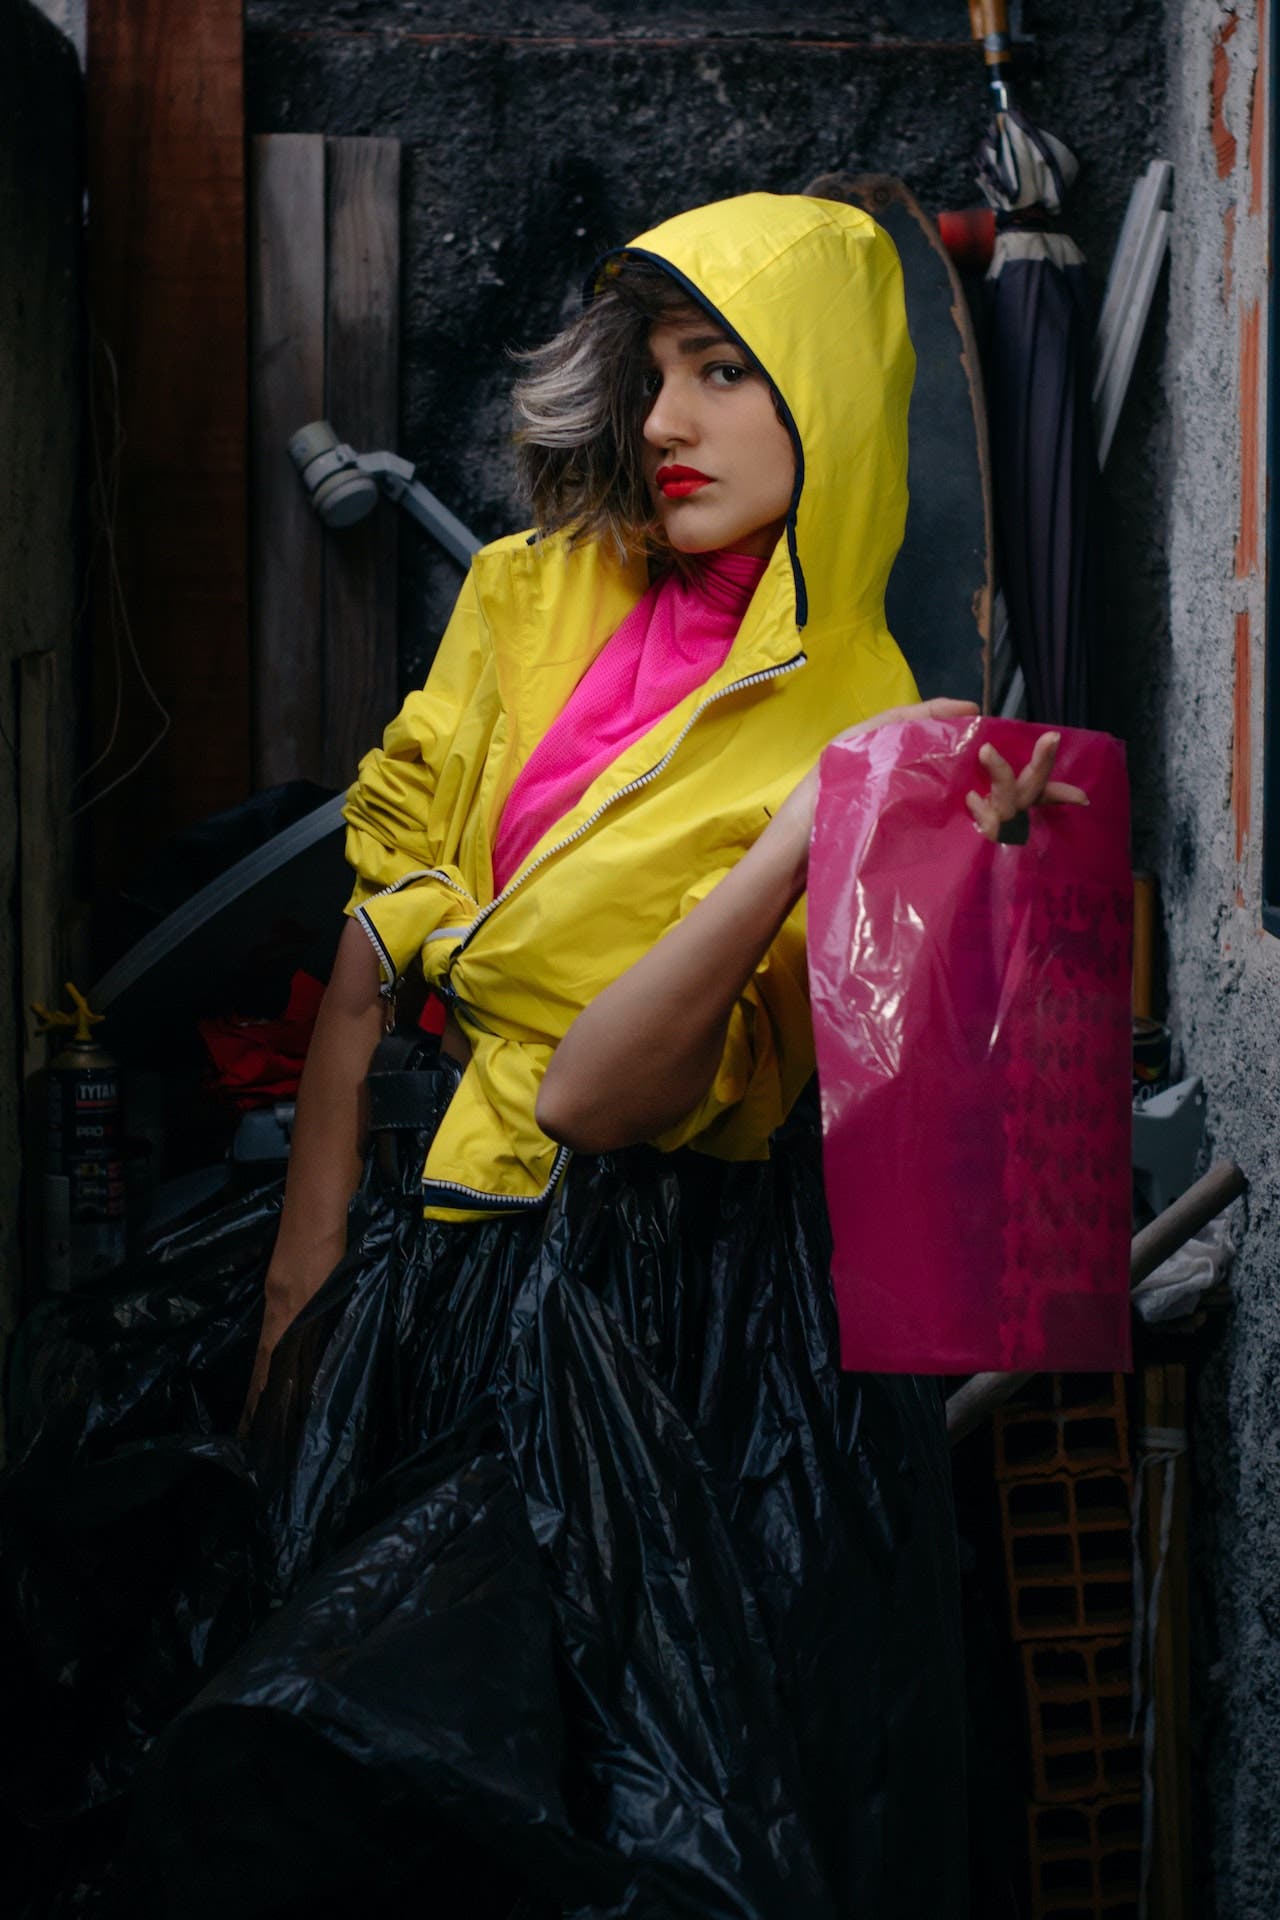
For example, if we’re familiar with complementary colors, we can coordinate our subject’s outfit with the predominant colors in the scene to achieve striking results. The same is true with textures and patterns. Look for standout textures or repetitive patterns and try to incorporate them into your portraits to add visual interest.
For more information on this, read How to Use Complementary Colors in Photography.
Mirrors and Reflections
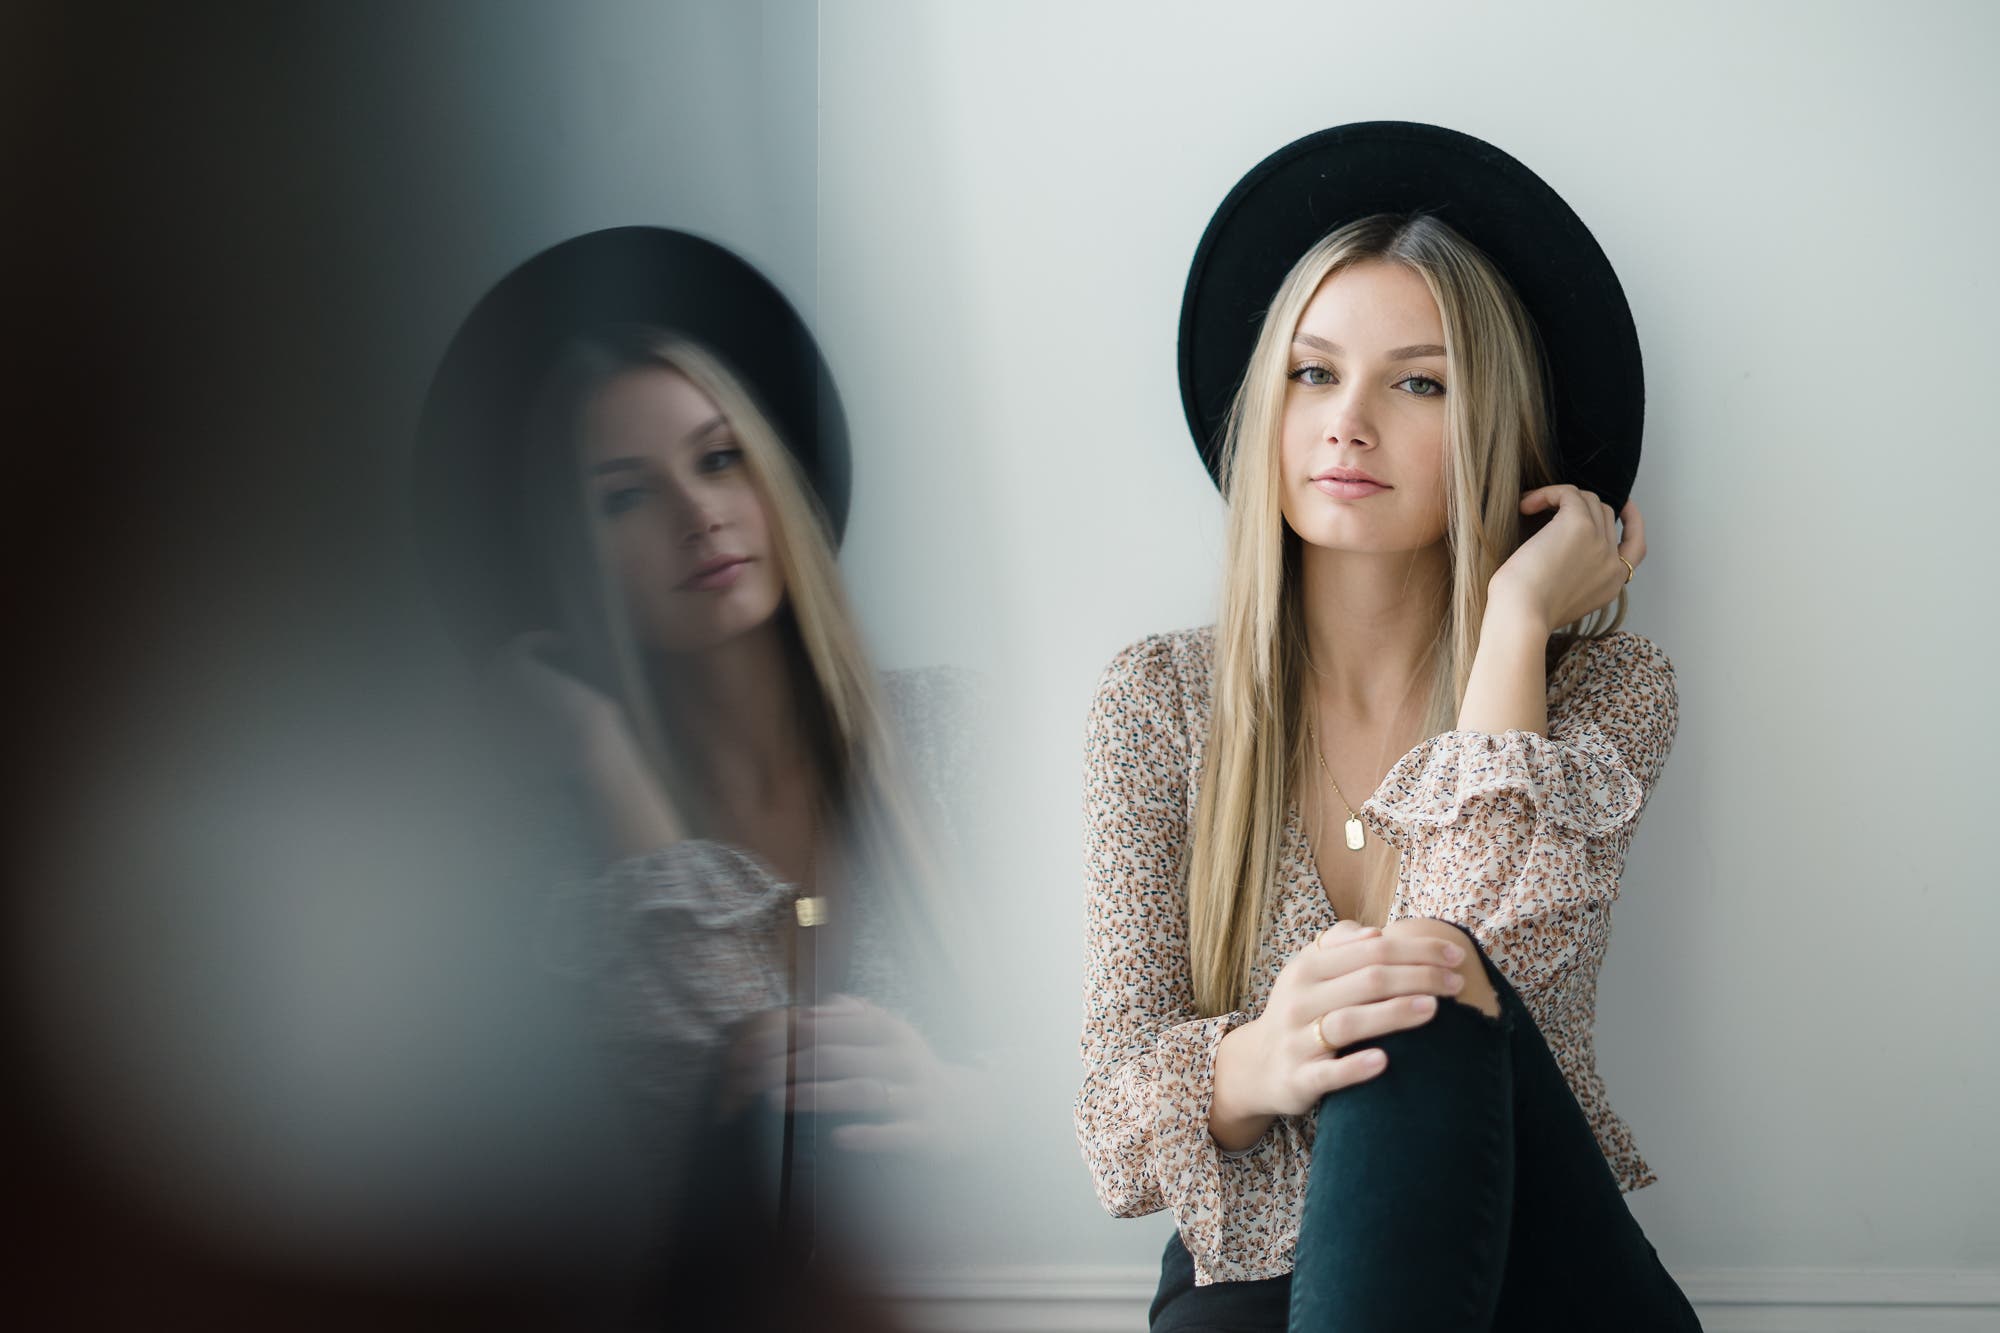
Most people have mirrors in their homes, in all sizes and shapes. If by chance you don’t, you likely have other reflective surfaces. Instead of a mirror, try using a smartphone or tablet, picture frames, or shiny countertops to create reflection shots. We can use these surfaces to great effect to frame our subjects, add artistic flare to our shots, and even conceal unwanted elements. Notice a pattern here?
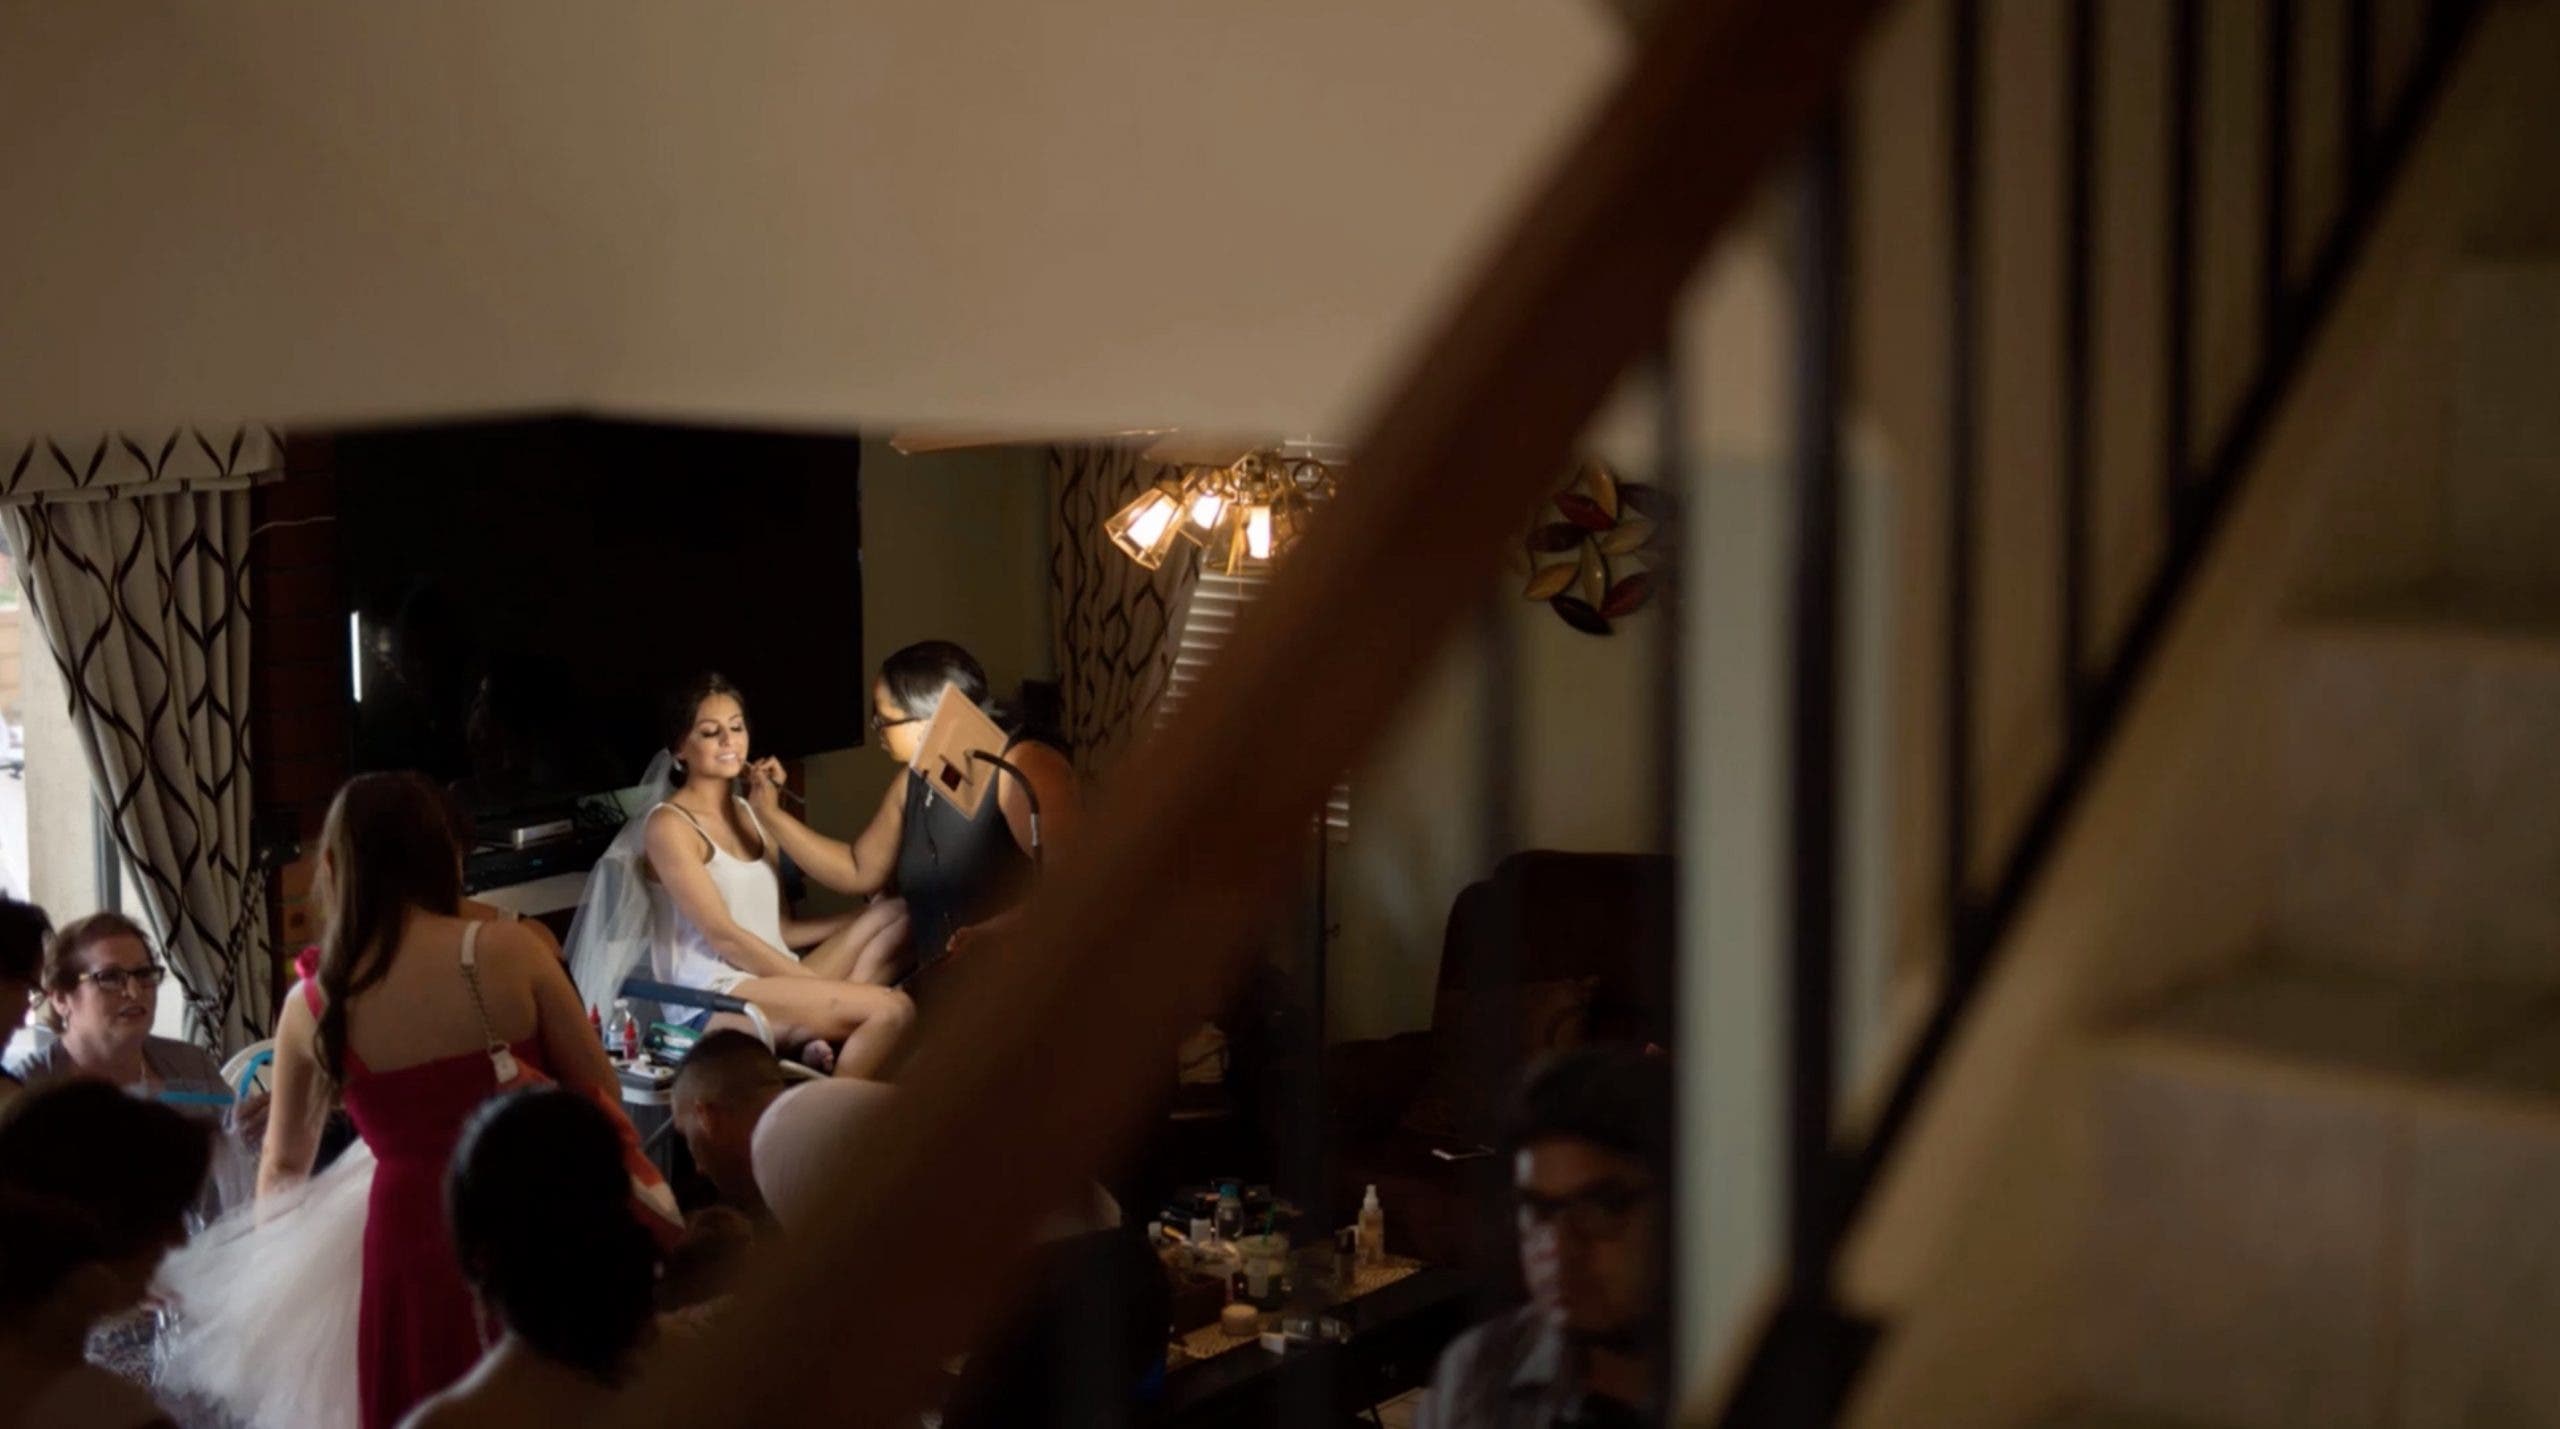
I captured the photo above during a bridal prep session in the home of the bride’s family. As you can see, there was a lot going on in the scene. The space was messy, people were roaming all around, and the background wasn’t the best for portraits. After looking around for a minute, I noticed a collage of framed photos on the opposite wall from where the bride was getting ready. I quickly straightened the frames and then set out to use them to create a unique reflection shot.

One key to pulling off this reflection shot rested in making sure the light on the bride was (much) brighter than her background. To do this, I dialed down my ambient exposure and then placed a flash in front of the bride. The other important part of pulling off this shot was nailing the focus. In order to focus on the bride in the reflection in the frames, I had an assistant hold a cellphone light near the bride and I manually focused the lens until the bride was tack sharp. I lowered the exposure a bit more in post and boosted the highlights to further distinguish the bride from the background.
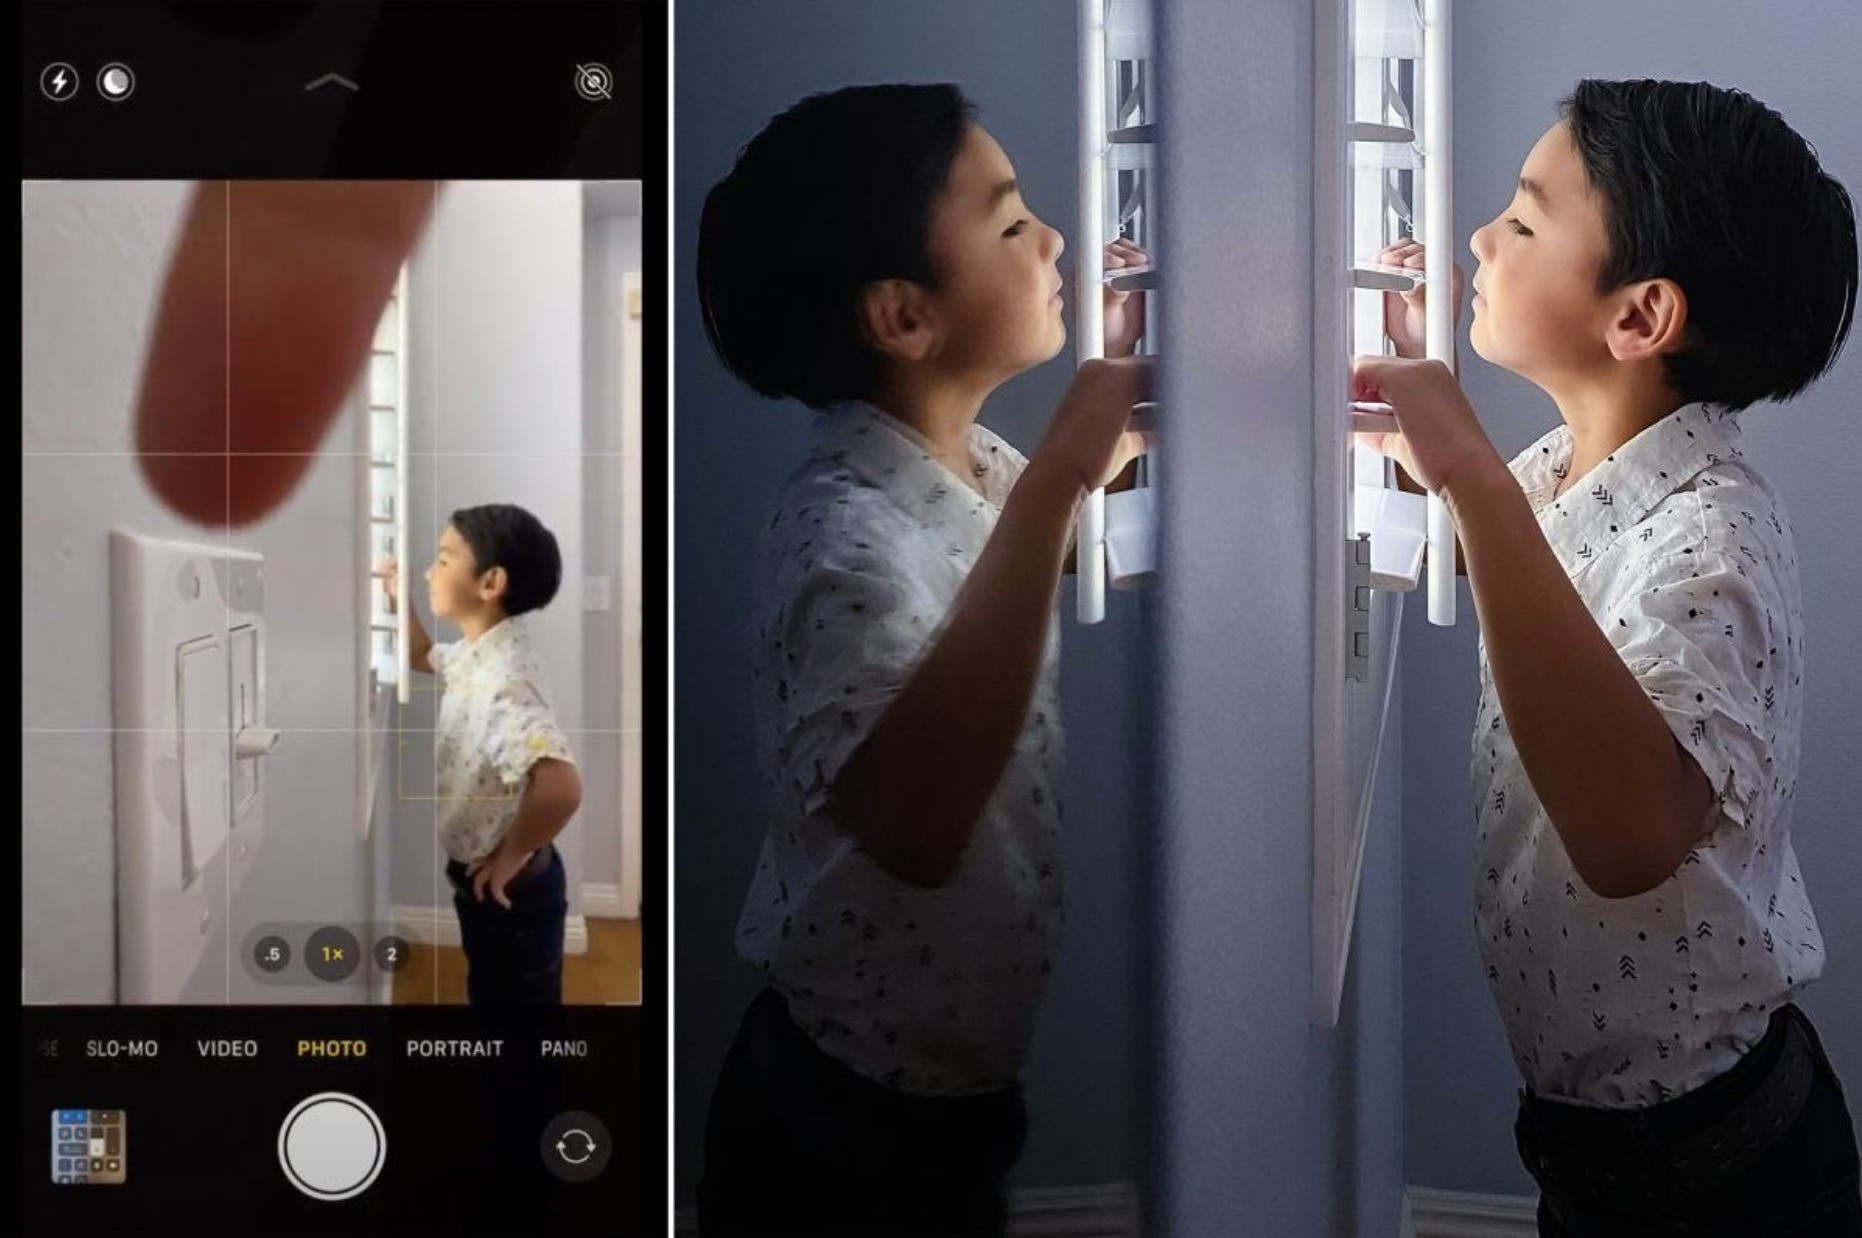
Here’s another example of using a reflection (this time off of an iPhone). The reflection makes the shot more interesting and conceals the light switch on the wall.
Tip 3: Choose a Lighting Style and Setup
If you don’t already have a lighting style in mind before the shoot, you’ll need to choose one and then set your ambient exposure and/or add light to suit that style. Generally, you’ll go one of two ways, either bright and airy or dark and moody. The lighting style you choose could limit your choice of location based on your means of lighting (using natural light vs flash) and the available light in the scene. We’ll explore a number of options below to help you dial in your lighting, whatever the situation.
Natural Light
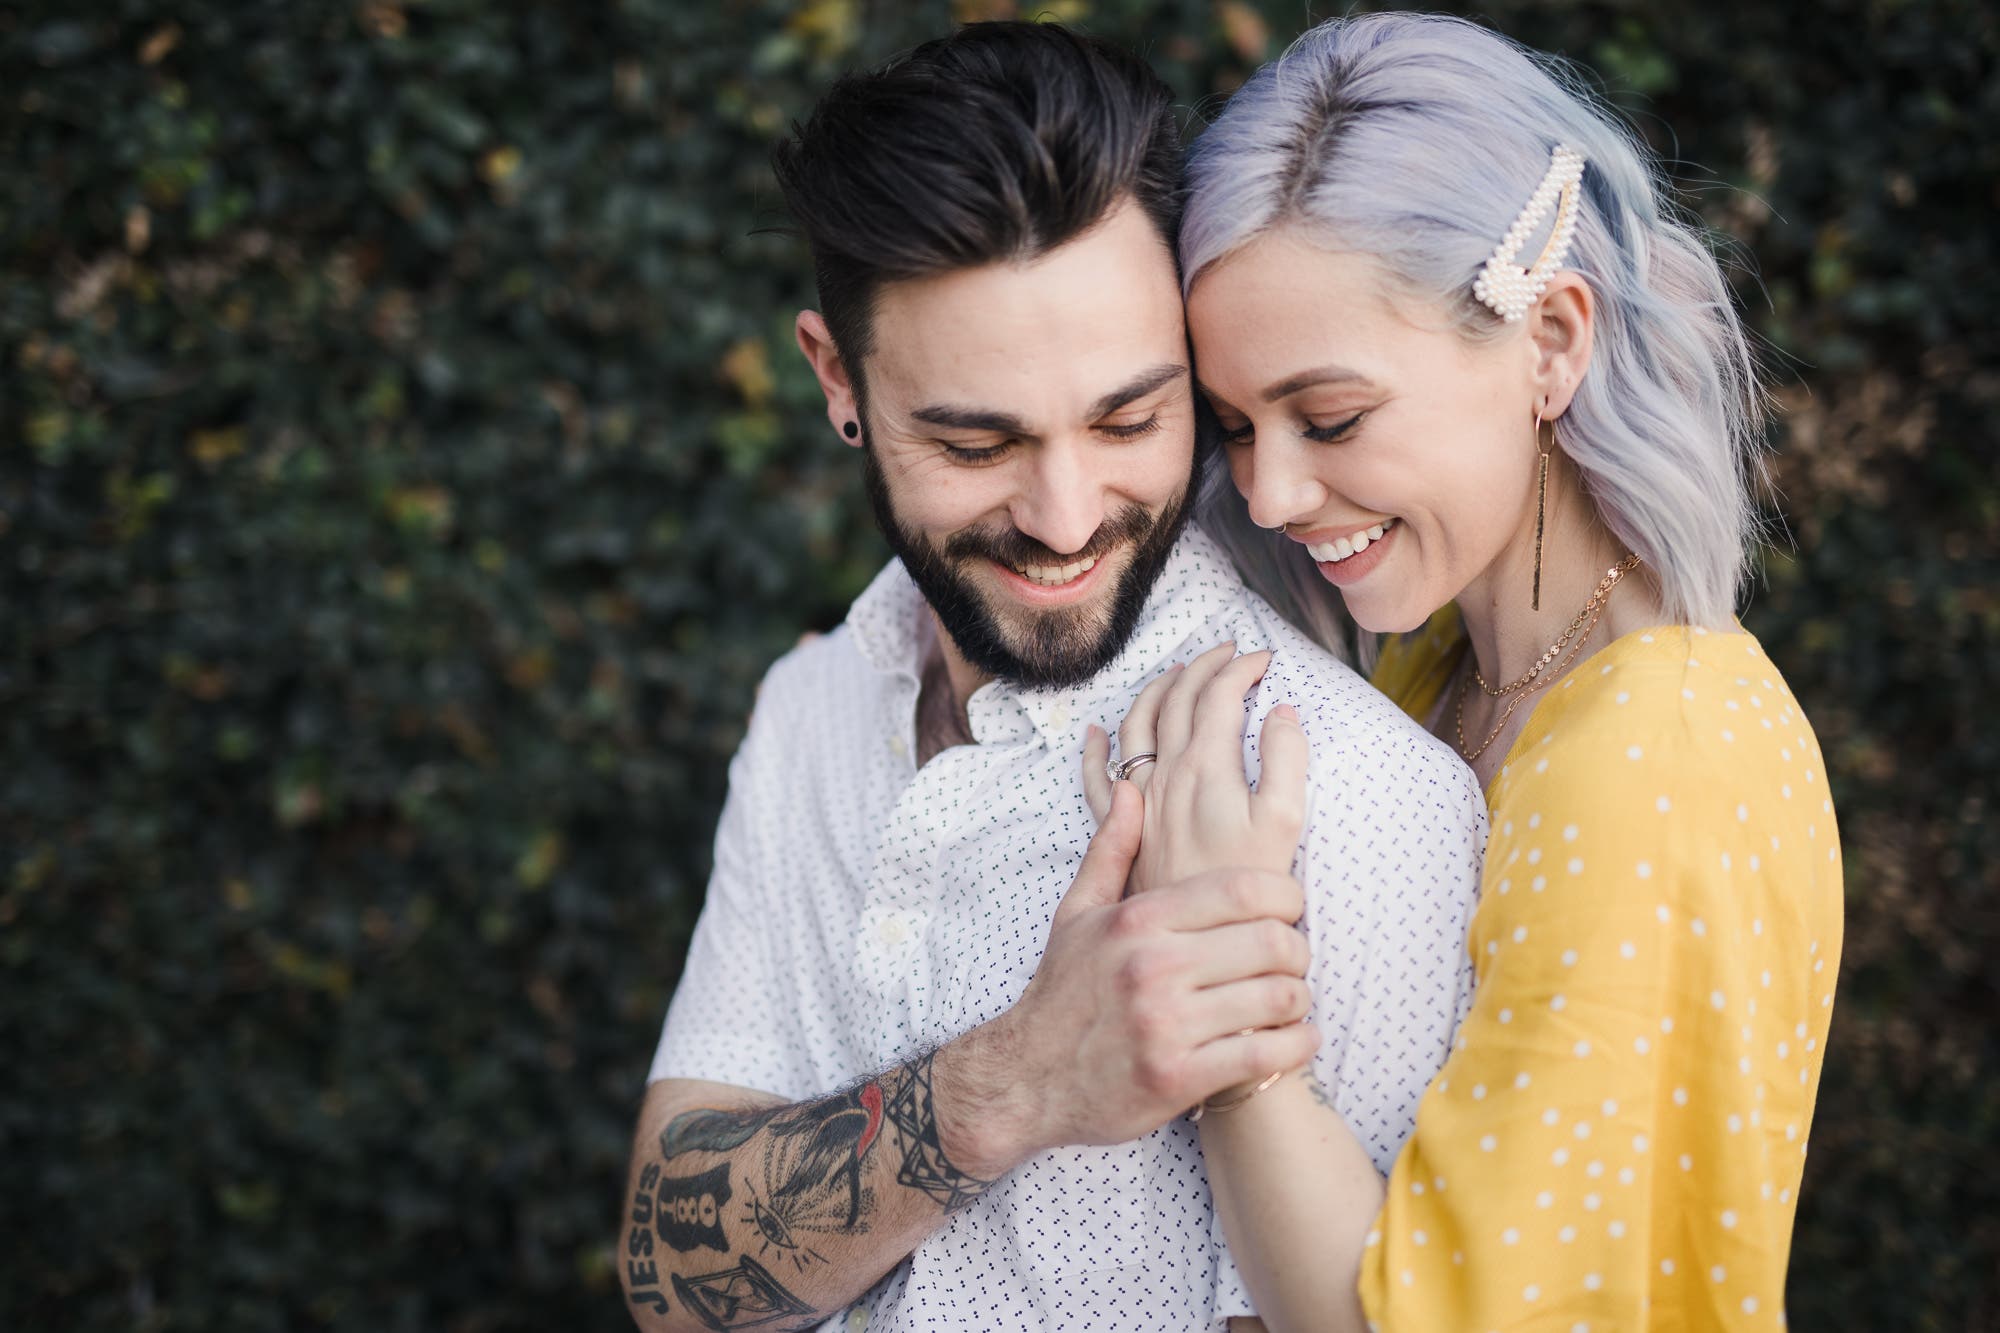
Whenever you’re able to use natural light to get the look you want, by all means, use it. It works wonderfully for a variety of looks and can act as both a hard and soft light source. The scope of natural light photography is bigger than would fit in this article, but I’d like to share at least one technique that will allow you to take studio quality portraits using natural light at your home.
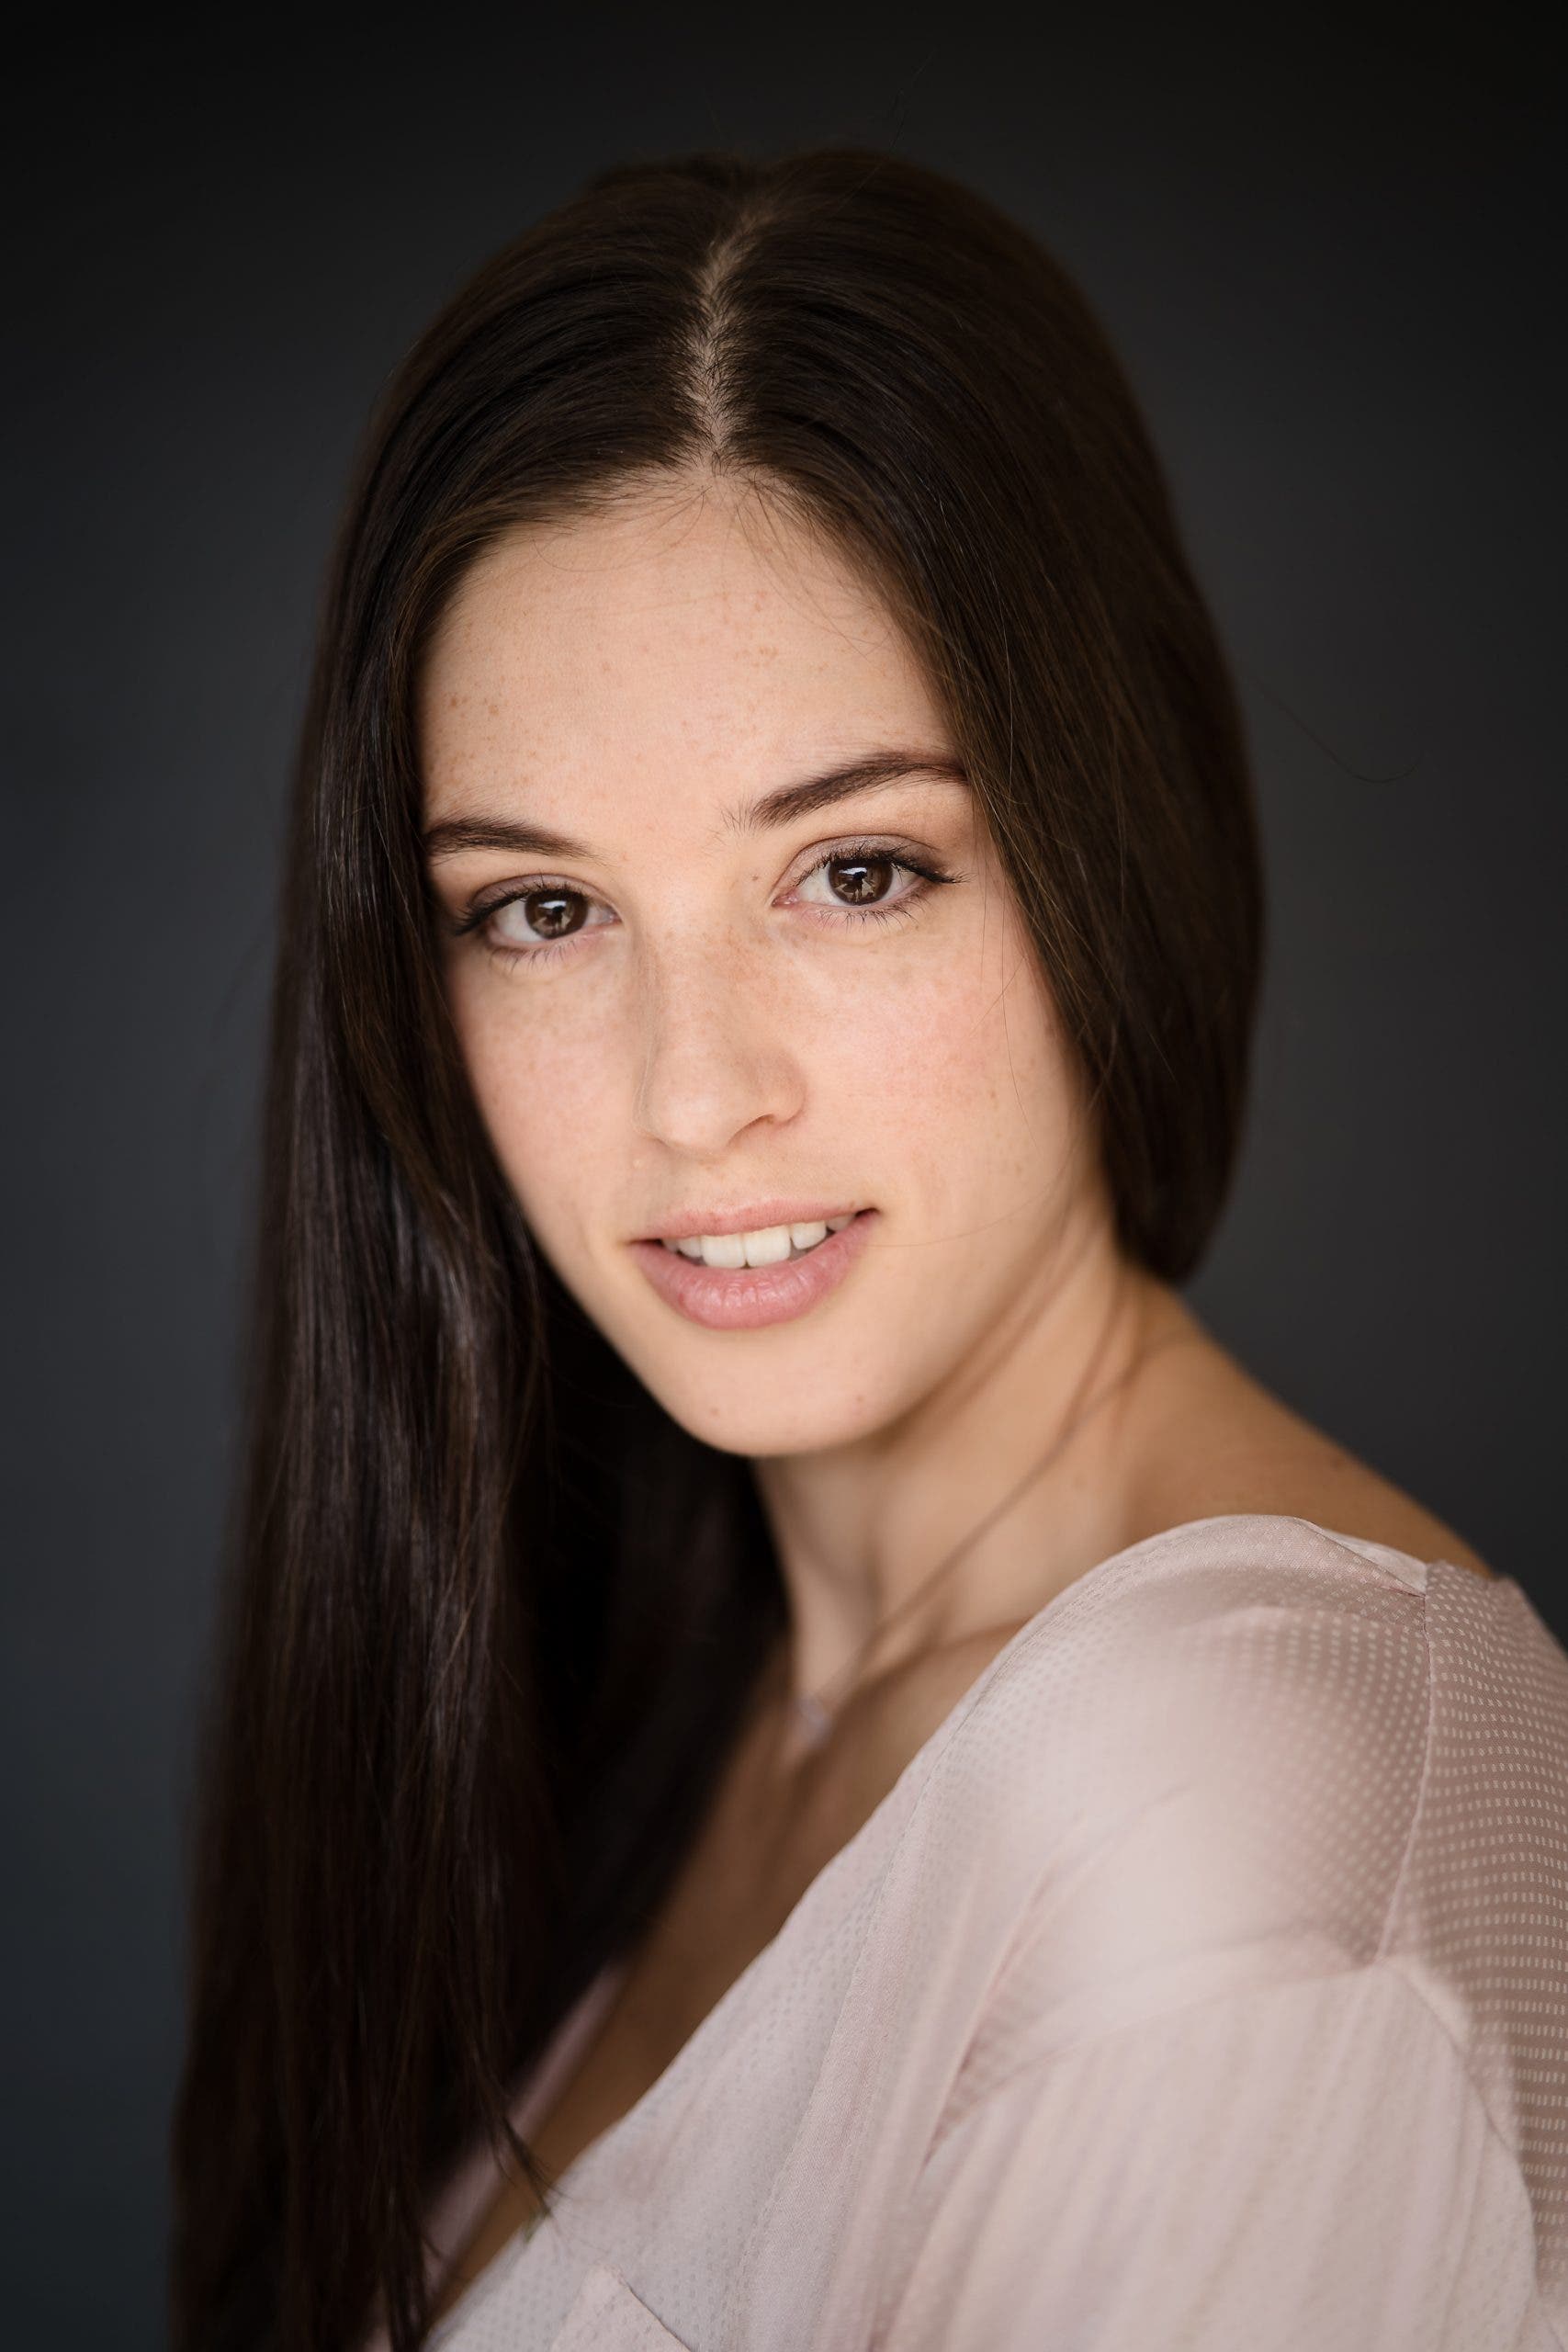
I captured the image above in my open garage, but it looks like it was taken in a studio. I chose to use the garage rather than a room in the house because the garage door, when open, serves as a very large light source, which works well for soft lit portraits. The bigger the light source, the softer the transition from shadows to light. As a bonus, the concrete floor in my garage also provides a good amount of fill light. In fact, mine flooring provided a little too much uplight, which led me to cover it with a black sheet to dial it back.
Placement
The key to nailing this shot is placing your subject at just the right distance from the door. You can quickly experiment by moving your subject in and out of the light. What you’re trying to do here is strike a nice balance between the fill light from the floor and the main light from the open garage door.
Backdrops
If the background falls on the messier side, you can put up a simple backdrop and zoom in to crop out any distracting elements. For the image above, we used a backdrop by Ethan Alex and a 45mm prime lens, but a bedsheet and whatever available lens(es) you have will also get the job done.
Directional Light and Light Patterns
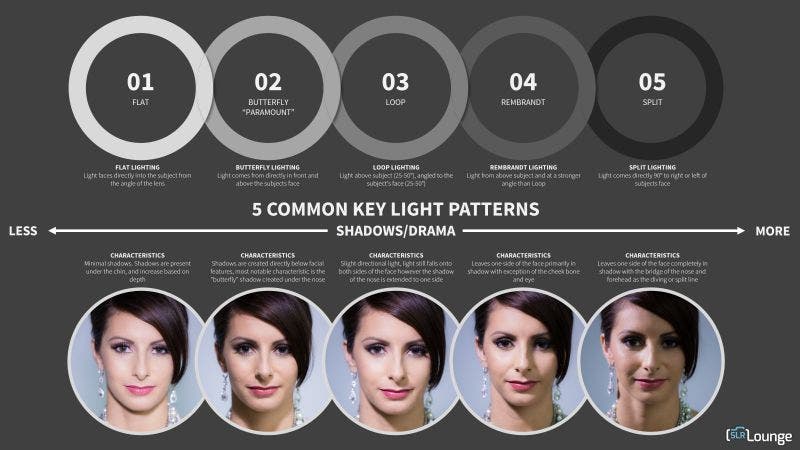
When we think of directional light, we often think of light patterns, especially in terms of key light patterns used to balance light and shadows on our subject’s face. There are five common key light patterns, which you can find outlined in the image above. You should memorize these patterns and their applications, which cover the spectrum from whimsical (low contrast, bright and airy) to dramatic looks (higher contrast, more shadows). To create these patterns, simply adjust the position of the light in relation to your subject. The descriptions above will help you determine where to place the light source.

Of course, directional light refers to more than how the light falls on your subject’s face. In general terms, it also just has to do with the direction from which light is entering the scene. This applies to both natural light and flash. In the image above, we placed a flash outside the window (the sun had already gone down a bit) to recreate window light for a somewhat dramatic portrait. We used the window as a sort of reverse-gobo to boost the directional light entering the dimly lit room through the window. As a result, we captured the scene in a unique way vs how it looked with only ambient light.
Gobos
Speaking of gobos, when you’re comfortable enough using flash, you don’t have to limit yourself to certain spots based on the scene “as is.” You can also enhance the available light with gobos (or objects used to create patterns with light) to significantly transform the scene. What you can use as a gobo varies greatly.

The bathtub images above feature a DIY gobo as we placed palm fronds between our flash and the subject to create an interesting pattern on her face. You can purchase professional gobos from camera or craft stores to create really intricate patterns. On the flipside, you can use something as simple as a cut up shoe box to get the job done.
Backlighting
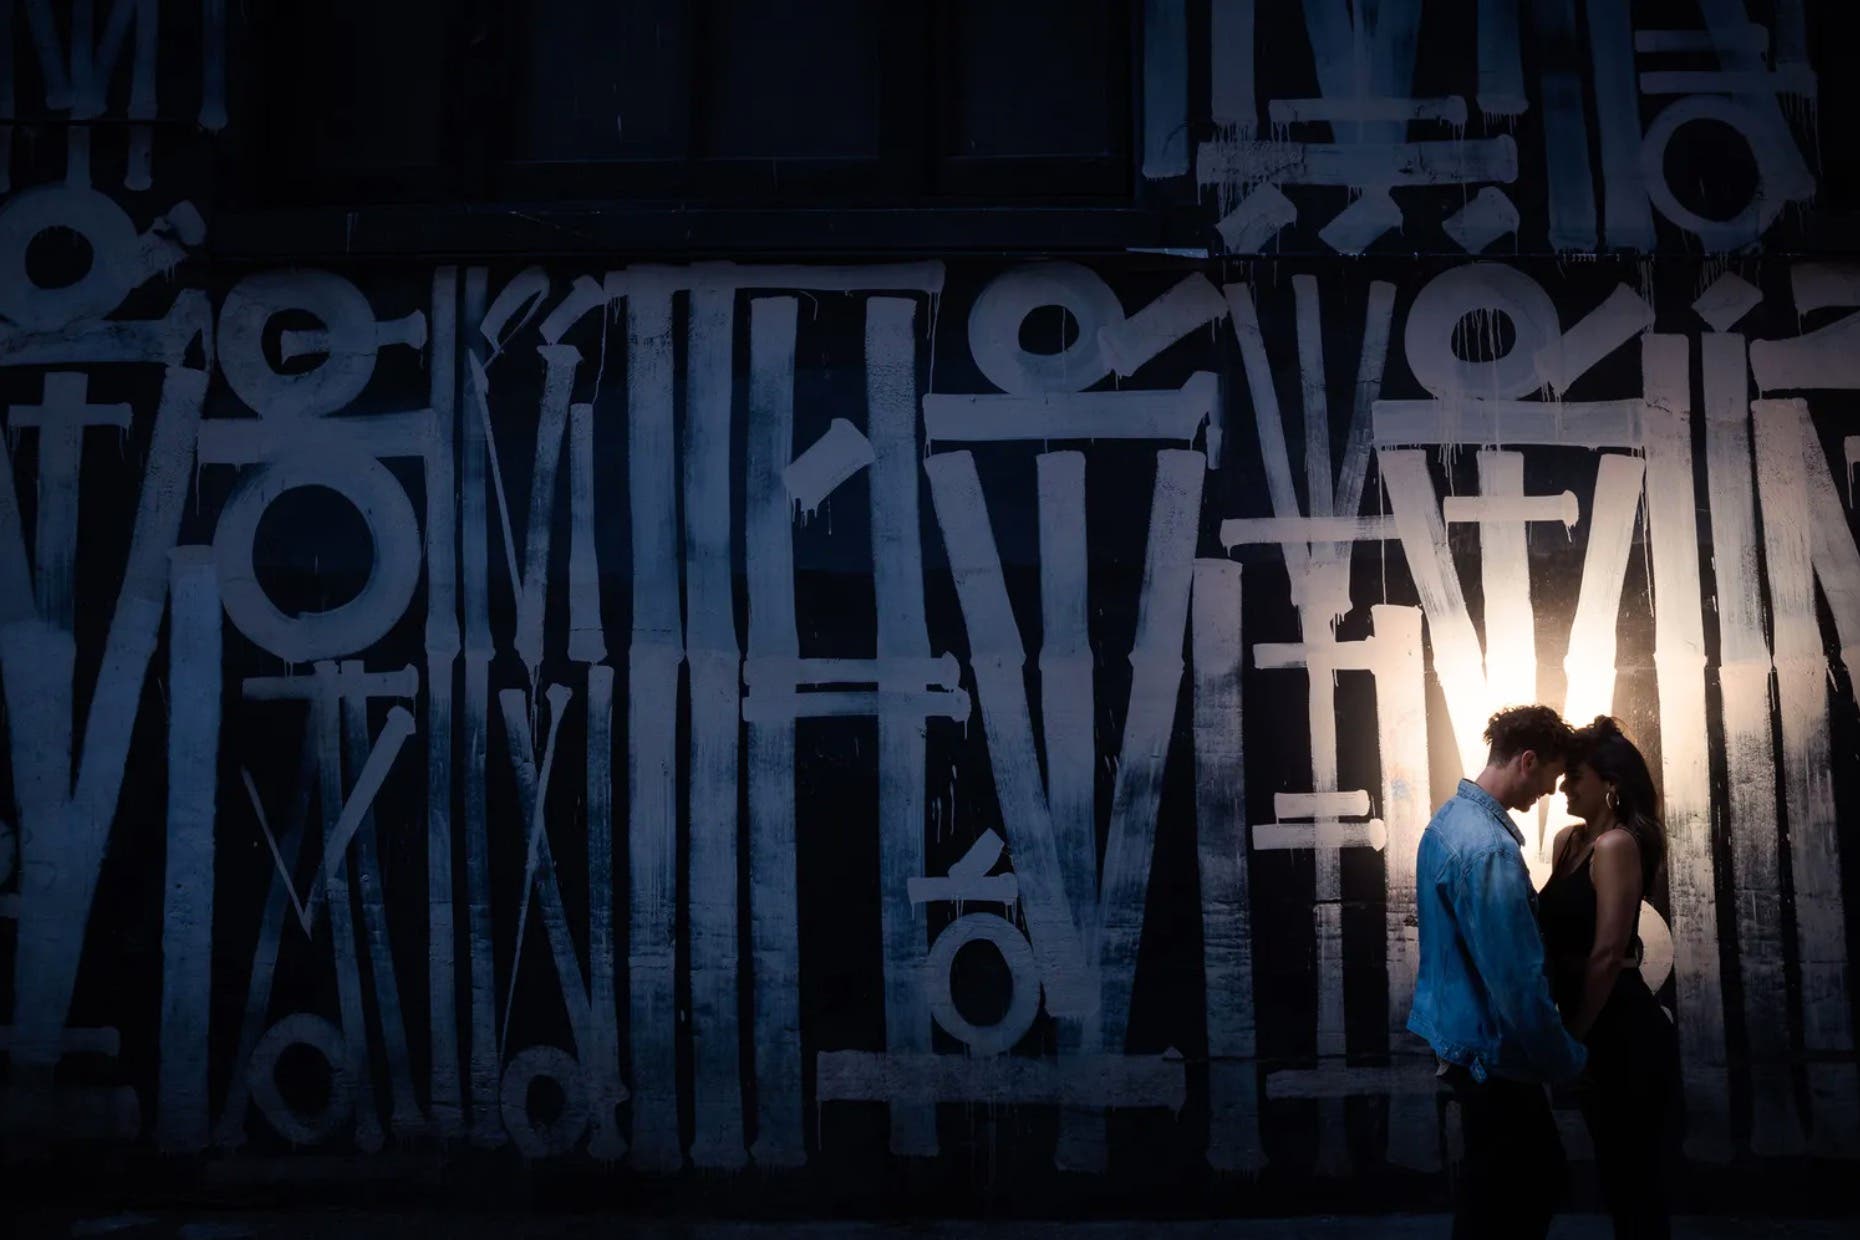
Backlit photos qualify as one of the easiest techniques you can pull from your creative toolbox for pretty much any photo session. In other words, when considering photoshoot ideas at home, don’t pass on creating a backlit image. Here’s why. Over the years, whenever working against a challenging timeline or lackluster location, I discovered that placing a strobe behind my subjects made it easy for me to quickly create visually compelling portraits. Clients tend to love silhouette shots, and they work pretty much anywhere.
Check out 6 Tips and Ideas for Silhouette Photography for more tips on using both flash and natural light to create amazing silhouettes.
Tip 4: Master Foundation Posing
Being able to place your subjects into natural, authentic-looking poses is one of the most important skills you will master as a photographer. Trying to do this through memorization can prove difficult, if not impossible (depending on how you react in stressful situations). Instead, I recommend learning the five basic foundation poses (featured in the video above) and then using them as a starting point to move into more nuanced poses.
You can refer to the following articles for in-depth guidance on posing individuals, couples, and groups. Nearly all of these articles use foundation posing as a base and then add variations that alter based on the number of people in the shot and the style of imagery (whimsical vs. editorial, for example).
- Master These 10 Wedding Poses for Natural Photos
- Learn These 5 Male Model Poses for Better Photos
- 5 Female Model Poses Every Photographer Should Know
- Posing for Headshots: How to Pose Subjects for Flattering Close-Up Portraits
- 10 Group Photo Poses and Ideas For Family and Wedding Photography
- 5 Family Portrait Poses for Better Photos
Tip 5: Experiment with Creative Portrait Ideas
You can use the tips above for both photoshoot ideas at home as well as on paid client sessions. I recommend moving beyond the basics as well and trying to incorporate some fun, creative ideas into your home session. Of course, you can later use these on paid client shoots as well if they’re interested in the look.
Light Painting
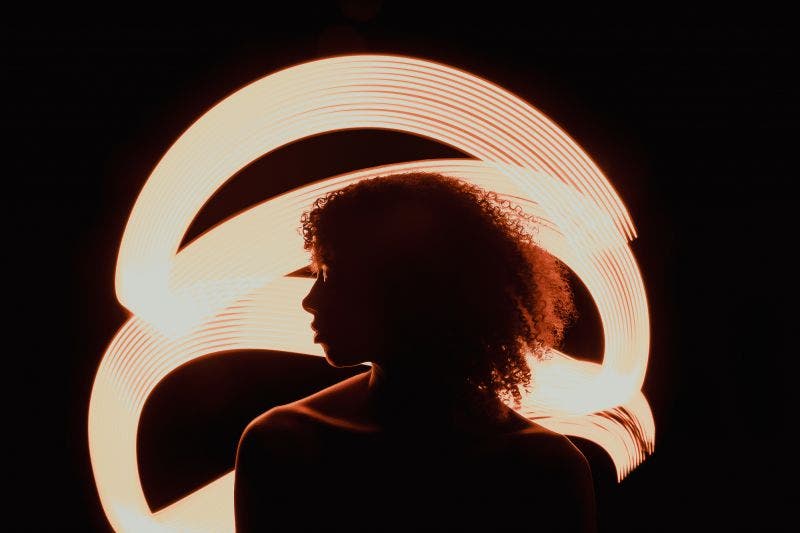
Light painting provides a fun way to use light in your photography. You’ll need a dark space, a tripod, a moveable light source (the light on your smartphone will work), and a camera that will allow you to capture a long exposure (again, your smartphone can do this). In this article on Adorama’s blog, we explore a number of light painting tips that you can use just about anywhere. Be sure to check it out for more insight into using this creative technique.
Concepts/Themes
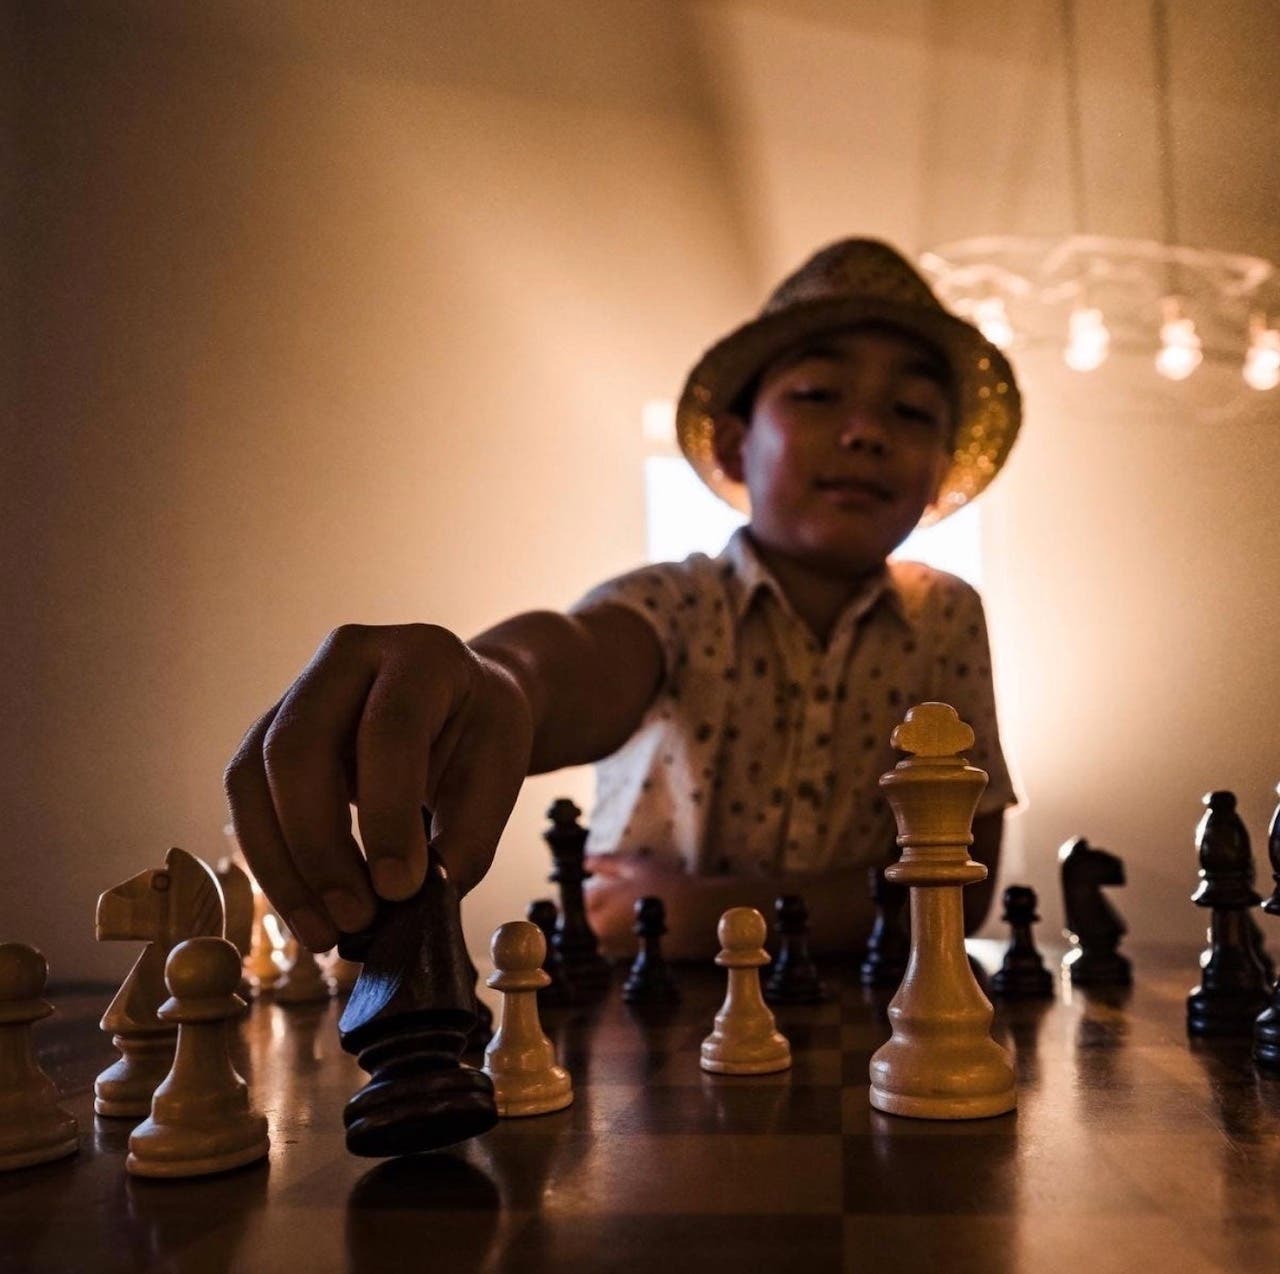
It’s great when we can capture action in our scene, especially with our subjects doing activities that they’d do in real life. In the image above, our subject is playing chess at home, but we took the shot a step further by taking a unique angle, backlighting the shot, and using Atmosphere Aerosol to carry the light in a unique way.

Other activities or themes to explore might include cooking, playing video games, or anything else you’d do on your own or with family at home.
Tip 6: Go Outside
One of the benefits of practicing different photoshoot ideas at home is that it allows you to work on both interior and exterior shots.

If you don’t have a yard, or your yard is less than photogenic, don’t fret. You can go to a nearby park to practice or else use the composition techniques explored above to make any location work for you. Here’s an example pulled directly from a backyard shoot in which the backyard made for a crappy photoshoot backdrop. When you’re faced with a similar situation, try not to force the scene to be something it’s not. Instead, pay attention to your angles, go for tighter crops, and use shallow depth of field to your advantage. You can always put the full length portraits off until you get to a prettier location that lends itself well to such shots.
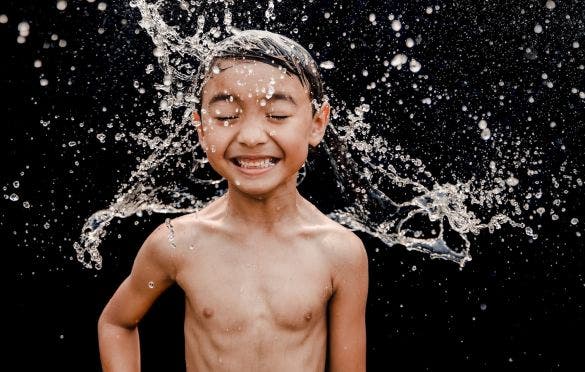
The outdoors also offer a great opportunity to get creative because it’s generally acceptable to get a little messier outside. For example, as one of a number of creative photography ideas you can try while photographing kids (or even adults), check out this technique for creating “water hats,” as illustrated in the image above.
Tip 7: Finish in Post
This pretty much always goes without saying but, just in case, run your photos through editing software before you call them finished. If possible, make sure you set your file format to RAW (rather than compressed JPEG files) in-camera to maximize your editing capabilities. In the video above, I walk through basic steps to follow to create a home portrait studio for under $20. In the latter half of the video, I go in-depth on my editing process for taking a decent portrait and making it look great.
Conclusion
I’ve always believed that creativity is like a muscle that can be developed with exercise, or in this case, practice. I’ve learned over the years that one of the best ways to push myself creatively is to challenge myself regularly. Going for great shots in tough spots is a good way to do it.
