Photography is a wonderful journey and you will make many mistakes along the way. In life though, mistakes make for a good learning experience and to increase your skills to become person, or in this case, photographer.
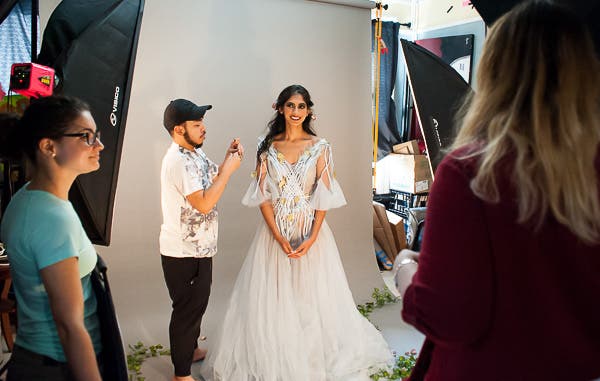
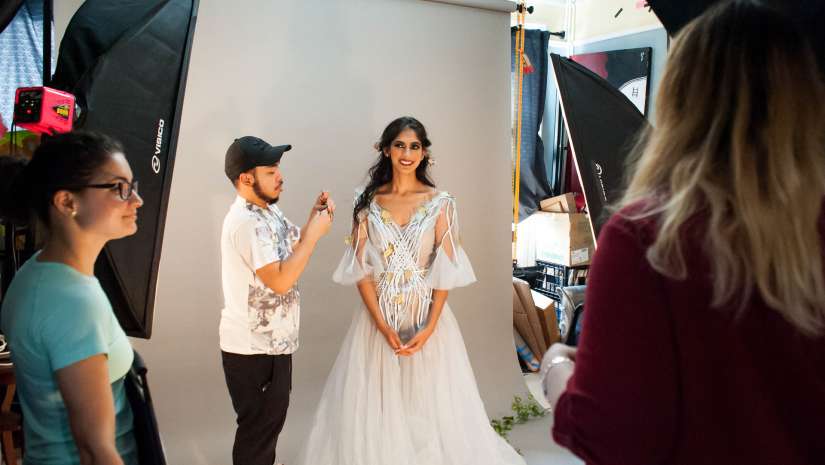
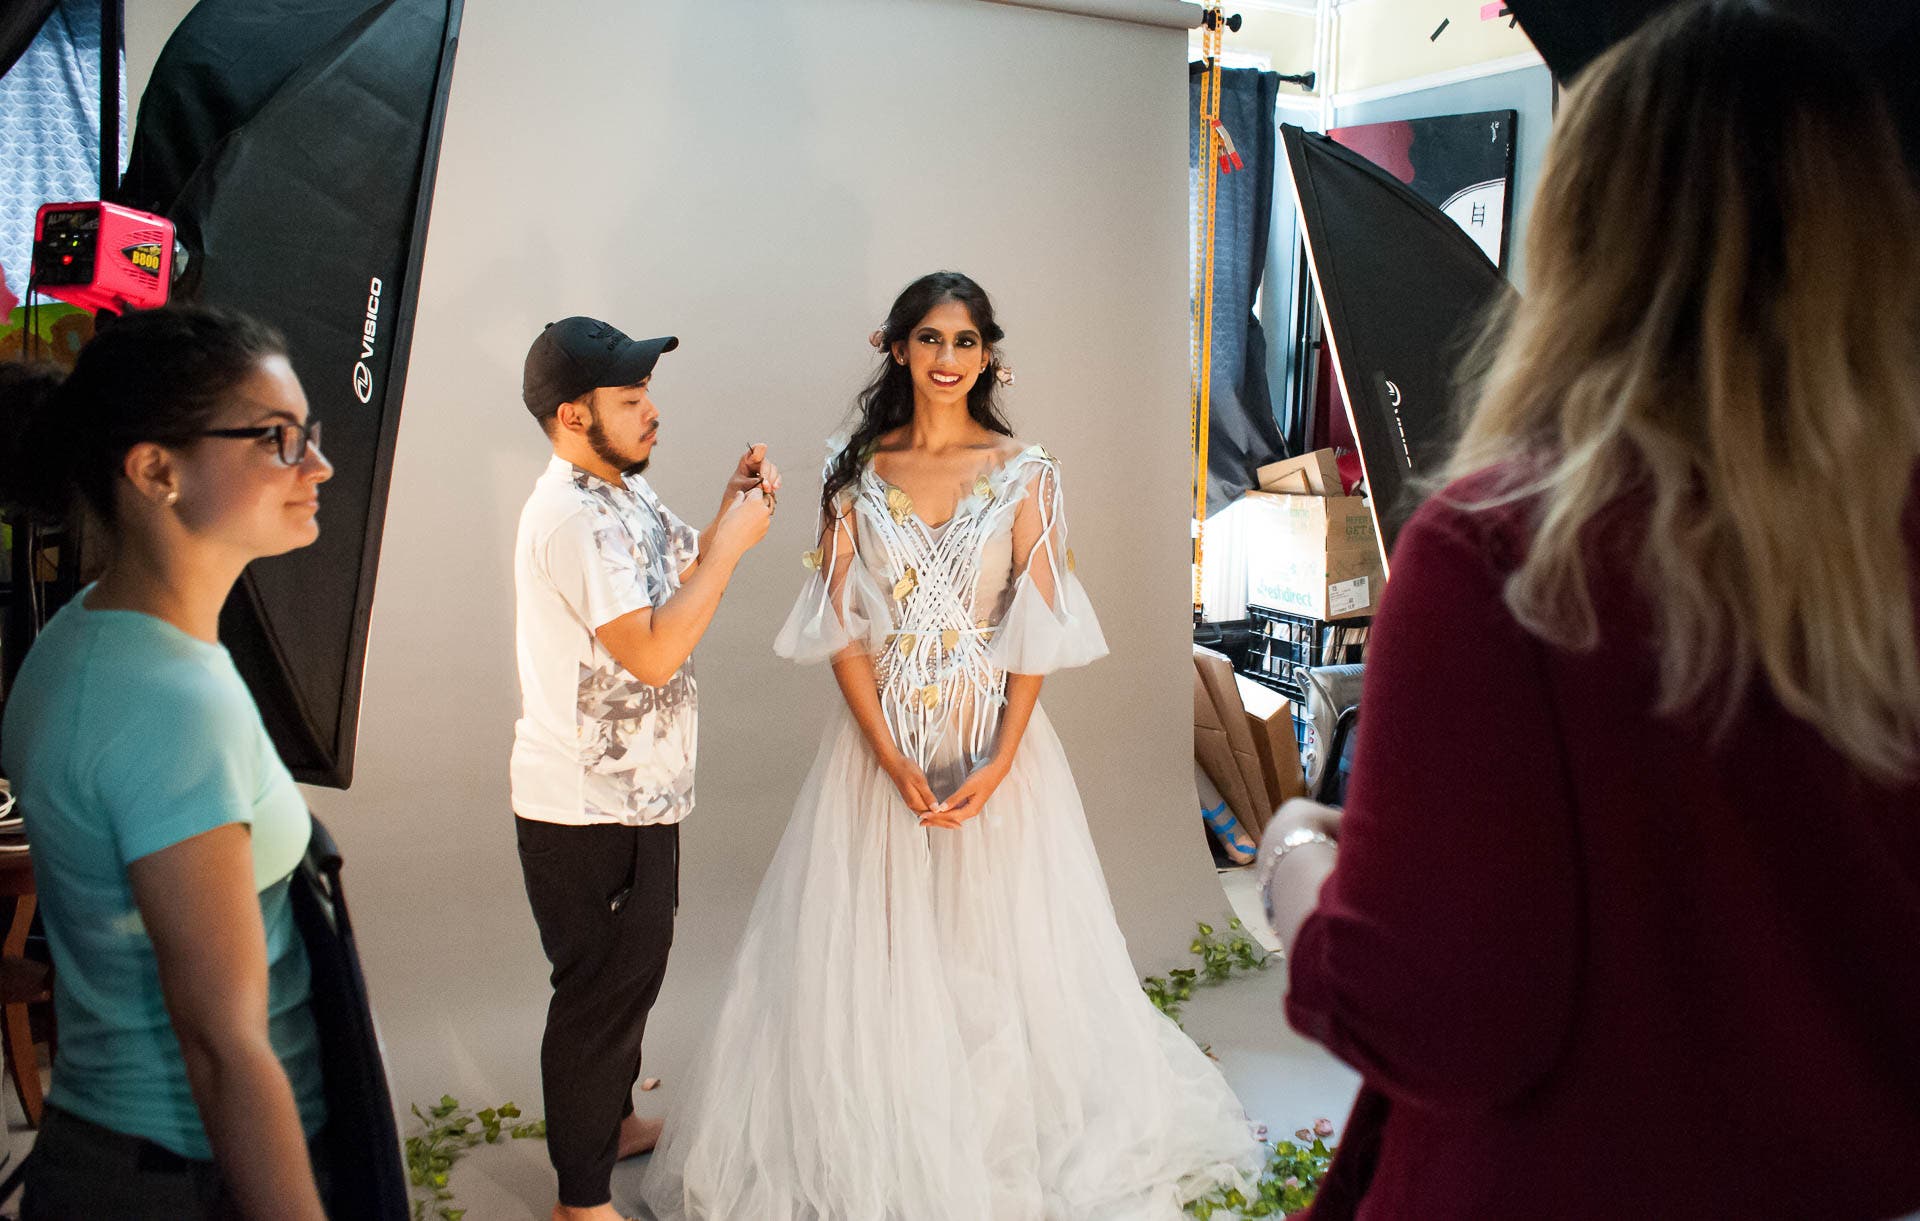
The goal of any shoot is to create a striking image with as little hassle as possible.
Image courtesy of Robert Olsen
Being virtually self-taught as a photographer, I have made plenty of mistakes but every time I pick up a camera, my work gets better and better because I’ve made the mistakes – and learned from them. Below are seven common mistakes that many photographers make and few tips on how to avoid them.
ALWAYS SHOOT RAW
Many new photographers shoot in JPEG-only format and are afraid of switching to at least RAW + JPEG, if not RAW-only format. While JPEG images are web-ready and take up less space on a hard drive, there are many benefits to shooting RAW.
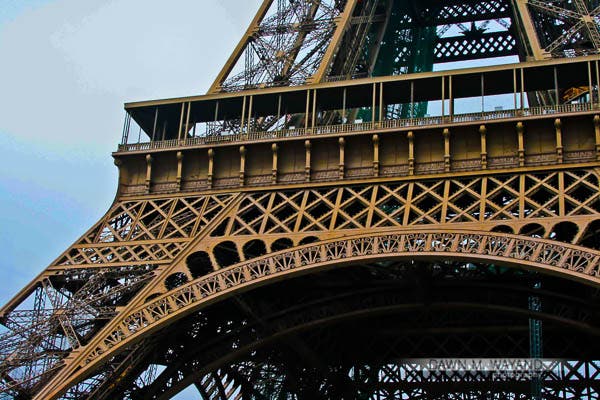
A common issue with editing a JPEG: pixelation becomes more apparent.
The most important of these benefits is that in shooting RAW, you are recording all of the data from the sensor. This comes in handy when you opt to edit your images. Since you have more information to work with in RAW images, you can more easily correct underexposed or overexposed images, white balance, brightness, sharpness and more with minimal side effects, if any.
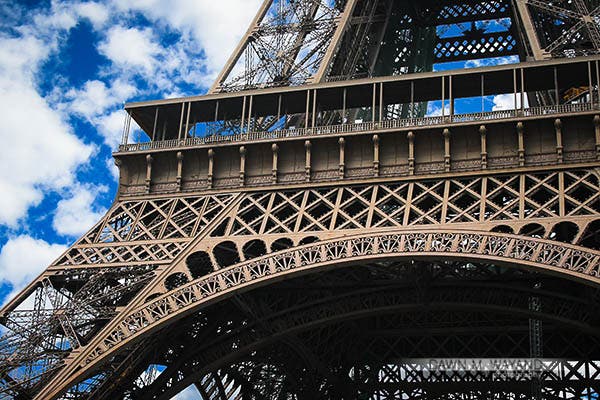
The only way I was able to salvage the sky in the image was to replace it completely.
Shooting in RAW allows for non-destructive editing as when you edit a RAW file, the original data stays intact. You are only creating instructions for how the end file format of your choice is saved.
NO WORKFLOW IN PLACE FROM THE BEGINNING
I have to admit, for the first 10 years that I shot images, I didn’t have a consistent workflow in place. The result: over 27,000 images organized only in folders on my hard drive by date, lacking keywords for search capability and more than half were not even retouched. I had to rely on my memory to figure out where to find specific images!
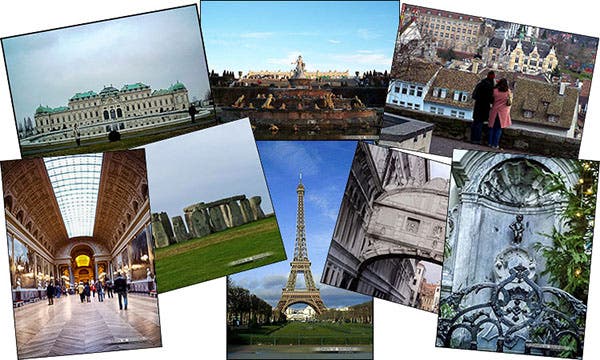
Just a few of the over 29k images I had that were disorganized and not retouched.
Luckily we have programs out there like Adobe Lightroom and Aperture which make workflow much more efficient and less of a hassle.
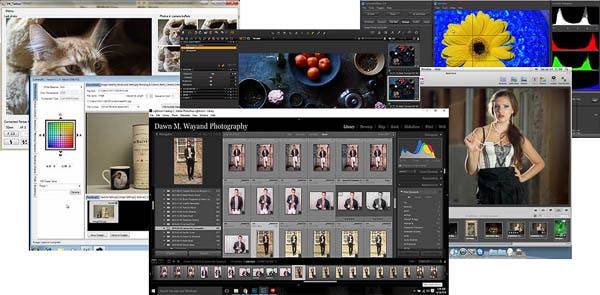
Photo editing software such as Adobe Lightroom provide for excellent workflow.
Adobe Lightroom allows for batch processing while programs such as Adobe Photoshop are more for working with images one at a time.
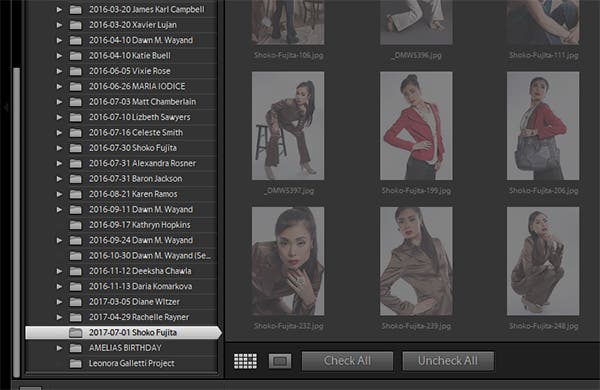
I use Adobe Lightroom to organize my images now.
I currently use Lightroom for almost everything and only use Photoshop for fine-tuning my images, if necessary. Lightroom allows me to import my RAW images into the program, organize them, keyword them for search capability, edit them without altering the original images and then I can choose how to showcase the final images from a variety of output features.
NOT BACKING UP YOUR WORK
Today’s technology offers photographers more space on their computers and laptops to store images, however, many photographers don’t have a backup system in place, replying solely on their computer or laptop to never crash or fail. If this were to happen, the photographer would lose all of his or her work.
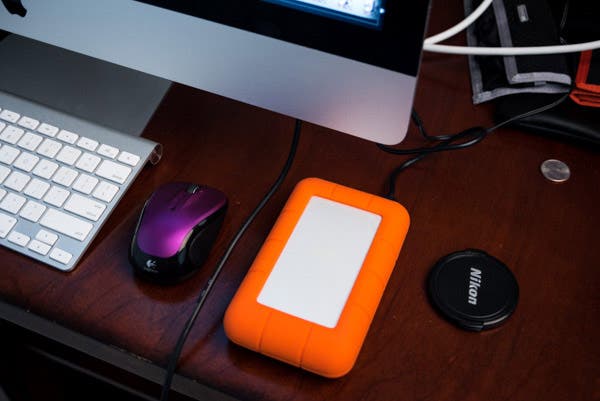
An external hard drive should be one of a few backup systems you keep.
Luckily advancing technology also offers solutions to prevent this from happening. External hard drives have grown in size and are becoming less expensive to purchase as a local backup option. We also now have the option of cloud storage solutions such as Dropbox, Microsoft OneDrive, iDrive, Google Drive (Google Photos), Apple iCloud Drive and Box. I was very pleased to find that Google Drive/Google Photos has options of 100GB to 30TB in storage ranging from $1.99 per month to $299.99 per month. I highly recommend using both methods of backup in your backup system – just in case.
NOT HAVING A “PLAN B”
I recently asked my mentor about making mistakes during his career as a freelance photographer in which he learned from the hard way and the first thing that came to mind for him was not having a “Plan B”.
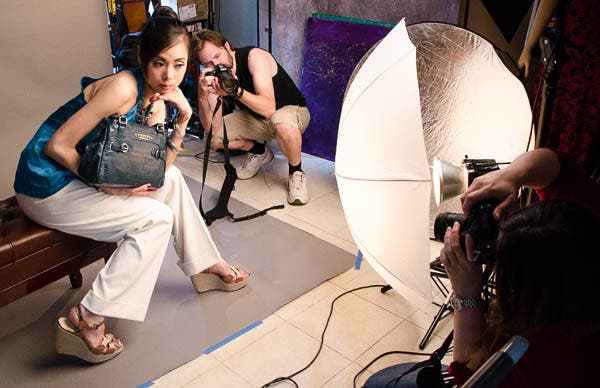
While we hope for a seamless photo shoot, anything can go wrong so always be prepared!
Image courtesy of Chelsea Jackson
He advises, “Always have a ‘Plan B’ as things don’t always go as you expect them to and you must be ready to alter course at a moment’s notice. In addition to having a “Plan B”, make sure you have a backup for all of your most critical pieces of equipment. If you need a flash for a shoot, what will happen if it breaks and you don’t have a backup? It’s the old Boy Scout motto: Be Prepared!”
SHOOTING AT EYE LEVEL
Many photographers as guilty of taking photos standing straight up and shooting from their eye level only. This has several drawbacks such as lack of personal perspective and incorporating things into your frame which do not flatter or lend to the subject such as a dirty floor, cords, gum on the sidewalk – you get the picture.

Standing up and shooting down on your subject creates less interaction and personal perspective.
I’ve learned over the years that when you photographing animals or small children, a much more appealing perspective is to get down to eye level with your subject.
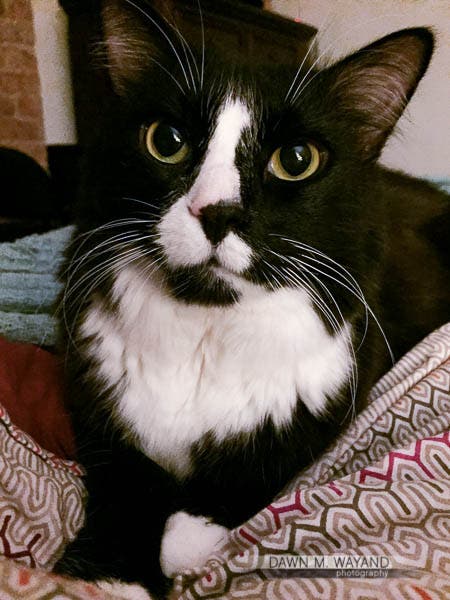
Getting down to eye level with your subject makes for a much better image.
When you change your perspective when photographing any subject, it allows you to be more creative with capturing your subject. In the image below, I chose to get on level with the tulip heads rather than shooting them from above.

In this image, I squatted down to eye level with the flowers rather than standing over them.
In the image below, I chose a completely unique perspective for shooting my Ovation guitar. Instead of including the entire subject at a straight-on perspective, I shot it from below with a wide aperture for a more shallow depth of field. My byline with this image was “the only place to go from here is up”.
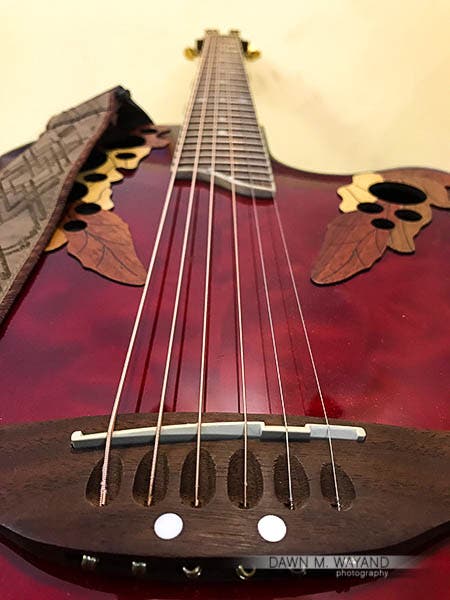
Working your angles makes for more creative images.
SHOOTING MULTIPLE IMAGES WITHOUT VARIATION
Many photographers fear missing the decisive moment in a shoot, holding their finger down on the shutter button in continuous mode or just hitting the shutter button over and over again without really taking a moment to actually think about what they are shooting.
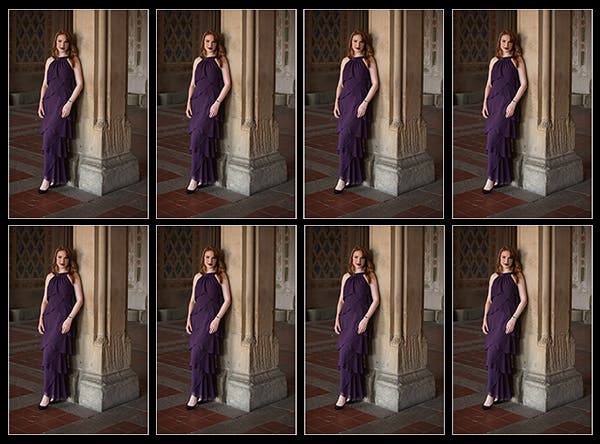
Having a shutter-happy finger may yield you more images, but if they all look very similar, it creates more work for you to choose the winning image.
Model: Colleen Rose Careri
It doesn’t matter the subject. I might have been guilty of this for one shoot once upon a time, but very quickly learned that being trigger-happy with the shutter button on a photoshoot or photowalk can lead to numerous images, each looking nearly identical. This can can cost you hours of looking at each similar image to choose the winning image to retouch. When I shoot portraits, I tend to shoot slow and more deliberately, which eliminates this problem.
OVER-EDITING YOUR IMAGES
The way you edit your images can turn an image with great potential into something that looks completely beyond amatuer. When a photographer over edits an image by oversharpening (which can cause a halo effect), oversaturating, increasing or decreasing contrast too much or trying to fix a blurry image by taking away clarity and making it too soft, it creates a more unrealistic looking image.
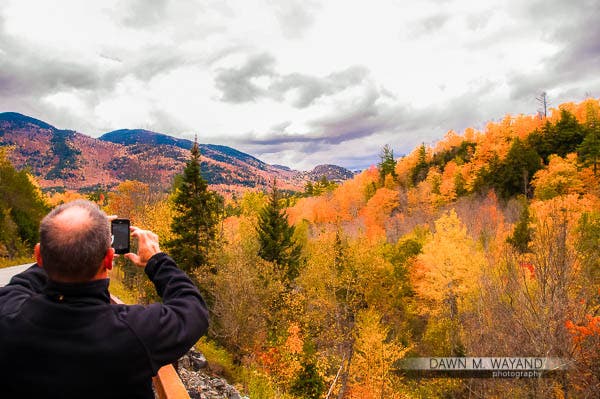
Over-editing your images can cause unrealistic looking results.
To combat this, focus more on your shooting technique, be more selective during the culling process as to which images to edit and apply retouching only in a way that enhances and compliments your subject.
I hope this article helps you to avoid some of the mistakes I, along with many other more seasoned photographers, have made and learned from over the years. You will save yourself from wasting hours of your precious time, not to mention, your sanity.
