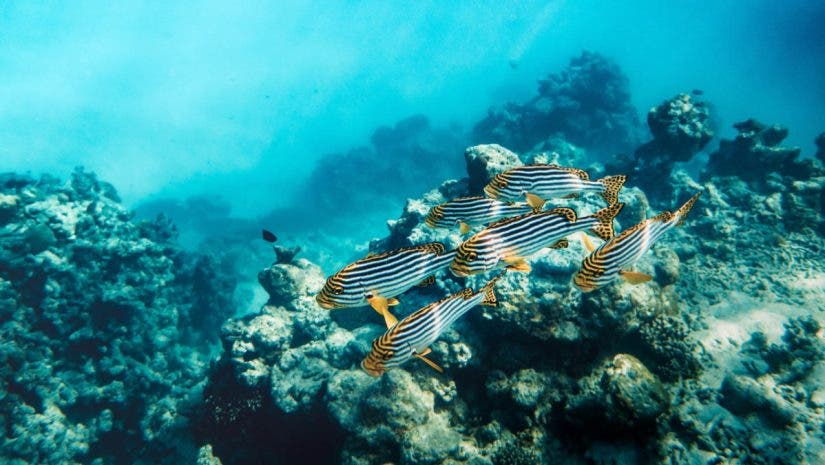
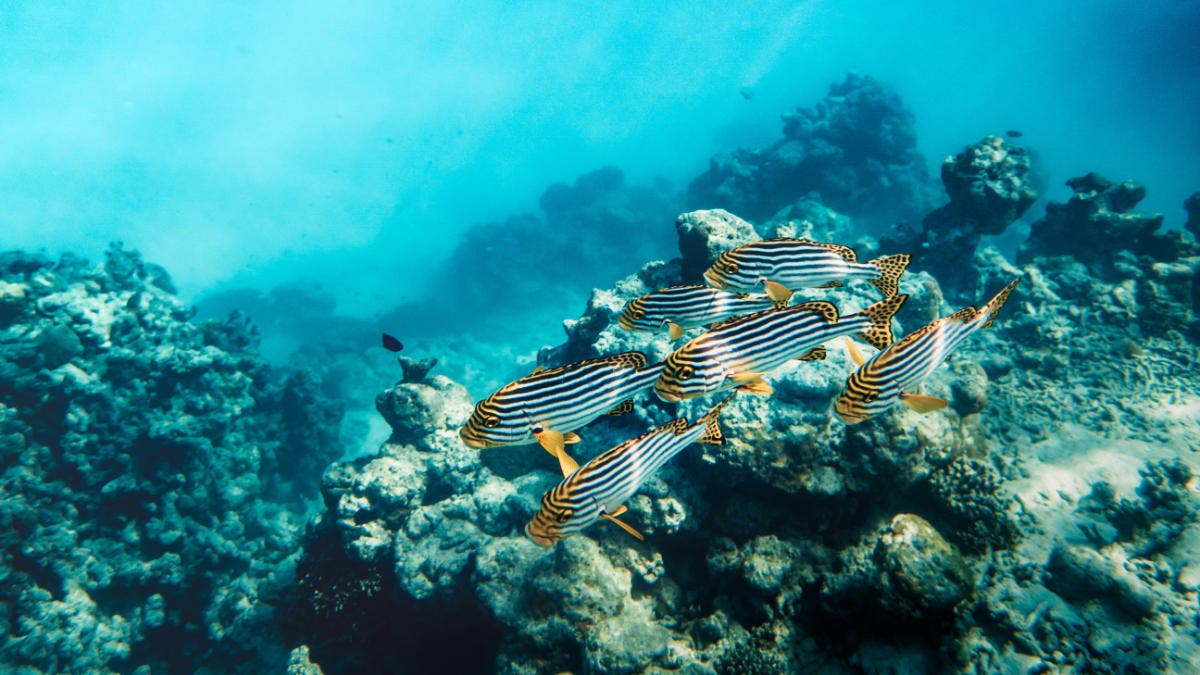
The underwater world is fascinating and a great subject for photography. However, it can be tricky to get amazing underwater photos. Most come home with blurred and washed-out photos that lack color accuracy (look bluish) and don’t have the best framing. Even though they capture an interesting subject, the low-quality images are impossible to use. So how can you get great underwater photos when snorkeling and create an impressive portfolio not just a beautiful memory?
1. Choose the Right Camera to Capture Snorkeling Photos
If you already have a waterproof camera, start with that. You might want to think about versatility as a beginner and only an occasional snorkeler. Can you use the camera for something else? Here, an action camera with waterproof housing could be a good option. It can record both video and photos underwater and also help you record other precious moments while traveling, hiking, or biking.
Look for waterproof housing for your mirrorless camera if you plan to dive deep into underwater and snorkel photography. It is more expensive, but the image quality will improve. DSLR or mirrorless cameras, in general, have larger sensors than smartphones and action cameras. This will really make a difference if you dive a few meters (or more) below the surface. Down there, you will see the benefit of having a bigger sensor as the light will be dimmer.
Most action cameras can take good snorkeling photos, but be aware of any shutter delay between pressing the shutter and when the image is actually captured. It can be hard to capture the right moment, while you try to hold your breath and keep your body and camera fairly steady.
If possible, silence the camera before going underwater, and don’t disturb the ecosystem or startle the marine life in any way. Disable camera sounds, such as the shutter speed sound.
2. Secure the Camera
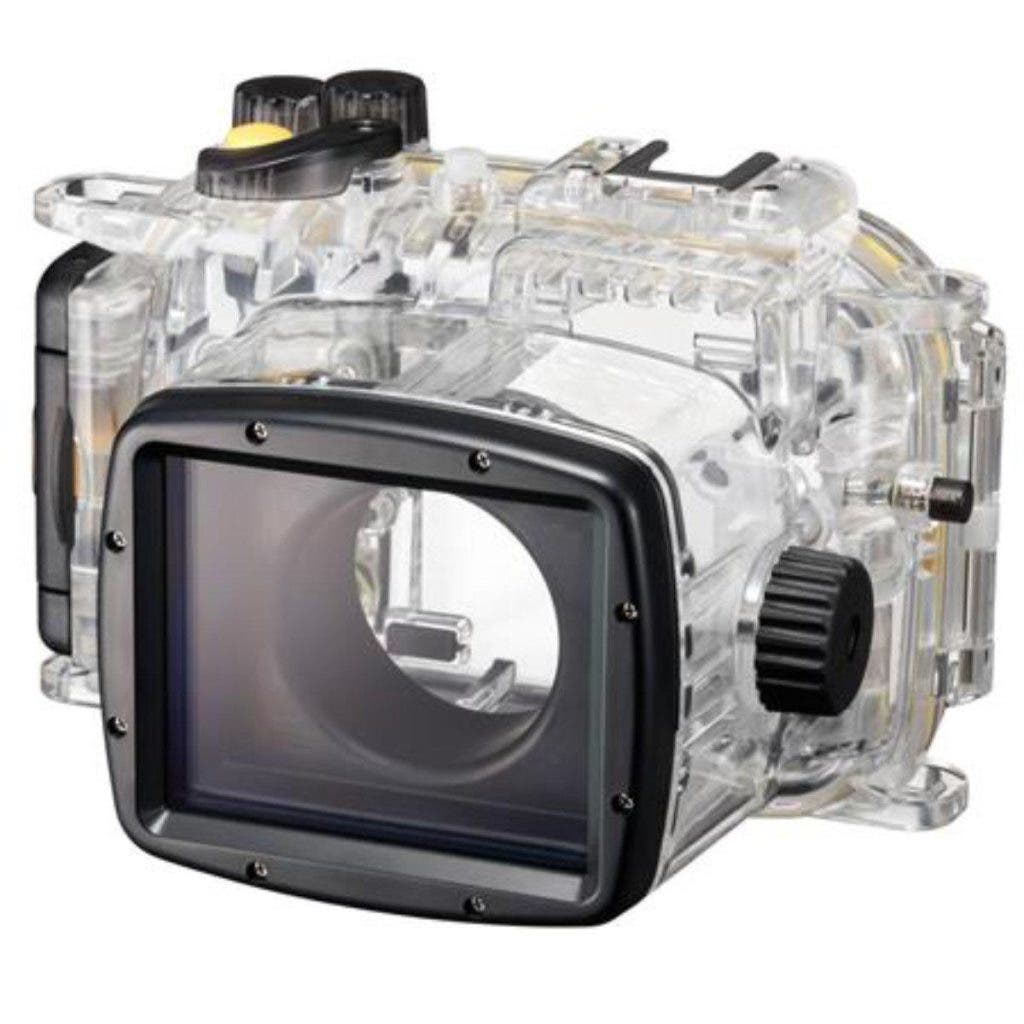
No matter which type of camera you use, make sure it is well-protected. You need to make sure you use a waterproof photo setup, which means using a case when using system cameras, DSLRs, or mirrorless cameras.
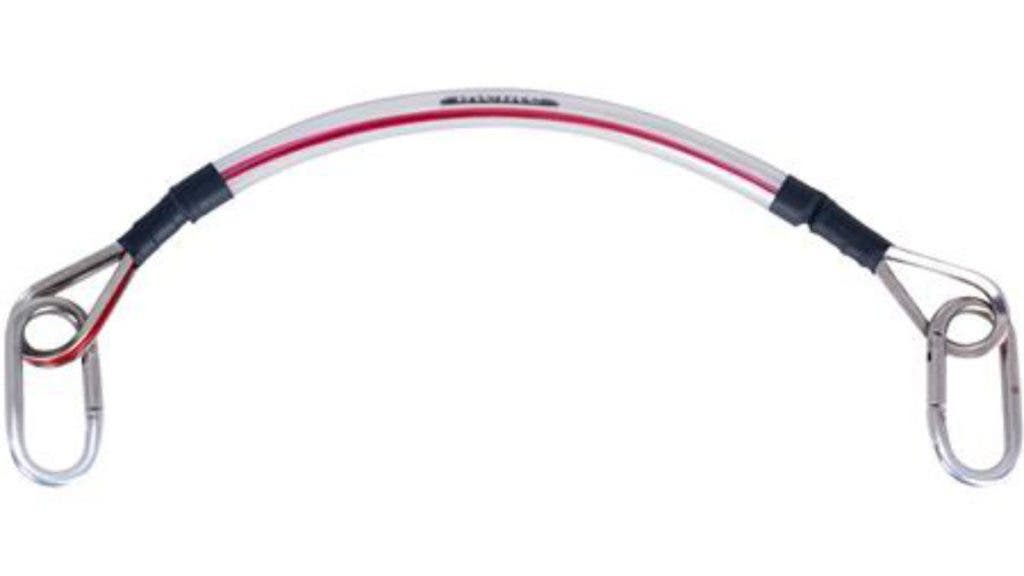
At the same time, you need to make sure you won’t lose the camera underwater. For this, you need a lanyard. It is a rope piece with a clip at each end that attaches the camera to your snorkeling equipment. When the camera is safely secured, you can let go of it and use your hands to swim. Pay attention to the weight and clip system if you make it yourself or buy a dedicated one, such as the Ikelite Red Cable Grip.
3. Choose the Best Time of the Day for Snorkeling Photography
Photographers often avoid midday on sunny days when taking photos in natural light. At midday, sunshine comes directly from above, washing out colors and making things look flat. The light is too bright and white, which is not flattering for the subject. But that’s not the case underwater. Water filters light, reducing its intensity. The deeper you go, the darker it gets.
Even though snorkeling keeps you floating near the water’s surface, the subject underneath may be too dark to photograph without blurring the image or producing an underexposed photograph. You also often want to dive a few meters down to get a better perspective and closer to the subject. Therefore, midday on a sunny day is the best time for snorkeling photography in terms of lighting. This will often yield the best snorkeling photos. At this time of day, the light travels the shortest distance through water, compared to when the sun is lower in the sky.
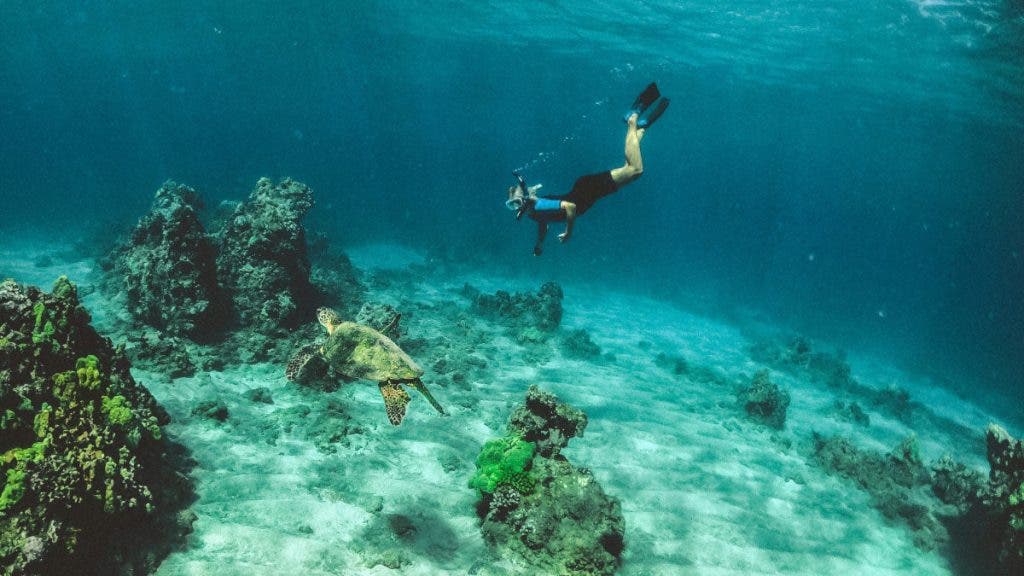
In addition, if you snorkel in the ocean, you need to take into consideration the tide. When the water is pulled back from the shore (falling tide), it is full of sand and particles that may ruin your photos. On the other hand, when the water is pushed towards the shore (incoming tide), it is fresh and clean. For improved clarity, you want a snorkeling session during an incoming tide.
4. Focus on Composition in Your Snorkeling Photos
It’s very easy to get carried away by your snorkeling adventure and forget about composition. Your body position doesn’t help either because, most of the time, you are above your subject. Photographed from above, the scenery looks flat, and marine species look like hostages in an aquarium. There is no connection built between the viewer and the subject. That’s why you need to pay more attention than usual to composition and plan your moves accordingly.
For example, you may swim ahead of your subject and photograph it looking at the camera. Placing the camera at the subject’s eye level is always a good idea, regardless of whether you photograph people, insects, or underwater creatures. It shows their personality and perspective on life and creates a powerful story. Also, remember to leave more space in front of the subject than behind it, use the rule of thirds, and make the most out of negative space.
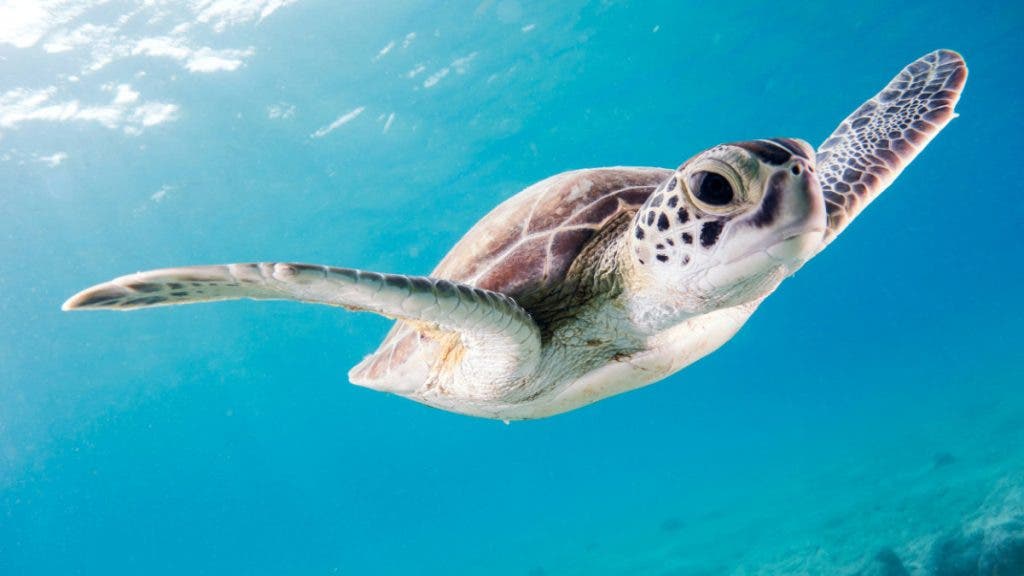
You may also try getting the camera under the subject and photograph towards the water surface. This setup provides more light for the background but less for the subject, which will be backlit. It’s a good way to create silhouettes or underwater landscapes. Diving deeper also improves your chances of a better composition. Learn to duck-dive, which can take you up to 10 feet deeper and provide more interesting and diverse scenery. Just remember safety before getting a great shot.
5. Adjust the White Balance or Use a Color Filter for Better Snorkeling Photos
If your camera has an underwater white balance preset, use it. However, keep in mind that it may work properly only in good lighting conditions. It’s always a good idea to test your gear before trying snorkeling photography. See what your camera can do using its presets and learn how to set the white balance for more demanding underwater conditions manually.
Setting the white balance means finding a white spot to use as a reference. Once given the white reference, the camera will adjust colors to match it and produce images with the correct color temperature. When underwater, you may use sand, coral, or a clothing item as a white spot reference. If the area is too narrow, zoom in to give the camera a reference it can work with.
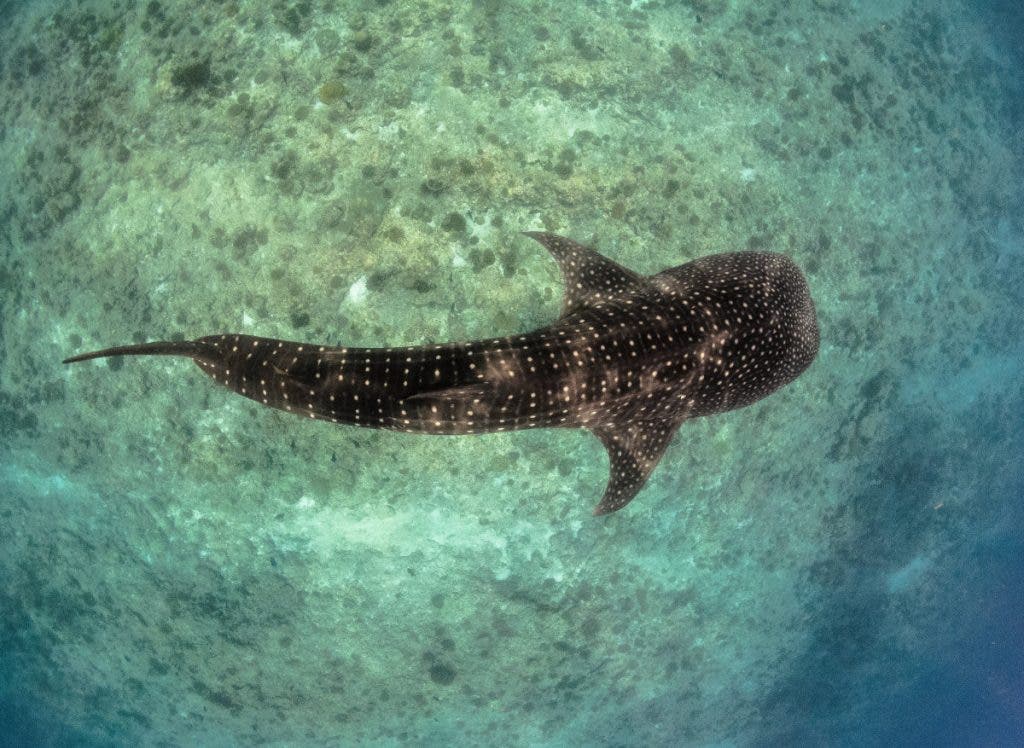
However, you may have to reset the white balance settings when the lighting conditions change (e.g., a cloud goes in front of the sun, you dive deeper, the subject is in the shadow, etc.) or when the camera-subject distance changes. Practice setting the white balance until it becomes second nature because it’s not easy to fiddle with the camera when snorkeling.
Blue and Green Tints
The most common mistake in snorkeling photography is producing bluish or greenish photos that look nothing like reality. The blue tint is specific to seawater, while the green tint is specific to fresh water.
The water filters warm colors, such as reds and yellows. Moreover, the farther away from your subject you are (in any direction), the more you lose color accuracy. If your underwater photos look bluish or greenish, you need to change the white balance.
Some high-end underwater cases support adding special color filters to deal with color cast.
A color filter compensates for the natural lack of warm colors in the water. It changes the photo’s color temperature, making it look more natural. You can try a red, pink, orange, or yellow filter based on where you go snorkeling. For example, you may need an orange filter for tropical blue waters and a pink one for green waters.
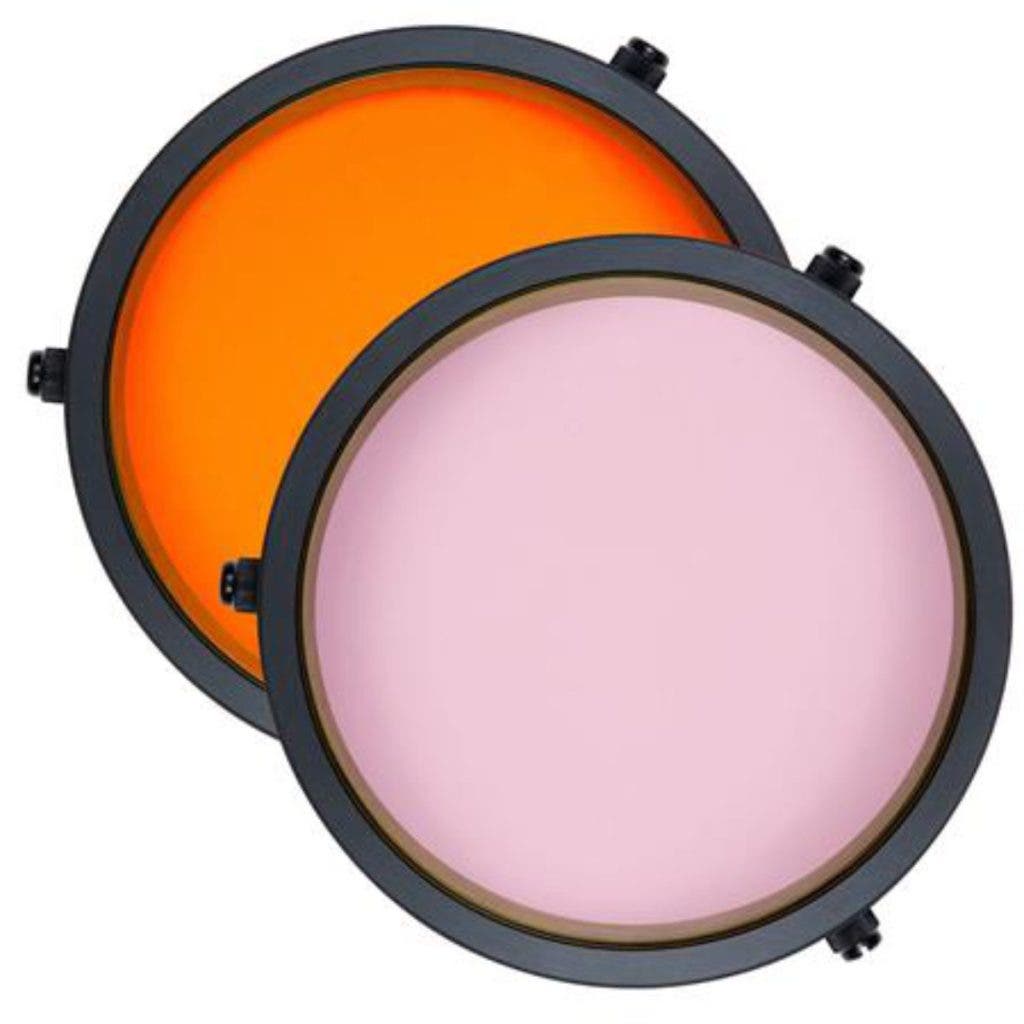
Because conditions don’t change much when snorkeling, you may want to use a threaded filter. This type of color filter screws onto the lens inside the waterproof case. You won’t be able to change it during your snorkeling session, but it will stay in place. Alternatively, you may try push-on color filters that go over the lens on the outside of the case. As they are exposed to the elements, they are more likely to be damaged. However, some of them can be changed underwater.
If your camera supports shooting in RAW, white balance can be done in post-processing instead.
6. Don’t Zoom In
Composition and color accuracy aren’t the only challenges in snorkeling photography. You also must find a way to produce sharp, clear images with the subject in focus. And that’s not easy when everything moves. Try to stabilize the camera as much as possible and use a wide focal length. Even though zooming in brings the subject closer, it also increases the camera’s sensitivity to movement and chances of blurring the image. If you zoom in, there will be more water between you and the subject, which means more sediments and more loss of light, as mentioned before.
Use fast shutter speeds and aim to create a deep depth of field. You may need to increase the ISO value to produce the correct exposure without compromising shutter speed and aperture.
7. Shoot in Burst Mode
Finally, shoot in burst mode. In burst mode, the camera rapidly takes many photos of the same scene. This may be the best option to freeze motion and capture sharp details. Nothing stands still for very long underwater. Be prepared for a long session of editing and culling to weed out the average from the great underwater photos.
Conclusion
Snorkeling photography, like all subgenres of nature photography, is addictive. Once you get a hold of it, you will pursue this passion everywhere you go. However, it comes with many challenges because water is not an easy medium. You are both swimming and taking photos at the same time. As a beginner, it’s better to start with a simple point-and-shoot camera and focus on composition. The next step is to use a camera with manual white balance settings and try a color filter. Finally, a professional camera, lighting equipment, and free diving lessons will establish you as an underwater photographer. Regardless of your photography level, be grateful for the wonders of nature.
