If you’re always scrolling through social media or #ChefTok for cooking inspiration, you’re heavily exposed to stunning food photography and videography. Seeing a good food pic or watching a beautifully edited can get your stomach growling – and for good reason! These pictures don’t just happen by a simple point-and-shoot. In fact, a lot goes into it.
How to Improve Your Food Photography
In the journey of improving your food photography, you will constantly need to think about composition, lighting, styling, etc. It doesn’t really matter whether you use a camera or just the camera at the back of your iPhone, you’ll know you captured a good food photo if it makes you drool just by looking at it.
Here, I am sharing some of my top food photography tips to help you achieve the optimal photo. Happy shooting!
1. Be mindful of your composition
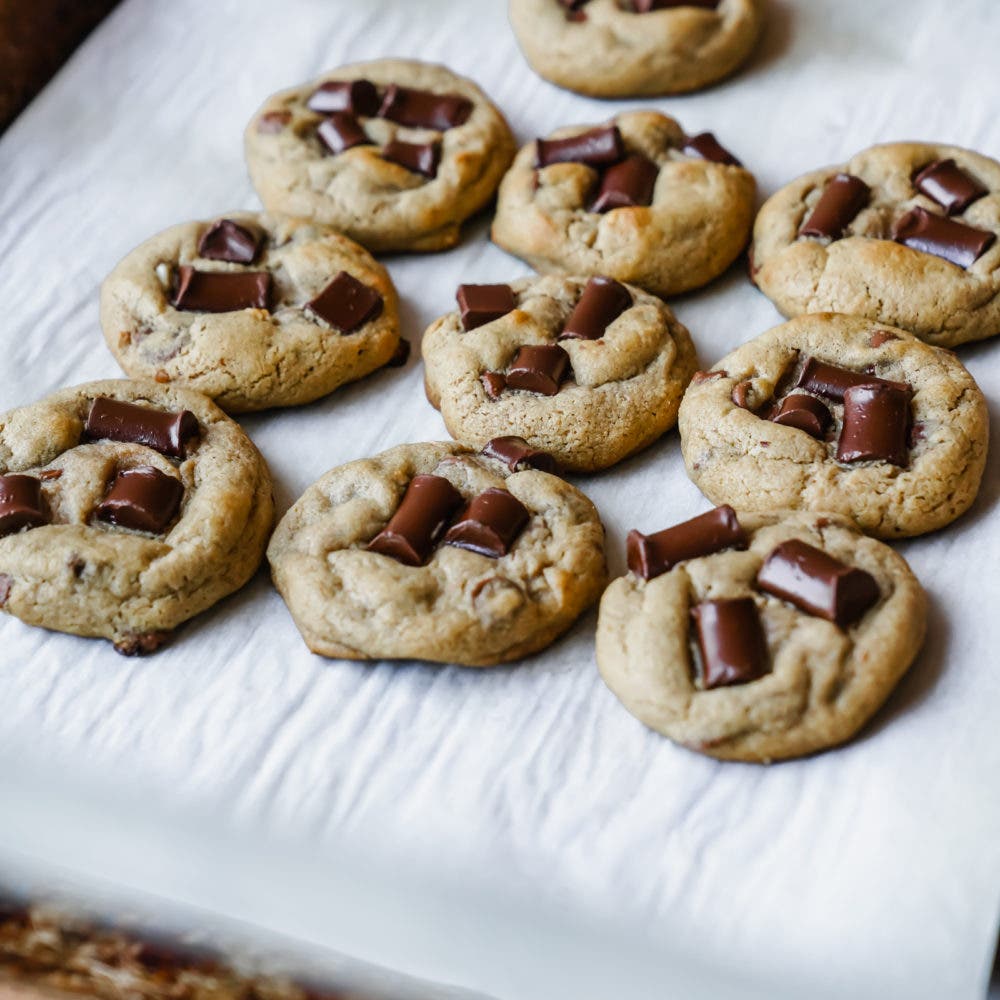
Tell a story by using your backdrop or setting and props. Make sure that everything looks beautiful and well-rounded. Composition means the arrangement of stuff in your photo. A good composition sets the scene for your audience, whether it’s a plate or a single piece of parsley on your dish.
One useful tool to keep in mind is the rule of thirds. The rule of thirds is a nine-part grid that you need to imagine over your photo or subject. Your main subject should be either along the lines or at the intersections of your grid. Our eyes are naturally drawn to these points, so it’s good to keep in mind when taking your photos. You use this method to really highlight your dish and tell a story to your readers who are going to potentially be making the dish.
2. Don’t take the photo too closely
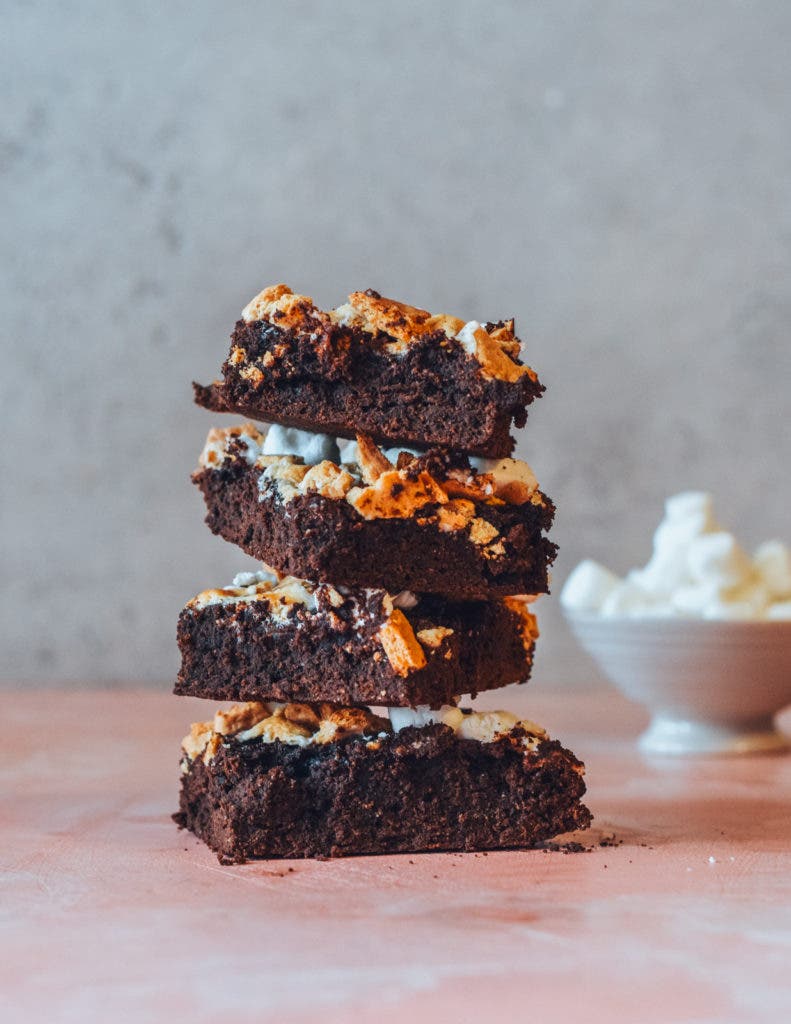
Try to take a shot far enough away from the ideal sizing you’ll want. This way you’ll have wiggle room when you are editing and you can play with different compositions in the editing process. Sometimes playing with the cropping when editing can take a photo that you didn’t love from the start to one that’s fantastic.
So you’re probably thinking: “Maria, but what is a good distance I should be at then?” And I would say a good enough distance is being far enough away that you know you won’t end up cropping half the bowl out or even someone’s head. Think of the subject and how you want it to look on your feed. The further, the better, but it doesn’t have to be microscopic.
Also, please don’t go to a restaurant and stand on the damn chair. You’re a human, just make sure you bring your camera with a great lens and you should still be able to achieve a great image.
NOTE: Unless you’re a food critic… why are you taking photos of just the food at restaurants? Enjoy your meal and get your friend to snap a pic of you eating away at it! Your followers want to see you, your face — they want to get to know you so don’t be afraid of switching things up here and there!
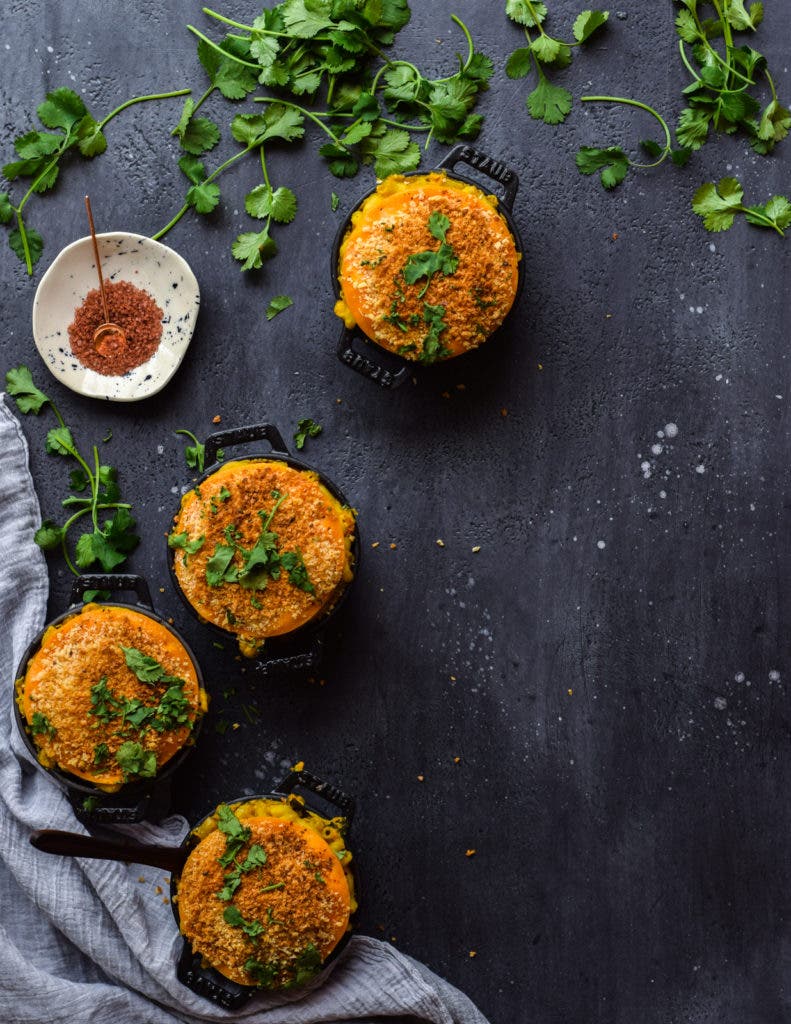
3. Don’t shoot when it’s almost dark out or too early in the morning
Shooting at the right time of day is critical for fantastic photos. A shady spot on a sunny day can be the perfect place to shoot in natural lighting conditions. Natural light will always make your photos look better, so when you can use it, definitely do! Direct sunlight will make your food look harsh, create shadows, and distort your colors.
Also, you want to ensure it’s not too dark out either because you’ll never want to turn on your flash when taking photos of food. Just don’t do it. It’ll make harsh reflections and glare. I typically shoot on days when there is overcast and when the sun isn’t too bright. In the summer, I shoot at around 4 to 5 PM when the sun is less aggressive and more dull.
So what if you’re in a dimly lit restaurant? (Most of them are for some reason!) A good thing to keep in mind is to never shoot when it’s dark out unless you have the proper setup and gear. I wouldn’t recommend it. If you still want to capture the moment, then put it in your Instagram stories instead! You don’t always have to post everything you eat or do. Make sure your feed is as beautiful as it could possibly be!
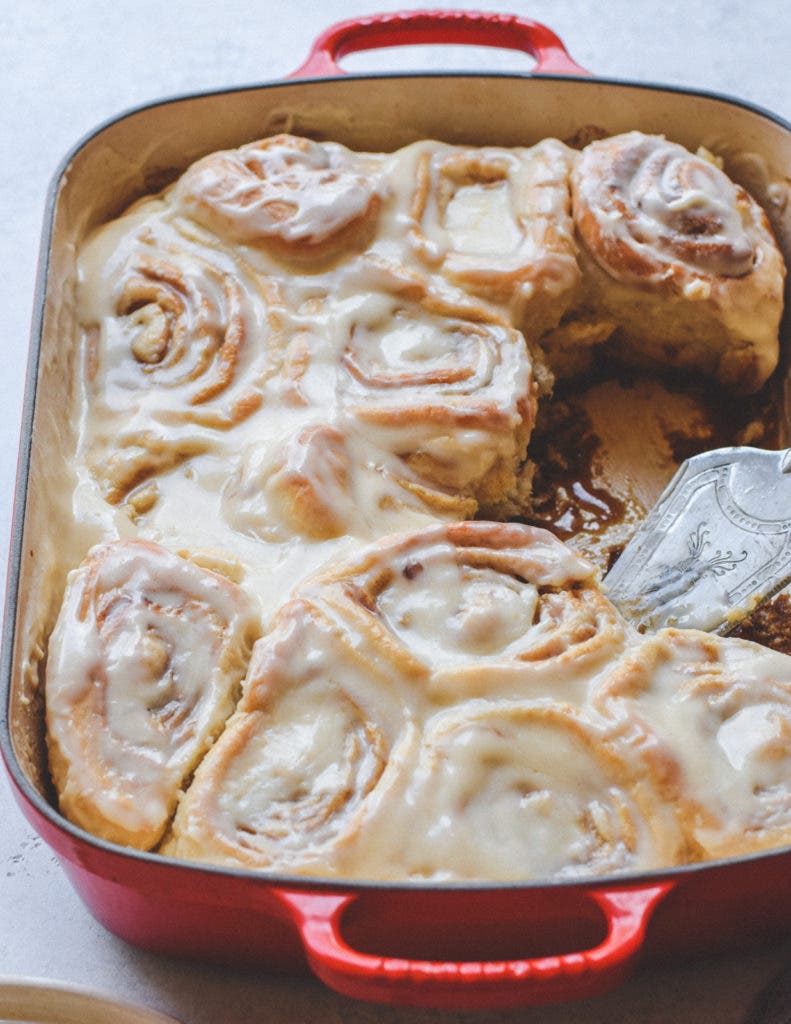
4. Angles are everything
Choose the right angle and it’ll make all the difference. Some dishes are better with the side view and others are better from a birds eye view. When you establish which is best for which recipe, you’ll really see an increase in readers’ sense of urgency to give your recipe a try because you’ll have made the food look incredible!
If you aren’t sure what angle will look best, try multiple angles until you start to get the hang of it. To give you an idea, here are some foods that look better at particular angles…
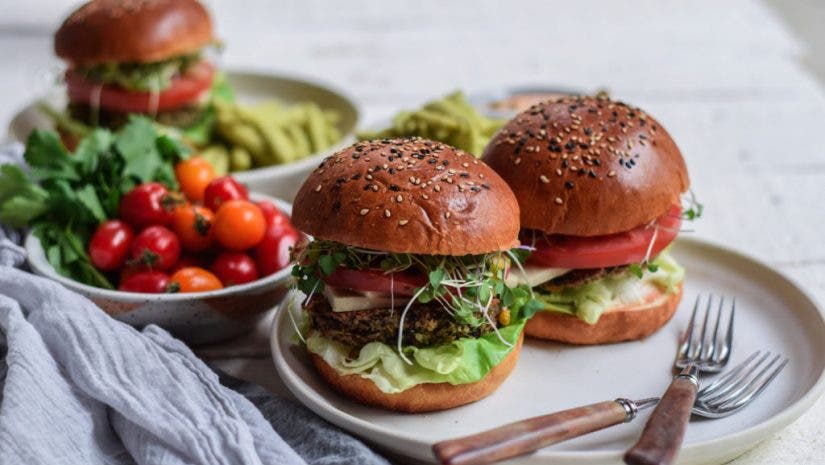
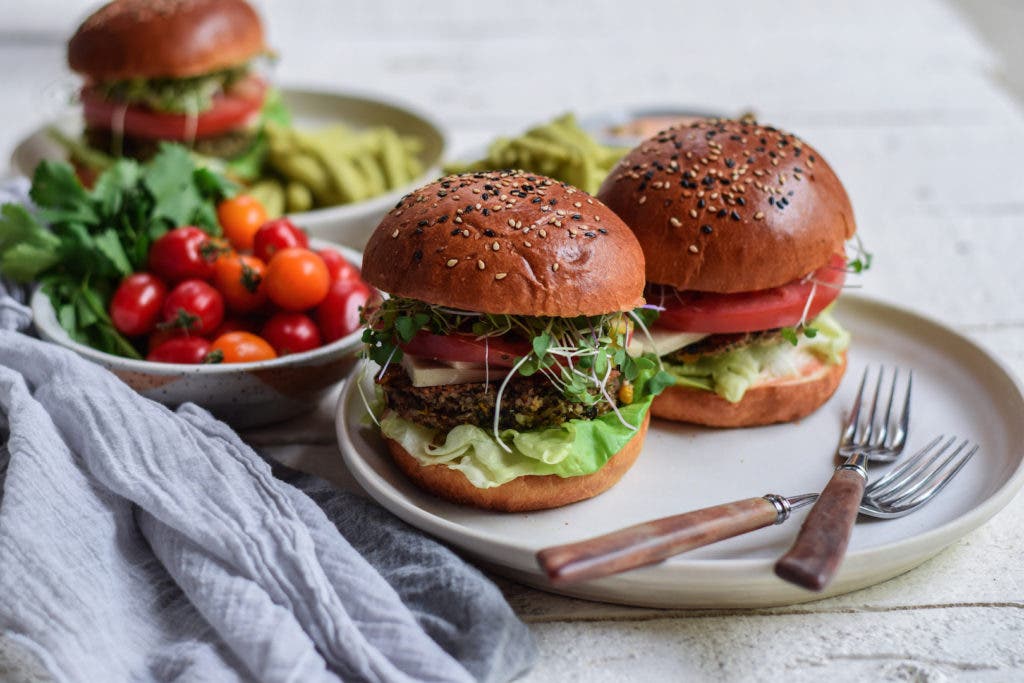
- Side view: Burgers, waffles, pancakes, pot pies, brownies, breads, etc. Why? Because the details are head on and we want to show that off.
- Birds-eye view: Soups, stews, toasts, cakes, platters, etc. Why? The story is on the plate and you want to show off all the colors from the top! Imagine shooting a soup from a side view, all you would see is the bowl, that’s no fun!
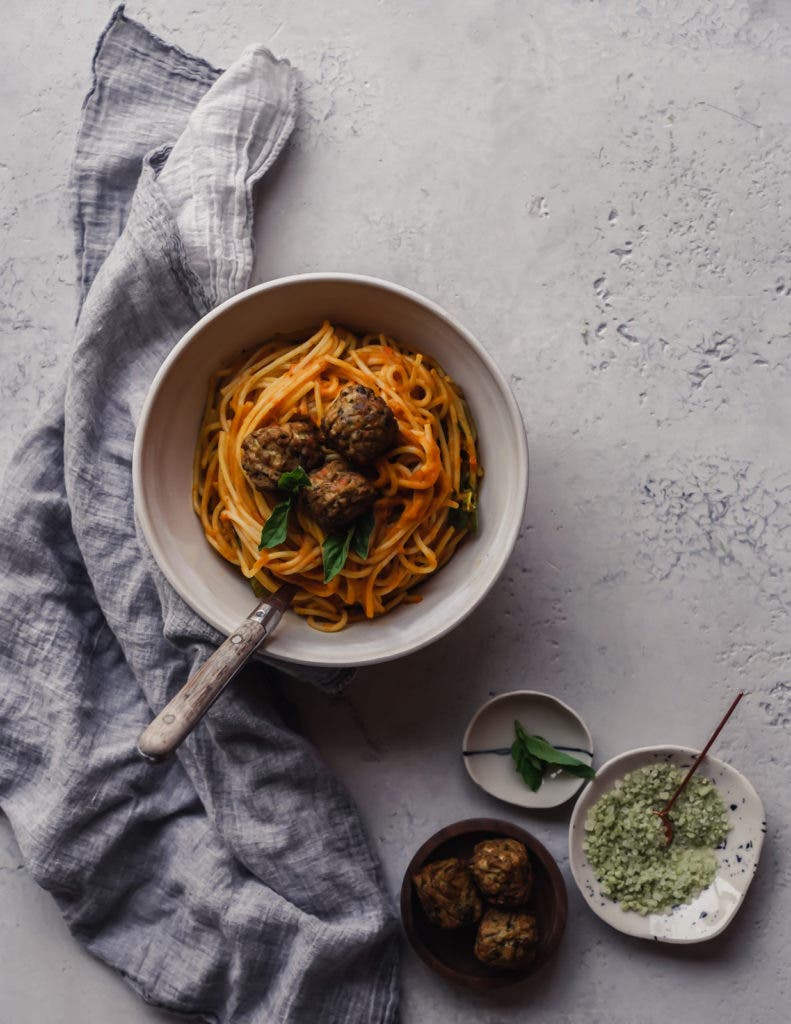
5. Don’t overuse props
Props can really set the storyline for your photo and give it more depth, but you don’t want to overdo it. You want your photos to be full of detail, but not to the point that they could upstage your main subject.
I love using vintage props that are dull and full of texture. I also try and avoid crazy shine and gloss because I am not a fan of this style and they create too much glare in my photos. But there are endless possibilities for the props you can use. For example:
- Choose the plate you use wisely and don’t use a plate with a glare. Opt for a matte or gorgeous ceramic.
- Use accessories like napkins or utensils.
- Garnish the dish.
- Get creative with your backgrounds.
- If the food is busy, make sure your props aren’t, and if your setting/food isn’t so busy then add some flare and character using your plates, bowls, etc.
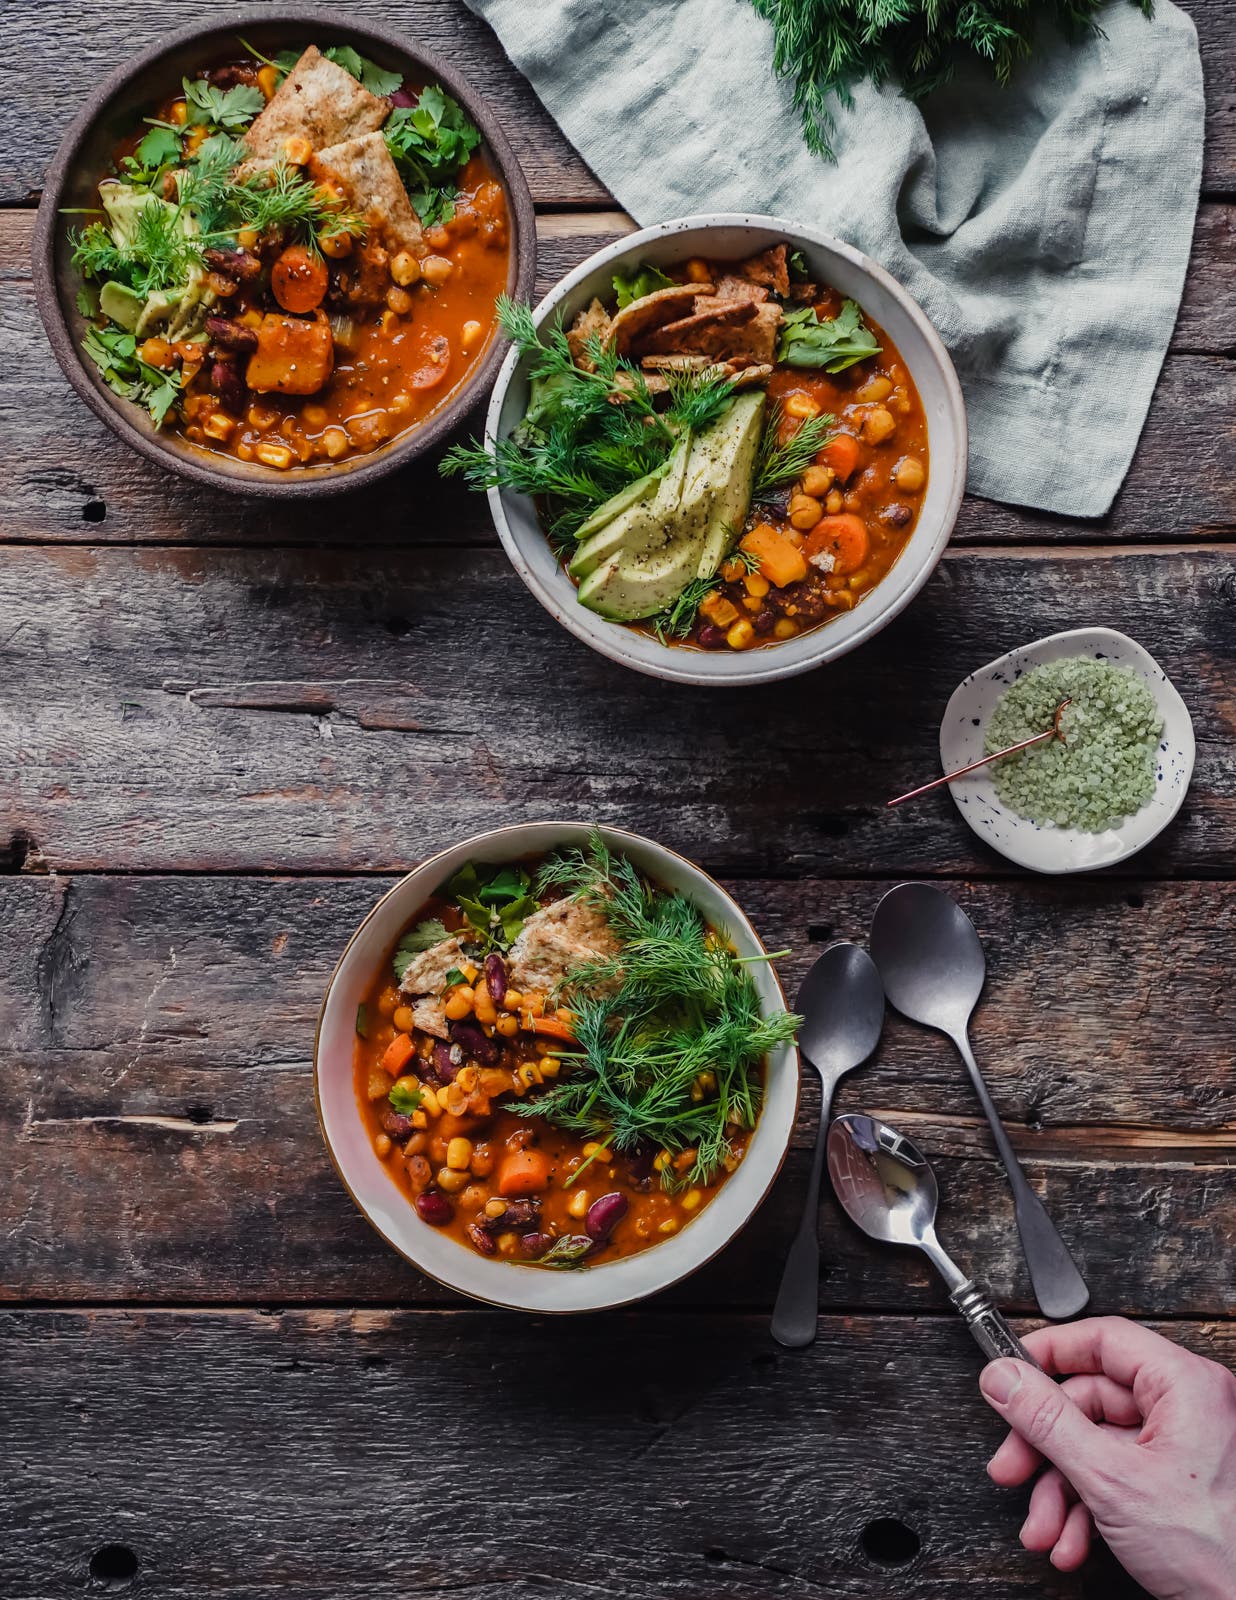
6. Never forget to interact with your food
Interact with the food! For example, cutting it, using a hand with a fork, etc. You can interact with your food by using your hands, adding yourself to the image (or a friend to the image) by holding the bowl, eating the food, cutting the food, or whatever it may be.
Why? This creates a story and makes it more real versus just looking like fake pretty food. It also adds character and creates a style to your feed and photography.
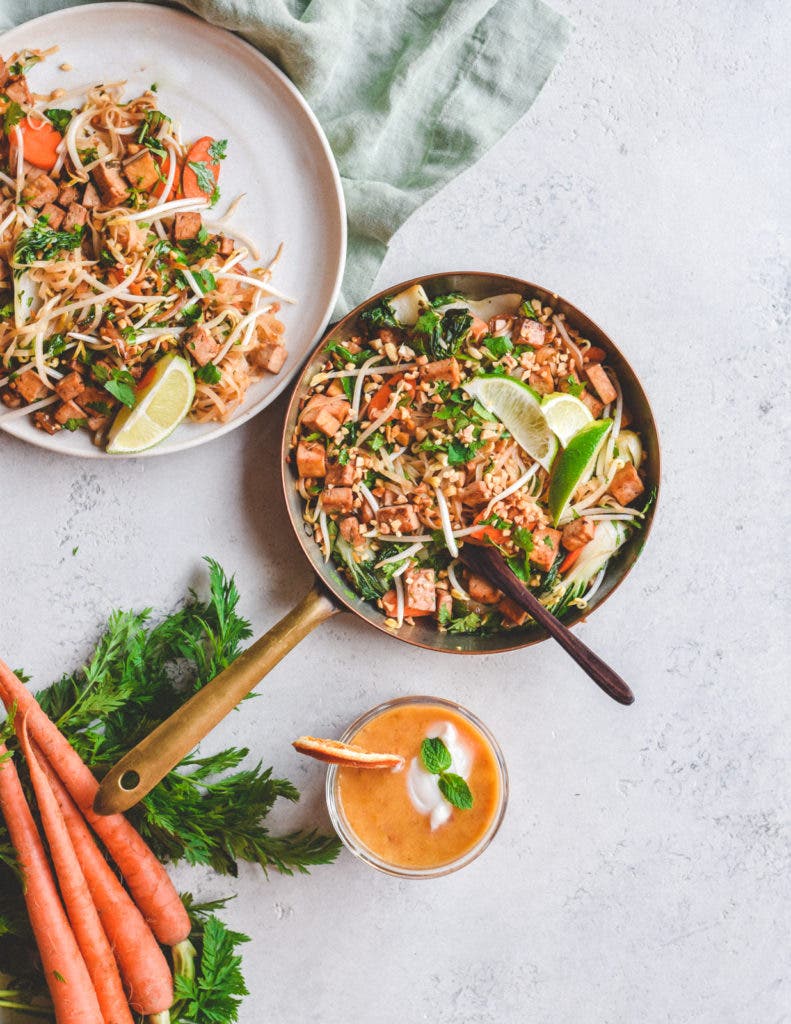
Editing Your Food Pics
Maybe you’re in a pinch and the weather is too gloomy or too harsh, regardless, don’t beat yourself up over a bad photo – it’s still salvageable! A vital part of the art of photographing food is learning how to edit food photos. That being said, you should make some space in your storage for new apps or software that will be instrumental in perfecting your food photo.
What editing software is good for food photography?
Adobe Lightroom is the leading comprehensive editing tool that provides photographers and editors of all levels with a simple interface capable of tweaking basic adjustments.
In Lightroom, you’ll want to focus on essentials like fixing your food pic’s brightness, contrast, and exposure – just keep experimenting until the main subject of your photo pops out well from the background, pulling the viewer’s eye to it.
Also, within Lightroom are color tweaking tools that, upon experimenting with them, you’ll find that they will be able to bring out the colors in your food photos no matter their initial paleness. When photographing a Shepherd’s Pie, for example, you should toggle the yellow color control to a point where the yellow looks healthy, but not too bright a yellow that it will look oversaturated.
NOTE: Be careful with using presets in Lightroom because some might look good for your subject, but not as good for the background. You need to find the perfect balance and avoid editing too much or making your picture look like you just slapped on a single filter. Balance is key!
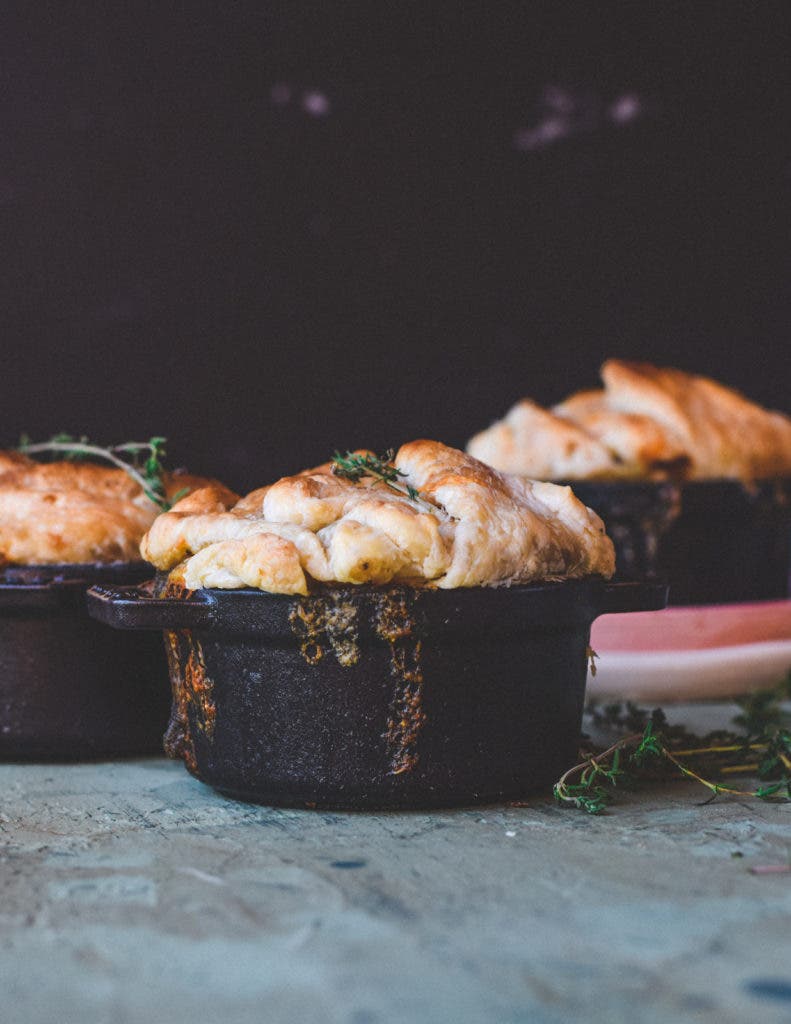
Drool-worthy food pics = Success!
Food photography is so important when presenting your recipes to the public. Why would they make the recipe if it didn’t make them drool just by looking at the photo?
Also, if you want to build a following on social media, your photos are going to play a big part in that. People want pretty photos and they’ll follow people and accounts that deliver them!
Do you have some photography tips that you think people need to know? Share them below in the comments!
FAQs
Food photographers typically have a background and degree in culinary arts or photography specializing in commercial photography. Having either of the two – or better, both, assures clients that you have enough knowledge to ensure you know how to handle having food as a photo subject, including how to handle dishes in case you need to tweak the presentation.
First, earn a culinary arts or photography degree. Secondly, take enough photos to build a portfolio. You can tap a few of your chef friends and ask them for a favor: let you take sample pictures of their delicious food. Thirdly, build social media profiles and reach out to potential customers – reel them in with affordable rates. Finally, after a year or more of gaining a loyal customer base and ranking up followers from your good photos, you can then look into raising your rates.
Yes. Primarily, food photographers can earn money through gigs from clients, and how much they earn is entirely based on the rates they quote customers. Secondly, food photographers can collaborate with brands needing food photographers for ad campaigns, social media posts, and more.
You will need:
A tripod
A 90mm lens/105mm lens or high-quality smartphone camera
A lighting kit
Photo editing software
Multiple backdrops for Variety
A capable computer/laptop
Storage device
You should use a lens with a focal range between 90mm to 105mm. This is backed by several reasons: the perspective and compression, shallow depth of field, and macro photography capability for food close-ups. Also, 90mm to 105mm focal length lenses allow photographers to stand a comfortable distance away from the food. If you need to, you can dip down to 85mm lenses like the Sony FE 85mm f/1.8 Lens.
