It’s no secret that people make for great photography subjects. There are so many things we can do with our faces and bodies, and simple changes in posture or facial expression — such as a side portrait — can immediately evoke a plethora of emotions from viewers.
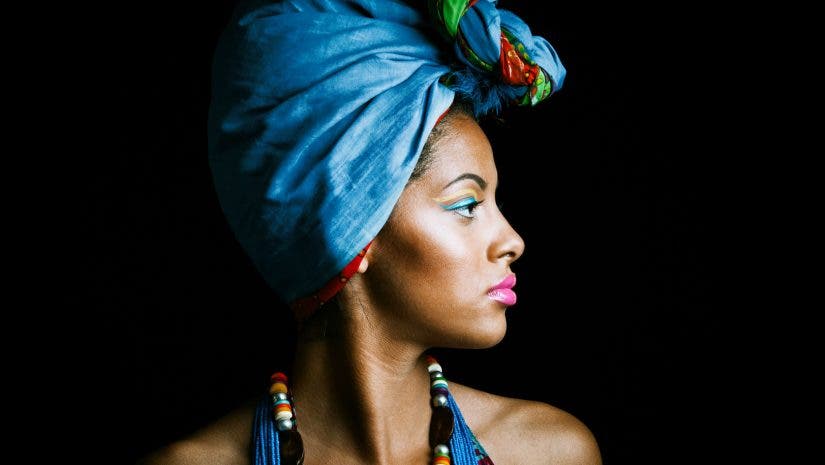
We’re all probably used to taking full frontal portraits, but partly concealed (or fully concealed, in the case of intriguing faceless portraits) faces can also make for incredibly dramatic and compelling images. Side portraits, in particular, are great for adding mystery to a portrait photo while still showing telling facial characteristics of a subject. What also makes it work is it captures a person’s bone structure, which can look very appealing and even convey certain messages like strength, courage, and power.
What is a side portrait?
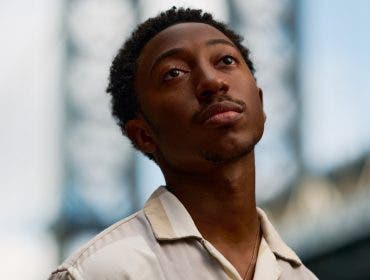
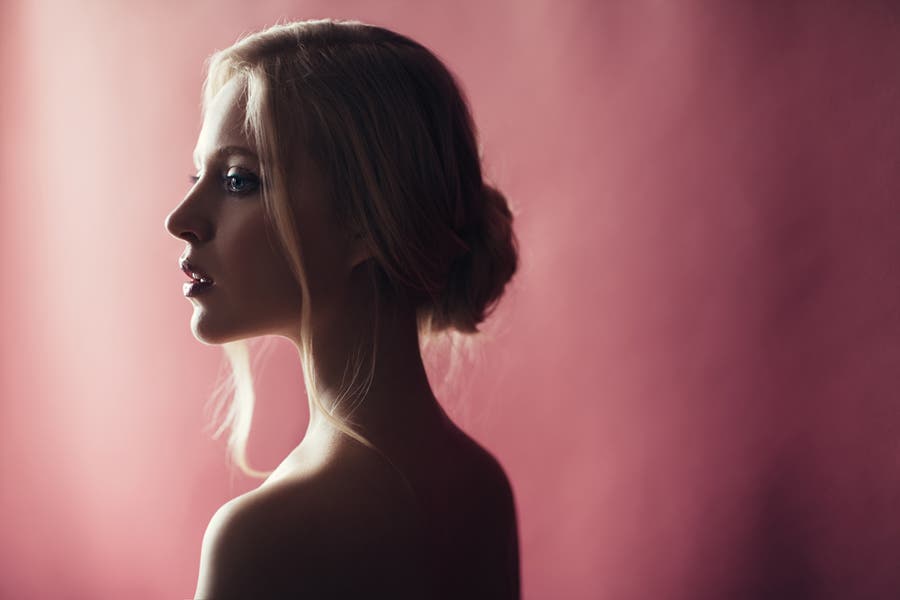
A side portrait is a profile photograph of a person. Instead of looking straight at the camera, the subject’s head is turned 90 degrees, either left or right. As a result, the camera captures the full contour of the face. The body can stay straight in front of the camera or turn 90 degrees.
In a side portrait, you can frame just the person’s head and emphasize their facial features and expression. Alternatively, you can photograph the subject from the waist, chest, or shoulders up and enrich your visual story with body language, clothing, and other details.
Taking profile or side view shots are actually pretty easy. Consider the following tips and tricks to help bring your side portrait photography to the next level.
Tips for Taking a Better Side Portrait
Find Your Subject’s Best Side
With side portraits, you also have the chance to make your subjects look good by featuring their “good side.” You can try to determine which side it is while you’re meeting with them before the shoot—look for the asymmetry in their face, as well as any imperfections, piercings, or tattoos.
Some people have uneven eyes, and you have the chance to angle the side with the bigger eye away from the lens to make both sides of the face look even in three-fourths side portraits. Or, you can also ask your subject if they have a preferred side that they feel more comfortable exposing to make this step a lot easier.
Carefully Compose Your Shot
Now that you’ve determined which side you’re going to capture, it’s time to build your theme or story around it. You or your subject may already have a preconceived idea of how you want your photo to look like, and that’s a good place to start.
The tightest headshots still include some of the background, so also choose your scenery well. While you’re at it, decide on the time of your shoot and the planned placement of your subject in the frame. Make sure every compositional element, like the lighting and the background, goes with your desired concept and conveys your intended message.
For example, for a very mysterious shot that also aims to evoke sadness in its viewers, you’ll usually have to choose plainer or darker backgrounds and tone down the lighting on and around the subject. Conceptualizing the shot early will help you plan your execution of the shot and even the logistics of your shoot.
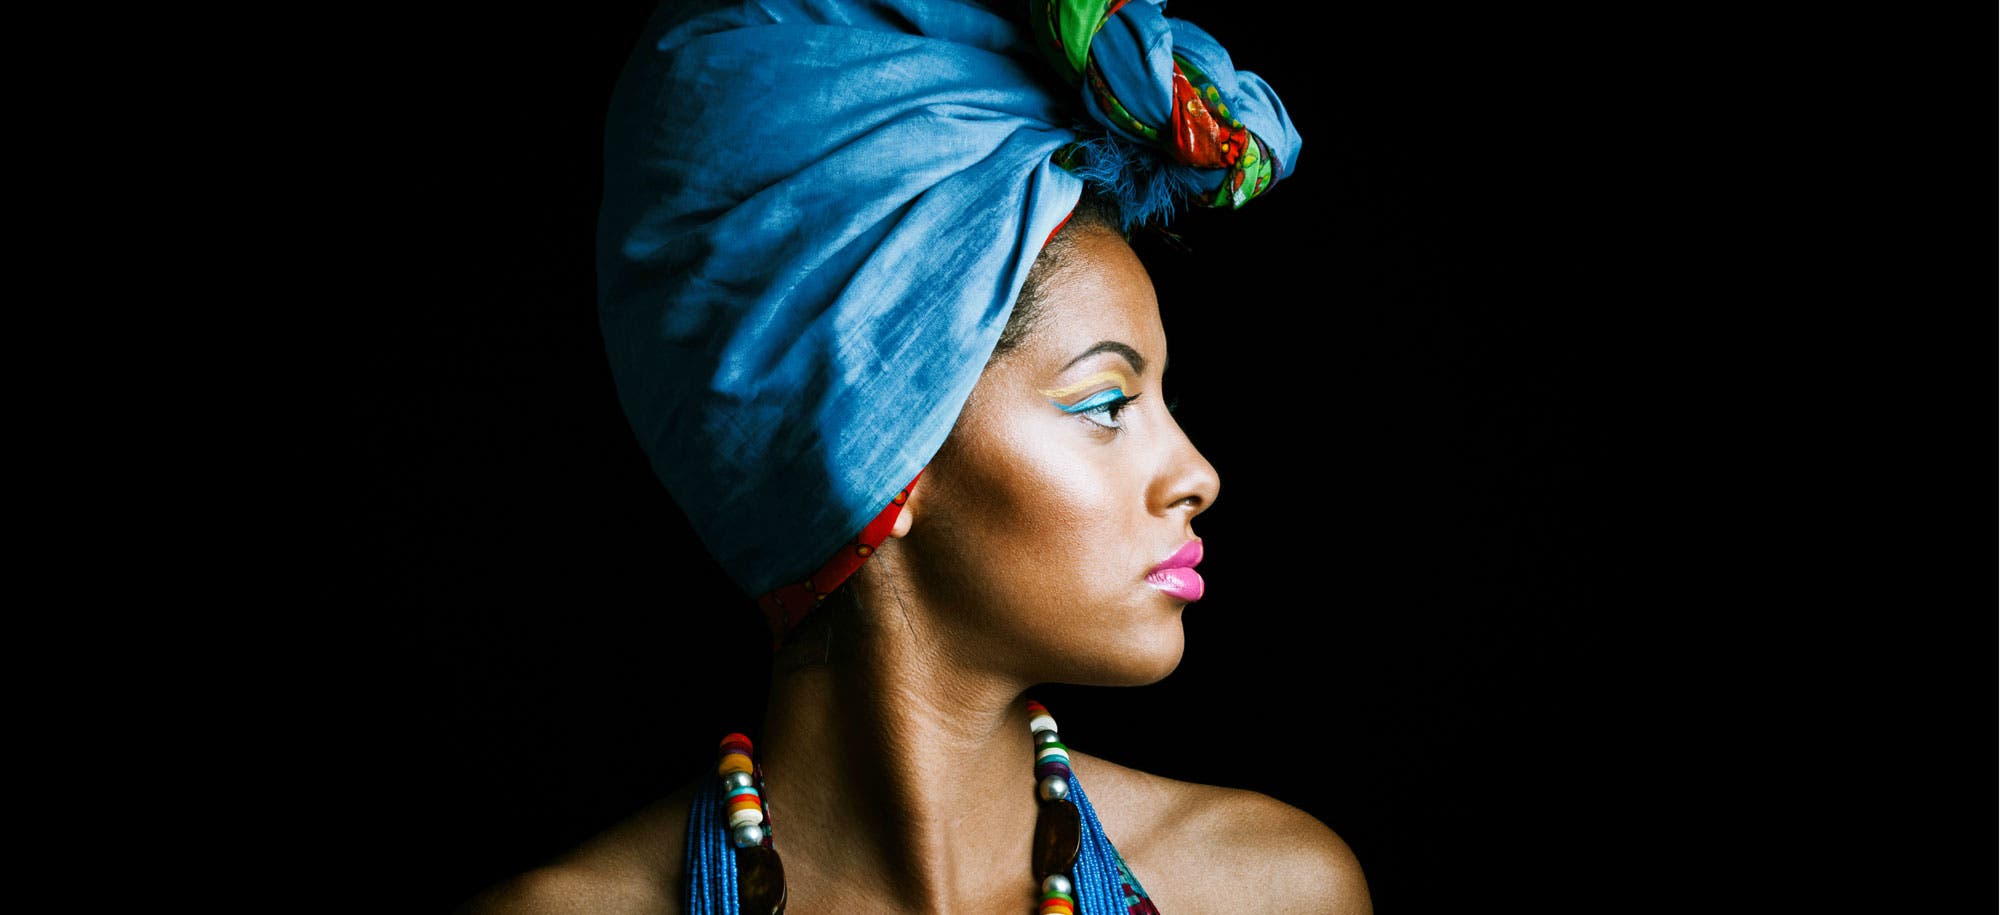
Dress Up Your Subject
Your focal point will be your subject, so take the time to make sure that he or she looks good for the shot. Depending on your concept, your subject may need to wear specialized clothing, apply a generous amount of makeup, have an elaborate hairstyle done, and include accessories.
However, remember that the impact of your shot doesn’t solely rely on how you dress up your subject. There are many highly compelling side portraits that didn’t need any makeup or accessories at all, so the need for it really depends on your concept and how you think it will help make your message clearer for your audience.
Try Out Different Poses and Expressions
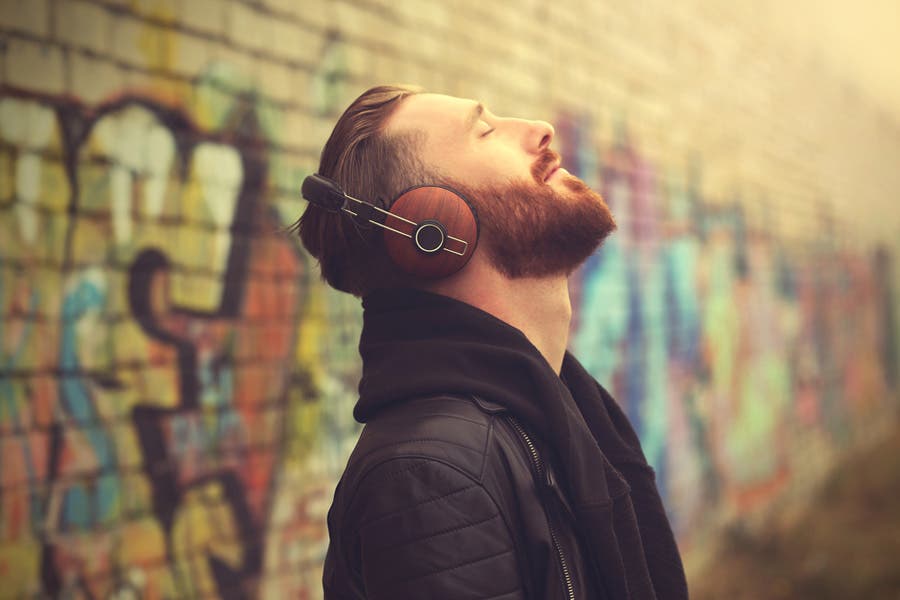
With side portraits, there’s really only a few poses you can do with your head. You can try having your subject look up a little, which instantly gives a look of “hope” and can even suggest that the subject is thinking deeply or dreaming of the future ahead. Looking down can mean the subject is contemplating or feeling emotional about something.
Another way is to ask your subject to give you different facial expressions. With just the smallest eye squints or lip movements, you can add a completely different meaning to your photo. You can also ask your subject to change the way they pose with their bodies, particularly their shoulders, arms, and hands, for added interest and impact. The subject can touch their hair, place a few fingers on their face, pose with their head and chin near their shoulder, or play around with their arms.
Shoot from Different Angles
If your model is naturally photogenic and you’re not restricted to shooting them from just one angle, go ahead and deviate from the usual leveled angle. Try positioning the camera somewhere below the subject, so you get more of the jaw, or from above, so you can focus on the eyes or the nose. These poses can even be used to suggest meanings like superiority and inferiority or elation and sadness.
You can’t really move that much horizontally when shooting side portraits, but you can try an angle that captures more of the ear or with the other eye just peeking out from the other side for a two-thirds face.
Experiment with Lighting Techniques
You may find that there’s not a lot you can do with your subject’s poses and expressions or your camera angles, unless you’re willing to somewhat shy away from your concept. For a more dynamic look and an intensified message, you can try experimenting with lighting techniques.
Some use reflectors against sunlight to minimize the appearance of harsh shadows on the subject’s face. But for complete control over the lighting, you’ll need to use external lighting and learn the basics of using wireless flashes.
With external flashes, you can change the light’s coverage and power to create focused lighting and dramatic, low-key images. Here are a couple of lighting techniques that you can try to create different effects that convey a strong message:
Rim Light
Place a single flash behind your model and point it directly at your subject. This will light up only the contour of your subject’s head. Change the flash’s power and try moving the flash a bit to the left or right to your liking. You can also use two flashes and place them on the left and right side of the subject (both facing the subject) to create a much stronger rim light.
Side Light
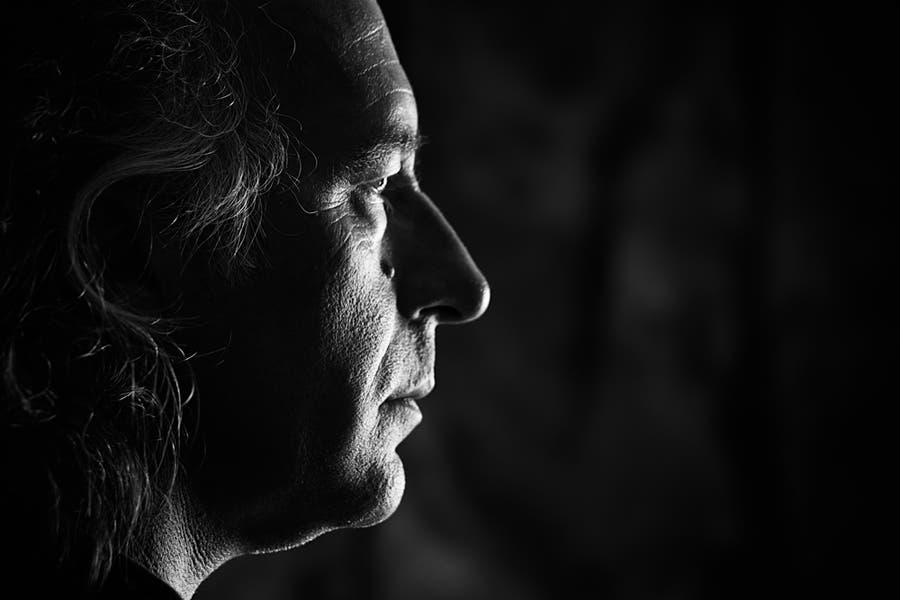
Side lighting also offers rim lighting but shows more of the face. To create this, position your flash on the left or right side of the camera, depending on where your subject is facing, and point it towards your subject’s face to light up his or her facial features.
You’ll need to decrease its power and adjust your camera settings to brighten the light areas of your image so you don’t blind or overexpose your subject. You may also need a flash hood if you want to reduce the wideness of your flash’s coverage and create a low-key shot with more shadows.
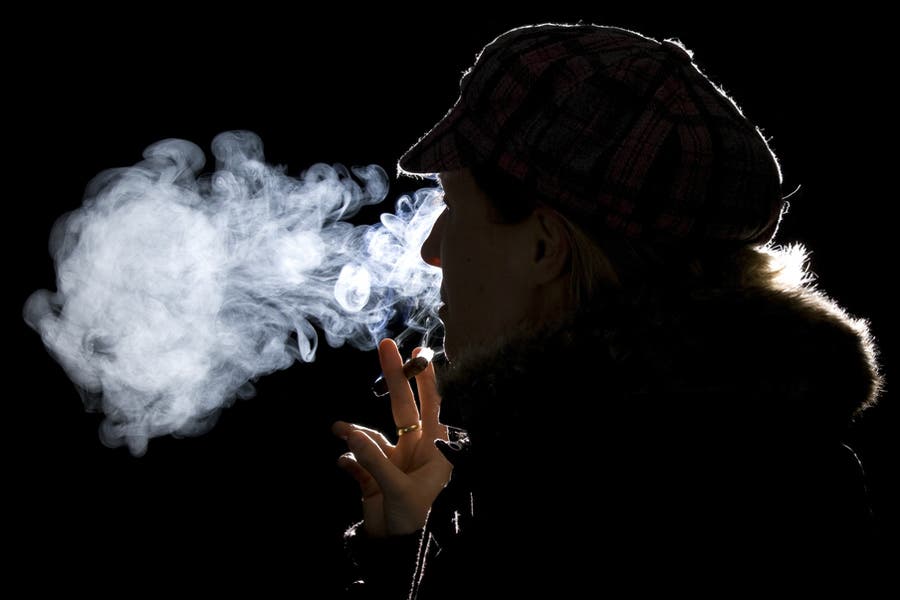
Silhouette
Silhouette photography is great for conveying strong messages, which is why many artists in the music industry use this kind of lighting in their photo shoots and album covers. To create this effect, you can simply have your subject go against the available light, such as sunsets.
You can do this with flashes by using one or more lights to brighten your subject’s background, just enough to make your subject stand out. You can add an additional light to slightly reveal your subject’s facial features. The underexposure (or darkness) of your subject is also entirely up to you.
Use softboxes with your flash to create soft lighting for better-looking skin and a much wider light coverage. You can also add colored lighting with color gels. Just remember to always adjust your lighting so your shadows suit your model and the resulting exposure goes with your concept.

Why You Should Try Doing Side Portrait Photography
Side profile photography is an artful way of capturing attitude and emotions. It allows the viewers into the subject’s mind and makes them curious about what the subject is thinking or feeling.
A side portrait provides perspective, especially when using the rule of thirds and leaving space in front of the subject. The viewers will instinctively follow the person’s gaze and spend more time with the photograph. It also adds a sense of depth and spatiality, which create more interesting compositions.
This type of portrait is more dynamic, implying movement. The side pose is more dramatic and artful than the front-facing poses. It may look like the person is dancing, going towards something, or hiding something. The result is a little added mystery, and nothing could be more appealing in a photograph than mystery.
You should try doing side portraits for the sake of your subject too. That’s because they are flattering. Most people have a good side profile that emphasizes their best features and makes them look better. They might have a unique bone structure and profile line that sets them apart and conveys a powerful message. In addition, you get more posing options, such as looking up, down, and over the shoulder.