You can capture the perfect subject — but if you aren’t able to make the colors pop, good luck surviving the age of social media doom scrolling. Before you even click the shutter, make sure that you know how to make the most out of the scene that you’re setting for vibrant photography.
Bust out your color wheel and prepare your camera settings, cause we’re gonna improve your striking vibrant photography game in five easy steps!
1. Harness the power of natural light
Light is your best friend (and worst enemy) as a photographer. When used correctly, natural light can dramatically improve the way that your photos look!
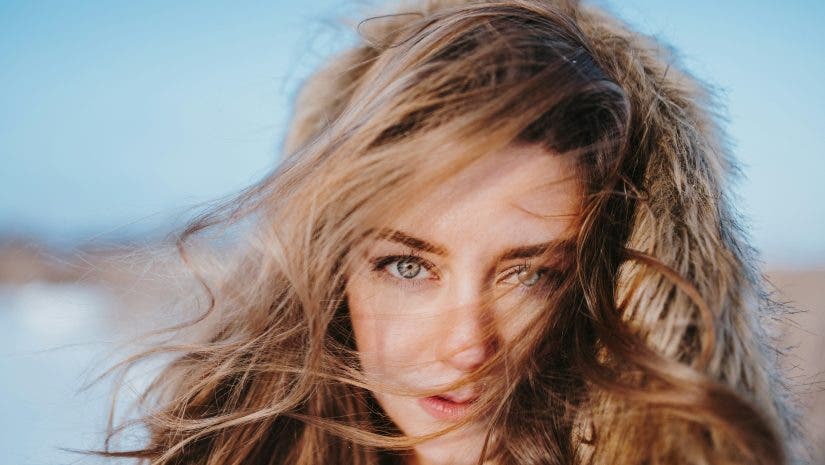
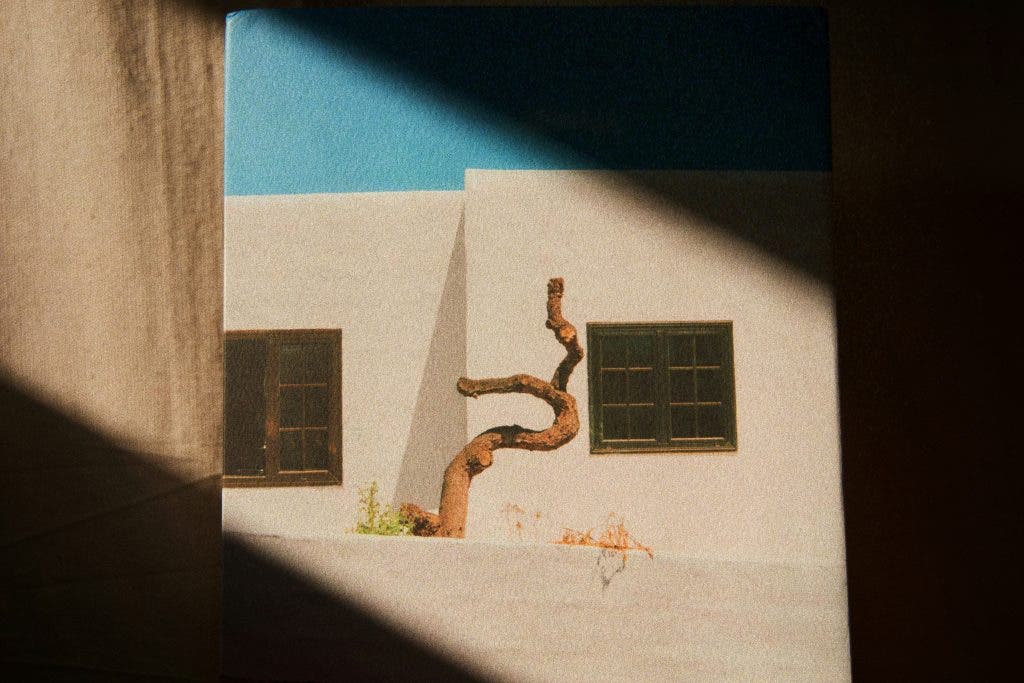
Looking to immortalize a magical moment? The golden hour is one way to make skin tones look softer and landscapes more cinematic. Schedule your photo shoots before sunset and watch as everything is drenched in warmth that makes colors feel richer and more alive. Time is of the essence though, so make sure you take those shots quick. But don’t sleep on overcast days! That soft, diffused light eliminates harsh shadows and allows colors to appear more saturated without the contrast battle of direct sun. Ever wonder why pro photographers love shooting on cloudy days? That’s why — it’s like nature’s built-in softbox.
The direction of light is just as crucial as its quality. Positioning the lighting to the side adds more depth and texture to your subject, giving dimension to faces or objects. Placing it on the back creates a halo effect that makes subjects look ethereal and pop from the background. Open shade or standing just outside direct sunlight makes light softer and more even. Don’t just hope for the lighting to cooperate, bend it to your will.
2. Master your camera’s settings
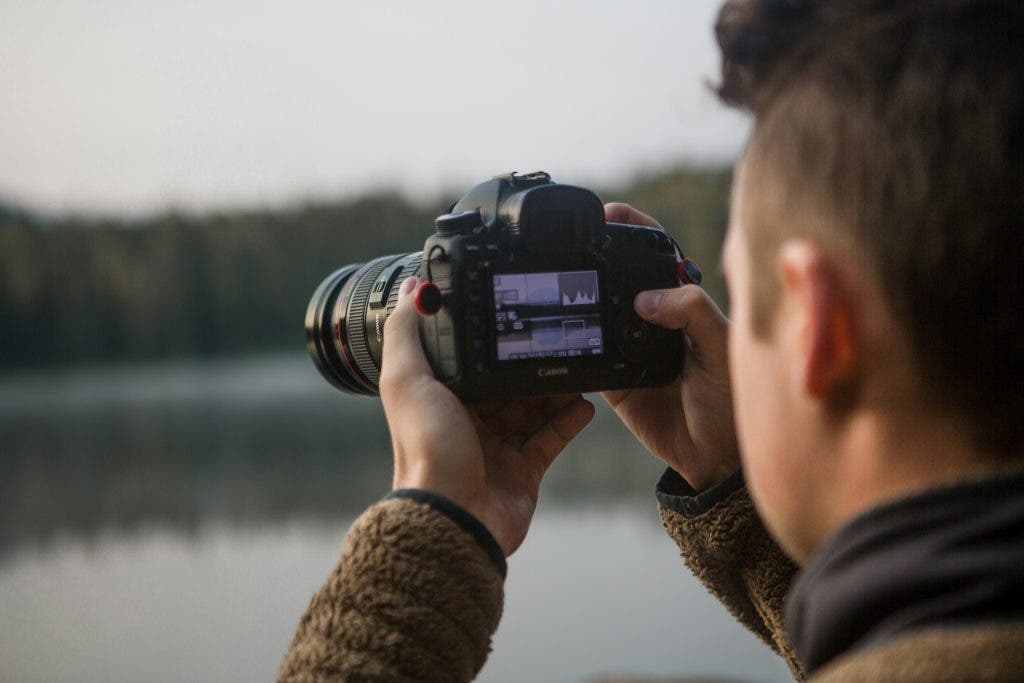
A lot of people are too afraid of tweaking their camera settings — your camera is your magic wand, capturing vibrant images requires you to make a couple of adjustments! First up, white balance. This little setting decides whether your colors pop or look like they’ve been soaked in dishwater. While Auto White Balance (AWB) does a decent job, taking control manually can be a game changer. Want cooler blues in a winter landscape? Push towards a lower Kelvin temperature. Want warmer, sunset-like tones? Dial it up. Experimenting here means owning your color output rather than letting the camera guess for you.
Next, let’s talk about your camera’s ISO. Too little, and your image might be too dark. Too much, and it becomes a grainy mess. Try ISO 100 – 400 in good lighting and push it higher in low-light situations. Balancing with a wider aperture and slower shutter speed will also help a ton when the light just isn’t enough. Speaking of control, shoot in RAW. Shooting in JPEG compresses your image and throws out subtle details in the color of your images. Shooting in RAW gives you way more control in post-processing and allows you to bring out colors just the way you envisioned them!
3. Leverage advanced composition techniques
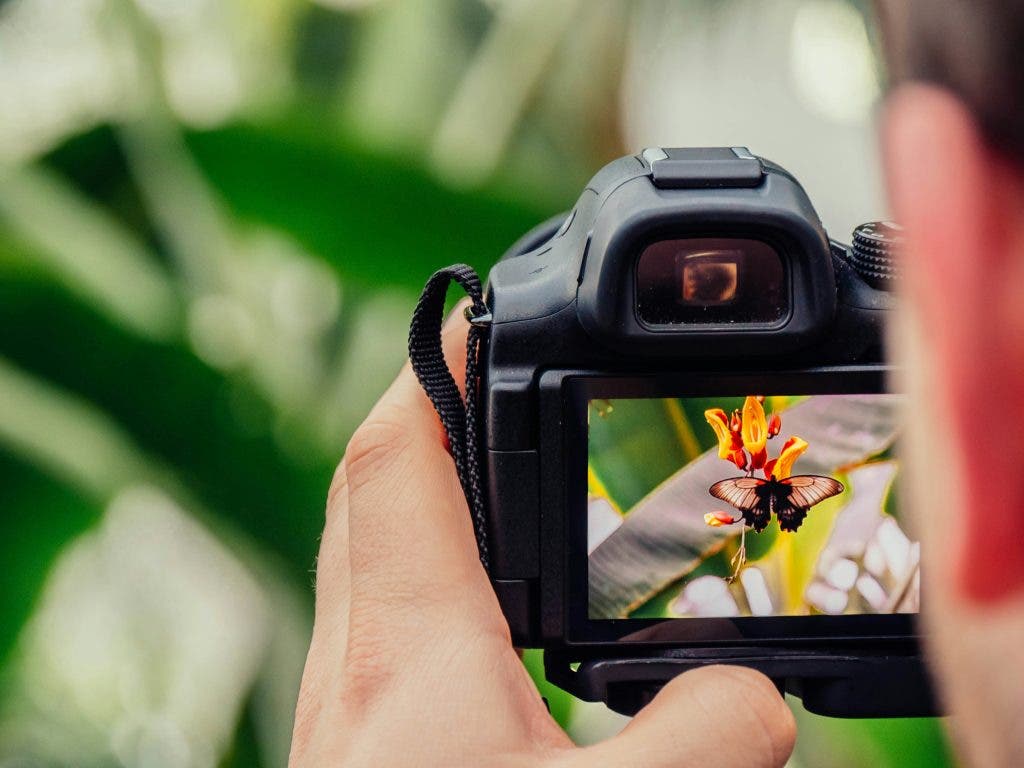
Taking control of how you arrange colors in your frame is another way you can make sure that certain colors pop. Composition is what turns a bright photo into a striking one. The first composition technique you should keep in mind is the rule of thirds. Do you see the grids on your camera’s display? Try placing your subject where the lines intersect rather than dead center. This makes your image look more balanced and pop out more. Utilizing leading lines like roads, fences, and rivers as visual pathways toward your subject makes the image feel more dynamic.
Then there’s the frame within a frame technique. Shooting through windows, archways, or even tree branches wraps your subject in a natural border, focusing attention right where you want it. Want an even bolder look? Sometimes, just giving your subject room to breathe in a frame can make colors pop even more as well. Using negative space by having your subject in a simple background gives more focus to the subject and makes the image more vibrant. If you play your cards right, composition gives your image more purpose and amplifies its vibrance.
4. Invest in quality equipment
No, we’re not telling you to spend millions on camera equipment. But having the right tools can elevate your images and make them look better in specific environments. Investing in a prime lens (50mm f/1.8) have wide apertures and lets in more light — naturally boosting the saturation and contrast while giving more emphasis on your subject. The background blur (bokeh) gives images more dimension — so no more flat, lifeless shots. Just crisp, colorful magic.
A polarizing filter makes outdoor photography way easier because of how it cuts glare from reflective surfaces, deepens sky blues, and amplifies greens. And don’t forget about your monitor — if it’s not calibrated, the colors you painstakingly tweak in editing might look totally different on another screen. A calibrated display ensures that the vibrant hues you see while editing are the ones your audience sees too — whether online or in print. The camera doesn’t make the photographer, but having the right tools? That’s like giving an artist the best possible brushes.
5. Post-processing with precision

There’s no shame in editing your images. Fine-tuning your images to make it look the way you envision is what all good photographers do. Editing isn’t about slapping a filter on and calling it a day — it’s about fine-tuning your photo until it looks like reality, but better. Start with color enhancement: use the vibrance slider to subtly boost muted tones without making skin look radioactive, and reserve saturation for when you want an all-around color punch (but tread lightly, or your greens will scream). Don’t forget to tweak the contrast and brightness as well to add depth and make highlights pop without having to put your lighting in high gear. Lastly, adjusting the sharpening gives your photos crisper textures. Don’t overdo it though, or you risk making everything look too rigid. Edit with intention. Your goal isn’t to make the colors “louder” but to make them harmonize with each other.
What photography is about
The essence of photography is to try out everything and see what works for you. Whether you choose to adjust your image composition or you decide to beef up your gear — the choice is all up to you. Go out there, snap some photos, and most importantly have fun!