With the rise of social media platforms like Instagram, people now more than ever have need for shooting creative photos. A little while ago, it was drone shots, and now I see underwater photography expanding everywhere.
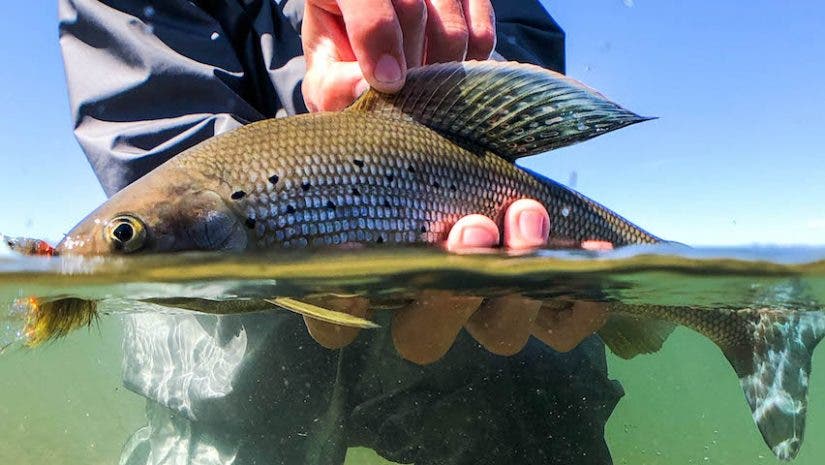
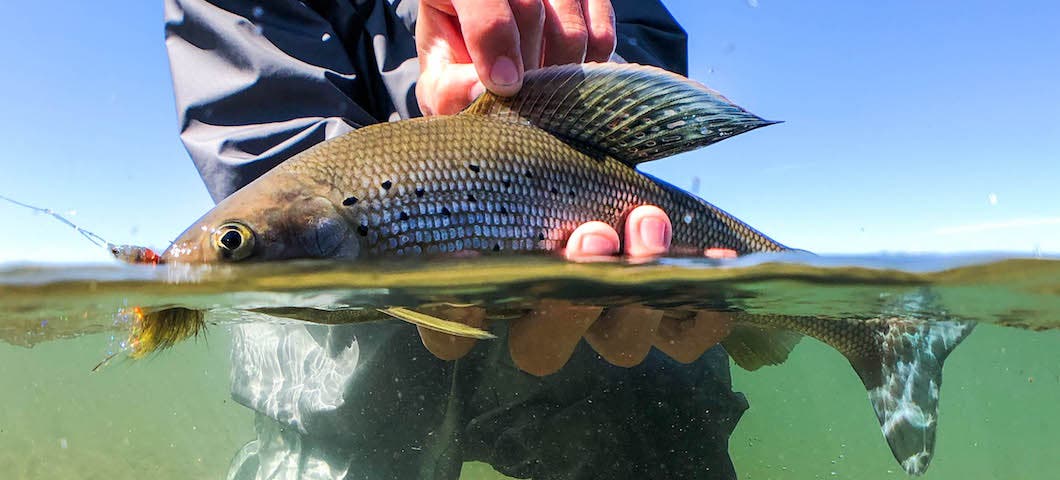
One of the most engaging photos is the half-underwater shot, which gives your audience both a perspective above and beneath the surface of the water. Getting these photos is not always easy, so we wanted to give you some tips on how we get the job done.
1. Choose the right housing
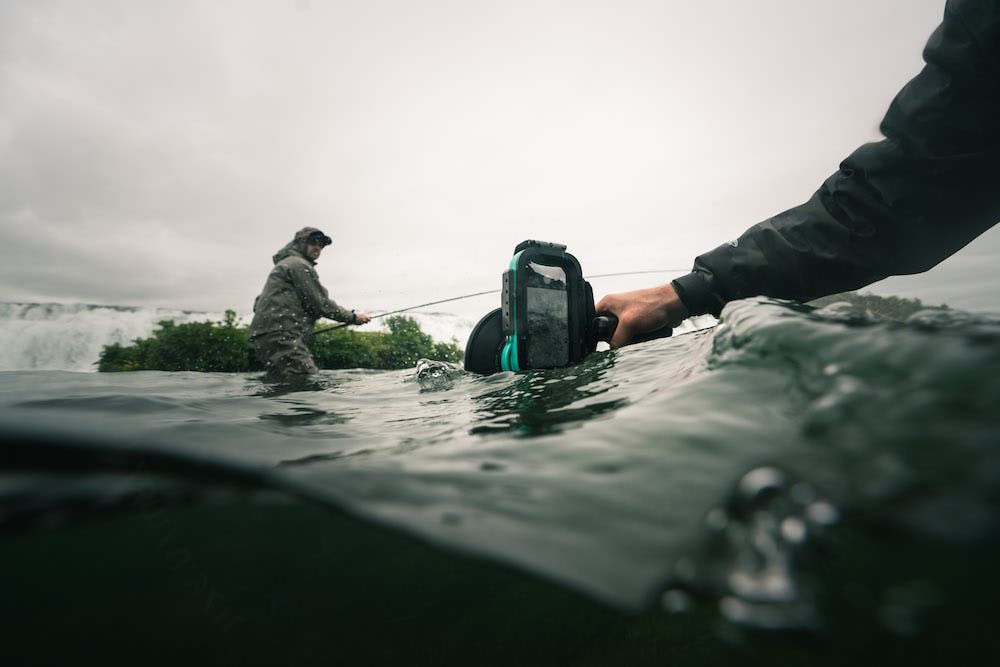
When it comes to shooting half-underwater photos, it is essential to have the right gear. In this regard, you have a few options on what type of gear you need to invest in. I will break this into two categories: professional and amateur. Both will require a glass dome port which allows you to shoot in the water.
- Your professional water housings are going to be pricier, often times costing even more than the DSLR you are putting inside. That being said, you get what you pay for, and these housings are an incredible tool. We shoot on an Aquatech Elite Housing (), and inside the housing we have the Sony a7R III.
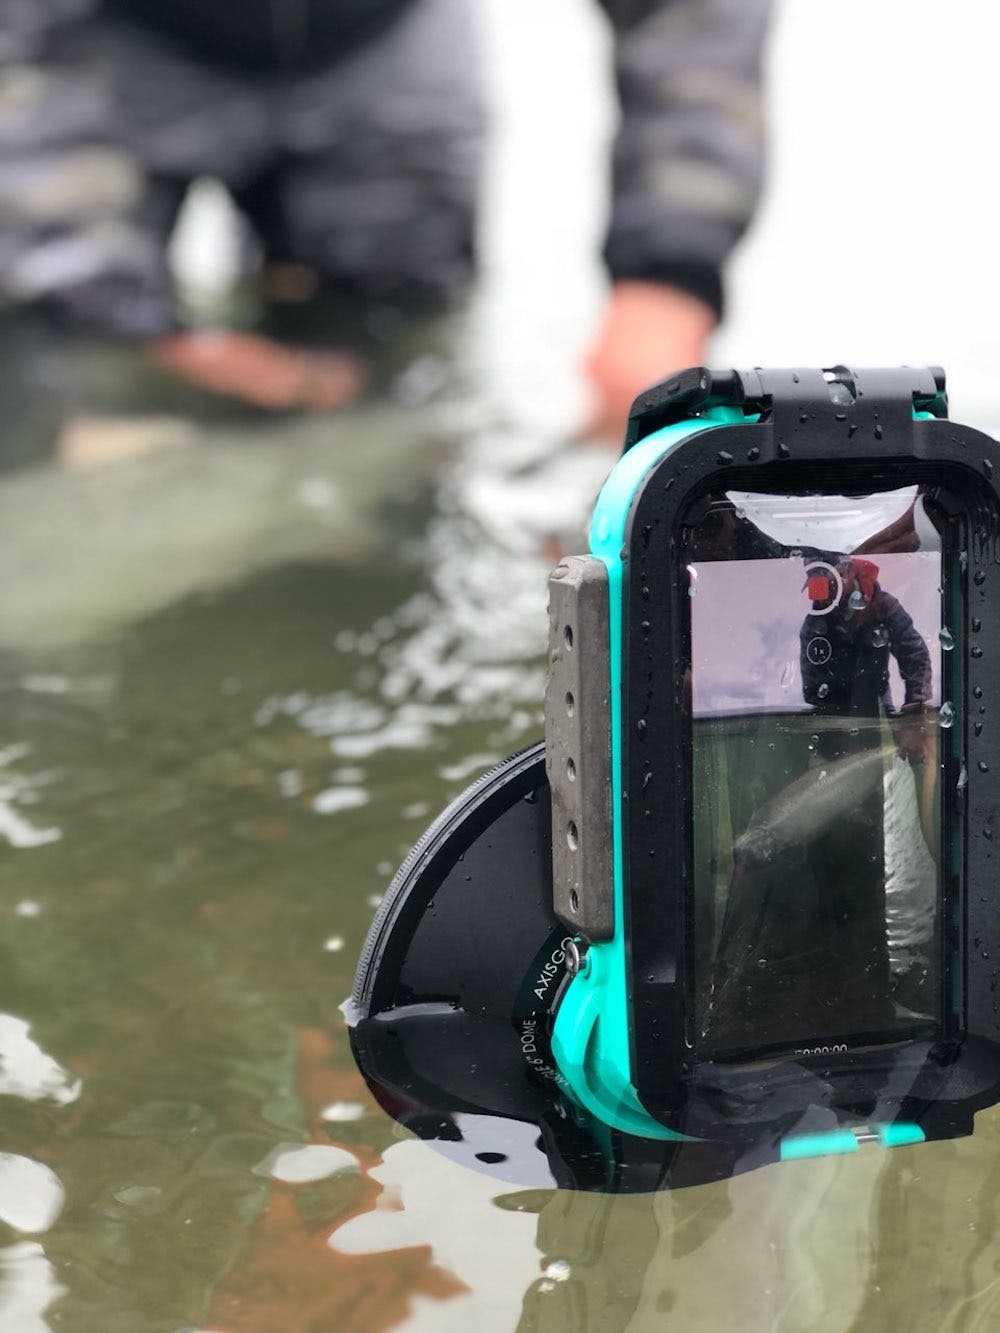
- Your more amateur housings give you the chance to wrap your DSLR, or you can use a phone case that allows you to shoot with a dome port. Aquatech recently released a phone case called the Axis Go (), and this case allows you to attach a Dome port and shoot half-under shots. We shot with this housing on our trip in Iceland and we were extremely impressed with its capabilities.
2. Use the right settings

Choosing the right camera settings can be make or break it when it comes to shooting half-under. If you want the background image to be in focus with the underwater image, you will want to be shooting over 8 aperture. Some photographers will open this up to even 13 or 16 aperture to get the full effect.
That being said, opening up your aperture too much can lead to a lack of sharpness. We like shooting at a 5.6 and focusing on the subject underwater, which most often for us, will be a fish. The subject outside of the water is a little blurry, but we like to focus the viewer on the fish.
Since it’s tough to adjust settings while shooting underwater, we like to set our camera on auto ISO and we shoot in Aperture Priority. When shooting on an iPhone, you are limited to the settings on the phone, but remember to tap where you want the focus to be.
3. Shoot vertically
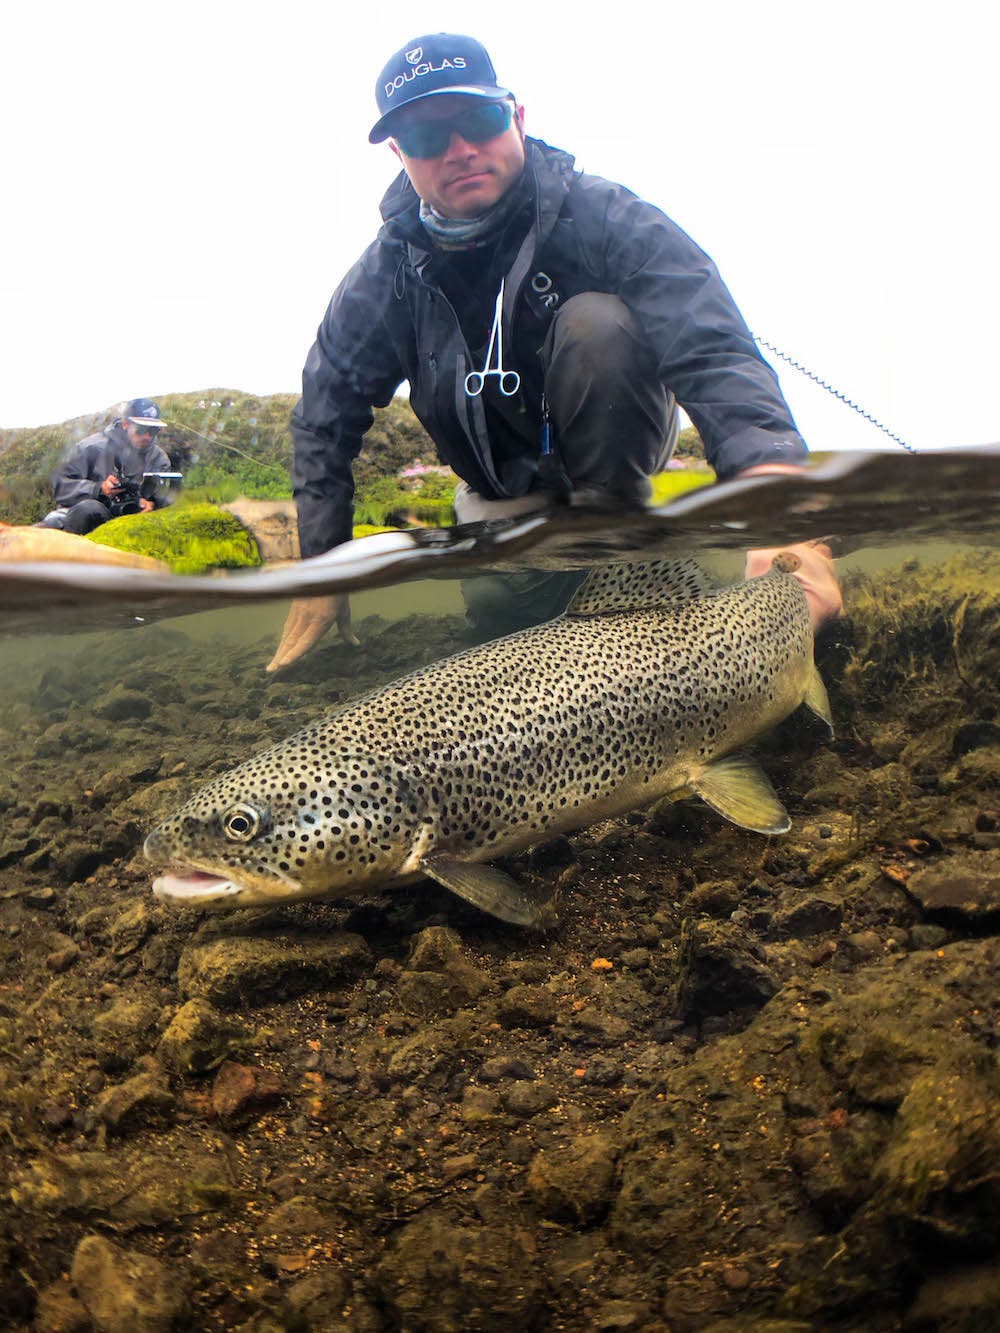
While shooting horizontal photos can also look great, but for the full 1/2 under effect we like to turn our camera to shoot vertically. When doing this it’s important to identify which subject you want in focus, above water or underwater. After a few weeks of shooting underwater in Alaska and Iceland we liked adjusting our focus point onto the left and middle of the screen, then tilting our camera vertically to the left to take the shot. This allowed us to focus on the fish underwater. You can also switch to shoot some horizontal stills fully underwater with this setting, but keep in mind your focus point will be on the left.
4. Water clarity and light
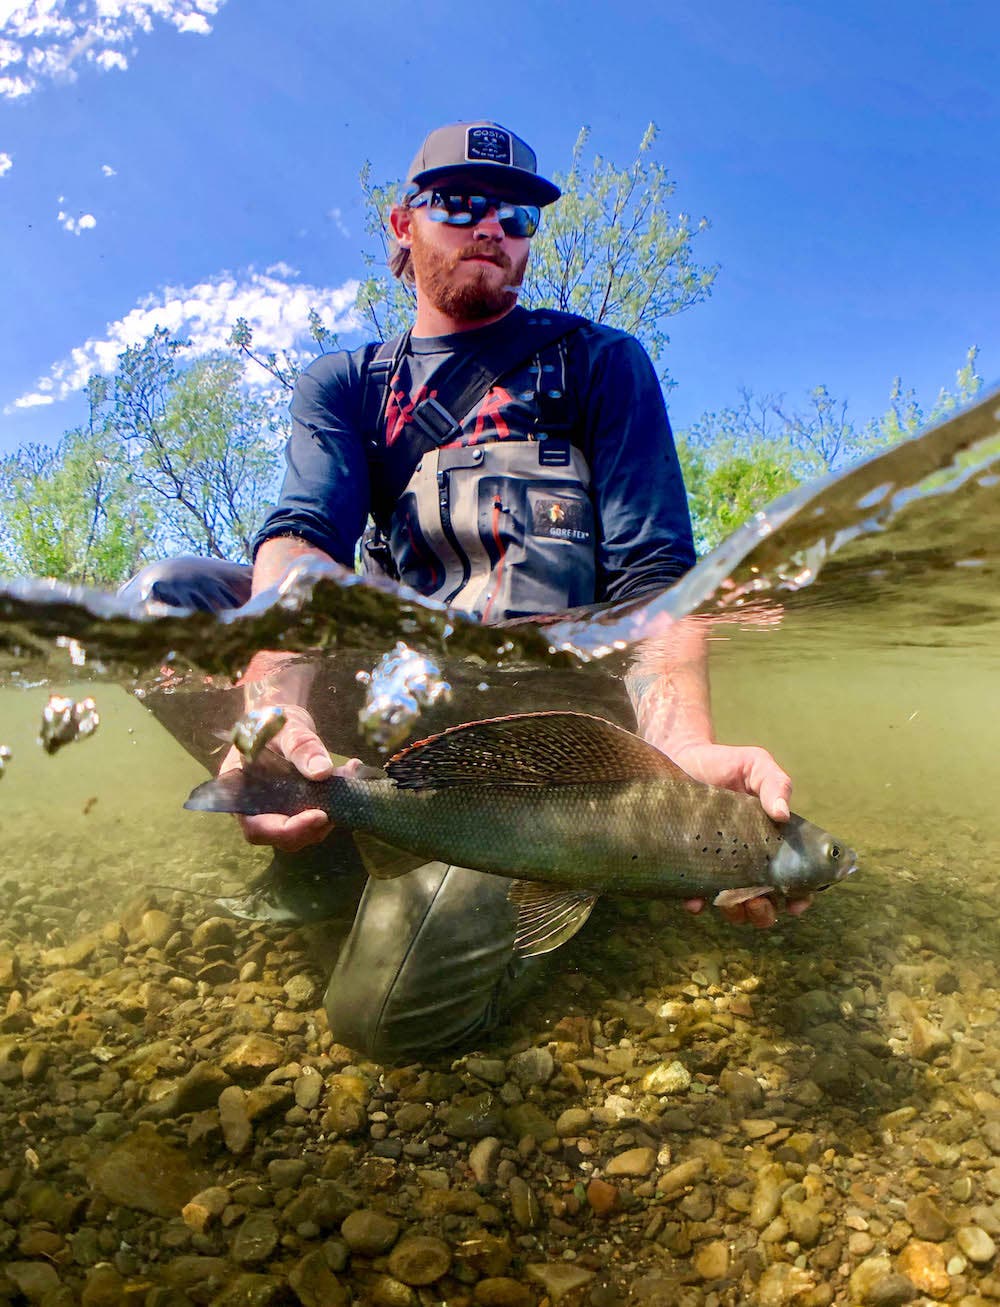
Some water was not made for underwater shooting. If you are working with hazy or dirty water, I would honestly say leave your gear and the water housing at home. Instead, look for crystal-clear water with enough light so that you can clearly make out what’s under the water. Midday sun is a solid bet, with an overhead sun penetrates and lights up the water. If you are shooting later in the day, try to have the sunlight on your back so that the light falls in front of the scene.
5. Keep water droplets off your dome
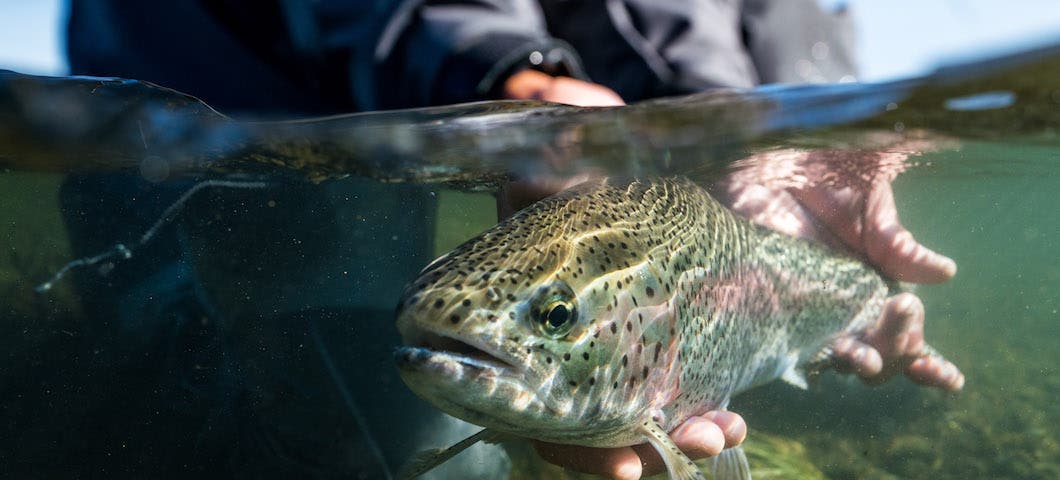
We will be completely honest, these shots are not easy to get. One droplet of water can ruin the entire photo. Keep a dry towel handy, and dip your dome into the water then wait a few seconds for it to dry before shooting. The Aquatech domes are made to dry fast, so be patient. Also try your hardest not to get any water inside the housing.
As a note, I would also would like to stress the importance of practice. It took us three weeks of intense shooting to finally get the hang of this equipment. And we still have a lot to learn. Shoot a ton when you are trying to get these photos.
I like to have my camera in a burst setting and will often take a few hundred shots and only a few will come out OK. And remember to be careful with the equipment, especially the dome ports, because they can scratch easily! Have fun and good luck out there.
