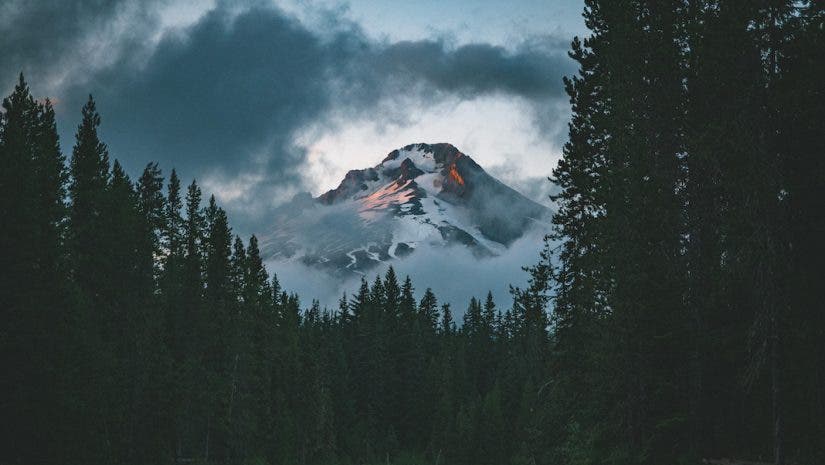
If you love to be around and photograph mountains like I do, you know how incredibly rewarding it can be. Mountains can be home to some of the most wild and wonderful environments to shoot, and sometimes every hour can offer a new perspective or opportunities to capture the definition and character of each peak.
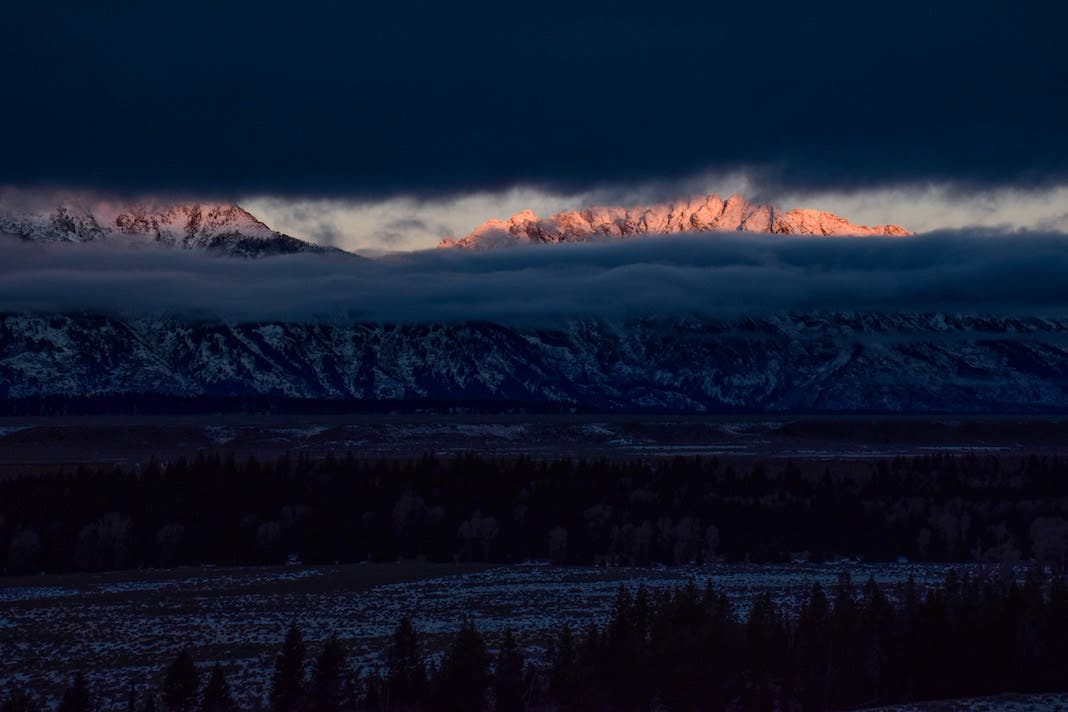
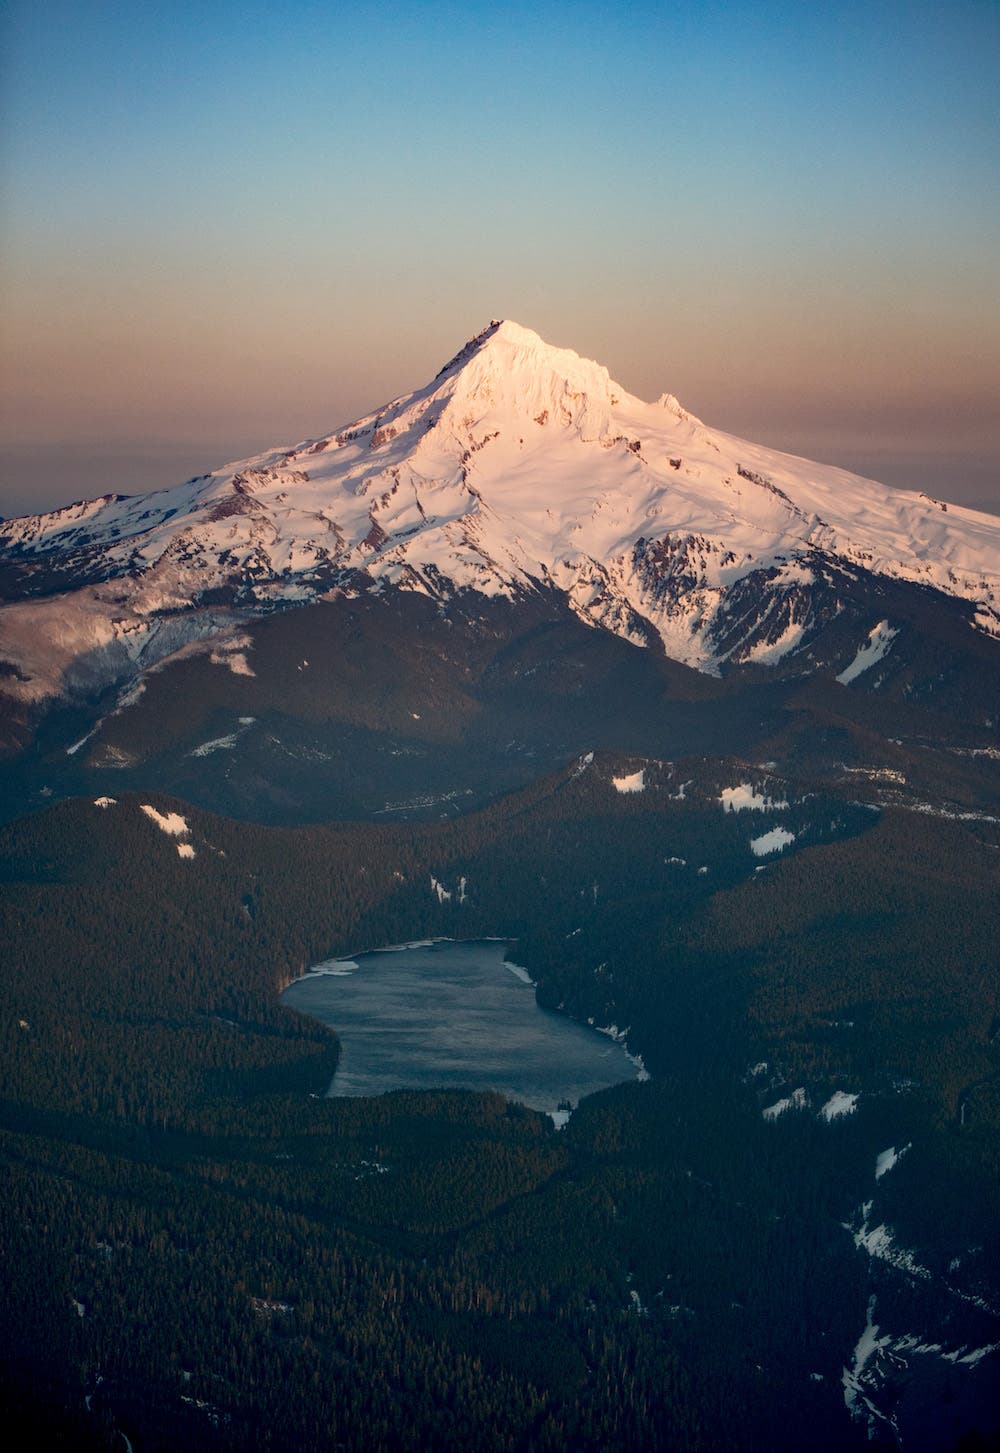
However, one of my favorite moments to capture is alpenglow. No, this isn’t a mountain music festival or new, exciting 5k race. Alpenglow is a natural phenomenon that occurs when the solar disk is located just barely below the horizon and that horizon is opposite of the Sun’s rays. It’s in that moment when that colorful red-like glow appears on the peaks of the mountains. That, in that exact moment, is alpenglow, and once you experience for the first time, you’ll be hooked. However, capturing alpenglow can be difficult if you aren’t prepared, so here are a few tips that will help prepare you for this amazing alpine moment.
1. Be ready to shoot before sunrise or after sunset
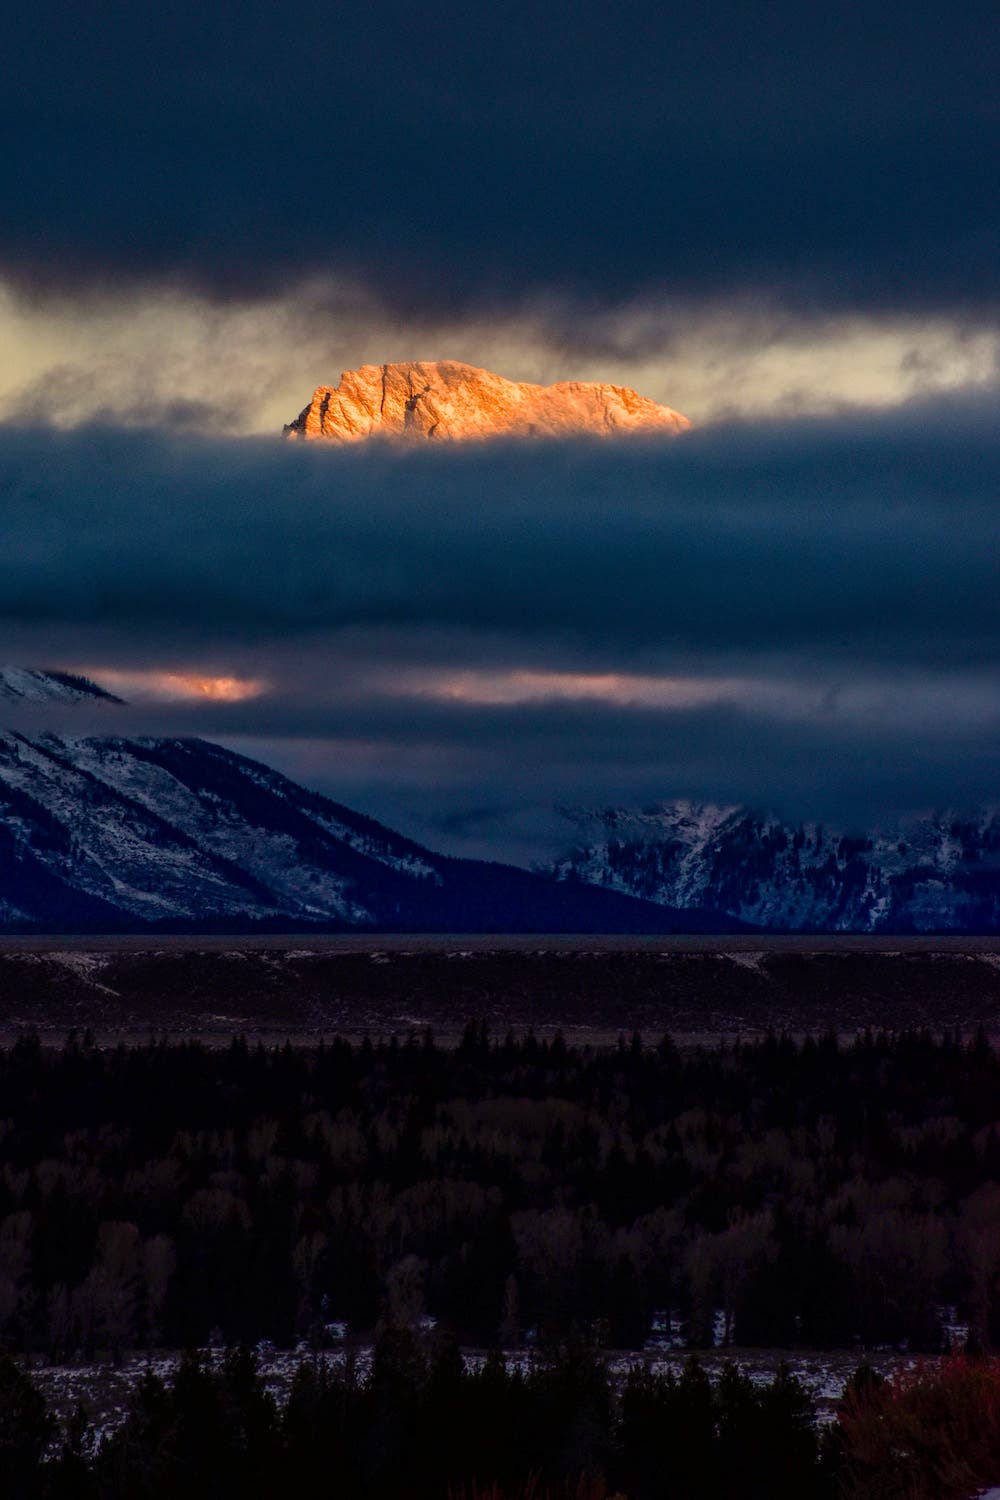
The common misconception about alpenglow is that it takes place during sunrise or sunset. You see the horizontal glow on the mountains and you assume it’s caused by the sun rising or setting below the horizon and lighting up the peak you are photographing. However, this brilliant red spectacle is not caused by direct sunlight, but by the first or last light from the solar disk and that light reflecting off water and ice particles in the air. So don’t make the same mistake I’ve made and plan a trip around sunrise or sunset and miss the entire moment. Get to the location at least an hour beforehand, so you can experience alpenglow in all its splendor.
2. Mornings over evenings
Alpenglow is specular in the morning and evening, but I’m partial to mornings for a few reasons. First, morning alpenglow is much more colorful. I’ve shot alpenglow in the morning and evening, and mornings tend to have much more dramatic red glow. Since the sky is getting lighter rather than darker, it makes it much easier for your camera to pick up these colorful hues and makes the experience much more rewarding for photography.
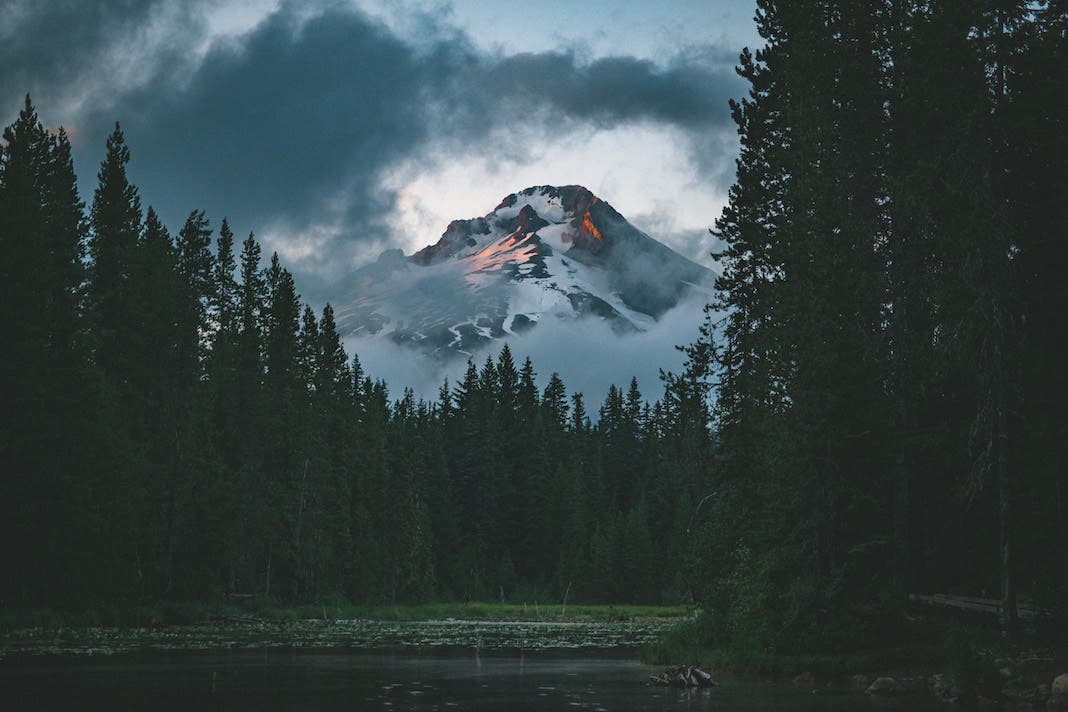
Second, as an experience, I think it’s so much more memorable. The mountains are magical in the morning, and there are elements like fog and low lying clouds that truly make alpenglow reflect and become brilliant. The mountains are normally calmer in the morning, and wind and other weather tends to be a non-factor. That stillness is perfect for set up and framing the perfect shot.
Finally, there is something special about starting the day bright and early and the first thing you do is capture some incredible photos of the mountains in the morning. Then of course, that photoshoot is followed by a celebratory round of coffee and a hearty breakfast (that’s my strategy, at least). You can’t beat that combination. Again, evenings are fantastic, but if you don’t mind getting up early, I would recommend mornings over evenings.
3. Prepare for darkness
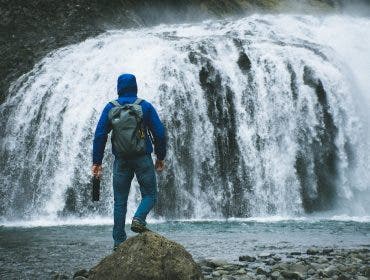
If you’re photographing alpenglow, there’s a good chance you’ll have to travel to your location, and you’ll be doing so in the dark for part of your journey. Always be prepared, know where your trailhead or path leads, and make sure to bring plenty of light sources, either a lantern or headlamp, that will aid in travel and set up at your location. Wear sturdy footwear and dress warm, as the temperature will be chilly in the mountains in the dark, during any time of the year.
Always bring protection, whether that be a knife or bear spray, as the mountains can be incredibly dangerous, and most animals that can harm or kill will be active during night time. Most importantly, don’t go alone. You should go with a buddy or small group to minimize risk. But if you do choose to go by yourself, make noise to alert animals that you’re nearby, and always make sure to tell someone where you are going, in case something goes wrong. The mountains are inviting, but everything can turn against you in a heartbeat, and you don’t want an ill-prepared trip to be your last.
4. Set yourself up for success
This sounds super simple, but if you don’t plan right and set yourself up for success, you will have a disappointing trip. Always make sure the mountains or range you are wanting to photograph are facing towards the sunrise or sunset so that the light is rising or setting on those mountains. Remember, alpenglow is caused by the sunlight reflecting off particles in the air opposite from the solar disk, so make sure to be facing away from the light.
Again, I know this sounds simple, but it always pays to check on the map, call the local ranger station, or look it up on GPS. Make sure you are set up for success because nothing is worse than the sun rising or setting and you realize you’re going to get a dark silhouette or mountain.
Finally, be ready to shoot fast, as alpenglow doesn’t stick around. You may only have five to ten minutes of vivid, red light before it begins to change. Be set up, and have your lenses ready for a quick change, so you can get all the shots you want.
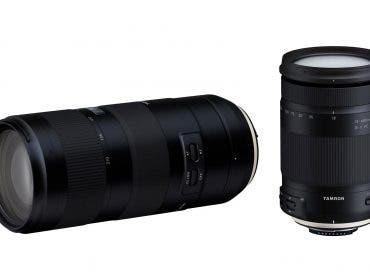
5. Make sure to pack a wide-angle lens and telephoto lens with a lower aperture
When shooting alpenglow, it’s best to capture it wide and tight. You want to have a lens that can go down to 14-15mm to capture everything in one frame, and a lens that can zoom in at around 200-400mm and go in tight on sections of the mountain or mountain range. You’ll want to be able to capture it all when you experience alpenglow and maximize the frames you come back with.
Finally, you want to always have lenses with a lower aperture rating. Anything f/2.8 or lower is preferred, which allows your camera to let in more light and shoot crisper images without raising your camera’s ISO settings, which will cause static and lower clarity.
Oh, and side note: if you’re working near water and have the chance to capture a reflection, it’s definitely best to pack a reliable tripod. That way, you can frame your shot, make sure your subject is level, and be able to set your shutter speed slower, to capture the water’s movement and let more light in. Doing all of this will maximize your photo quality and minimize the work you have to do in post-production.
Alpenglow is a natural phenomenon and an experience that, once you truly capture it successfully, will make you wanting to photograph it over and over again. It’s not only brilliant, but diverse, and every morning is unique and special. I believe if you follow these steps, you will be rewarded with alpine moments you will never forget, and photographs that will live at the top of your portfolio.
Get up and go for the alpenglow.