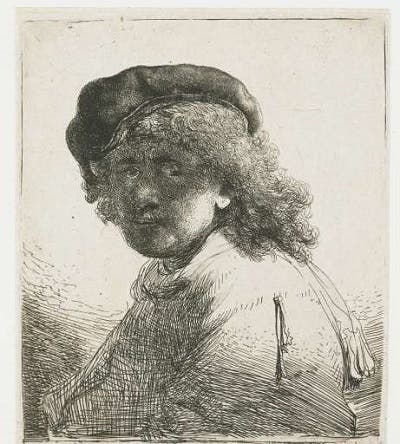
For many centuries, we’ve captured ourselves in some form of a self-portrait. During Antiquity, several artists of the day portrayed likenesses of themselves in painting and in creating sculptures. Fast-forward a couple of centuries to the Old Masters such as Diego Velasquez, Leonardo da Vinci and Rembrandt, who would also paint images of themselves using pencils or paints.
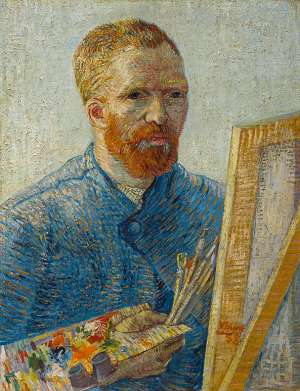
A couple of hundred years later, and while the camera had already been introduced into society, Vincent Van Gogh preferred to paint himself trying to capture a more “likeness” of himself that he felt he could not capture with a camera.
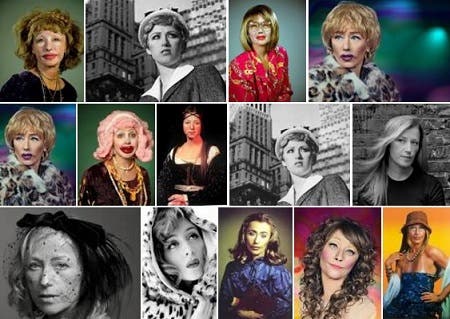
During the 1970’s Cindy Sherman produced a series of self-portraits in various costumes, scenarios and likenesses expressing female identity.
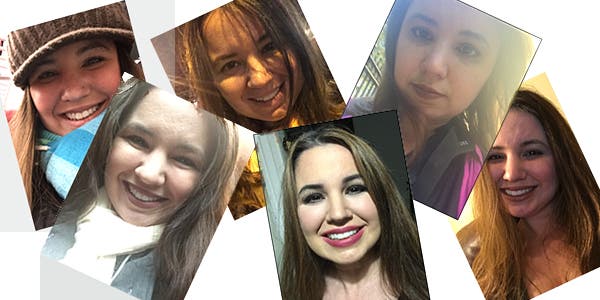
Now it’s the age of the “selfie”, a form of self-portrait usually taken with a smartphone either extended at arm’s length or attached to the end of a selfie stick. It has become a “fun” form of personal expression that has unmistakably littered social media and dating websites over the last decade.
However, not all social media and websites, in general, are crawling with the craze of “selfies”. LinkedIn is a great example of where one might find more professional portraits representing the professional side of its owner since LinkedIn primarily connects people to businesses and businesses to businesses.
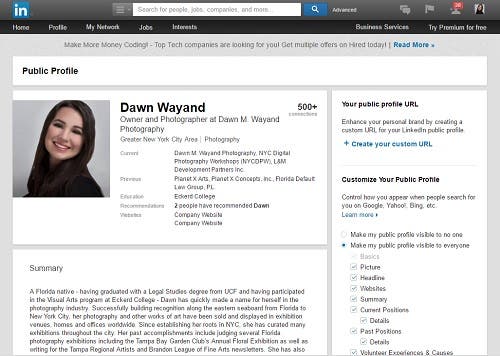
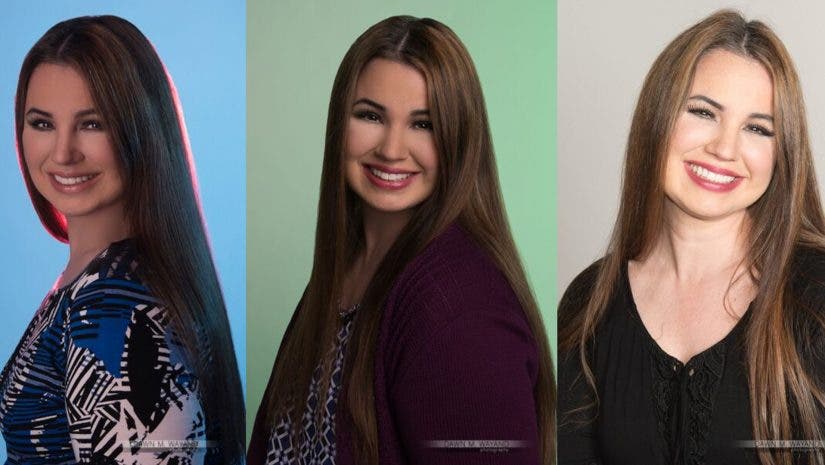
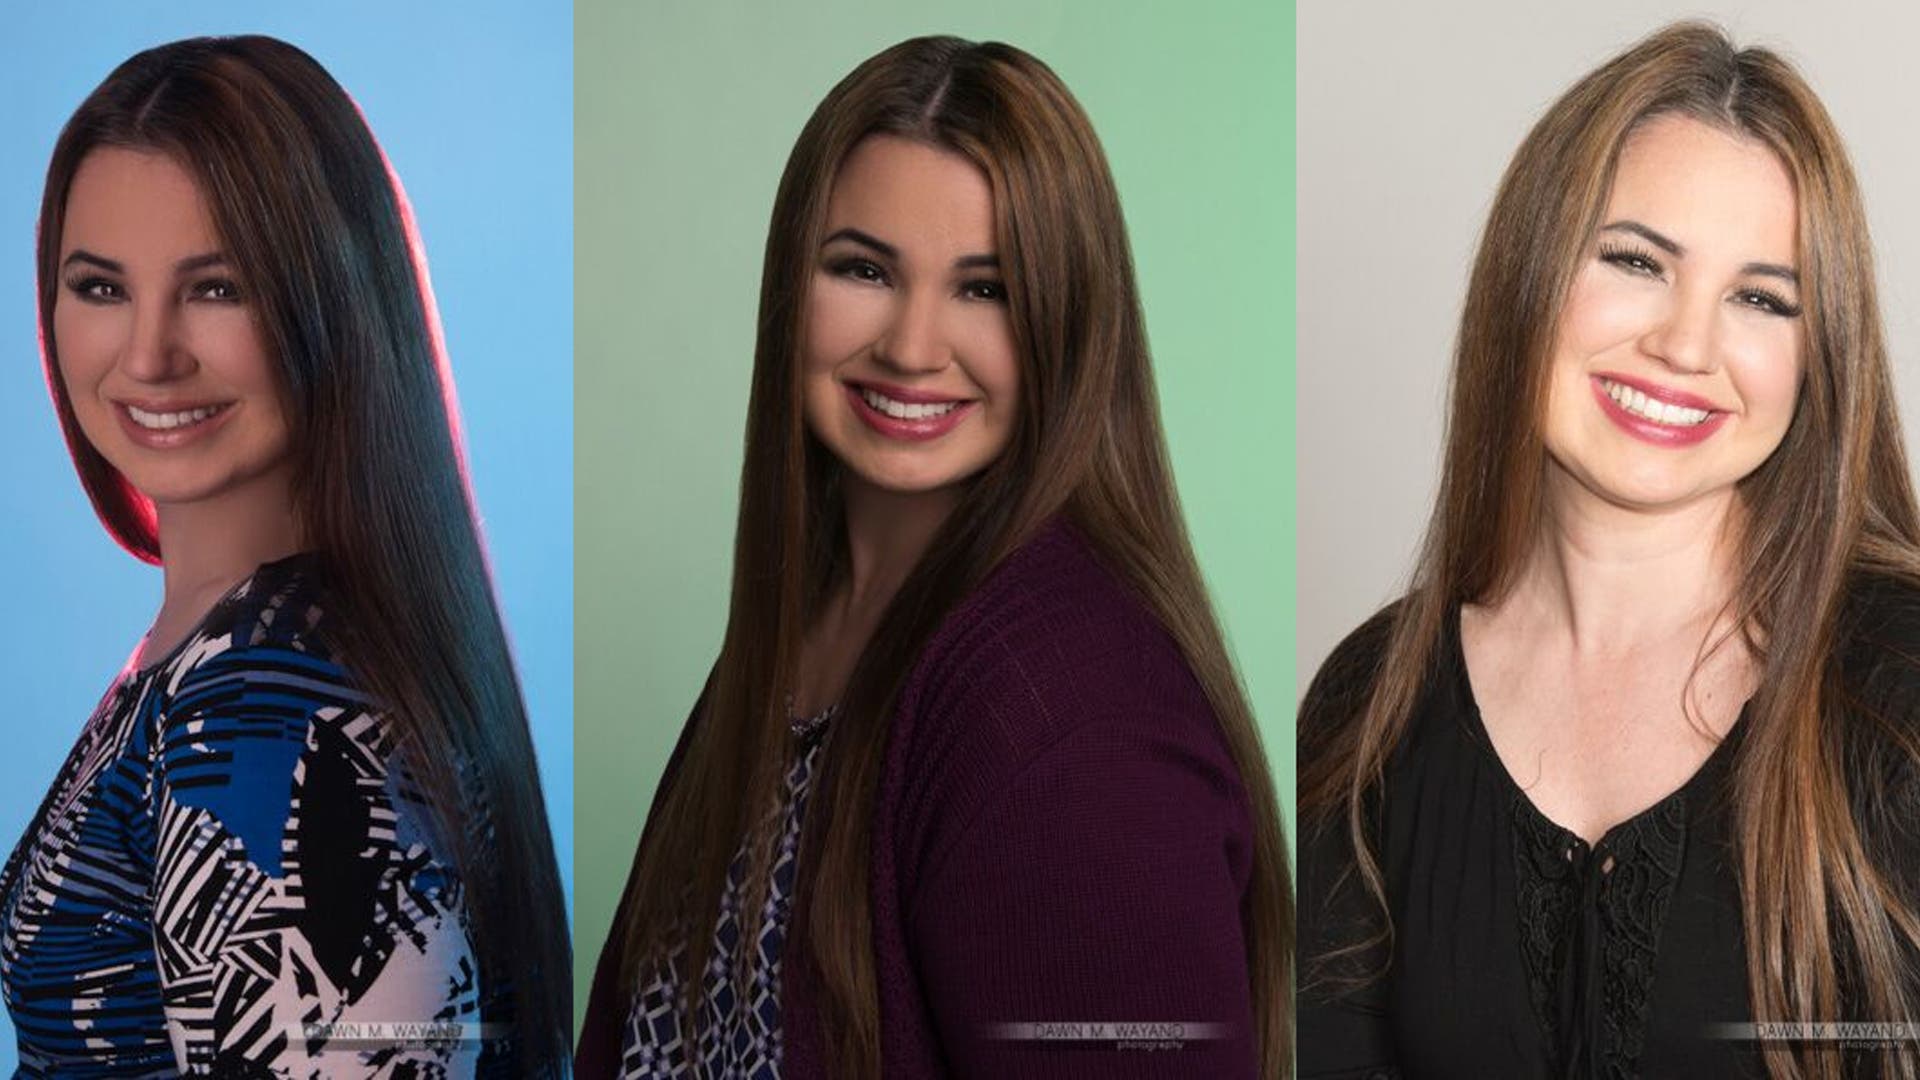
As a creative, you might be tempted to reach for that smartphone and take your own self-portrait for LinkedIn and/or other professional websites (including your own!) For professional purposes, however, you may want to consider the quality of the image when presenting yourself as a businessperson because while photography is a creative process, it’s also at least 80% business. So put the smartphone back down and let me show you 4 ways to create your own professional self-portrait.
Preparations Prior to Any Method
There are several different steps that are important to take care of prior to shooting your professional self-portrait.
Hair & Makeup
Prior to any preparations or method I mention here, in order for your portrait to really stand out and look professional, I always suggest having your hair and makeup prepared by a professional hairstylist and makeup artist vs. doing it on your own. Why? The camera picks up everything, but not always necessarily in a good way! For some of you, your portrait might be your calling card. Invest in your hair and skin appearance as you would your wardrobe.

Makeup
Ladies, while in person our makeup looks great, it takes a little bit more punch for the camera to pick it up and a professional makeup artist will know how to apply the makeup for the camera. Gentlemen, actors and models wear makeup – so there’s nothing to be ashamed of in preparing for your portrait in this manner too. Remember, the camera picks up everything – including every pore on your face. Trust me when I say, hire a makeup artist to save yourself time in post cloning and healing your skin so much that you lose the likeness of yourself in your finished portrait.
Hair
A hairstylist can also be a great tool to have on set as your hair could be perfect when you’re looking in the mirror, but once you get to your modeling stool or into pose for the shot, you will have strays everywhere that you didn’t notice before.
Your Space
You’ll want a clean shooting space where you will limit any potential problems or hazards during your shoot. Here are a few of steps I took for setting up for my shoot for this article. It will always vary depending on the type and location of the self-portrait shoot I do.
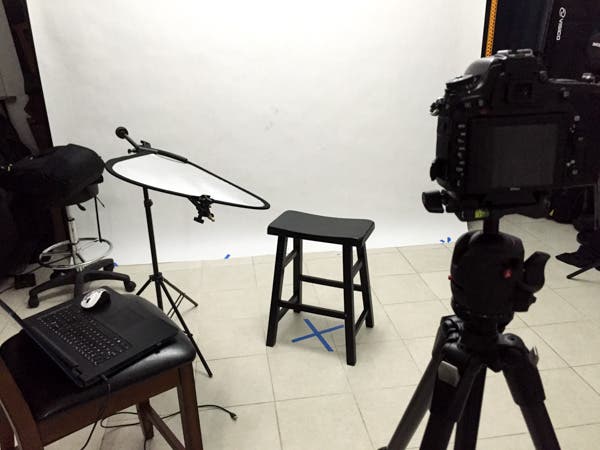
1. Place your posing stool or chair where you intend to sit (unless you intend to stand). I suggest 6 feet away from any flat backdrop to minimize/eliminate shadows behind you.
2. Take a piece of painter’s tape and place a big “X” where your stool or chair is (or where you plan to stand). This is so that you stay in the same spot as one of the methods below requires manual focus, which requires you to be in the same focal plane of your original manually set focus – to stay in focus.
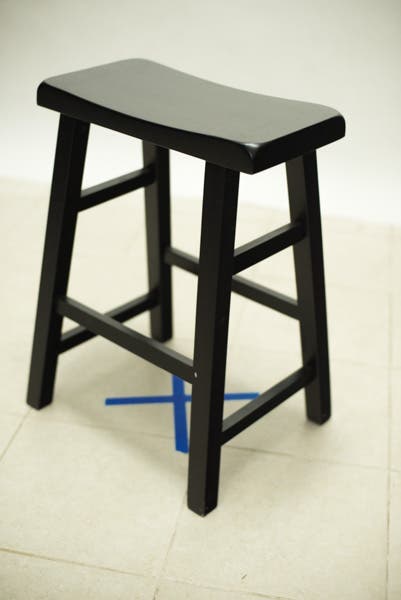
3. Set up your tripod 4-6 feet in front of you depending on the focal length of your lens (this is not the final spot for your tripod – just a resting spot while you situate everything else first).
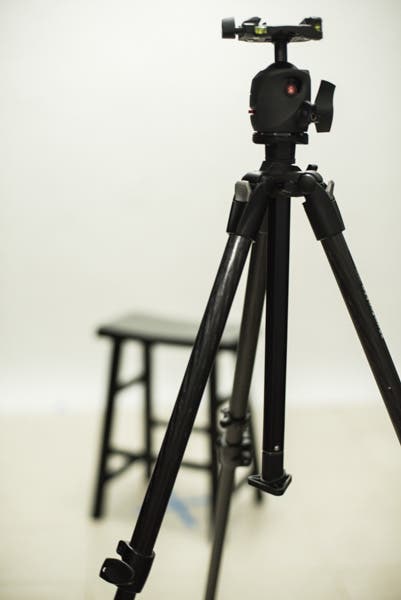
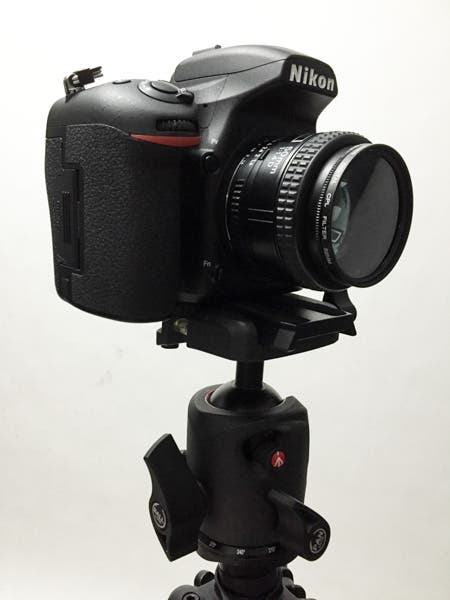
4. Attach your camera to your tripod.
5. Place your laptop or computer in viewing distance from the posing stool so that you can view the results as you shoot.
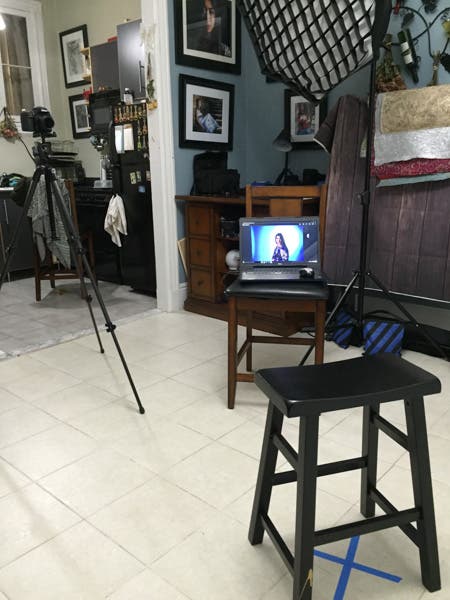
6. Set up a tether cord (that is specific to your camera) from your camera to the laptop or computer. Tether Tools makes a whole line of tethering supplies specific to your camera model. Just be sure to ask an Adorama associate which cable will work with your camera. I would suggest a 15-foot cord for a smaller area and longer for a larger area. It’s always better to have too much than not enough! Know that you will not be able to tether for all methods mentioned here.
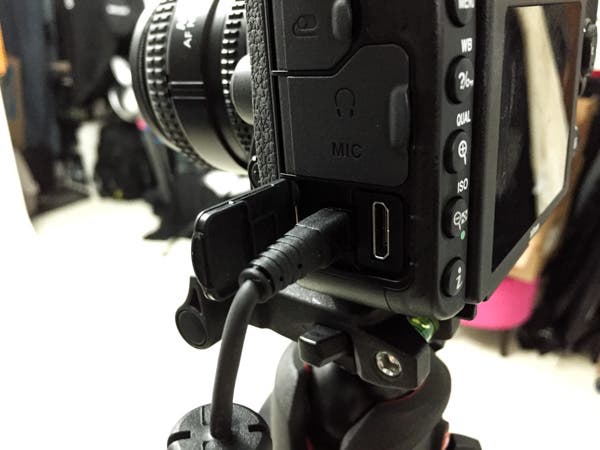
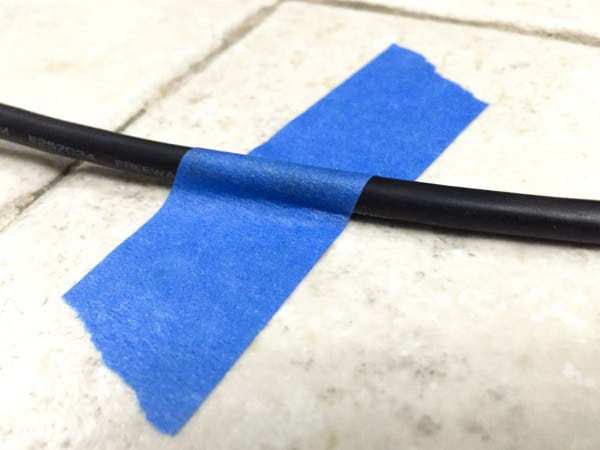
Also, be sure to use painter’s tape and tape down any and all cords so that you do not trip when going back and forth to your camera from where you are sitting/standing.
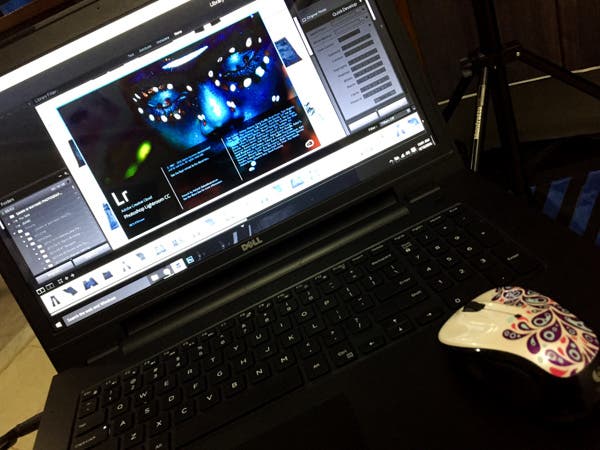
7. Boot up Lightroom (Adorama $142.99) or any other software that allows you to tether so that you can view what you are shooting as you shoot.
8.Set up your speedlight(s) or strobe(s) in the position(s) where you want the light to hit you. Be sure to also have any necessary pocket wizards or tool of equal use set up for your lightsource.
9.Set up the light modifiers you intend to use for your shoot. Ladies, beauty dishes and softboxes are your best friend when going for a classic portrait. You could consider adding a grid or working with your background, positioning and camera settings to make it a bit more edgy. Gentlemen, grids will give you a more raw, masculine look. I personally have and use a reflector holder for when I do not have an assistant. My weapon of choice is the Photoflex Telescopic LiteDisc Holder for 12-32” Portable Reflectors on any light stand that will stand at 3-4 feet from the floor and a Lastolite 32” Collapsible Triangular Reflector for headshots and close-up portraits
As a last word in all cases mentioned below, make sure you are looking into the camera lens when you are shooting and not into a tethered screen – rookie mistake!
Method #1: Self-Timer
- The first and most obvious way to get a self-portrait – the way we’ve known and done in the past – is by setting the self-timer in your camera.
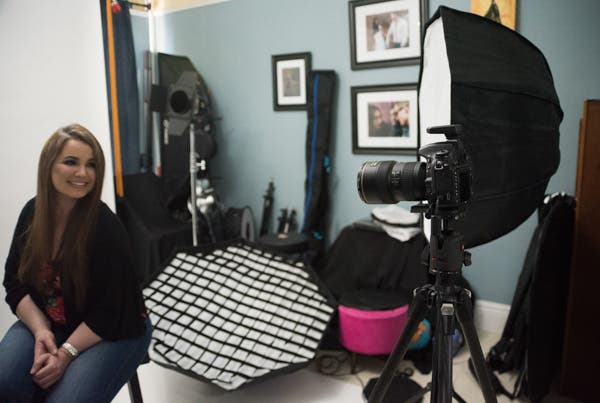
For this method, you will need to set your camera to manual focus and this is where that “X” under your seat will come into play. An additional step to your setup in this method is to set the focus manually so as to capture you completely in focus. There are two ways to do this
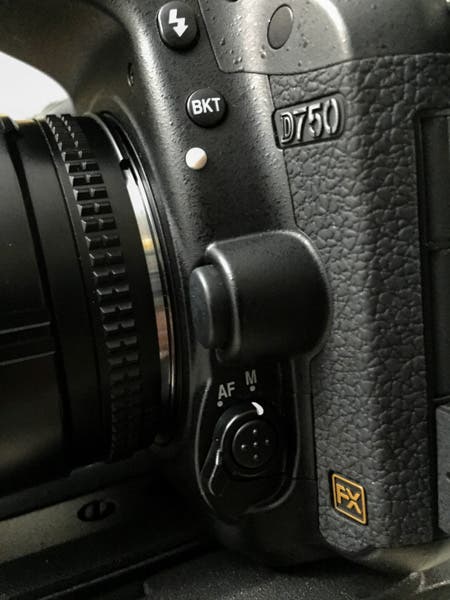
2. Then, set your focus for where you will be sitting in one of two ways:
- Place a tall object (something that at least hits your eye level) on your seat and manually focus on that object in the area where your eyes will be, or
- Leaving your tripod in place, take your camera off of the tripod and sit where you plan to sit or stand for your self-portrait (marking that spot with an “X”). Use your camera and manually focus back on the tripod.
Either of these two ways will get your focused on the distance between where you will sit/stand and from where your camera/tripod will be standing and shooting you.
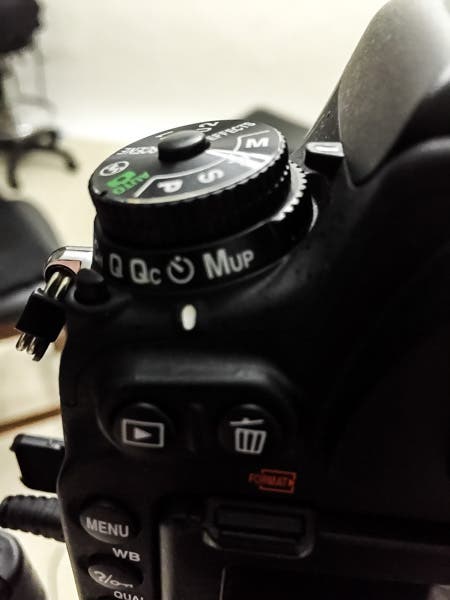
- Next, set your camera to timer mode. This is either done on a dial on the outside of the camera or in the menu of your camera.
4. Now, in the menu of your camera, set your preferred settings for your timer mode.
- Set the delay for the first image to capture. Give yourself enough time to get back to your seat after you press the shutter button. I find between 6-10 seconds to be plenty of time to get back to my seat and strike a pose.
- Next, set the number of shots you want to take in succession. This is good so get a succession of shots or poses before having to get up again to press the shutter button. Between 3 and 5 is a good number so that you can go back and check the images before continuing to shoot more.
- Last, select the time intervals between shots. I find 3 seconds to be a perfect amount of time to position myself into a new pose when shooting in succession.
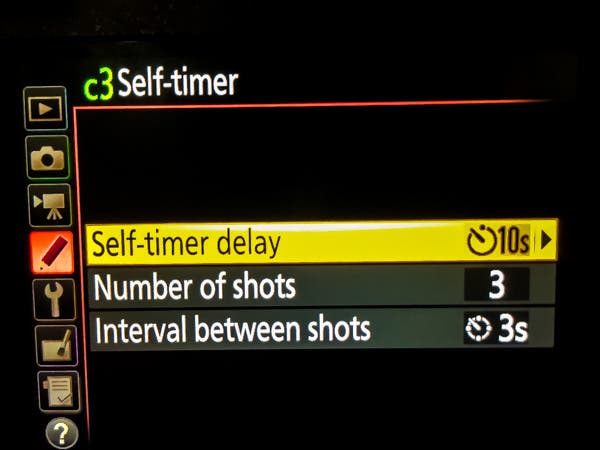
5. Now, press the shutter button, get back to your pre-focused spot and strike a pose!

Method #2: Wireless Remote Shutter Release
A second way to create a self-portrait is by simply using a wireless remote shutter release. Remotes are probably the best way to capture great composition in your self-portrait without having to run back and forth to the camera to press the shutter button. It allows you to position yourself the way you want before taking the shot.
With most camera/remote combinations, you should be able to set your camera to use autofocus for this method. This is something you will have to test or read up on in your camera’s user manual to be certain.

- After you’ve created your initial space setup, get your remote handy. Choose a tiny remote control so that you have more flexibility in posing without the remote showing in your hand. I find the Nikon ML-L3 IR Remote Control Transmitter to be a perfect size for my needs and it just so happens to work with my Nikon D750 camera. Check with an Adorama associate on what small remote options there are for your camera model.
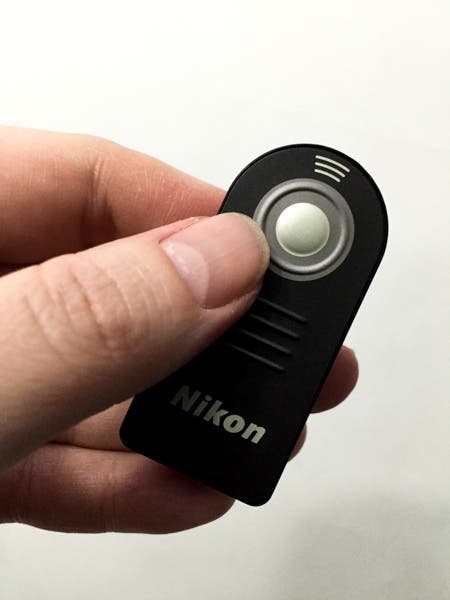
- Next compose your shot and click the shutter release button on the remote. It’s as easy as that!

Method #3: Lightroom
A very unique way to capture a self-portrait is by using Adobe Lightroom itself. Hey, that button on the tethering tool bar is there to be used!
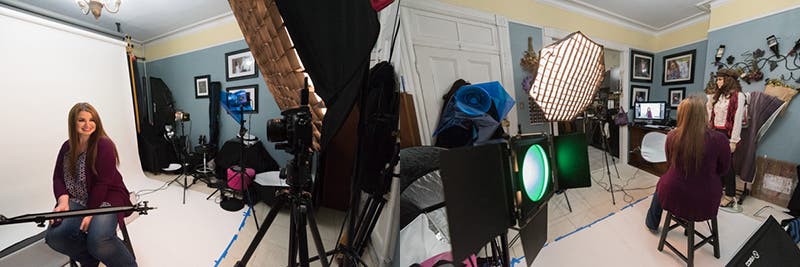
For this method, you’ll want to:
- Set your camera to autofocus.
- Grab your computer/laptop mouse or trackpad and have it near you. I kept my mouse in my lap (on my knee) for this shot. You can also use a nearby table.
- Have your pointer-cursor resting on the Capture button.
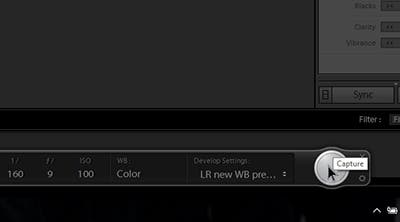
4. Compose your shot, check that the mouse/trackpad pointer-cursor is still resting on the Capture button and then left-click. You should be able to see your results instantly!
Method #4: Smartphone App
My last method for capturing your own professional self-portrait is to use your smartphone as a trigger for your camera (if you have a camera model that has WiFi ability).
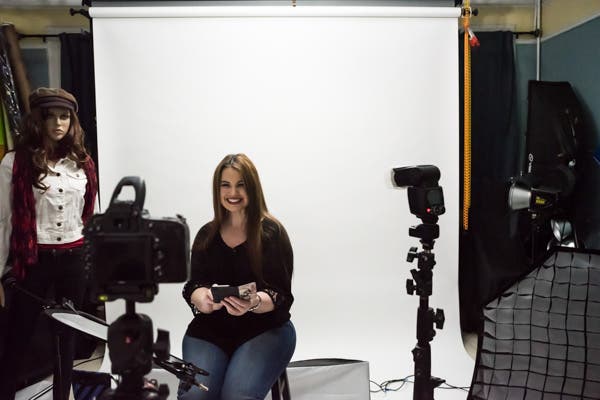
To implement this method, you’ll want to:
- Set your camera to autofocus.
- Then, go to your WiFi settings in your camera and turn on your network connection.
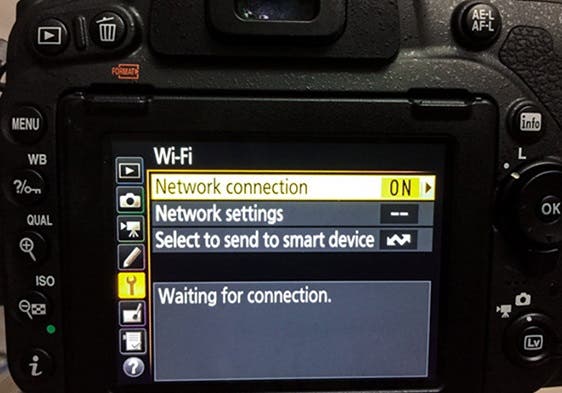
- Next, go into the WiFi settings in your mobile phone and find and select your camera connection in your mobile phone.
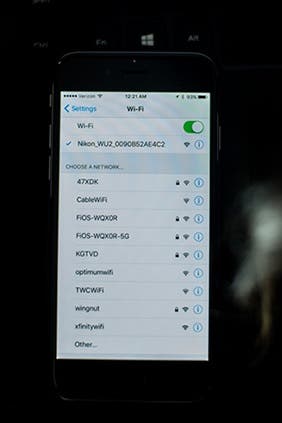
4. Once you’ve connected your camera and your phone, you should be able to use your phone app to create images.
As an example, I am a Nikon shooter and use the Nikon Wireless Mobile Utility. Once I open the app up on my smartphone (here an iPhone 6), I am faced with the option to Take Photos or View Photos. I choose to Take Photos.
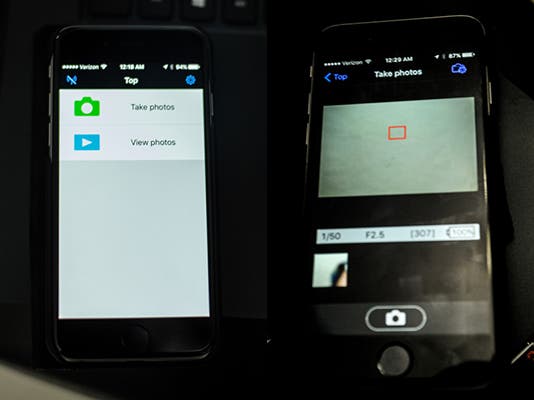
The next screen is a Live View screen on my mobile phone where I can see myself (here you can only see white seamless paper) and where there’s a camera icon button to push to trigger the shutter. This is where it’s best to look into the camera (or not!) when you are ready to click.
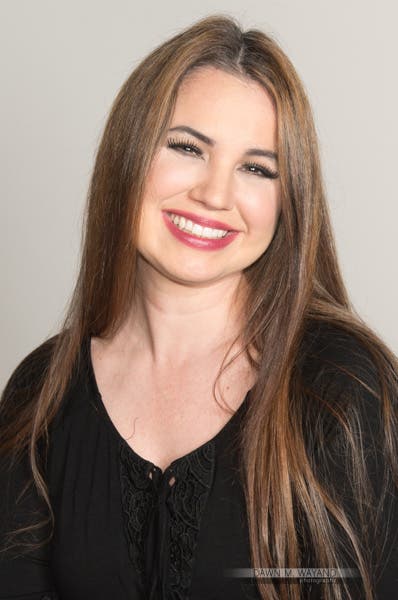
I hope that you have taken away some helpful preparations and a few techniques for creating your own professional self-portrait. It’s not an easy task – it does take practice. In the end though, not only do you get the self-portrait, but putting yourself in front of the camera will help to make you a better portrait photographer since you will get the experience of how your subject feels in front of the lens.
Stay tuned, as in the coming months my Part 2 to this article will be released on Tips for Getting Creative With Professional Self-Portraits.
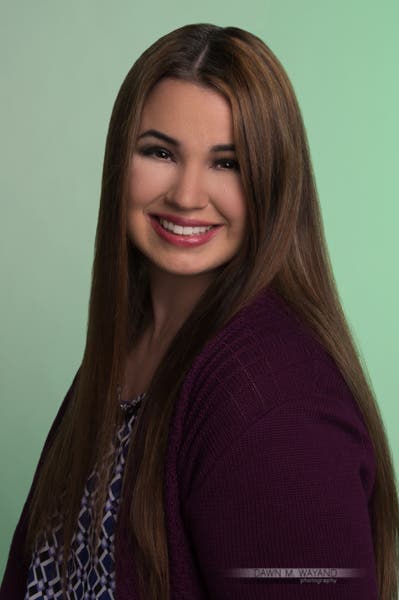
P.S. My bio photo below is, yet, another self-portrait!
