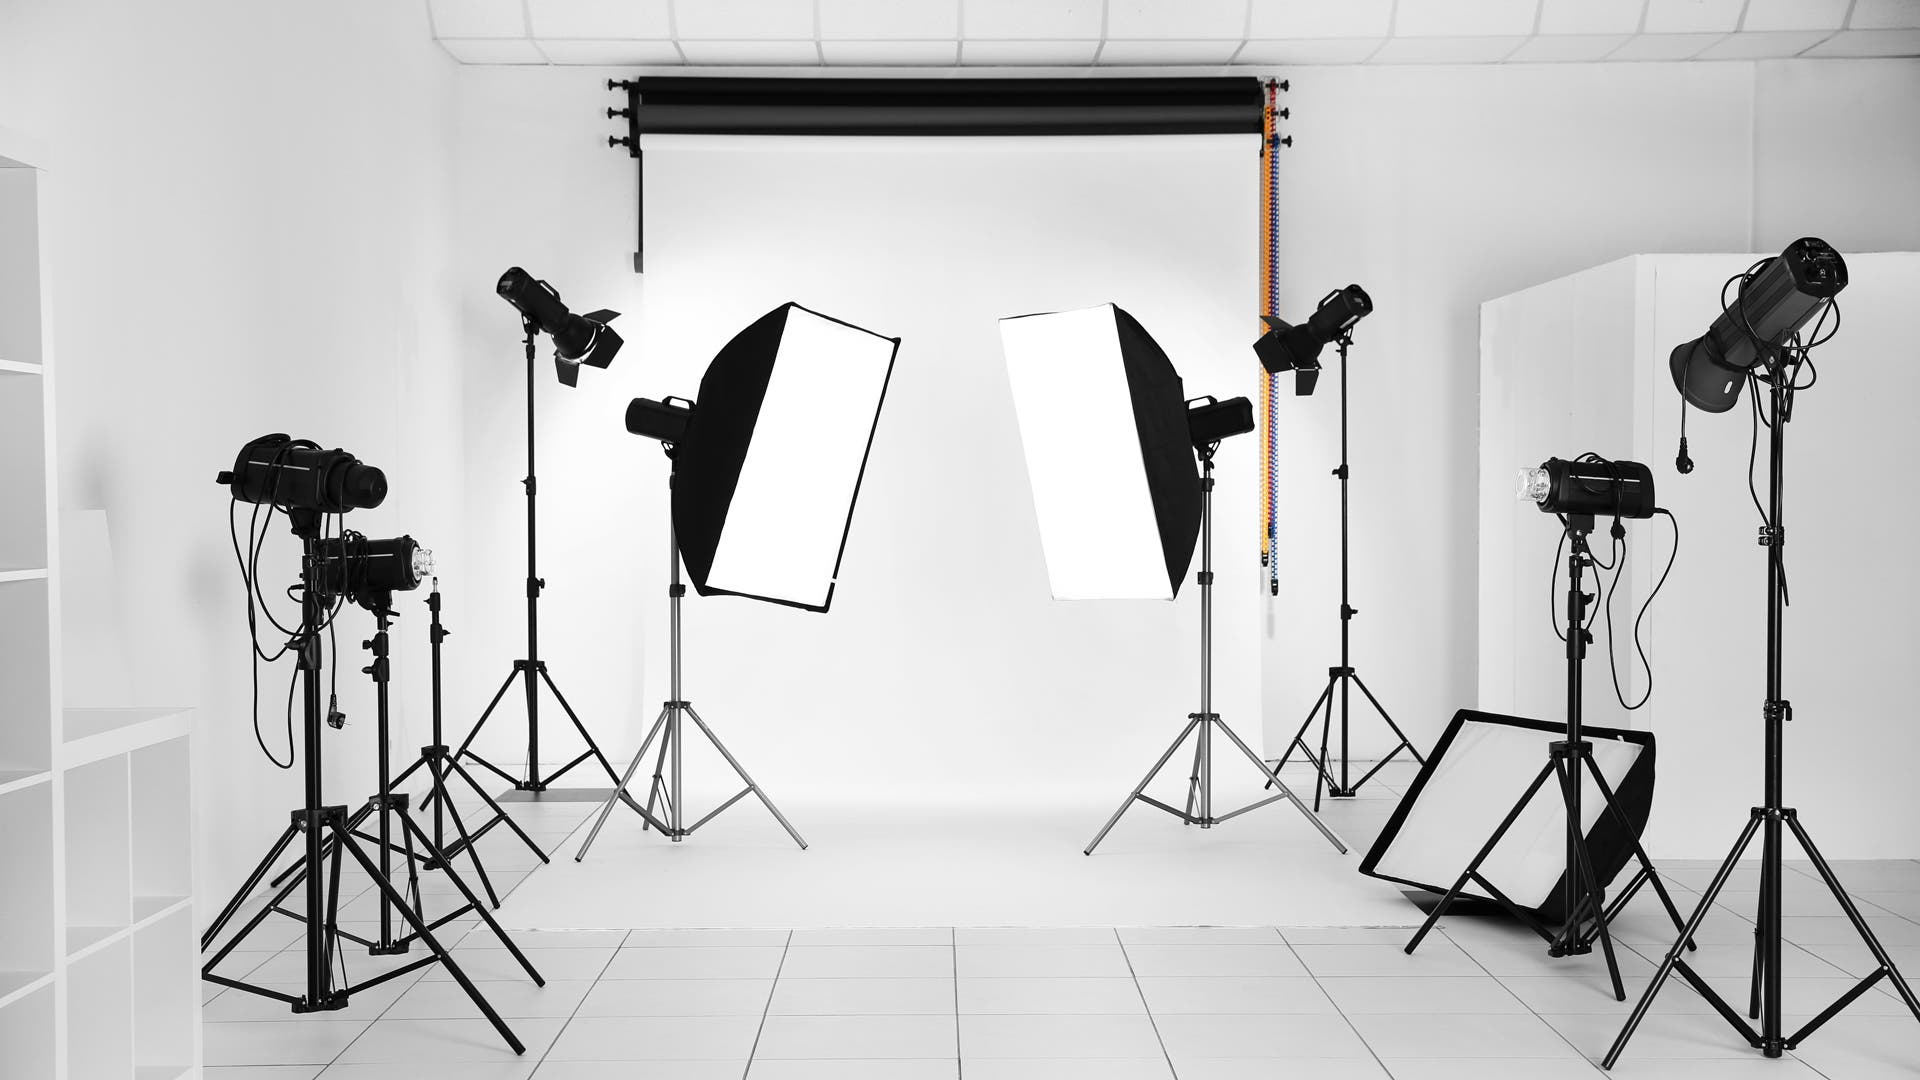
Lighting can be a frustrating experience for newbies to do studio work because while it is one of the most important tools for creating the image, it’s not the only thing to think about and control during a photo shoot. In this article, I’ve compiled four moody lighting techniques with diagrams and examples. It results in images to help you capture more interesting and creatively lit beauty portraits.
Working in my home studio, there’s also the direction of my creative team. They create the set, poses, and direction of the subject or model. Also, compose the frame, scan the subject or model for any necessary hair/makeup/wardrobe adjustments, and capture the image (occasionally reviewing the images in Adobe Lightroom through tethering while I am shooting). Within the lighting task, there’s not only deciding on how many lights and positioning them to achieve the result I’m looking for but balancing the power as well. Once you get a good amount of practice under your belt, all of these things WILL begin to come second nature to you, and then the fun begins!
Getting creative with lighting yields amazing results.
Image courtesy of Yann Bizeul
UNDERLIGHTING
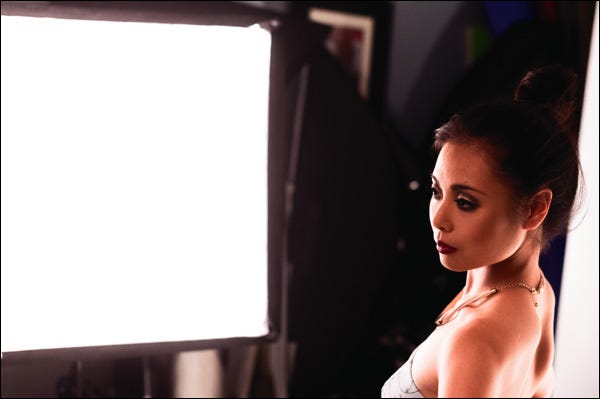
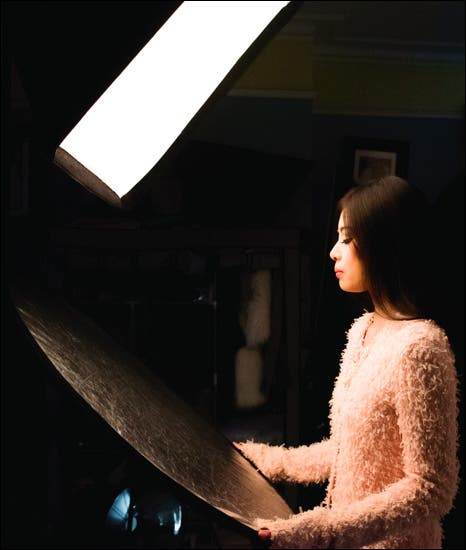
Underlighting, sometimes referred to as “movie” lighting is a quick and easy one-light setup. It reels in (no pun intended) a dark, dramatic effect and will help to sculpt a subject’s body and face. Typically, a subject is wearing darker colors, though a mix with whites or reds can also lend to a character’s look.

Underlighting example, sometimes referred to as “movie” lighting.
Here my model/actress, Kathryn, is dressed in darker pants, a white top, and a black hat for the look. What type of character does this light lend to stereotyping her? Is she the dark villainess or the all-mighty heroine? Perhaps she’s a female gangster? I’ll leave that for you to decide. While you’re doing that, illustrate how we set the lighting for this shot.
Setting Up Underlighting on Your Subject
As mentioned previously, this is only a one-light setup and the type of lighting is under lighting so this one will be easy to remember.

Diagram of an example of an Under Lighting setup.
For the image of Kathryn above, I opted for an easy setup. Using a black seamless paper background and placed the strobe with a metal reflector directly in front of her, angling it up to hit her face. While you can have a subject posing straight forward with the camera, I had Kathryn pose standing right, but swinging her torso back around toward me with her hand on her hip for a more powerful look. I had her elongate her neck so I didn’t lose her neck with this type of lighting. I sat down and photographed her from a hero perspective and voila!
DOUBLEBACK LIGHTING
Doubleback lighting, which I also found to be called “badger” lighting is a creative two-light setup that helps to emphasize shadows. Which adds angles to the face and body. Depending on the power and modifier used, the shadows can range from very harsh (which works for chiseling a man’s face) to soft (like in the image of my beautiful model, Kathryn, below).

Example of Doubleback Lighting on my model.
The tell of this type of moody lighting is that it leaves inverted color markings rendered by the lights similar in look to those of a badger.

The badger has a white “W” marking, and Doubleback Lighting leaves a dark “W” marking.
Image courtesy of Google Images.
Setting Up for This Technique
This lighting setup, which can yield some beautifully dramatic results, is simply a two-light setup with two big softboxes. For the doubleback lit image of Kathryn above, I used two (2) simple and inexpensive 24” x 24” Glow softboxes.
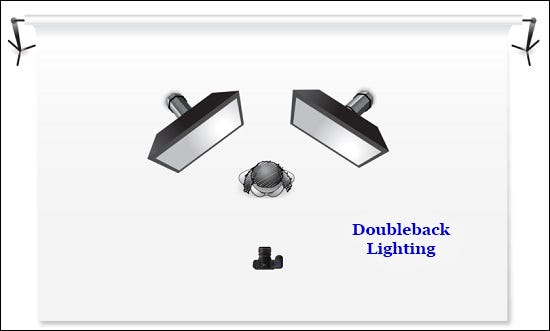
Diagram of example Doubleback Lighting setup.
For this type of lighting setup, I placed two lights behind Kathryn, one on each side of her. The idea is to have the light behind her so that it slightly wraps around her hair and shoulders to create that distinct badger “W” marking on the face.
BUTTERFLY LIGHTING
While butterfly lighting can be as little as a one-light setup (more if you want to light the background) positioned above and in front of your subject – high enough so that it creates a shadow under the nose similar to the shape of a butterfly.

Butterfly Lighting
How to Create Butterfly Lighting
As mentioned above, to create butterfly lighting, place a light with a diffuser (here we used a 24” x 24” Glow softbox again) in front of your subject, high enough so that it creates a butterfly shadow under the nose. You will want to leave a reflector out on this one as it will cancel out the shadow under the nose. The camera should be positioned straight on the subject’s face for a symmetrical capture.
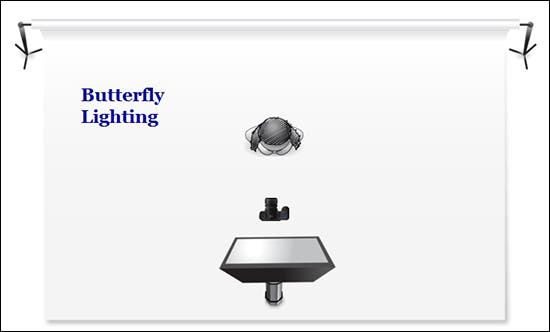
Butterfly Lighting setup.
This is how high we positioned the light for the butterfly image above…

A butterfly lighting setup.
Image courtesy of Yann Bizeul
CLAMSHELL LIGHTING
Clamshell lighting is a form of beauty lighting that pretty much eliminates shadows on a subject’s face as the lights are positioned to cancel out the shadows each would create. It is generally used to emphasize natural beauty or to highlight makeup (usually for a skincare or makeup ad…) We used it artistically in the image below to highlight the creative color work that my hair/makeup artist, Gil Aldrin, created on my model.

An artsy example of clamshell lighting using two lights for the clamshell and two background lights.
Here we wanted to create an artistic image and used very dramatic makeup since we wanted the emphasis to be on the makeup and its vibrant colors. We glued a few real peacock feathers to the side of her cheek and – Voilà!
Setting Up Clamshell Lighting
Clamshell lighting can be simple to set up. A light is placed in front of and just above the subject aiming down on the subject’s face. A reflector or second light is placed just below the face aimed up onto the face. In the image above, we used a second light. If you use a reflector, you will not have the equal lighting power that you would have if you used a second light.
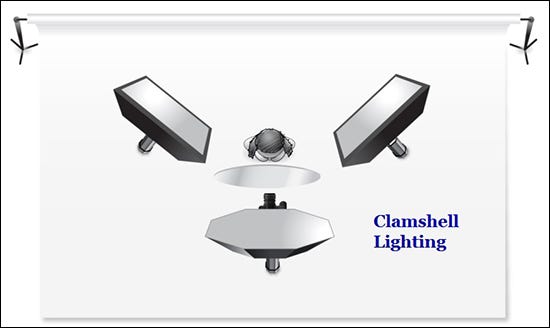
Clamshell Lighting setup with a reflector.
Optionally, you can also use any combination of lights to light the background. We used two lights; one on each side of her at the height of her head. We then aimed back onto the background to cancel out any shadows on the background projected by the model.
Below is an example of the clamshell lighting setup using a reflector and no background lights…
This is the setup for clamshell lighting using a reflector instead of a second light and without background lights.
Here is the result of this setup…

Clamshell lighting results when using a reflector for a 2nd light source and no background lights.
As you can see, the reflector does not project as much light as a second light would and as a result, there are defining shadows under every part of her face where there is overhang (ie. under her hair, eyebrows, eyes, nose, cheekbones, and chin.
How you choose to light your subject depends on your envisioned result.
TURN ON THE LIGHTS…
Working in a studio can be what you make of it. There are many ways to light a subject depending on how you set up your lights and at what power, what modifiers you use and how you pose your subject in relation to those lights. While lighting is a learning process, figuring it out and creating some amazing images during that process can definitely make it a worthwhile investment of your time.