

* All images are courtesy of Dawn M. Wayand Photography unless otherwise noted.
As photographers, we are always looking for new and interesting ways to get inspired to create creative images during our shoots. One of our students brought a piece of Plexiglas to one of our workshops that I sat as a subject for and used it like a table for me to rest my arms on and it yielded me and a cool reflection of me in the image. It got me thinking. What other ways can Plexiglas be used to create exciting images? Read on to find out some of the things I have tried with Plexiglas to make more creative images.
Shooting Through Plexiglas.
Image courtesy of Yann Bizeul.
What is Plexiglas?
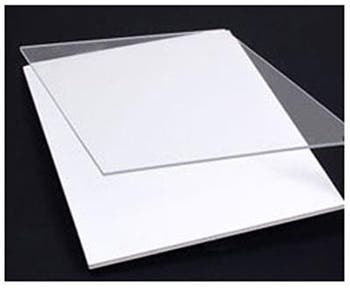
First of all, what the heck is Plexiglas? Plexiglas is the brand name for a piece of acrylic, which is made of polymethyl methacrylate and is basically a shatter resistant alternative to glass. The unfortunate problem with Plexiglas is that is can scratch easily so you have to be careful when using it. It’s dual-purpose reflective and see-through qualities, however, can work wonders in photography.
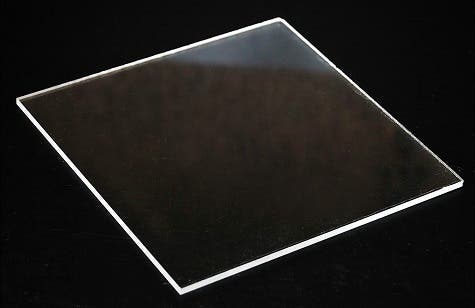
Plexiglas.
Image courtesy of Google Images.
Traditional Uses
The clean reflective qualities of Plexiglas has offered photographers a creative way to shoot products, beauty and portraits.
Product Photography
Whether it’s white or black Plexiglas being used, you’ve seen images before like the one below – the mirroring effect of a product created using a piece of Plexiglas on top of a white or black surface. Since Plexiglas is clear, it can also really be placed on any surface color. In addition, Plexiglas provides the ability to light products from underneath the product.

Plexiglas used in product ads.
Image courtesy of Google Images.
Beauty Photography
In beauty photography, Plexiglas allows for many different types of substances to be applied on it to create embellishing overlays to faces with amazing makeup work, as you will see later in this article. In addition, you sometimes may see a commercial or even an ad with a clean beauty look and the female model is hovered over a piece of Plexiglas allowing her reflection to double the impact of her look.
Portraits (Floor Prop)
Studio portrait photographers sometimes place Plexiglas on the floor for their models or subjects to lay on, utilizing that much desired reflective property.

Some of My Creative Uses for Plexiglas
I have been working with Plexiglas over the last year creating a lot of fun and unique images that goes beyond the reflective qualities that Plexiglas typically offers.
For all uses below, you will need the following:
- Tripod. Obtaining a stable support system for your camera is one of the most important things you should do right after you buy any camera and lens. Not obtaining a proper tripod to support your camera and lens unit can result in the unit falling and getting damaged – sometimes beyond repair.
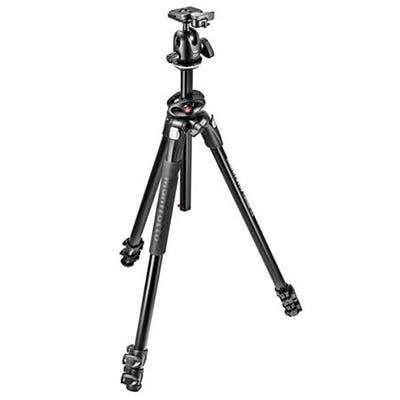
Manfrotto MK290DUA3-BHUS 290 Dual Aluminum Tripod Kit with Ball Head
- Light Stand. Like a good tripod, it’s also important to invest in good light stands as they typically not only hold speedlights that can cost up to $800 but they also hold strobes that can cost up to $3,000 or more!
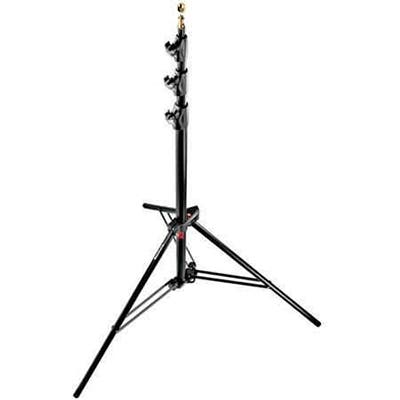
Manfrotto 1004BAC 144-inch Air Cushioned Aluminum Master Light Stand
- Sandbags. You always want to use weighted sandbags with any light stand. I tend to fill mine with two closed Ziplock bags full of real sand, which you can purchase at any hardware store, but water bottles can also work too.
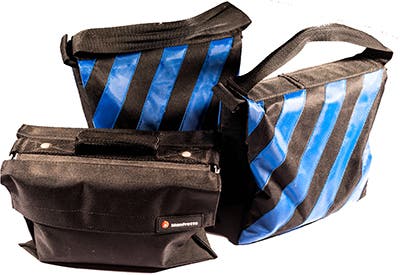
Fill them with water bottles or actual sand in Ziplock bags.
Flashpoint (blue and black) Sandbags and Manfrotto G100 Boom Sandbags
- Reflector Bracket. A reflector bracket is great to have on hand for not only holding your reflector when you lack an assistant on your photo shoots, but this works well in holding your Plexiglas to shoot through as well.

Interfit Photographic Bracket for Portable Collapsible Reflectors
- 18”x24” Plexiglas. Plexiglas comes in a variety of shapes and sizes. For beauty shots, I tend to stick with 18”x24” due to the weight the reflector bracket can actually support.
Archival Methods UF5 Plexiglas 18×24
To Set Up Your Plexiglas:
1. Set Up Tripod. Set your tripod up in a position that is at the level with your subject of which you intend to focus on. For beauty, I typically have my subject sitting and I focus at eye level.
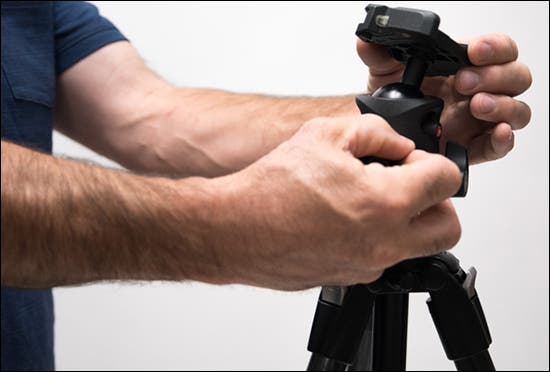
Set up your tripod.
2. Set Up Lightstand. Make sure your light stand is properly set up complete with heavy sandbags to support the weight of your Plexiglas.
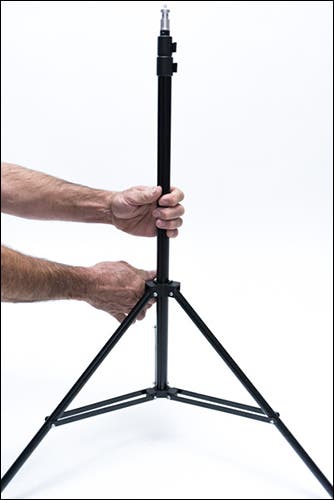
Set up your light stand.
3. Attach Reflector Bracket in a Vertical Position. Make sure you attach your reflector bracket in very tight and secure in vertical position.
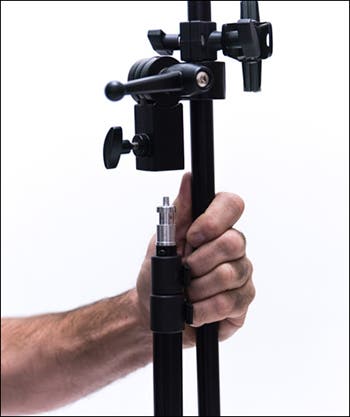
Attach the reflector bracket to the light stand.
4. Attach Plexiglas. Attach your finished Plexiglas piece using the clips on the reflector bracket. Make sure the Plexiglas is secure. It will shift a little back and forth but as long as it is vertical, your clips as not damaged and there is weight on the bottom of your stand, you are good to go.
Attach the finished piece of Plexiglas to the reflector bracket.
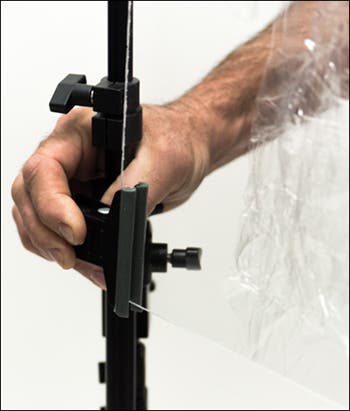
5. Shoot Through Plexiglas. Place your lens as close to the glass as you can get to avoid glare, aim your camera toward your subject through the Plexiglas, focus and shoot!
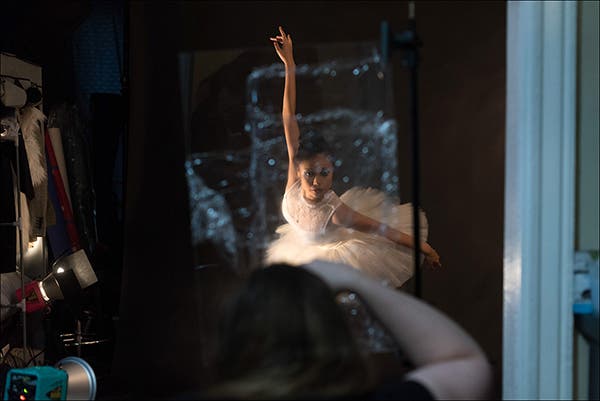
Shooting through Plexiglas wrapped in Saran wrap.
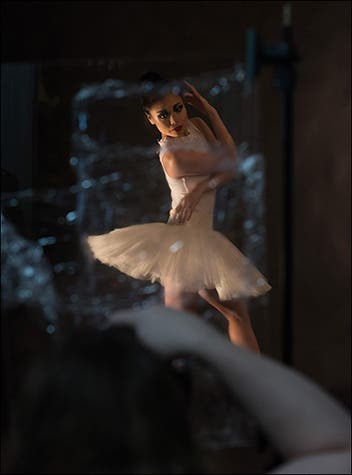
Saran Wrap
While some photographers achieve this same effect using Vaseline on their lens, I found a way that avoids a mess and potential damage to my lens. Saran Wrap!!
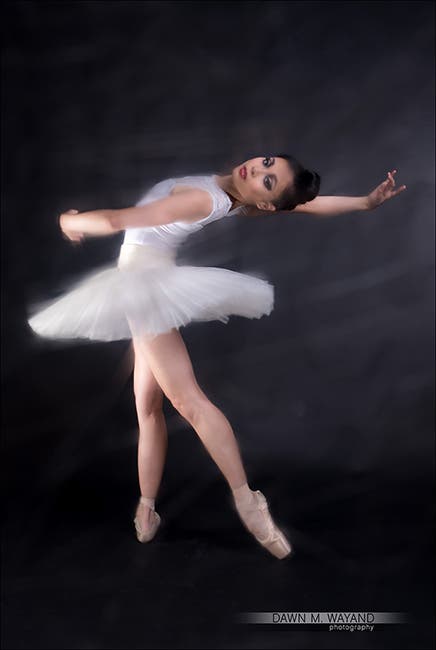
The Saran wrap added motion to my motionless model, Shoko.
Very little else is needed beyond the basic necessities listed above to achieve this whimsical effect to my portrait of this model/dancer.
What Else is Needed
- A Roll of Saran Wrap
Yup, just regular household Saran wrap will do the trick!
Preparing the Plexiglas
1. Pull the Wrap Off of the Plexiglas. Typically Plexiglas is wrapped in its own sort of thick protective Saran Wrap to prevent scratches. Unfortunately you cannot use this as it does not re-stick or stick the way Saran wrap does.
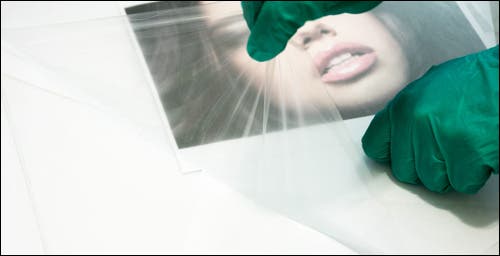
Pull the wrap off of the Plexiglas.
2. Layer Saran Wrap. I like to attach the Saran wrap not only in just one, but two layers to achieve the desired effect. You may need to play around with your layering to get the effect you are looking to achieve. Make sure you have folds in the Saran Wrap layers and leave some areas of only single unfolded Saran Wrap for placing your focus point(s) through to avoid focusing issues.
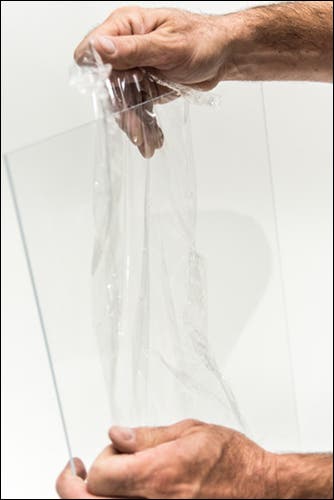
Wrap one or more layers of Saran wrap around the Plexiglas.
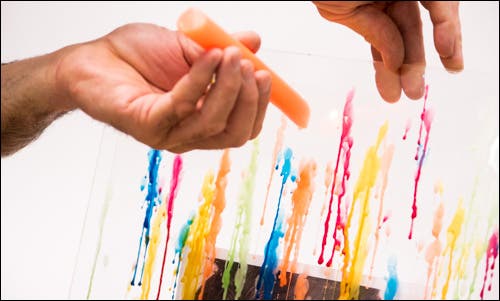
Paint
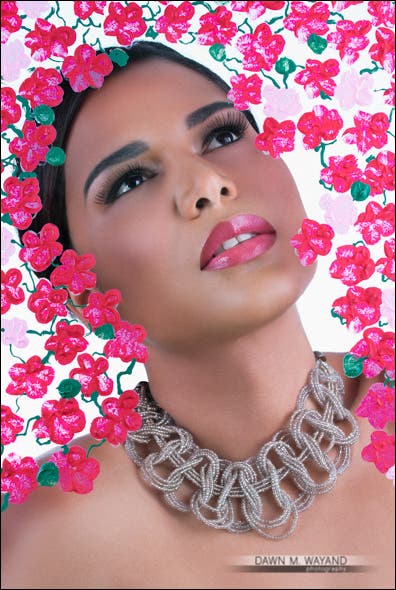
Image of my model, Karen, playing around with paint on Plexiglas.
What Else is Needed
- Variety of Acrylic Paint Colors
- A box of crayons (optional)
- Paint Brushes
- Sponges (optional)
- Liquid Brush Cleaner/Acrylic Paint Thinner
- Cloth
- Gloves
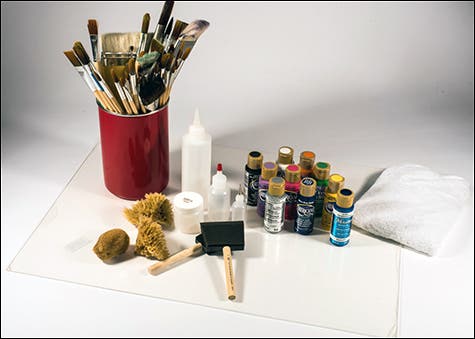
Fun combination of paintbrushes, natural sponges, paint, bottles for application and a towel for quick cleanup.
Preparing the Plexiglas
1. Pull the Wrap Off of the Plexiglas. Remove the plastic wrap that Plexiglas always comes in on one side only. You will remove the other side when you are completely finished with your piece. I do it this way to avoid scratching the bottom side when I’m painting on the top side.

Pull the wrap off of the Plexiglas.
2. Get Inspired. Sketch what you plan to paint onto a separate sheet of paper to use as a guide. If you are out of ideas or need some inspiration, select an image from the web as a piece to inspire your painting. Still don’t know where to start? Google “abstract art”.
Select an image to use for inspirational purposes.
3. Add a Model. Print out and tape down a life-size photocopy of a person’s face, and tape it to the back of the Plexiglas with the face looking through the Plexiglas as your subject will also be looking through the Plexiglas. I do this to have some sort of guide as to where to leave space (around eyes, mouth or the whole face…)
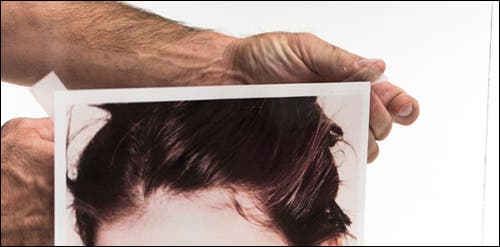
Using scotch-tape (easier to remove), tape photo onto Plexiglas facing into the Plexiglas.
4. Sketch It First. To prevent painting mistakes, I tend to sketch my design onto Plexiglas using a crayon first. I choose to use crayons as it leaves only enough trace for me to see when I’m painting and the paint easily covers it. I use different color crayons to mark different colors in the image.

I use red for the flowers.
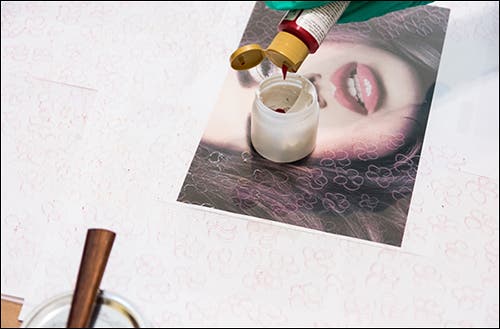
5. Add Molding Paste. Once the sketch is complete, take a paint jar and add some molding paste to it. The amount really depends on how much of the color you will be painting. I like molding paste because it thickens the paint consistency and leaves a nice texture.
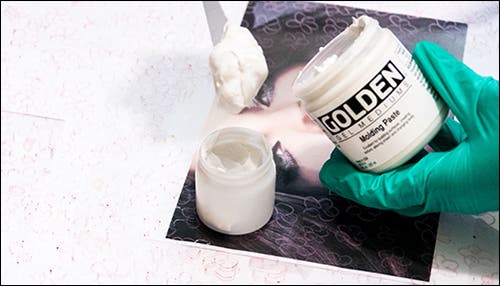
Add texture paste (molding paste in this case) to a paint jar.
6. Add Paint. Add a choice paint color to the paint jar containing the texture paste.
Add paint.
7. Stir. Stir together with a painter’s knife. Make sure to wipe down the painter’s knife after stirring to avoid having to scrape and scrub off the paint and paste later.
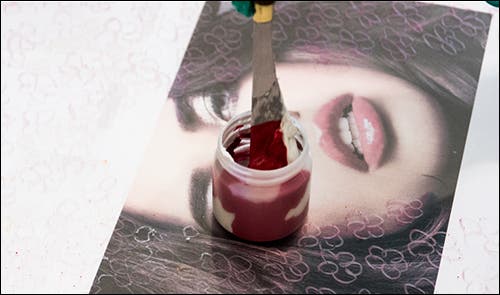
Stir.
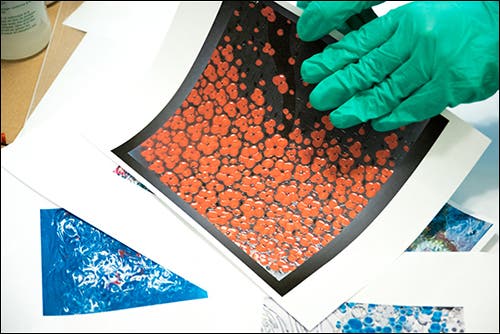
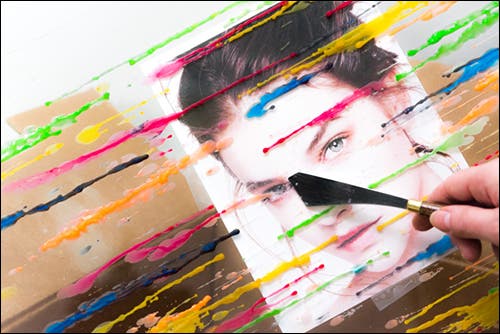
8. Paint Your Heart Out! Using a paintbrush (I chose a rounded brush here), begin filling in the shapes in your design with the colors you’ve chosen. In this case, I am working one color at a time starting with cherry red.
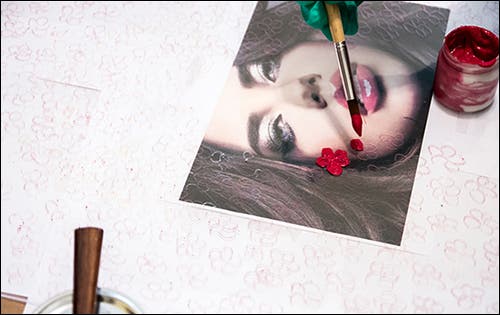
Paint your design on the Plexiglas.
9. Allow To Dry. Once complete, either lay the Plexiglas out in a place where it can safely dry or attach it to the reflector bracket and allow it to dry hanging.
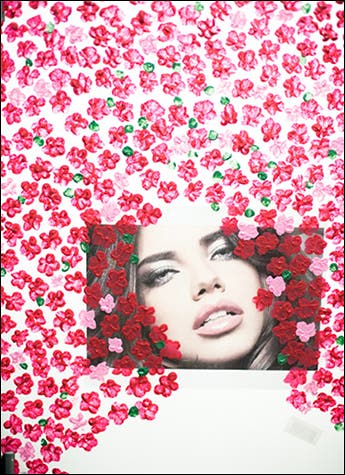
I have attached my Plexiglas to my reflector bracket to dry. The darker flowers
here will be the same color as the others once I remove the model’s photo behind it.
Texture Pastes
If you are a painter as well as a photographer, you will know what texture paints are and where to find them! If you are not, these are basically do as they are called, they leave texture. Texture pastes can be found at any art store in the acrylic mediums section.
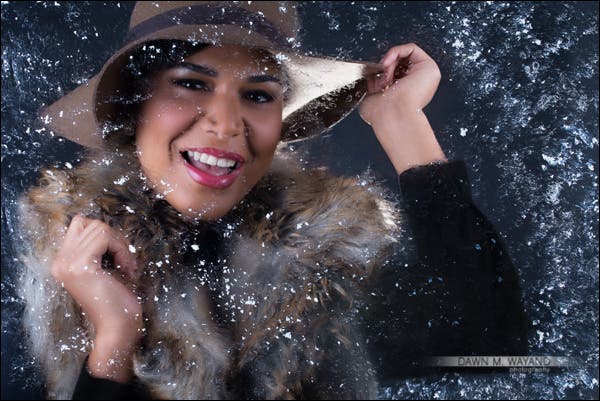
A fun, snowy scene using opaque white flake paste on Plexiglas.
What Else is Needed
- A Texture Paste of Choice (I chose Opaque White Flake Paste here…)
- Sponges and/or Paintbrushes
- Cloth or Paper Towels
- Gloves

A variety of textured pastes, brushes, sponge, gloves and a towel for cleanup.
Preparing the Plexiglas
1. Put on Gloves. Pastes can be messy. Protect your hands while you work by putting on disposable gloves.
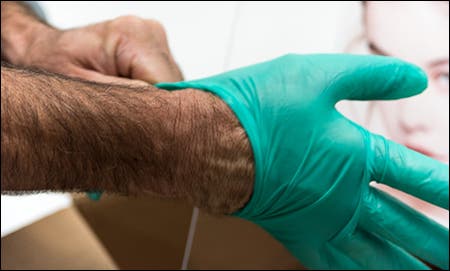
Any type of working glove will do.
2. Add a Model. Print out and tape down a life-size photocopy of a person’s face, and tape it to the back of the Plexiglas – face looking through the Plexiglas.

Using scotch-tape (easier to remove), tape photo onto Plexiglas facing into the Plexiglas.
3. Sponge Texture onto the Plexiglas. When using something like flakes or sand types of mediums, a sponge works better to avoid spreading trails.
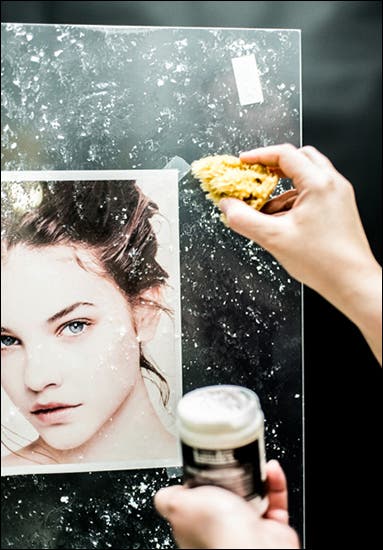
I am sponging the White Opaque Flake Paste onto the Plexiglas.
4. Tidy It Up. Remove any excess or break up clumps with a painter’s knife.
5. Let Dry. Allow your piece to dry. Some pastes, like this one, have a gel base that dries clear and leaves the texture. In this case, the flakes look like snow.
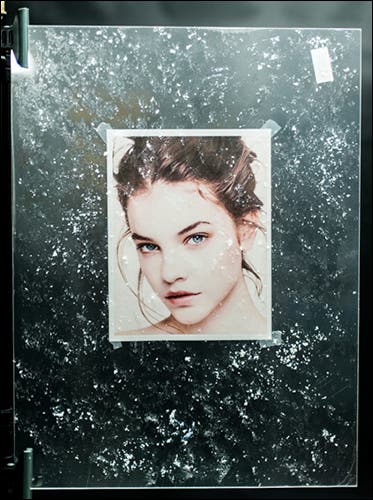
Be sure to let this dry completely.
Candlewax
The candle wax method can be frustrating at first if you have a specific idea in mind and the candle wax seems to have a mind of its own with the direction it drips. Experiment with it and the reward is limitless.
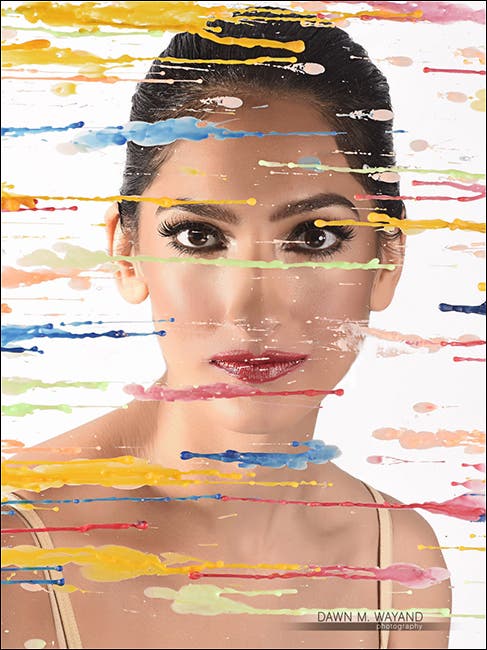
Photo of my model Deeksha behind Plexiglas with candlewax.
What Else is Needed
- Dripping Candles
- Lighter
- Big Box (about the size of the Plexiglas!)
- Painter’s Knife.
- Patience.
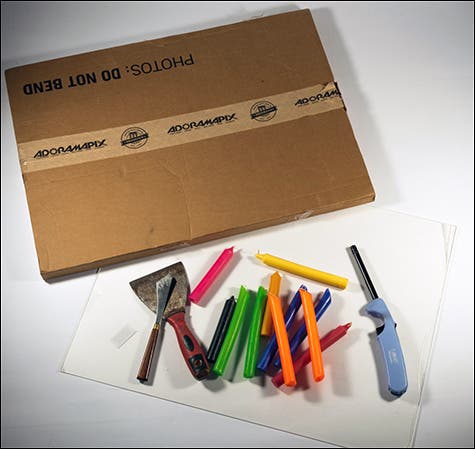
Cardboard, dripping candles, painters knives and a lighter is just what the doctor ordered here.
Preparing the Plexiglas
1. Place Plexiglas in box. Put the Plexiglas in a box about the width of the Plexiglas as it will help keep it upright, allowing for hands-free flow while containing the mess.
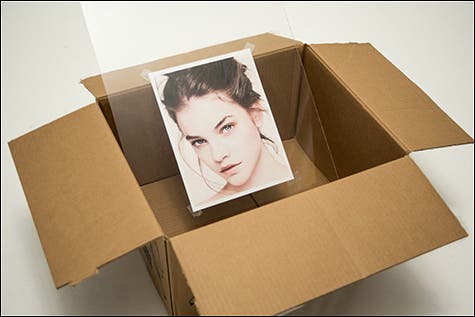
This can be done vertically or horizontally depending on which way you want the wax to flow.
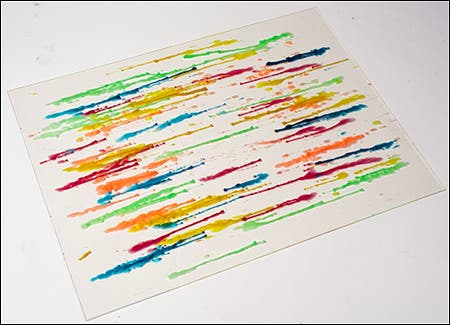
2. Light it Up. Light first candle and start dripping onto the Plexiglas. Continue dripping using any candle colors you wish to include in any design you choose.
Drip candle wax into designs on the Plexiglas. I chose to do a mix of line lengths and colors here.
3. Keep It Neat. If you mess up, let it dry and then use painter’s knife to scrape it off.
Scrape off any mistakes or excess.
4. Drip, Drip, Drip. Continue dripping various candles of various colors per your desired design and effect.
5. Let it dry. While candle wax dries nearly instantly, I find laying the piece flat after I’m done with it ensures the flow stops there.
Candle wax dries almost immediately.
This technique may take a few tries, which is why I actually have one test piece of Plexiglas that I use to test all of my methods prior to creating a finished piece.
What’s Your Creative Uses For Plexiglas…??
Plexiglas can be a fun and creative way to mix up your portraits and beauty shots. I still have several new sheets of Plexiglas and a few more ideas in mind that I’m excited to experiment with. What’s your creative uses for Plexiglas?