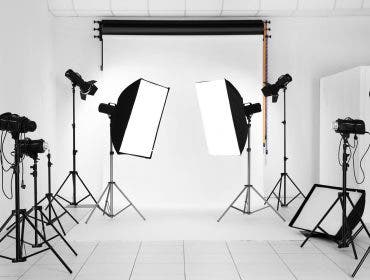
Light is a necessary element for creating a photograph. That’s a given. There are several great ways to light someone, both indoors and outdoors, but when you get into studio lighting – where you can fully control color, quality, direction and intensity – the possibilities become endless.
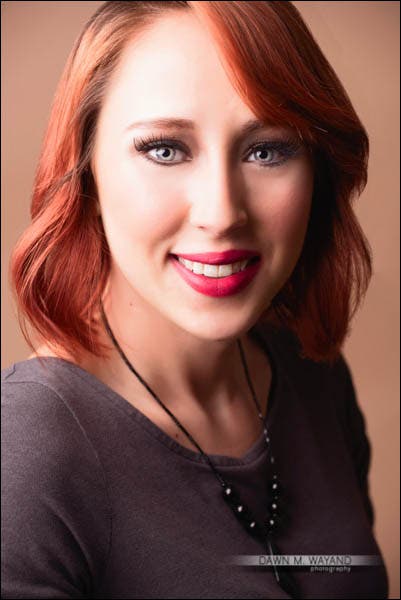
Loop lighting.
That being said, the decision on how to light a subject for a portrait can be a tough call when, in general, the way you light something can make or break your photo. We all aim to make our images look unique from others and while there are a lot of choices in how to shine some light on your subject, here are three tried-and-true lighting styles with some variations to get you started on creating better portraits.
REMBRANDT LIGHTING
What is Rembrandt Lighting?
Rembrandt lighting came to be known by its name through study of works from the artist, Rembrandt, and how he portrayed light in his paintings. In most, if not all, of his works, he worked light into his masterpieces much like we shape light in our photographs, but with one interesting niche that became a “tell” of his work: he would show light shining on his subject in a position that made one side darker than the other and that darker side would contain a triangle of light on the shadow-side cheek.
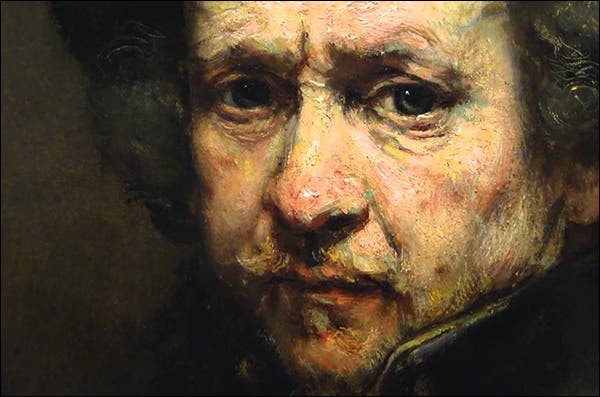
A Rembrandt self-portrait using a lighting technique we now call Rembrandt Lighting.
What is Needed?
Rembrandt light can be accomplished with just one light, a subject and a camera. Variations of the lighting pattern can be achieved through the use of different light modifiers like a grid, a softbox or just about any modifier that gives you directional light.
Variations and How They’re Done
There are a couple of different ways to play with basic Rembrandt lighting using just a softbox on a light stand. For each way, you will want to have your subject’s head slightly turned to one side or the other to create a side that is closer to the camera than the other.
Rembrandt Short
When shooting Rembrandt Short, the result is that the side of the face closest to the camera is darker than the side of the face farthest from the camera. Whether your light is on the right or the left side of your subject at a 45-degree angle, make sure your light source is high up enough that you see the shadow of the nose almost touching the the edge of the corner of the lips on the side opposite the light source. Using the modeling light on your strobe can help you find this position. For shooting Rembrandt Short, you will want to have your subject’s body completely facing the light, slightly turning their head back toward the camera. This allows for the part of the face closest to the camera to fall into shadow.
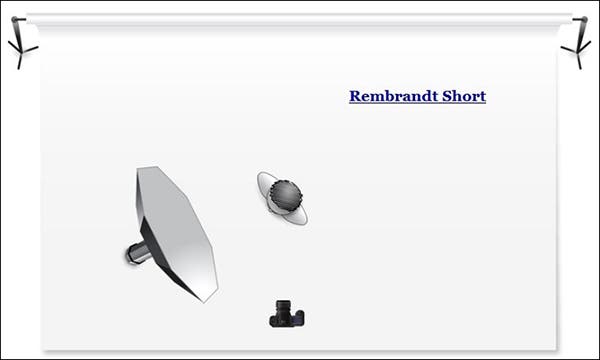
A “Rembrandt Short” lighting setup.
The Rembrandt short lighting setup above yielded this image below.
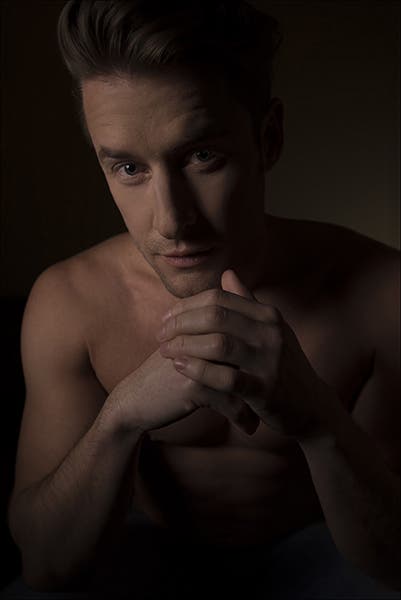
An example of “Rembrandt Short” lighting.
Rembrandt Broad
Rembrandt Broad lighting is when the side of the face closest to the camera is lit and the side of the face farthest from the camera is in shadow. While this lighting pattern can be achieved using one side or the other, to set up Rembrandt Broad lighting in this example, have your subject face their right (about 45-degrees away from the camera, but have them bring their face back toward the camera). Place your key light on the opposite side of where their body is facing, in line with their front shoulder. Using the modeling light on your strobe, raise the light up high enough to create the little mark or triangle of light on side of the face opposite the light source.
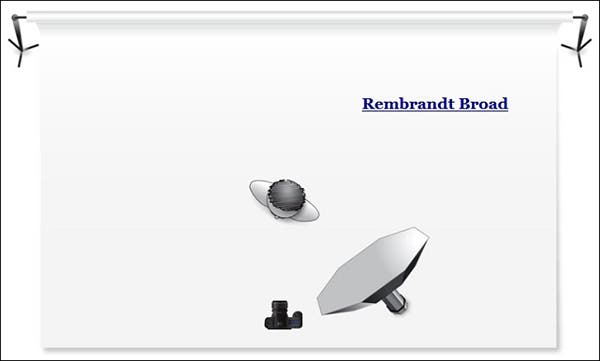
A “Rembrandt Broad” setup.
The image below is the result of the Rembrandt Broad lighting setup above.
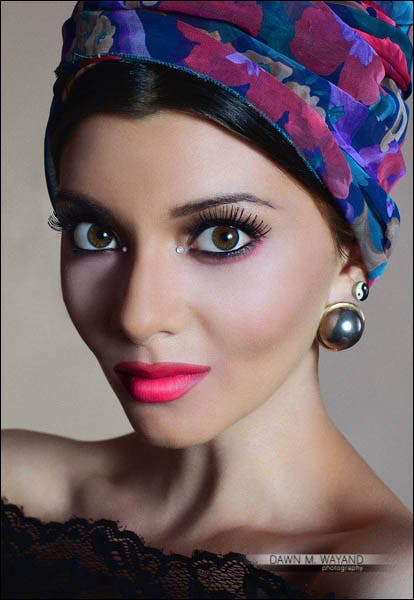
An example of “Rembrandt Broad” lighting.
LOOP LIGHTING
Loop lighting is a lighting technique called such as its “tell” is that it leaves a loop pattern under the nose. The loop lighting setup is very similar to Rembrandt lighting setup except that the triangle on the shadow side never closes and the shadow of the nose appears to be pointing to and/or just touching the corner of the lips.
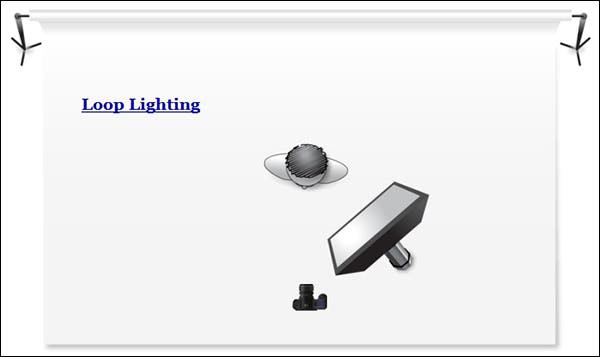
A “Loop” lighting setup.
The loop lighting setup above produced this resulting image below.
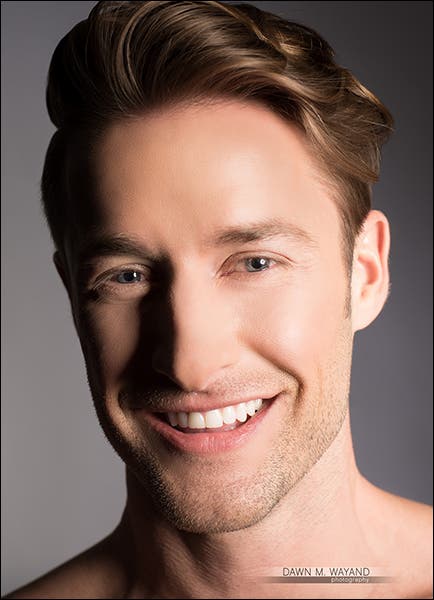
Loop lighting: The shadow from his nose reaches the corner of his mouth.
SPLIT LIGHTING
A split lighting setup results in one side of the face being lit and the other side of the face being completely in shadow. This occurs by placing a light on one side of the subject or the other. There are two types of split lighting: short and broad.
Short
Short split lighting is when the side of the face farthest from the camera is lit and the the side of the face closest to the camera is in shadow. This result can be accomplished by placing a light source directly to the side of your subject and having your subject turn slightly toward the light source. I typically like to use a beauty dish with a grid when setting up split lighting for a portrait as it is more directional and I have more control over where the light will hit my subject’s face.
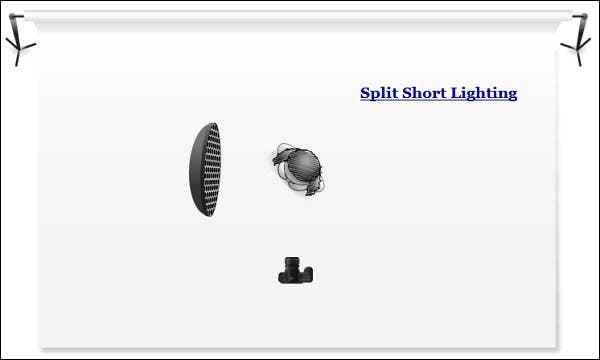
Diagram of setup of shooting Split Short lighting.
The image below of my beautiful assistant Chelsea is the result of the short split lighting setup from above.
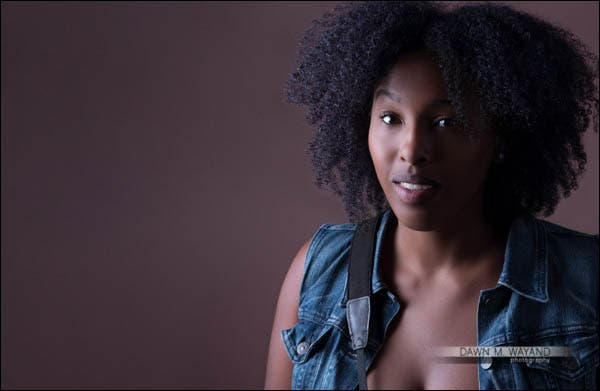
Short Split lighting: when the side of the face closest to the camera is in shadow and the other side is lit.
Broad
Broad split lighting is when the side of the face closest to the camera is lit and the side of the face farthest from the camera is in shadow. This can be achieved by setting a light source directly to the side of your subject and having your subject turn slightly away from the light source.
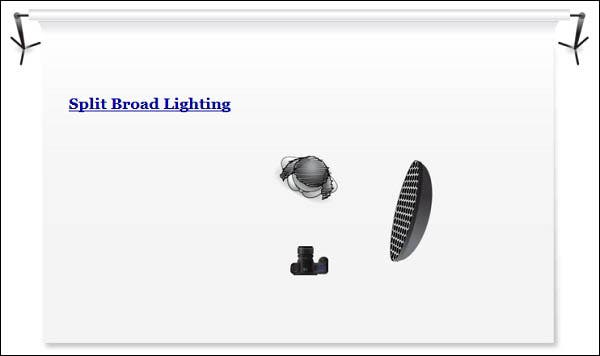
Diagram of setup shooting Split Broad lighting.
The image below is the result of shooting Split Broad lighting using the setup above.
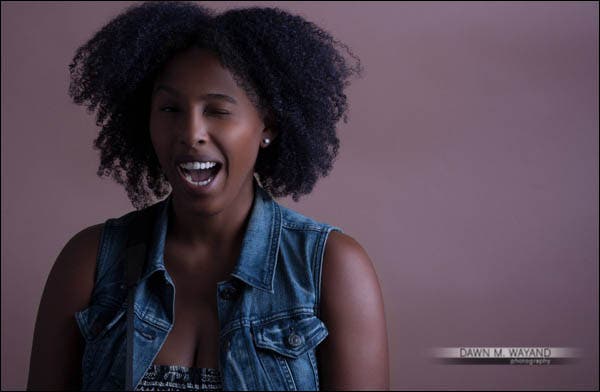
Broad Split lighting: when the side of the face closest to the camera is lit and the other side is in shadow.
WHAT GEAR IS NEEDED?
Notice that all of these setups required only one light? Yup. That’s all you need is one light, a light stand, a modifier and a camera. You can use a strobe or continuous lighting to achieve these results, though your results will be a little bit more prominent with strobes. The downside is that you have to take the picture to really see the result. Softboxes, and for strobe lighting, beauty dishes with or without grids, work really well as modifiers.
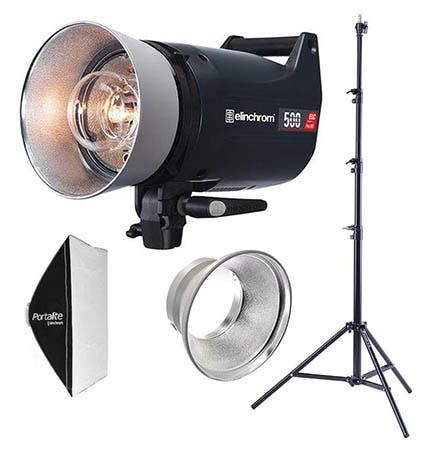
Elinchrom ELC Pro HD 500 500W/s Compact Flash Head With Accessory Bundle
Image courtesy of Adorama
WHEN IT ALL STARTS MAKING SENSE…
While studio lighting can become a stressful topic for beginners, it doesn’t have to be. Rent some continuous lights prior to buying strobes and place them in various positions around your subject to get a what-you-see-is-what-you-get result. You’ll find these lighting patterns very common in all sorts of portraiture, fashion, and so forth. These lighting patterns are just a few of several lighting patterns often found in photography. More to come!
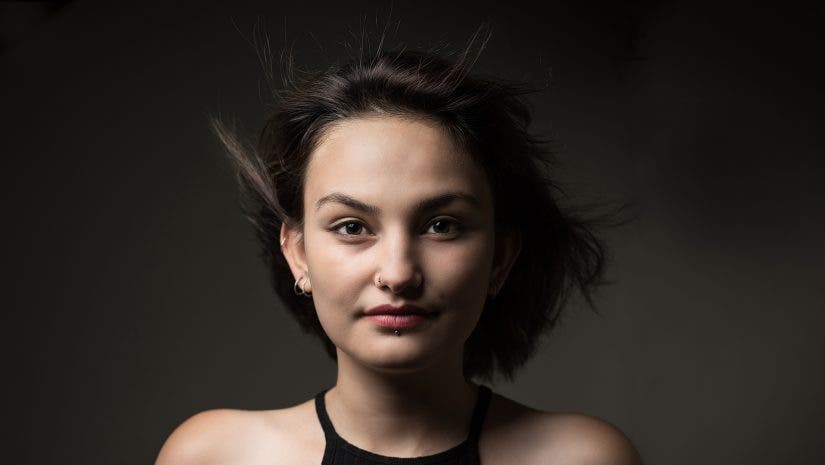
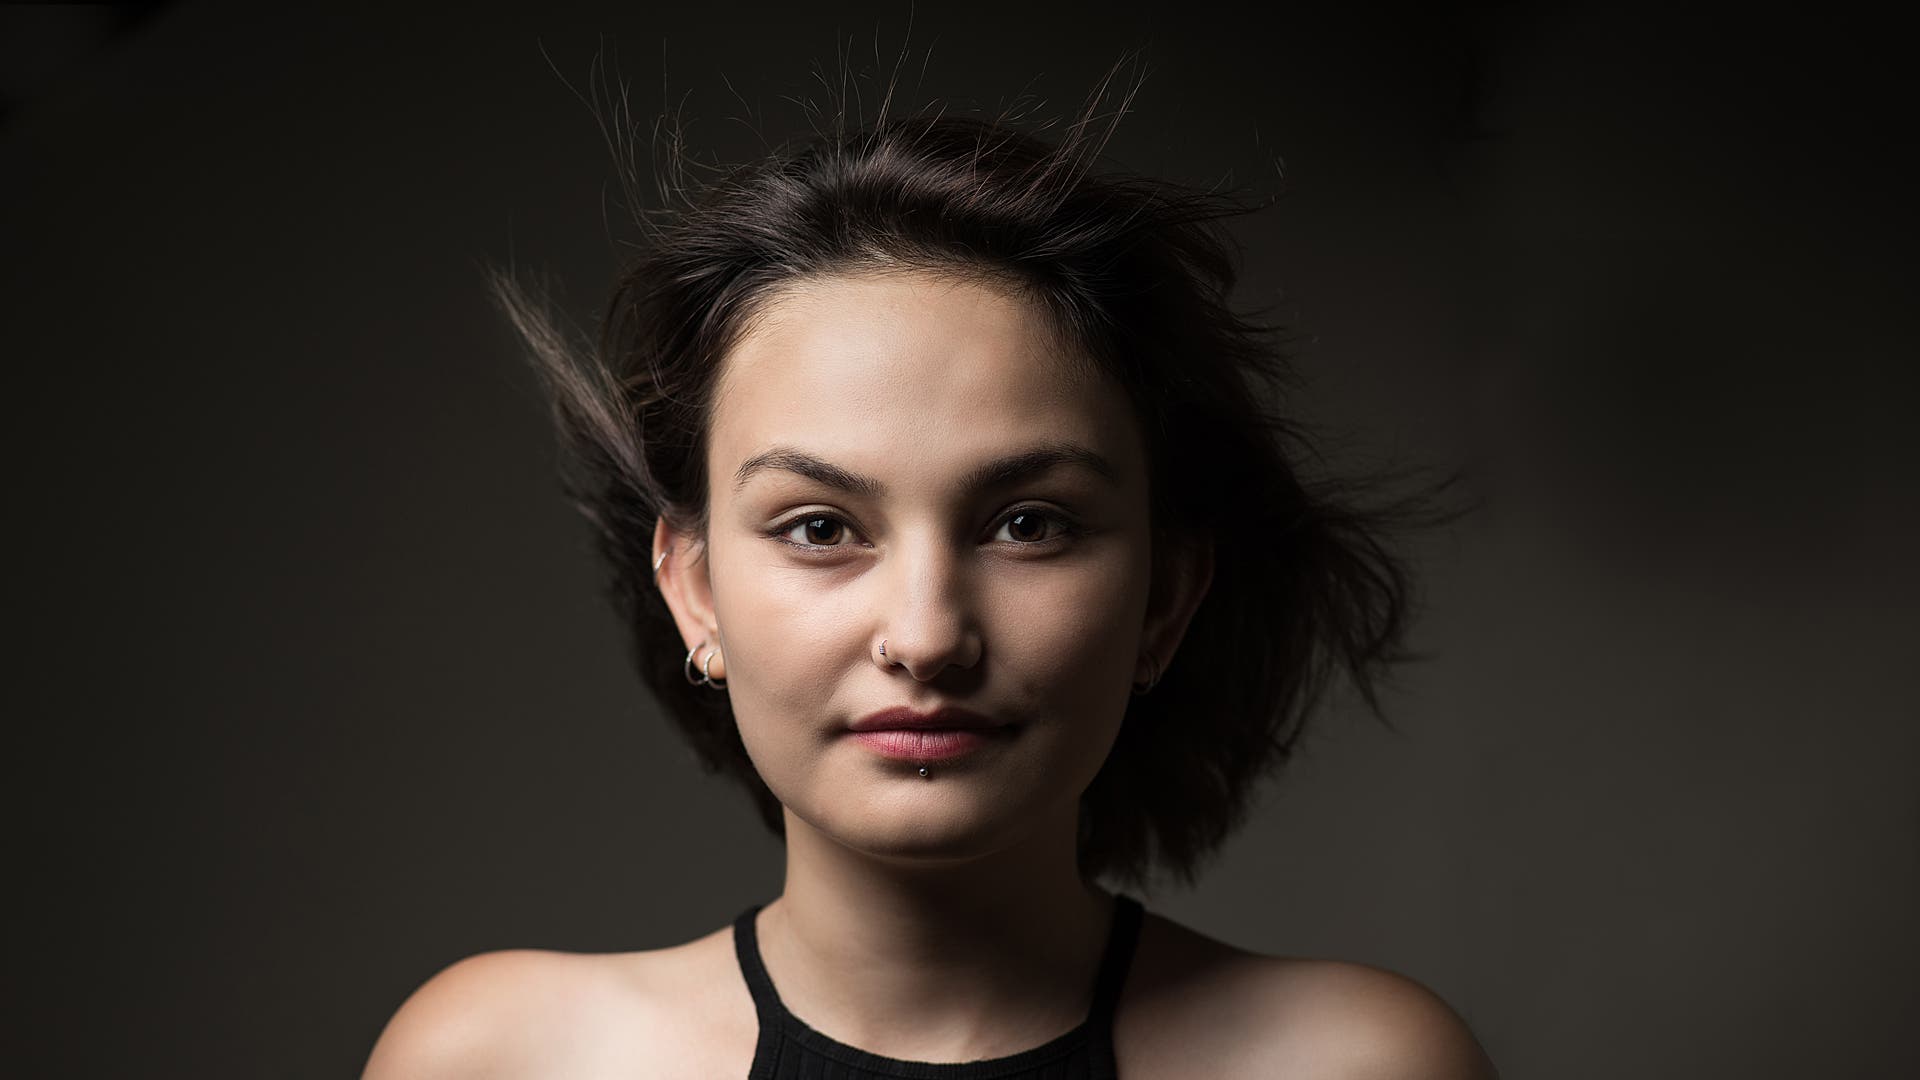
Cover Image: Rembrandt lighting on a model. Photo courtesy of Shutterstock/Hasan Eroglu
