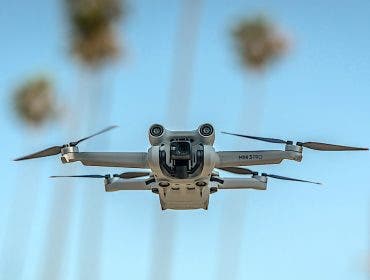

Drone photography has grown in popularity over the past several years. Aside from providing photography enthusiasts with the option of taking photos from extraordinary vantage points, drone photography offers more versatility for professional use. Photographers are now able to incorporate aerial photography into their services, thus allowing them to provide more varied options to their clients.
It’s one of the amazing modern types of photography and is worth getting into, especially for adventurous shooters who want to bring their photography to new heights—literally and figuratively. And to achieve stunning, high-quality aerial photos and maximize the use of your drone, here are several drone photography tips you can follow.
Must-know drone photography tips:
- Check the UAV forecast
- Shoot in RAW format
- Utilize the thirds grid overlay for composition
- Stick to a lower ISO
- Take advantage of Auto Exposure Bracketing
- Get ready to improvise
- Create higher resolution images with panoramic shots
- Experiment both aspect ratios (16:9 or 4:3)
- Use camera lens filters
- Seek out symmetry, patterns, and lines
- Play with lights and shadows
- Take a drone “selfie”
- Watch your shutter speed
- Try long-exposure images
- Take precautions to maximize your drone and remote connection
Check the UAV forecast

The first thing you’ll need to do before taking your drone out for a photography session is to check the UAV forecast. This gives important information for the safety of both the pilot, the aircraft, and other people or buildings in the vicinity. It tells you which areas are off-limits, what the weather will be like for that day, how many GPS satellites are active within a particular area, and much more.
Always check the forecast before going out, as this can help you plan your shoots accordingly.
Shoot in RAW format
Taking photos in digital RAW format vs JPEG gives you more versatility in image post-processing. This way, you get uncompressed, lossless image data from the sensor. The significant amount of detail and resolution that can be preserved includes more levels of brightness, allowing you to make greater exposure and color adjustments without making the photo look unnatural—or worse, posterized due to color banding that’s common in low-resolution JPEG images.
Most of the high-end drones that come with onboard cameras support RAW format for images. If you have a modular drone that allows you to change your camera, make sure to get one that lets you shoot in RAW.
Utilize the thirds grid overlay for composition

Composition is the most important aspect of an image. It dictates the arrangement of all visual elements within the frame, the balance between negative and positive space, and even the balance of colors within the image. It usually takes some trial and error to achieve the desired composition, but when you’re using a camera with a few hours of battery life on it, this is no problem. With drones, however, you don’t have the same luxury. Most drones average up to 25 to 30 minutes of flight time. If you’re trying to capture a particular scene or subject, it is absolutely imperative that you get it right the first time.
To help you ensure that your images are properly composed, make sure to frame your images with the help of the thirds grid overlay. Drone cameras usually have a thirds grid (in the accompanying app) to help users frame their photos more accurately, thereby improving their compositions. If you have the option of using an overlay grid, don’t forget to use it as this not only helps you get your composition right the first time, but also helps you avoid any unnecessary cropping in the post-processing stage.
Stick to a lower ISO
Drone cameras usually have smaller sensors, which don’t work as well at high ISO settings. This is particularly true for the Phantom 3 range, which yields fairly good images but end up with significant amounts of unwanted grain and noise when the ISO is set anywhere higher than 100. Unless you’re shooting at night, ample lighting shouldn’t be a problem when it comes to drone photography and it won’t be necessary to use high ISO settings.
Generally, you’ll want to stick to the lowest possible ISO, which means you have to manually adjust your camera settings to keep your image properly exposed. When shooting in windy or shady places, consider opening up your aperture or use a slower shutter speed (1/6th of a second will do) to let in more light and be able to maintain the lowest ISO for clean, sharp images.
Take advantage of Auto Exposure Bracketing
Certain drones come with an Auto Exposure Bracketing (AEB) feature that helps you capture very realistic photos with high dynamic range in one go. It allows you to shoot the same photo several times at different exposures and settings, giving you more choices to work with. You can simply select the photo with the best exposure levels, or you can combine them all into one photo and use the best parts of each shot.
This is particularly useful when you want to save time and get correctly exposed shots without having to take multiple test shots or to create high-quality HDR images.
Get ready to improvise
There will be times when no careful planning can prepare you for difficult and unexpected shooting situations. For instance, the weather may change or a location may suddenly be declared off-limits due to an emergency, despite close inspection of the UAV forecast and weather reports. In cases like these, you must learn how to make do with what you have.
Take advantage of gloomy skies to alter the mood of your image. Use unexpected direct sunlight to capture interesting shadows. Get creative and turn less-than-ideal situations into an unexpected photo opportunity. The results might even come out better than you expected.
Create higher resolution images with panoramic shots
Drone cameras have limited photo resolution due to the relatively low megapixel count. This does not include the more expensive, higher end drones, of course. Nonetheless, if you need bigger images with more pixels for a wealth of image detail, you can use the panorama technique.
Some drones have a built-in Panorama Mode, but if your drone’s camera does not have that feature, you can simply take several shots while panning the camera to capture more of a certain scene, then stitch the shots together using an editing software like Adobe Lightroom to create a single, high-quality panoramic image. This technique will allow you to capture higher resolution images and retain important image details, as well as capture an entire scene that can’t be taken with a single wide-angle shot due to the legal height limit for unmanned aerial vehicles.
Experiment with both aspect ratios (16:9 or 4:3)
The 3:2 aspect ratio is the most commonly used format for digital cameras. However, drone cameras, when used for video, typically offer much wider 16:9 and 4:3 formats. This is actually a good thing, because aside from giving you more options in post-processing, using different formats can significantly improve the focus on a particular subject or scene by increasing or reducing the spaces between your focal points and the sides of the frame.
If you’re unsure which format to use, the best thing to do is to try them both out to see which works best for you and for your desired images. Take the same photo using both aspect ratios, then decide which one is better for the kind of shot that you want to achieve.
Use camera lens filters
Similar to traditional ground photography, utilizing lens filters are crucial when working in difficult lighting conditions. They help you control the light that reaches the sensor, suppress reflections or glare, and even enhance colors.
Filters may not be at the top of your list of must-have accessories for drone photography, but they are actually essential in helping you achieve better results for your photos. Keep in mind that there are many types of filters, and each one has a specific purpose. Before purchasing filters for your drone, take note of the types of photos you usually take, as well as the time of day you typically shoot and the environment you normally shoot in (if there are nearby bodies of water, for instance), as these factors should help you decide what filter you need.
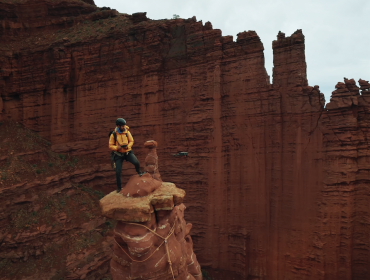
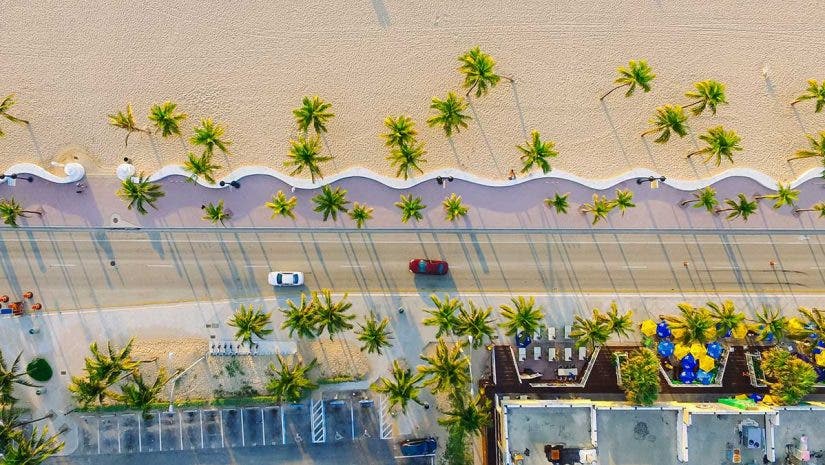
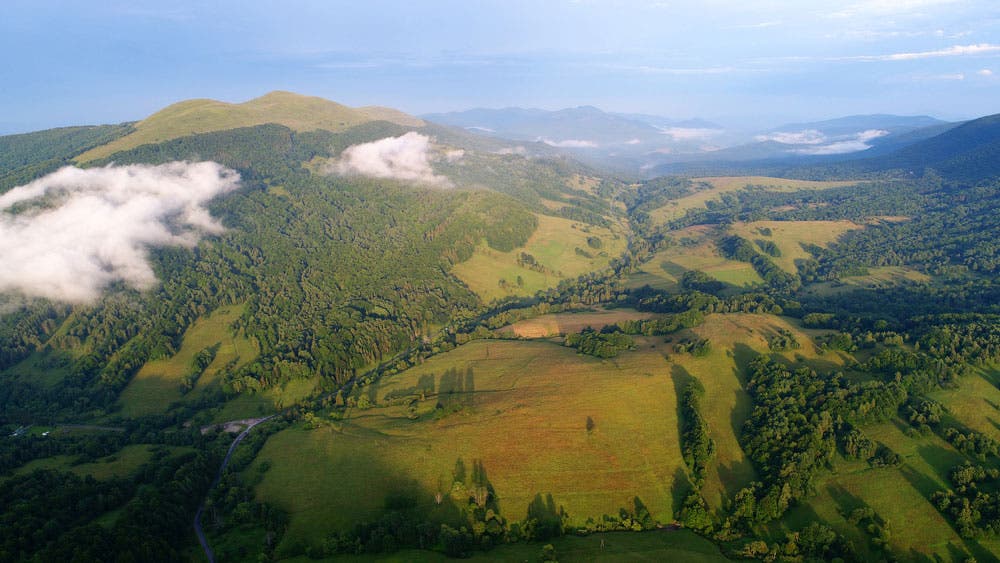
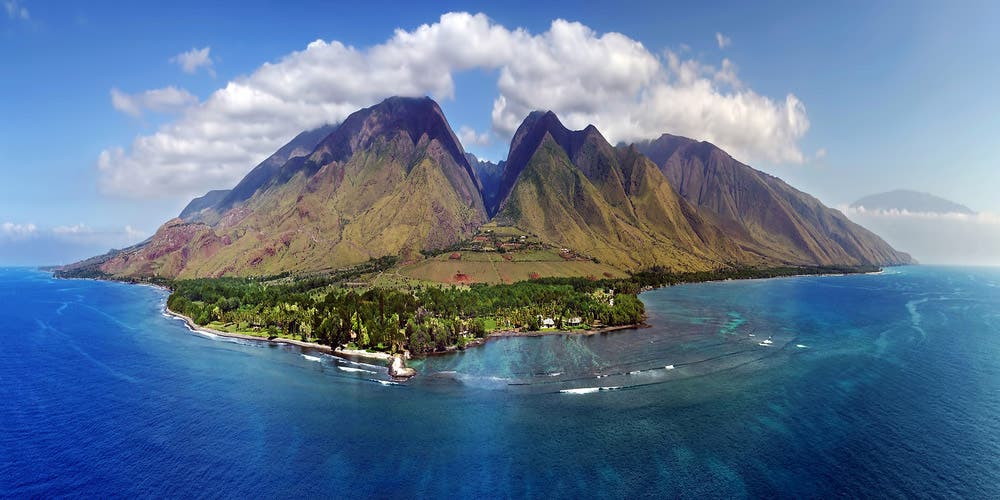
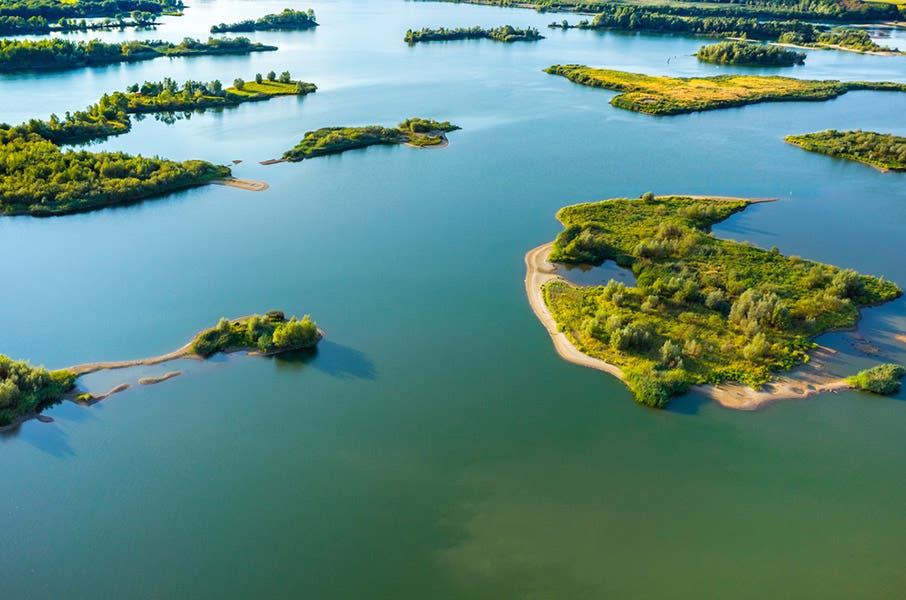
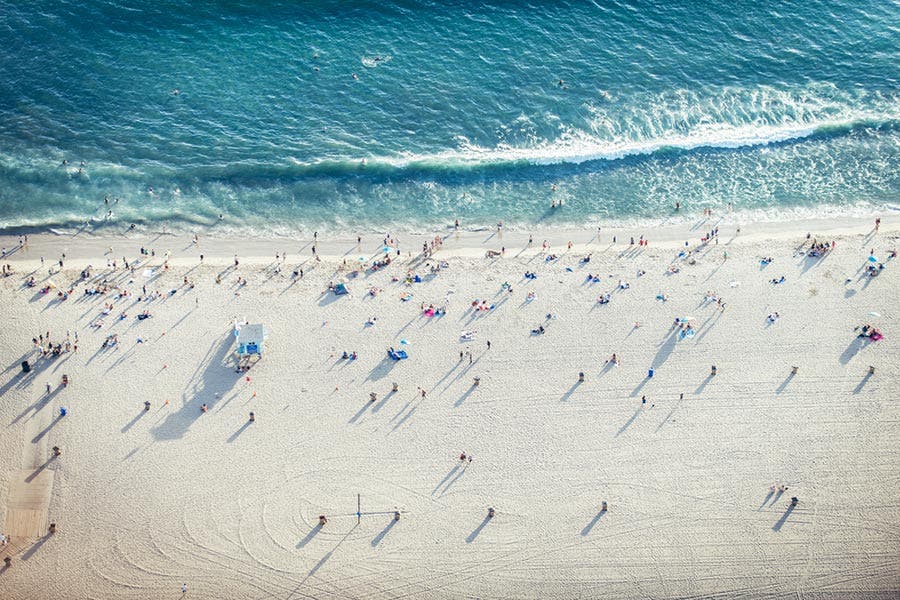
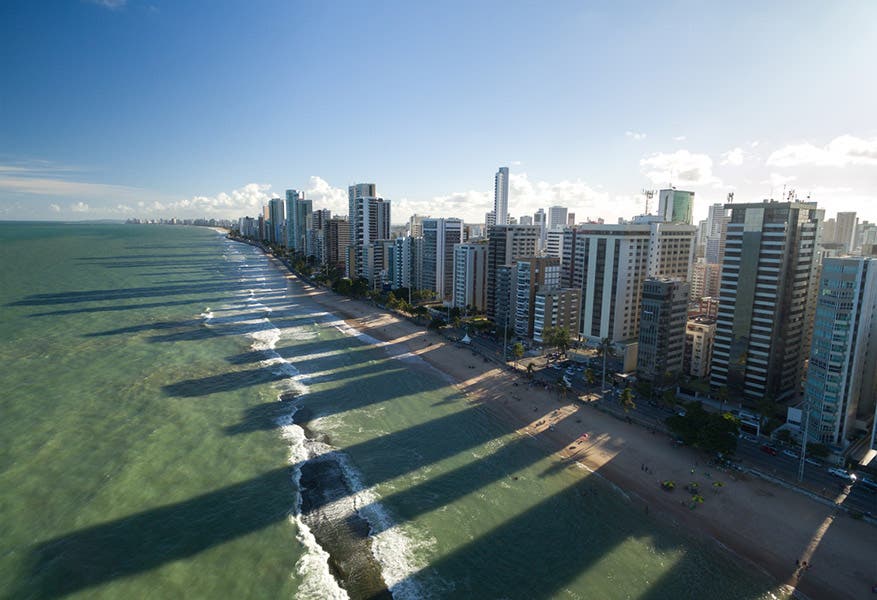
Seek out symmetry, patterns, and lines

Taking photos with a drone allows you to capture patterns that aren’t visible when approached from other vantage points. Take advantage of the opportunity to view ordinary sceneries from a bird’s eye view and look for unique leading lines and patterns to make your images more interesting.
Incorporating such design elements can significantly improve your overall composition, and in some cases, they can also help influence how your audience will observe your photo.
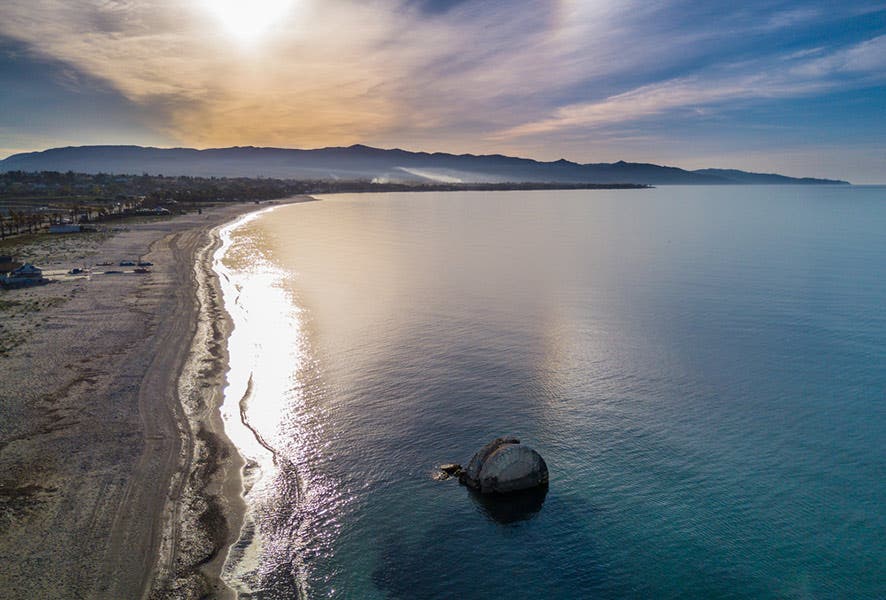
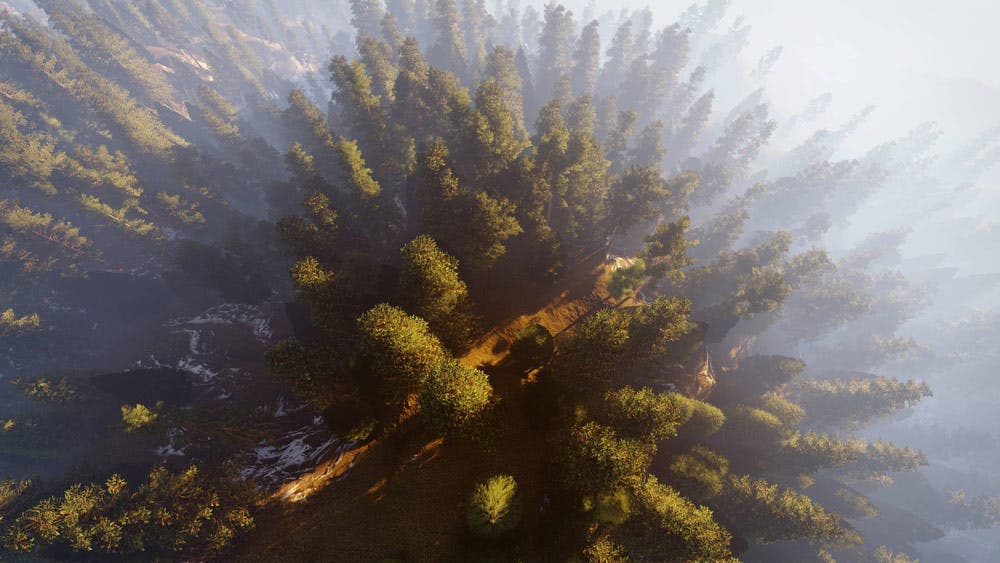
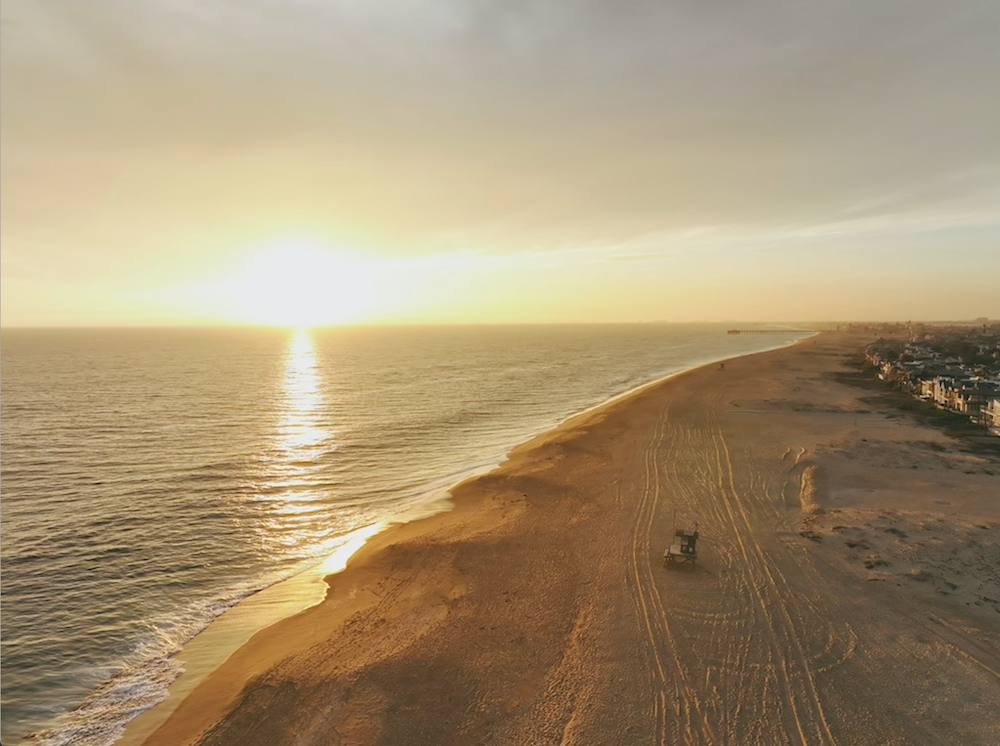
Play with lights and shadows
As the main element in every photo, light plays a huge part in determining the mood, tone, vibe and, ultimately, the composition and message of your photo. Shooting with a drone gives you a chance to see lights and shadows in a new and different way, especially when the sun is low. Capture those dramatic after sunrise and before sunset shots from high above the ground and discover how shadows can completely change the scene.
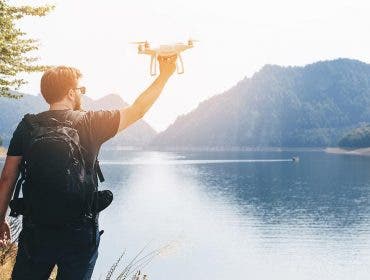
Take a drone “selfie”
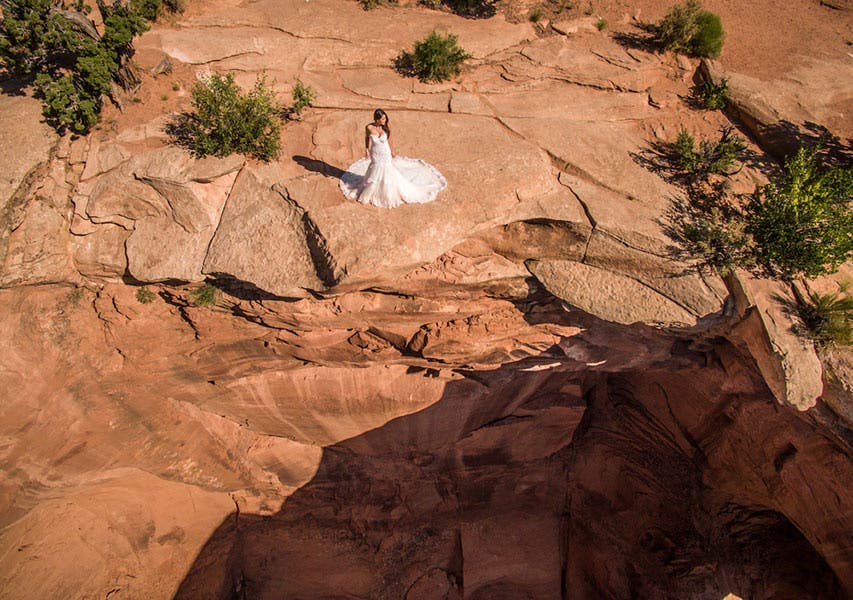
Many of today’s drones feature modern user-friendly features that encourage users to make the most of their aircraft and capture memorable photos. For instance, some DJI drones come with a Gesture Mode that allows the pilot to command the aircraft with hand or arm gestures, making it easier to take fun aerial selfies. With just a couple of gestures, users can instruct the drone to place them the middle of the frame, do a countdown, and take the photo.
When done artfully and in a breathtaking location, you can create fun and meaningful shots that give you a nice break from the usual landscapes or cityscapes you typically see in drone pictures.
Watch your shutter speed
It can be easy to focus on keeping your drone’s ISO low, but making sure your shutter speed is set correctly is equally as important.
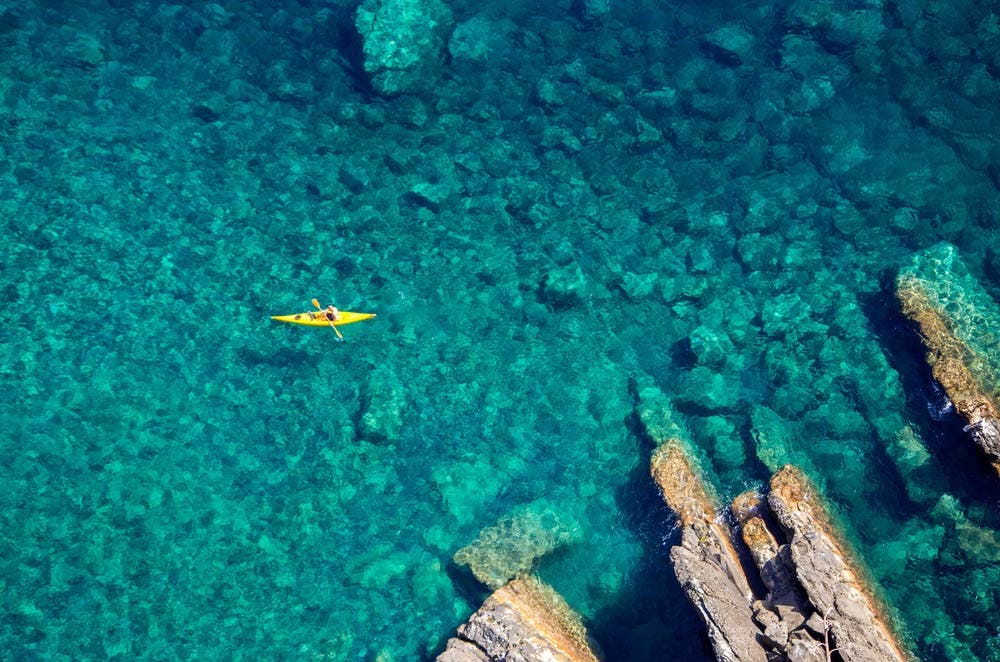
Typically, you want to have a faster shutter speed when shooting drone photography because regardless of what you’re shooting, your drone is not completely stable (see the tip below for an exception to this rule).
Even if you’re staying still, your drone can shake and move, especially on a windy day. A faster shutter speed means your images will be sharper and not affected by movement. And if you’re shooting a moving subject, like waves or a car on a highway, you’ll want a faster shutter speed as well, to keep your subject in focus.
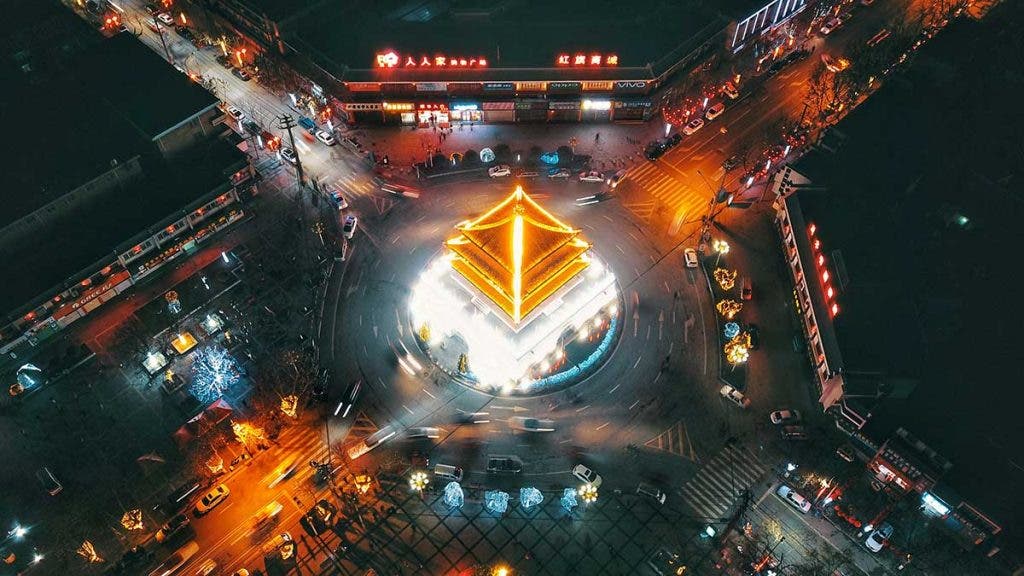
Try long-exposure images
If you’re flying on a calm, clear day, why not try lowering your shutter speed and taking long-exposure images? Most of today’s pro-consumer drones can take 10-30 second images, which can capture much more light while keeping your ISO low, and add intriguing motion blur to your images.
Long-exposure images look especially good in an evening, urban environment, like shooting over a large highway or main street, with plenty of lights and car traffic. You can also capture great long-exposure images over landscapes with fast-moving water, like a waterfall or river. If the flying conditions allow it, capturing long-exposure images with your drone can totally change a composition for the better.

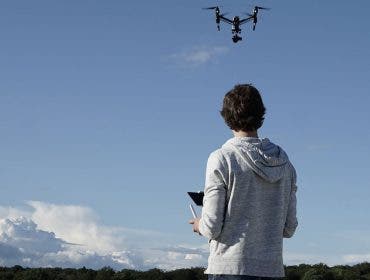
Take precautions to maximize your drone and remote connection
One of the most important drone photography tips is to take precautionary steps to maximize the remote connection between your drone. Make sure your drone antennas angle out and up towards your drone and try to stand away and operate your drone away from your vehicle or avoid any barriers (e.g. walls, car doors, etc) that could alter or disrupt your drone’s signal to your remote.
A stronger signal means greater control and visibility, so you can capture the best compositions and not run into any problems, where you lose your drone and have to bring it back to the home point.
How do I start drone photography?
It’s quite simple. Buy a drone and start practicing how to fly, while taking the time to familiarize yourself with the different drone perspectives and filming techniques.
After you purchase your drone, it’s important to understand everything that the drone can and can’t do. So take a few hours and really study your drone’s features, capabilities, limitations and drone photography ideas. If you are flying recreationally, be sure to understand the FAA rules and regulations and always register your drone, regardless of how you use it.
Then, just start practicing! Go to an open field or a place that’s away from people and legal to fly at and start practicing how to fly and capture amazing aerial content.
For more information on drone phone photography tips, check out our beginner’s guide to flying a drone recreationally or commercially.
How hard is drone photography?
Flying a drone, like most skills, takes time to master. However, the main controls are quite simple to understand and navigate for beginners. The more precise and complex flying techniques and flights take time, practice, and dexterity. They can be accomplished with years of flying and understanding all the drone photography tips and tricks.
However, the best drone photography ideas are inspired by seeing opportunities for compositions of the landscapes around you. While it takes some time to see these opportunities from the air, if you already excel at photography and composition hunting and know all your drone can do, you should equally excel in drone photography.