Smartphone cameras keep getting better and better with each new phone release. And with all the added features and higher megapixel counts, it makes for a perfect companion for outdoor photography. It may not produce the same high-resolution images as bigger and more professional standalone cameras, but it will always offer the most convenience due to its multiple functions, app access, and portability.
To help you take your outdoor photography to the next level with just your trusty camera phone, we have compiled the following tips for you below:
Clean Your Lens

It’s easy for our smartphones to accumulate dirt due to daily use. And if you have to take photos, you’ll need to make sure that your lens is clean so you don’t get distorted, dirty, or blurry-looking shots. Cleaning only takes a few seconds. Just use a soft microfiber cloth to carefully remove any dust and fingerprint marks from your smartphone camera lens and you’re good to go.
Use Handy Camera Accessories
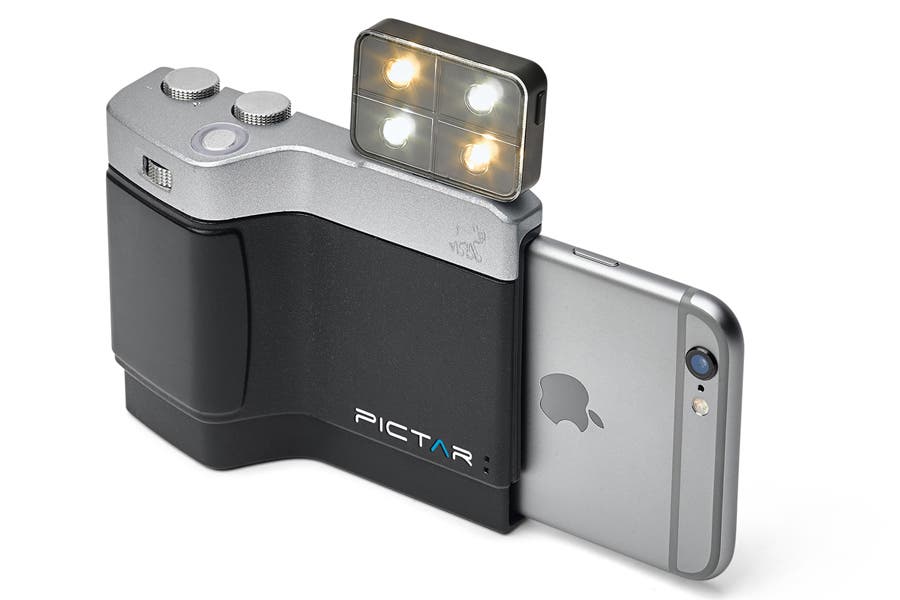
Photo by Miggo
Camera phones may not be as powerful as standalone digital cameras, but there are several third-party accessories that will make smartphone photography easier and help you achieve better results.
Miggo’s Pictar One enhances your iPhone’s camera functions while providing you with an firm (and more familiar) camera grip. It offers more control over the shooting behavior, with up to five user-friendly control buttons and advanced pre-set modes like manual, shutter priority, and ISO priority aside from the usual auto, portrait, sport, landscape, macro, and video. It also has a dedicated selfie mode and button, for more convenient self-portraits, and a few photographer favorites, like the shutter release/focus and exposure lock button and exposure compensation wheel for DSLR-like camera operations. And with the top half of the camera exposed, you can freely use clip-on lenses to add variety to your shots.
The Pictar One is designed to fit and operate the iPhone 8, 7, 6, 6s, SE, 5, and 5s, while the newer Pictar One Plus is for the bigger iPhones, particularly the 6s Plus, 7 Plus, 8 Plus, and X.
Do Not Use Zoom
Smartphones typically have lenses with fixed focal lengths, which means it can’t extend any of its lens parts like bigger digital camera lenses can to optically zoom into a particular scene or subject. Instead, camera phones use digital “pinch zoom” to digitally enlarge your shots, while simultaneously degrading image quality.
To avoid getting grainy, low-resolution shots, the better alternative is really to just do it the old fashioned way—move in closer by foot. This allows you to preserve the original quality of the image. If you really have to get a much “closer” shot, you can crop your image later on using a good photo editing program.
If you’re an Apple user, some of the latest iPhones have optical zoom, which can easily be accessed and operated with the Pictar One Plus’ programmable zoom ring.
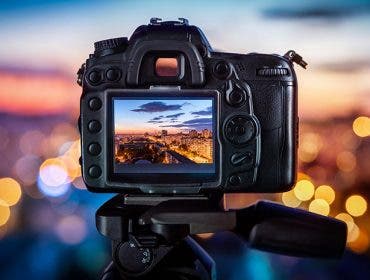
Keep Your Camera Steady
Even with some control over the shutter using the Pictar One, you’ll need to keep your camera stable. This is particularly crucial when taking photos in low-light situations, which normally tells your camera to slow the shutter speed down to capture a brighter, well-exposed photo, thus increasing your risk of capturing a blurry image.
Minimize or eliminate camera movement by maintaining a steady hand while holding your camera, or by using a tripod. Consider pressing one of the side buttons of the phone to trigger the shutter instead of making bigger movements just to press the shutter button on your phone screen.
Fortunately, the Pictar One provides both a good grip on your iPhone and a well-positioned shutter button so you’re more likely to capture tack-sharp images even when shooting handheld. You can also enjoy improved stability by adding the portable and versatile Miggo Splat Mini Tripod to your Pictar One camera setup.
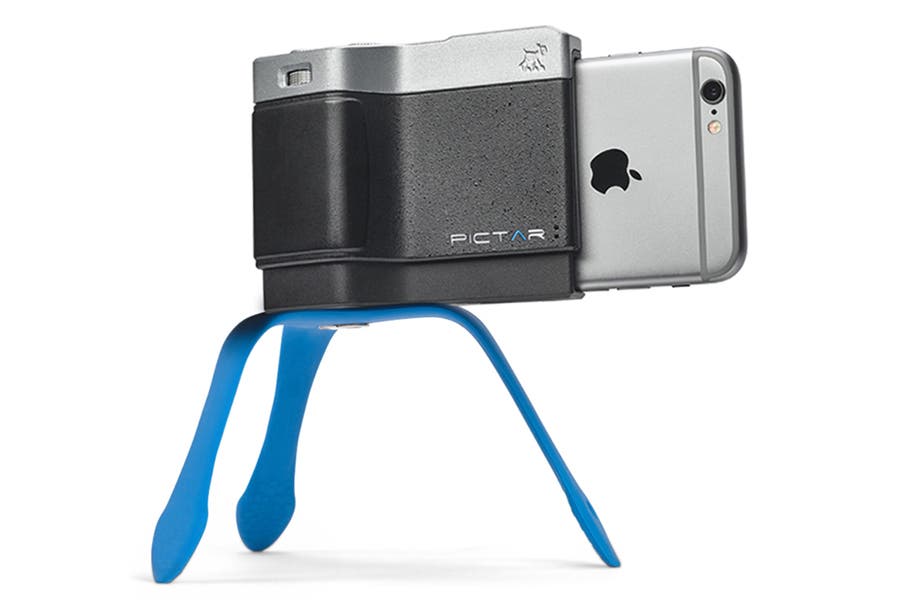
Photo by Miggo
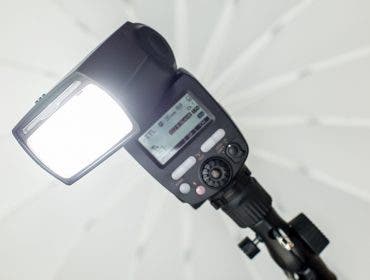
Skip the Flash
Even when using DSLRs, professionals highly discourage the use of the built-in flash. This is because integrated light sources have limited coverage, so you’ll end up with a shot that’s either still too dark or unflattering due to the harsh, direct light. You will achieve much better results by using an external ring light flash or shining an unassuming light source, like a wide beam flashlight, on your subject.
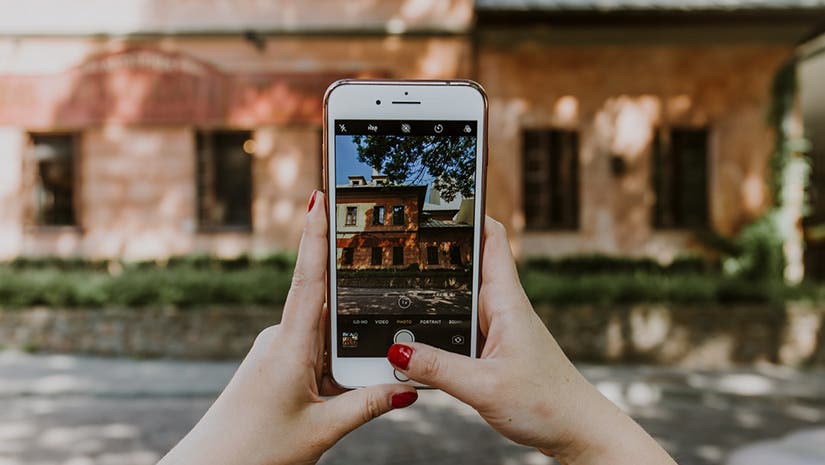
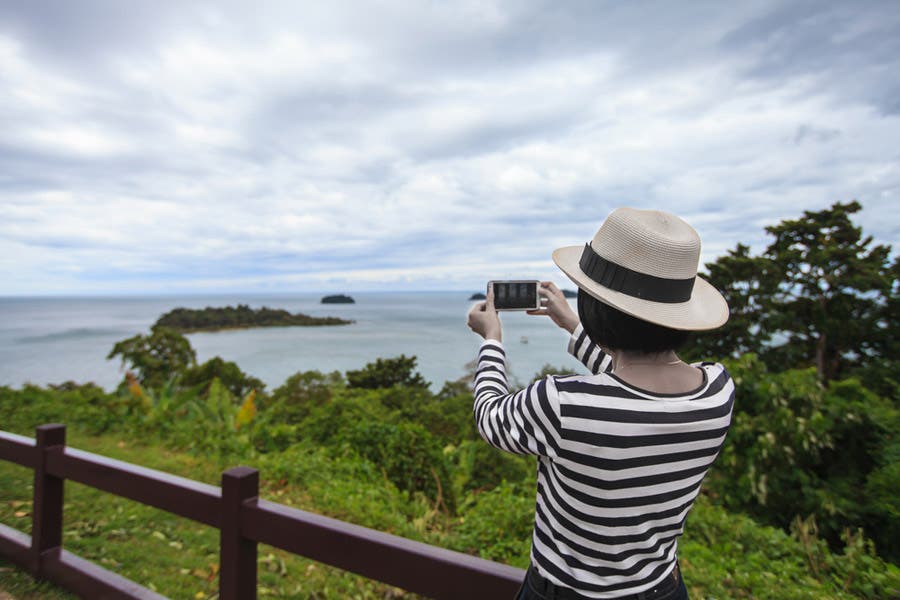
Keep the Horizon Straight
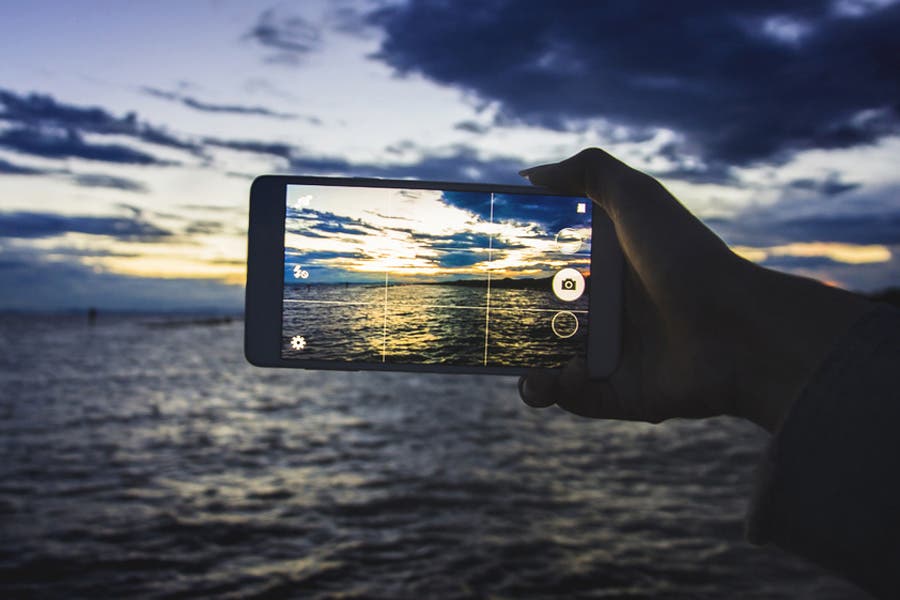
Sometimes, taking a phenomenal outdoor photo boils down to proper framing. When shooting landscapes, take a few seconds to angle your camera until the horizon appears to be straight in your camera viewfinder. You can use the lines on your camera’s grid to guide you with proper framing. Although there are times when a crooked horizon can’t be avoided, it still helps to try.
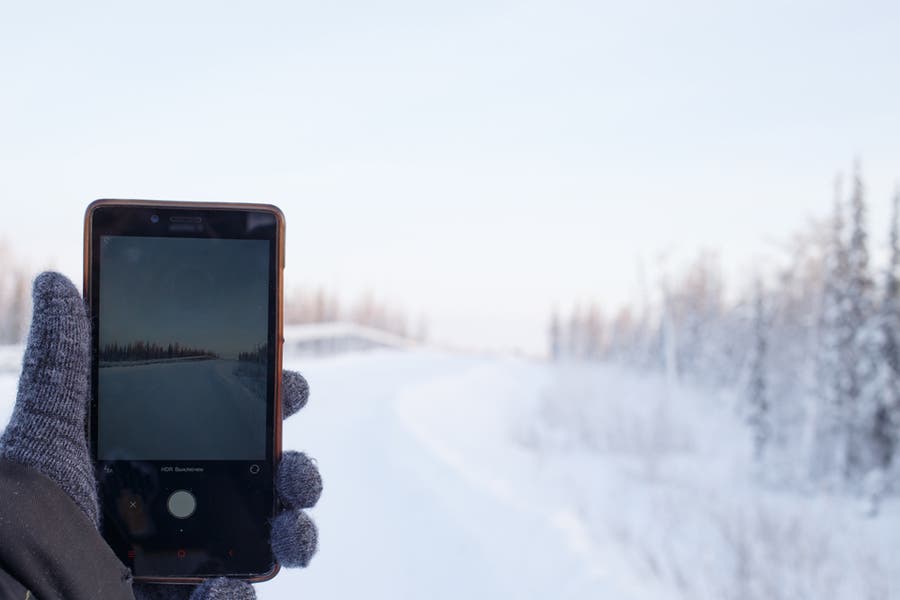
Take Photos In RAW or HDR Mode

Outdoor and landscape photography is the perfect excuse to use the HDR mode of your smartphone camera app. This feature comes particularly handy when taking high-contrast scenes under bright daylight, which usually results in uneven exposure for your image, with details either blown out by bright sunlight or hidden in shadowy areas.
When HDR mode is enabled, the camera app captures multiple images in rapid succession and merges the good parts into a single picture. It also saves the non-HDR images, so you have the option to go for the raw picture when the HDR image looks too overdone or unnaturally flat in tone.
If your camera can shoot RAW, you can do the HDR effect manually with Photoshop or other photo editing apps and achieve more flexibility in terms of the final photo output. Alternatively, you can also use your Pictar One to control the light entering the camera and choose the exact mid-level exposure with just a quick dial of its exposure compensation wheel.
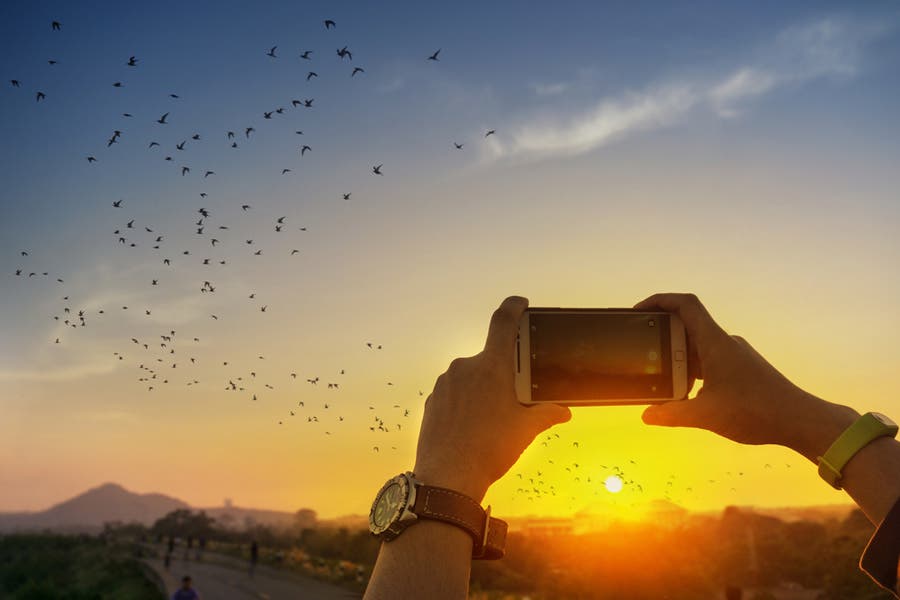
Include Interesting Details

Whether you’re using a smartphone or a professional camera to take pictures, you should always mind the elements that you’re including in your frame. Feel free to include complementary details, like trees and clouds, for landscape images. Also, bring in interesting foreground elements like beautifully-lit leaves or textured rocks that can add context and interest to your overall image.
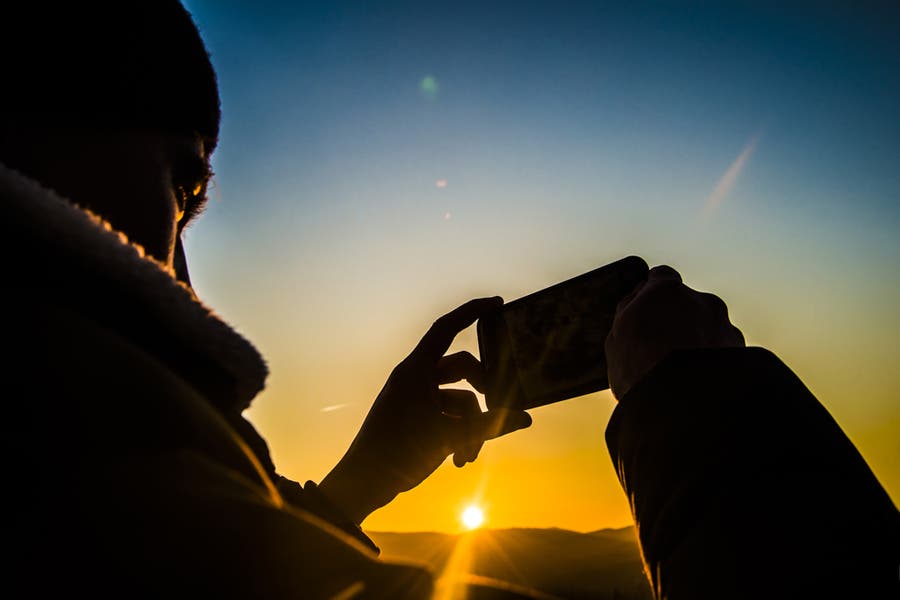
Manage Sun Flares
Smartphones don’t come with lens hoods, so it’s easy for your image to suffer from a little (or too much) light flaring from the sun and other bright light sources. Keeping them just outside the frame can produce unattractive blobs that can spread across the entire image and ruin its color and contrast. It can be more problematic when you’re on auto mode and the bright sun spot in your frame darkens the rest of the image.
There’s not much you can do when the sun is too bright for your frame, except to try shooting in HDR or in manual mode so your camera doesn’t automatically compensate for the overexposed and underexposed areas. As for flaring, you can simply cup your camera with your hand to prevent light from hitting the lens from an angle.
Mind Your Composition
Professionals would always advise you to follow certain compositional rules in order to achieve visually appealing and balanced images. Then again, those are just guidelines. Photography, as an art, also encourages shooters to be adventurous and creative, and to break a few rules whenever the situation calls for it.
Don’t just rely on your smartphone camera’s grid feature or the good ol’ Rule of Thirds when composing your image. Feel free to use your own judgment to determine whether or not your shot works for what you want to achieve. By all means, experiment until you find the composition that works for you.
When reframing your shot, you can lock your focus using the Pictar One’s multi-state shutter button. Simply do a half press, the same way you would a higher-end digital camera, on your desired subject to keep it sharp while you move your camera to follow it or to add other elements into the frame.
Add Scale to Your Image

To help show the grandness of a particular scene to your audience, include secondary elements—a person, an animal, a tree, or any sizable structure—into the frame. This shows size comparisons and adds scale to your image.
With these helpful tips in mind, along with a reliable smartphone accessory like the Pictar One, you’ll be able to optimize your mobile device’s camera in shooting beautiful outdoor photos you can be proud of.
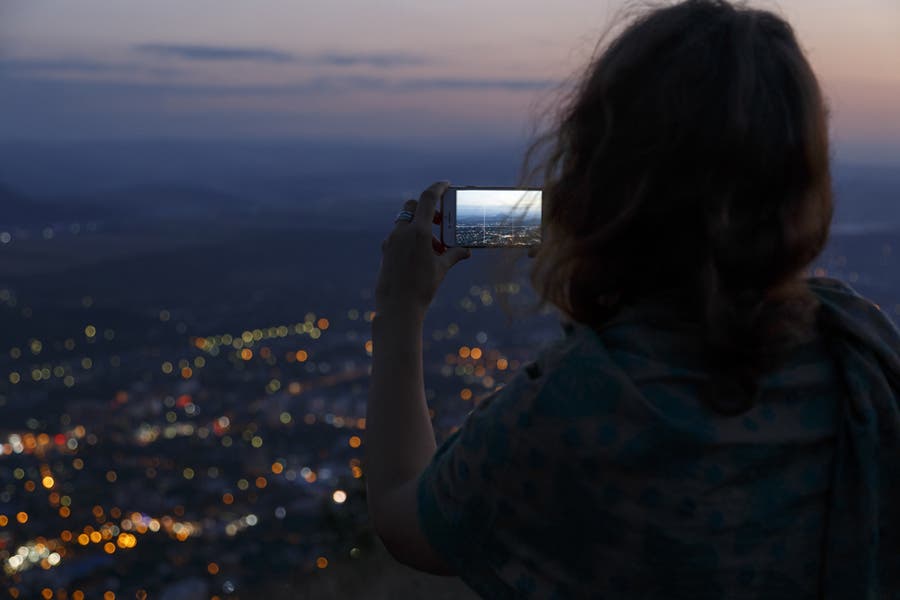
Photo by Alisa Anton on Unsplash.