If you were to map a photographer’s journey from a basic point-and-shoot start to their sessions over time, you’d quickly notice a common trend: photographers never stop exploring. After mastering the fundamentals (e.g., exposure triangle, lighting patterns, rules of composition, etc.), they continue to seek out new creative opportunities. The joy we get from discovering new techniques makes it worth weathering through the inevitable creative ruts and other challenges we face along the way. One technique, in particular, that inspired me along my own creative journey involves a unique take on classic panoramic stitching: The Brenizer Method.
As a wedding and portrait photographer, I found Ryan Brenizer’s application of panoramic photos in couple’s portraits inspiring. When you see what you can do using this simple technique, you’ll no doubt feel the same. To kickstart the next leg of your journey, I will serve as your guide and show you how to use the Brenizer Method of panoramic stitching to capture epic portraits.
What is the Brenizer Method?
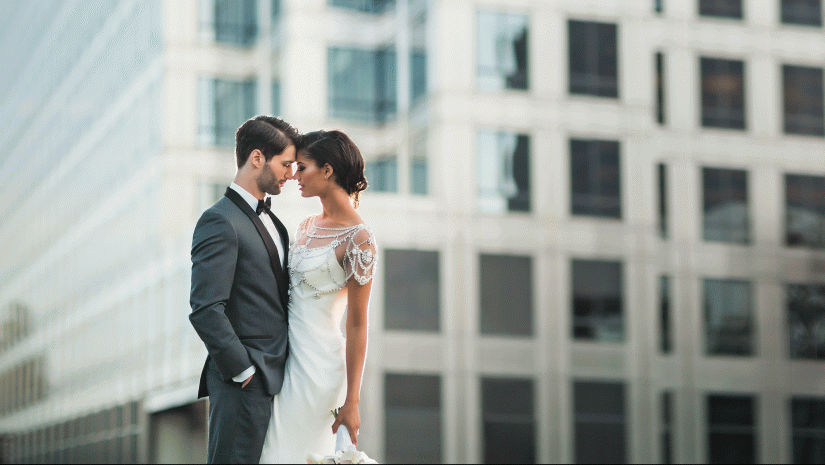
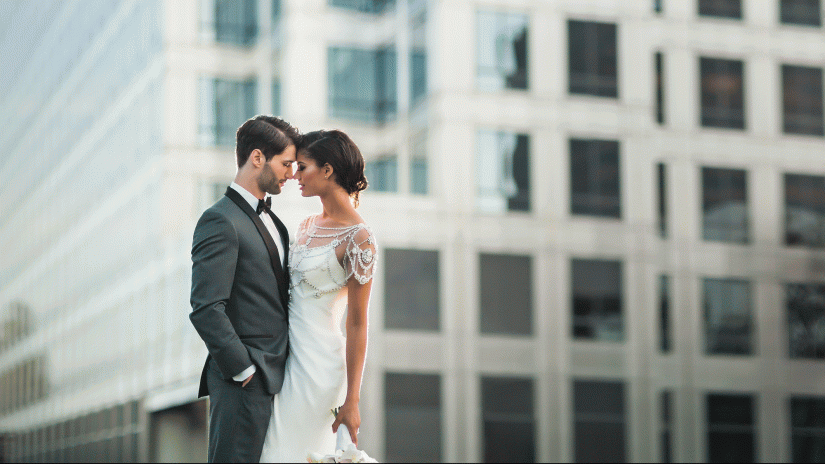
The Brenizer Method is a composite technique that captures images at a wide aperture and incorporates panoramic stitching in order to create wide angle imagery that features an extremely shallow depth of field. Wedding and portrait photographer Ryan Brenizer popularized the method by capturing unique, dramatic environmental portraits of couples during weddings and engagement sessions.
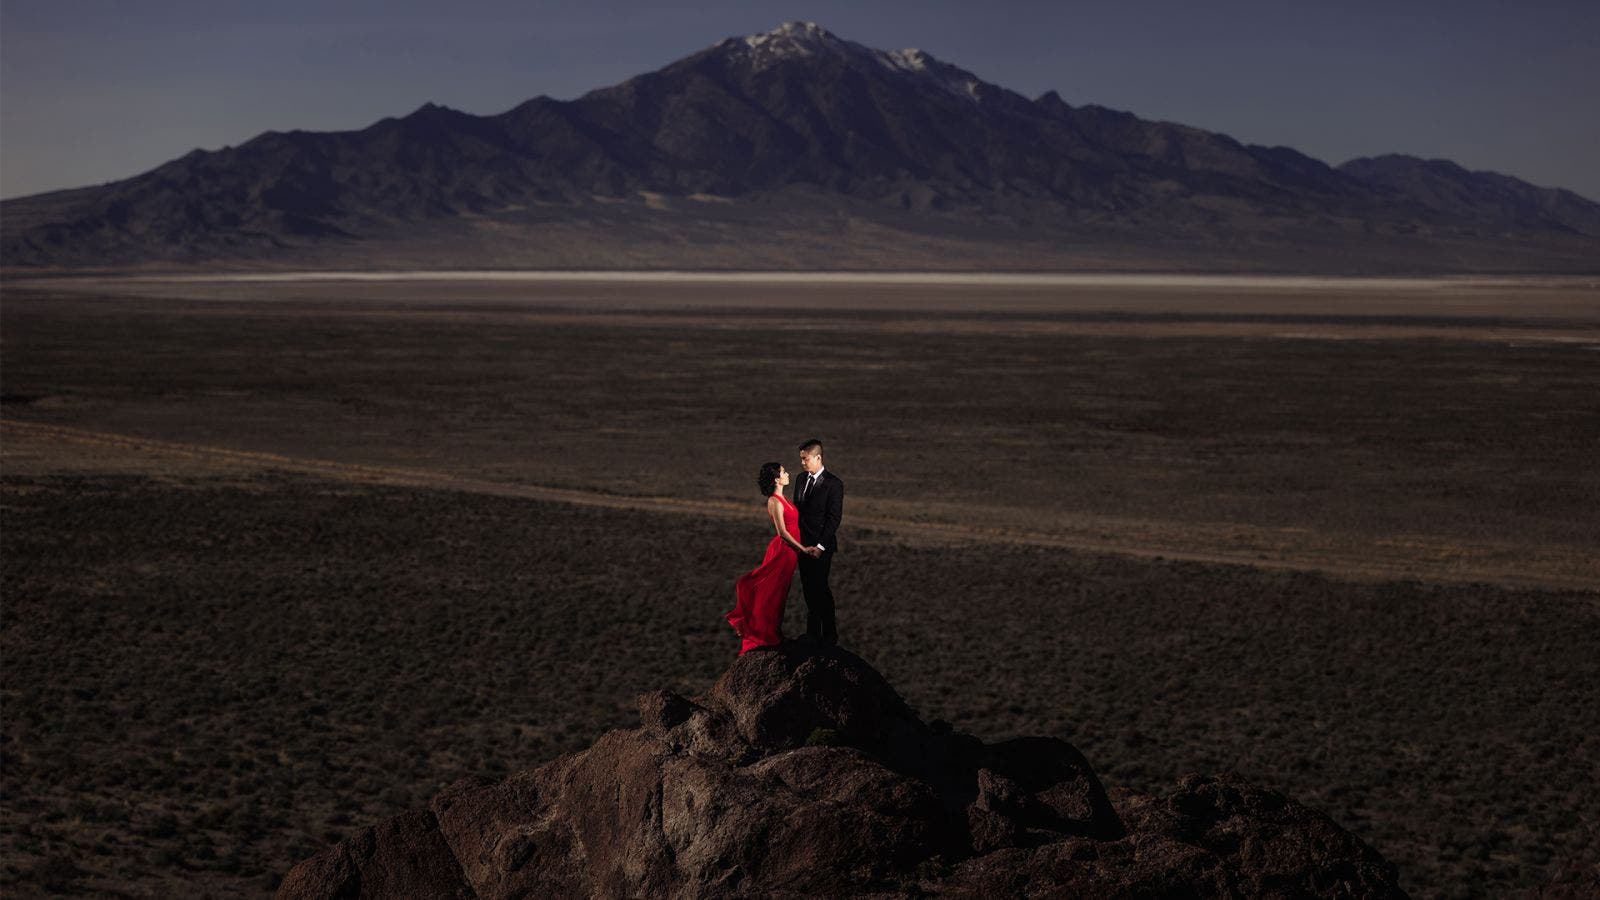
Like other types of panoramic photography, the Brenizer Method uses multi-row panoramic stitching to create a final image with a wider field of view than is possible to get in a single shot. While Brenizer is not the first to use panoramic stitching in his photography, his technique differs from others in its use of people as subjects and wide apertures to create almost surreal portraits.
10 Brenizer Method Tips for Beautiful Panoramic Stitching
- Pre-Visualize the Final Panoramic Picture
- Shoot RAW Image Files
- Keep It Level
- Start with the Intended Focal Point
- Overlap Each Image
- Zoom In
- Opt for Portrait/Vertical Orientation
- Shoot with a Wide Aperture
- Mind the Moving Objects
- Take a “Big Picture” Approach in Post
Brenizer Method Tip #1. Pre-Visualize the Final Panoramic Picture
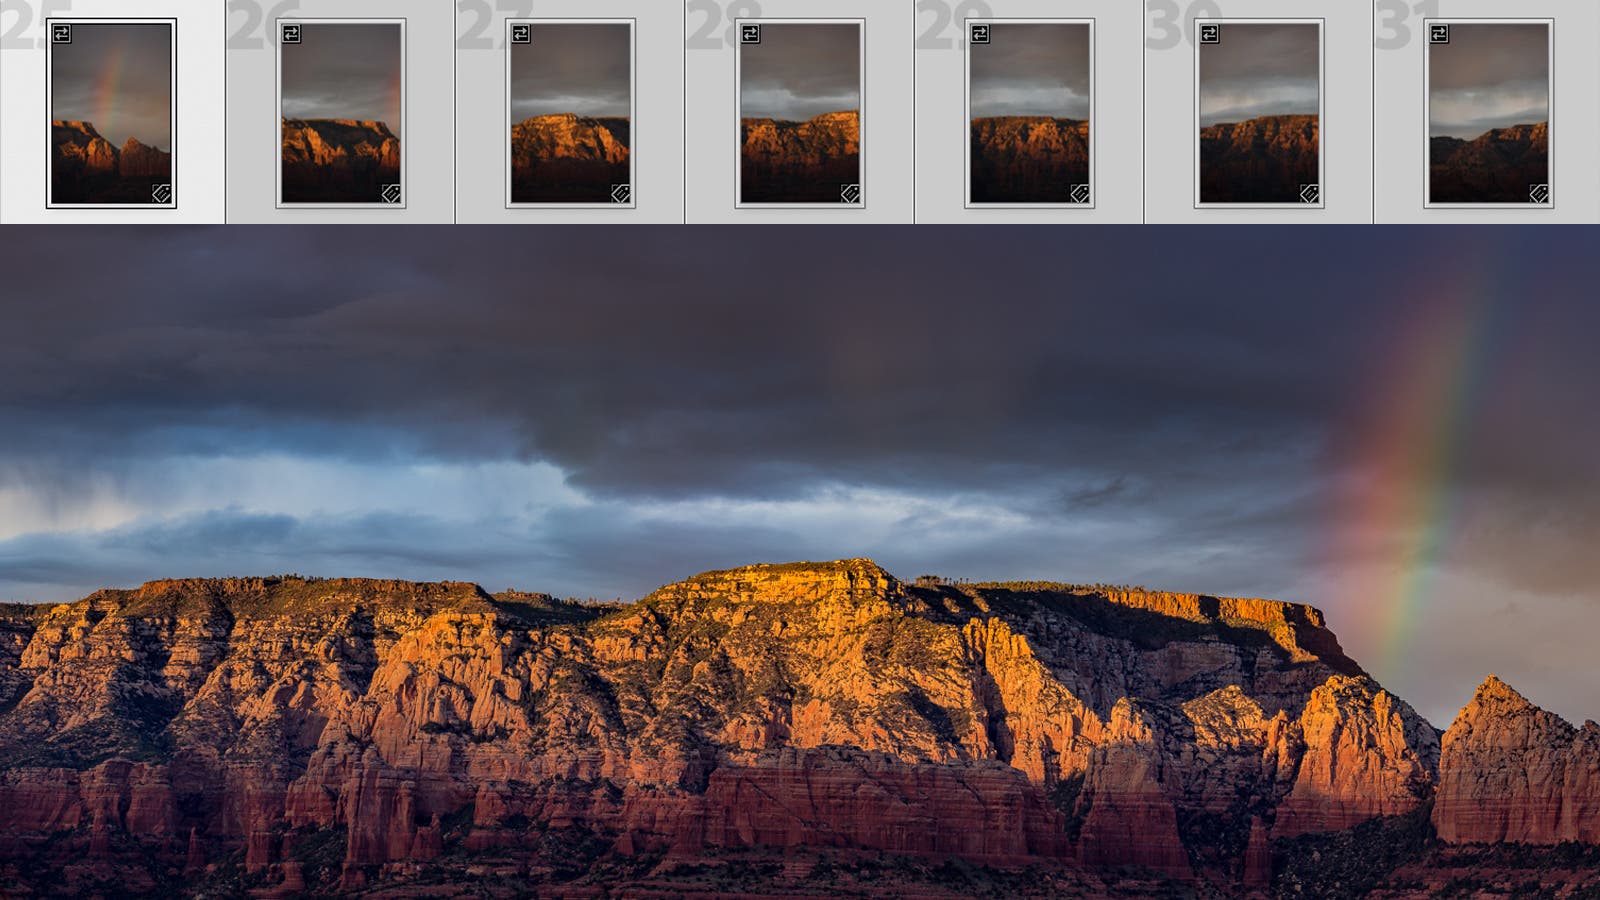
Normally, when we capture an image, what we see in the viewfinder is what we get in terms of framing our shot. When we use the Brenizer Method to take a panoramic picture, however, we’re capturing and stitching together multiple frames. Because of this, we need to pre-visualize our shot and figure out where we want the corners of our frames to be. Ryan Brenizer describes the process of panoramic stitching as similar to putting together a puzzle. If you don’t include all of the necessary pieces for the panoramic picture, your editing software may not be able to automatically stitch the images together.
If your intention is to create an artistic final image that does not conform to the typical rectangular shape of a portrait, then you don’t need to worry as much about pre-visualization. Still, planning your shot and using pre-visualization before snapping any photos will help you reach your panoramic stitching goals.
2. Shoot RAW Image Files
Your digital camera likely includes options for capturing images in either RAW or JPEG file format (or both). I recommend shooting RAW files in order to give yourself more flexibility during post-production. Images created with panoramic stitching already run on the larger side of file sizes, which you might not appreciate, but the editing capabilities of using RAW files makes it worth it. Editing an already compressed JPEG file limits your ability to recover details and takes away some of your creative freedom. RAW files, on the other hand, retain tonal and color data, allowing for more consistent edits with a wider dynamic range.
3. Keep It Level

When using the Brenizer Method, we need to take extra care to keep our camera level. If you have a tripod, go ahead and use it, and make sure that it is level. A tripod is not essential for using this photography method, however. Keeping a level horizon, however you achieve it, represents another way to ensure you avoid missing any “holes” in the shot and cleanly cover the entire frame for the final stitched photo.
4. Start with the Intended Focal Point
I highly recommend taking a systematic approach when you intend to create an image with panoramic stitching. Start with a clear focal point (e.g., your subject) in the first frame, typically in the center (but not always), and then build out from there. Because we’re panning from side to side and leaving our subject in a very shallow plane of focus, we need to lock focus on our subject for the first frame and then switch our lenses to manual focus.
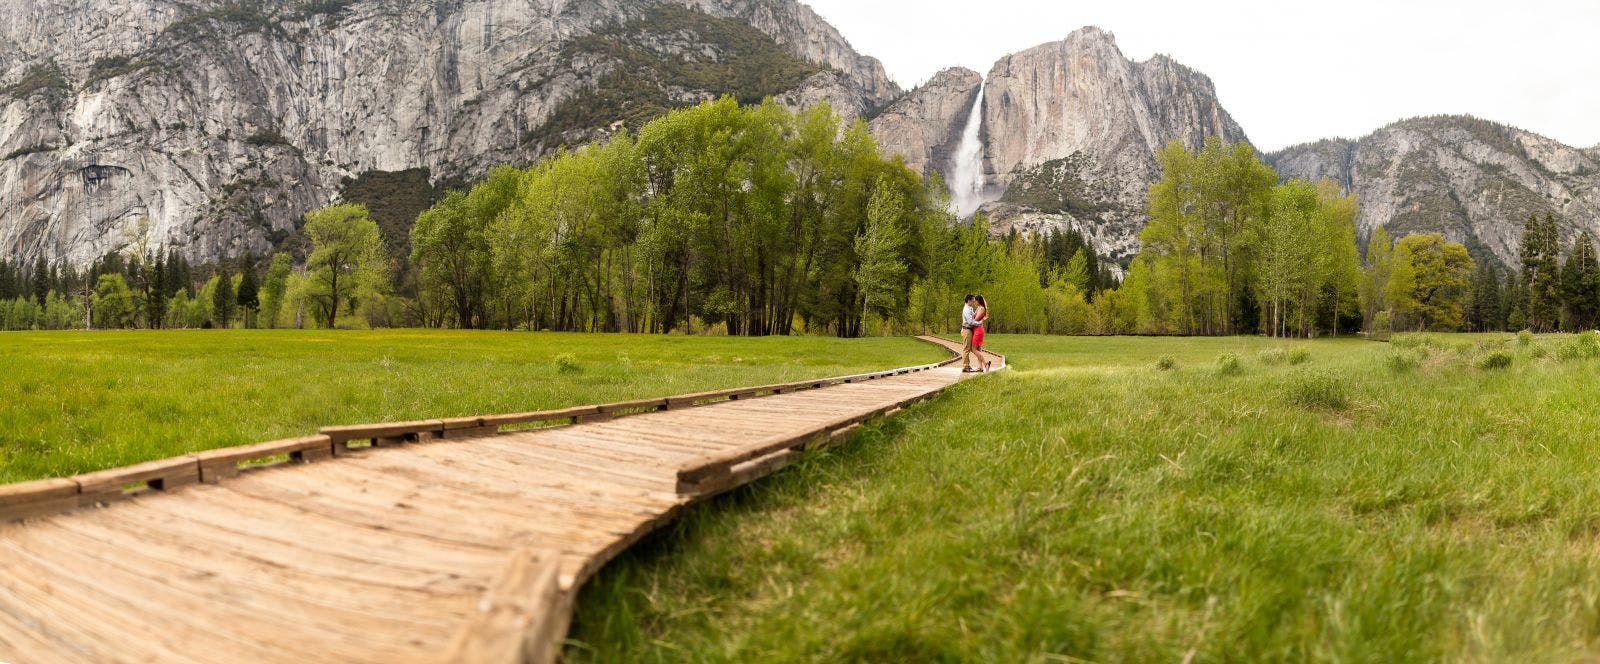
After capturing my first shot, I usually start in the center and then take three additional shots moving slightly to the left. I then do the same moving from the center to the right. Next, capture a frame above your original starting point and follow the same process. Finally, capture a frame in the center again, below your starting point, and repeat the process once more. Some photographers start from the upper left corner and work their way across before starting a second row of images just below the first row. Either way, using a system like this helps ensure that you capture enough images to cover the entire scene.
5. Overlap Each Image
As you pan across and snap your photos, be sure to overlap each image by 30-50%. In the video above, David Bergman illustrates a great technique for how to cleanly rotate the camera without using a tripod.
Brenizer Method Tip #6. Zoom In
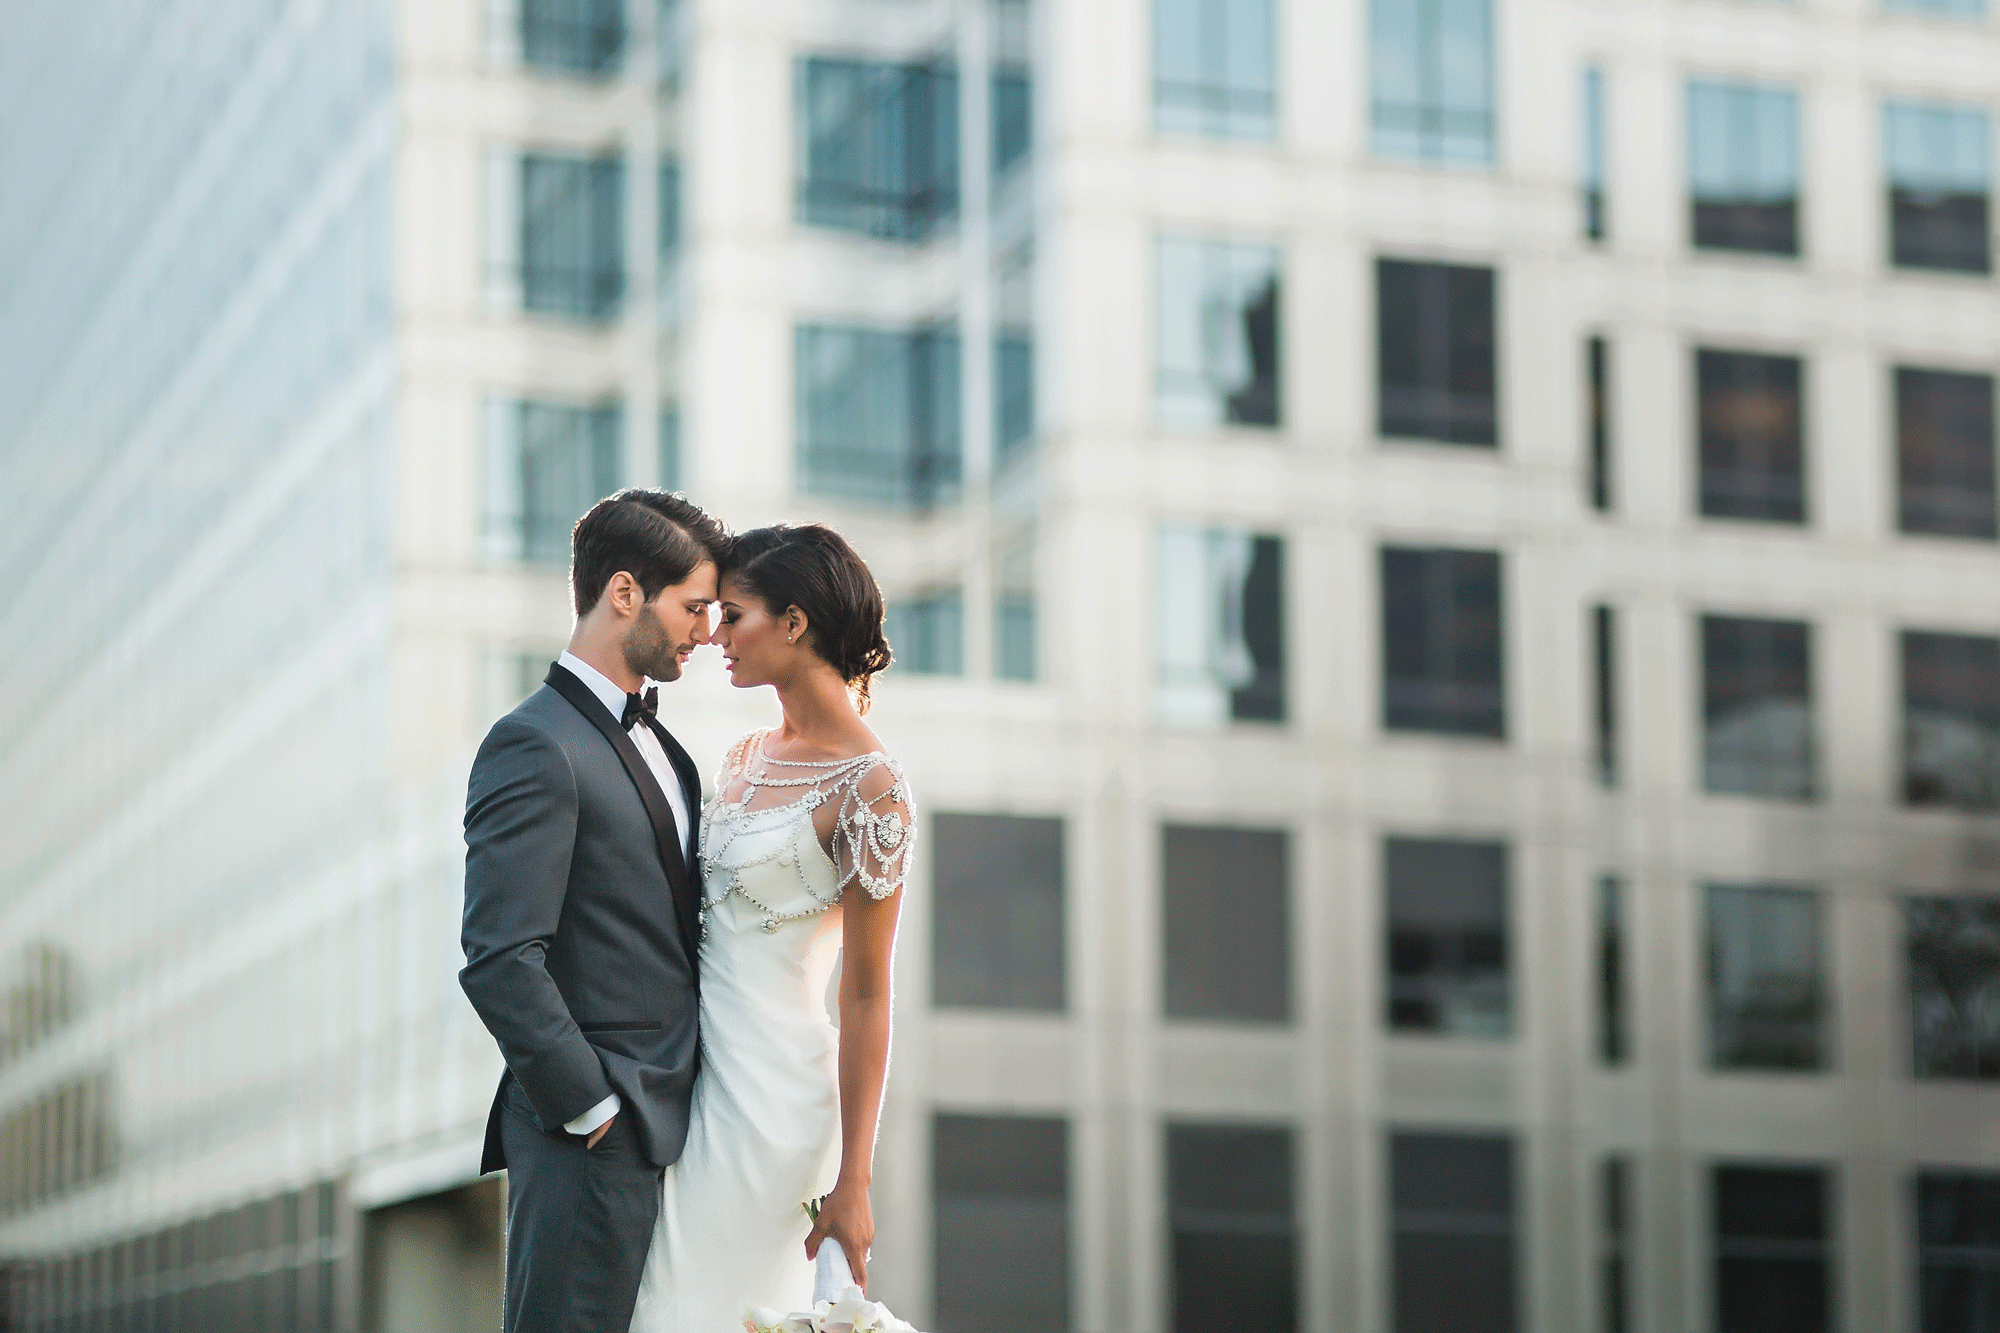
Since we’re capturing a wide angle shot, should we use a wide angle lens? No, actually. While it may seem counterintuitive to use a telephoto lens to capture a wide angle shot, the reality is that the “flatter” images we capture with a telephoto lens make panoramic stitching easier to do in post. In addition to compression, longer focal lengths (somewhere in the range of 70-200mm) also give us more prominent bokeh. Wide angle lenses, however, are more likely to create optical vignetting and distort the edges of the frame. This is especially true when use using wide angle lenses while standing closer to our subjects. We can correct the vignetting somewhat easily in post, but the distorted edges make it more difficult to stitch together the individual photos.
7. Opt for Portrait/Vertical Orientation
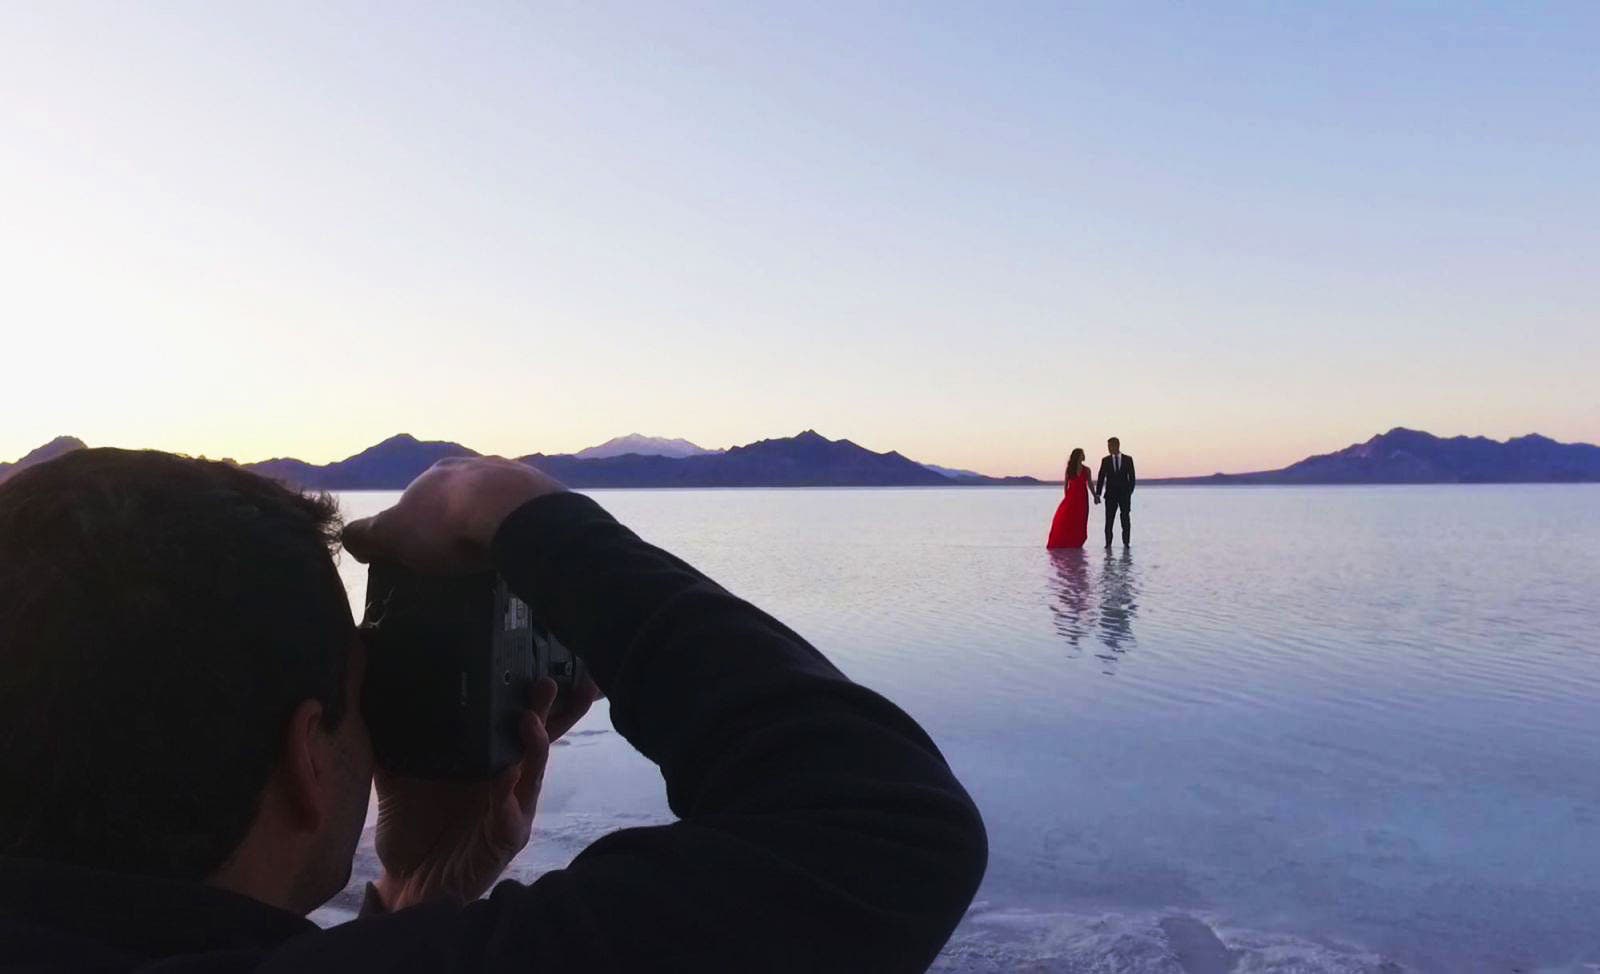
In terms of how to hold or position your camera, it’s usually better to turn the camera on its side and shoot portrait or vertically oriented photos. Why? While you’ll need to capture more photos to cover a wider scene, doing so creates a final image with more detail and much higher resolution. Remember, with the Brenizer Method, it’s the number of shots you capture, not the focal length of the lens, that determines how wide or tall the field of view should be.
Brenizer Method Tip #8. Shoot with a Wide Aperture
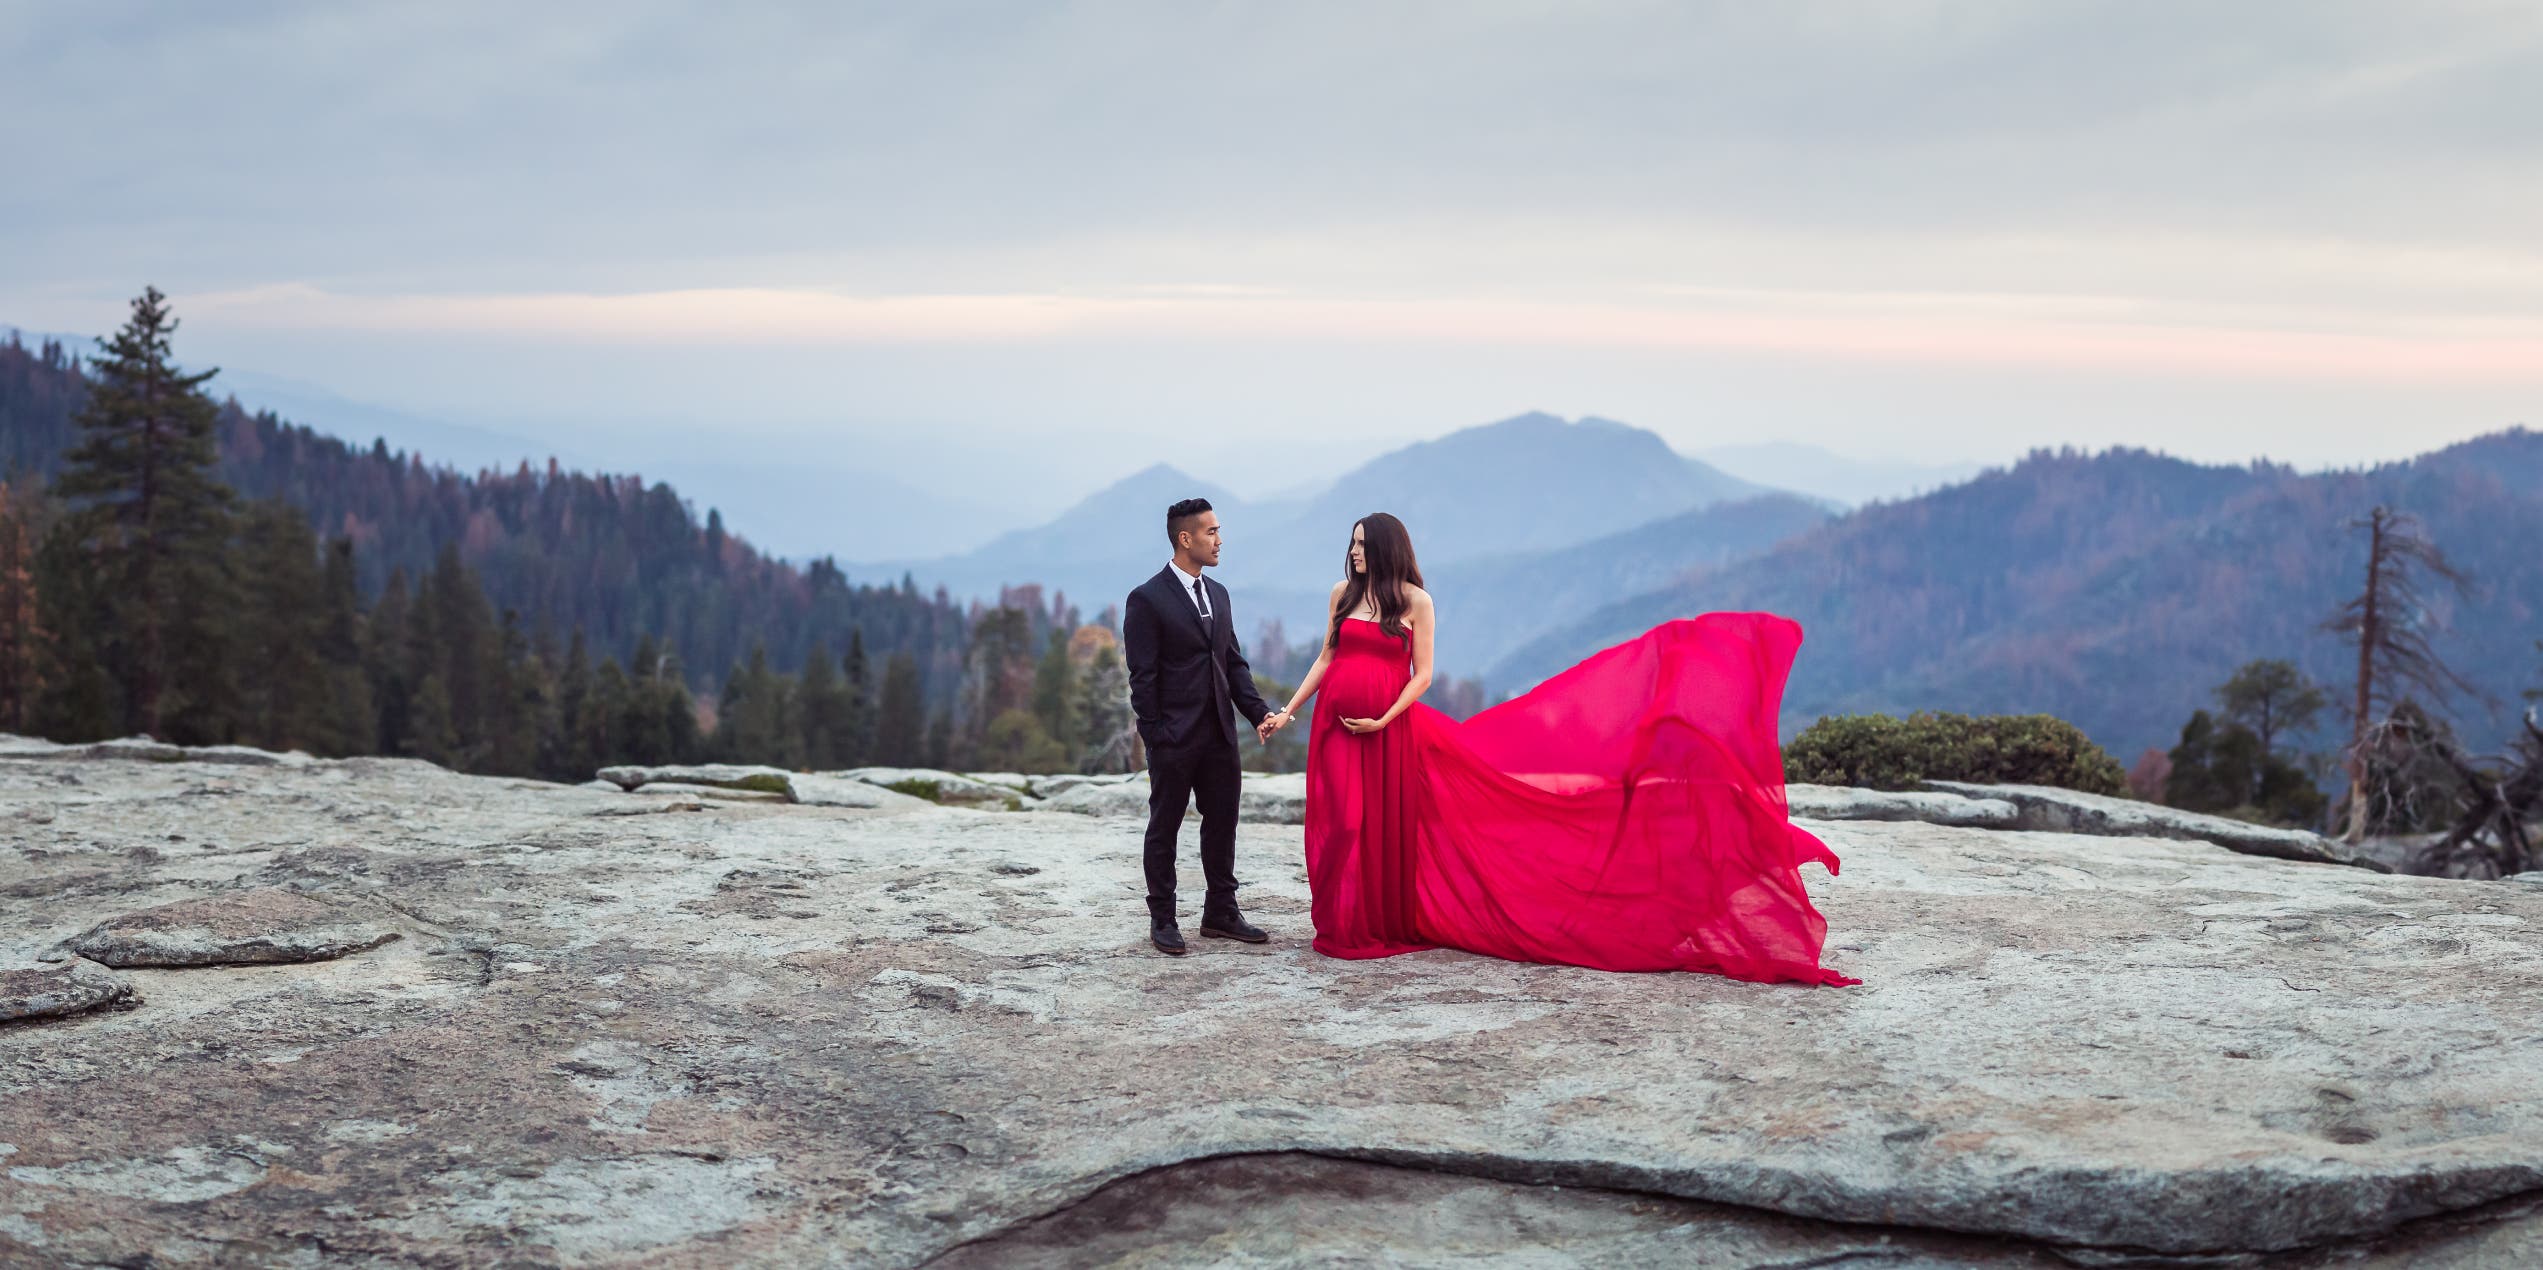
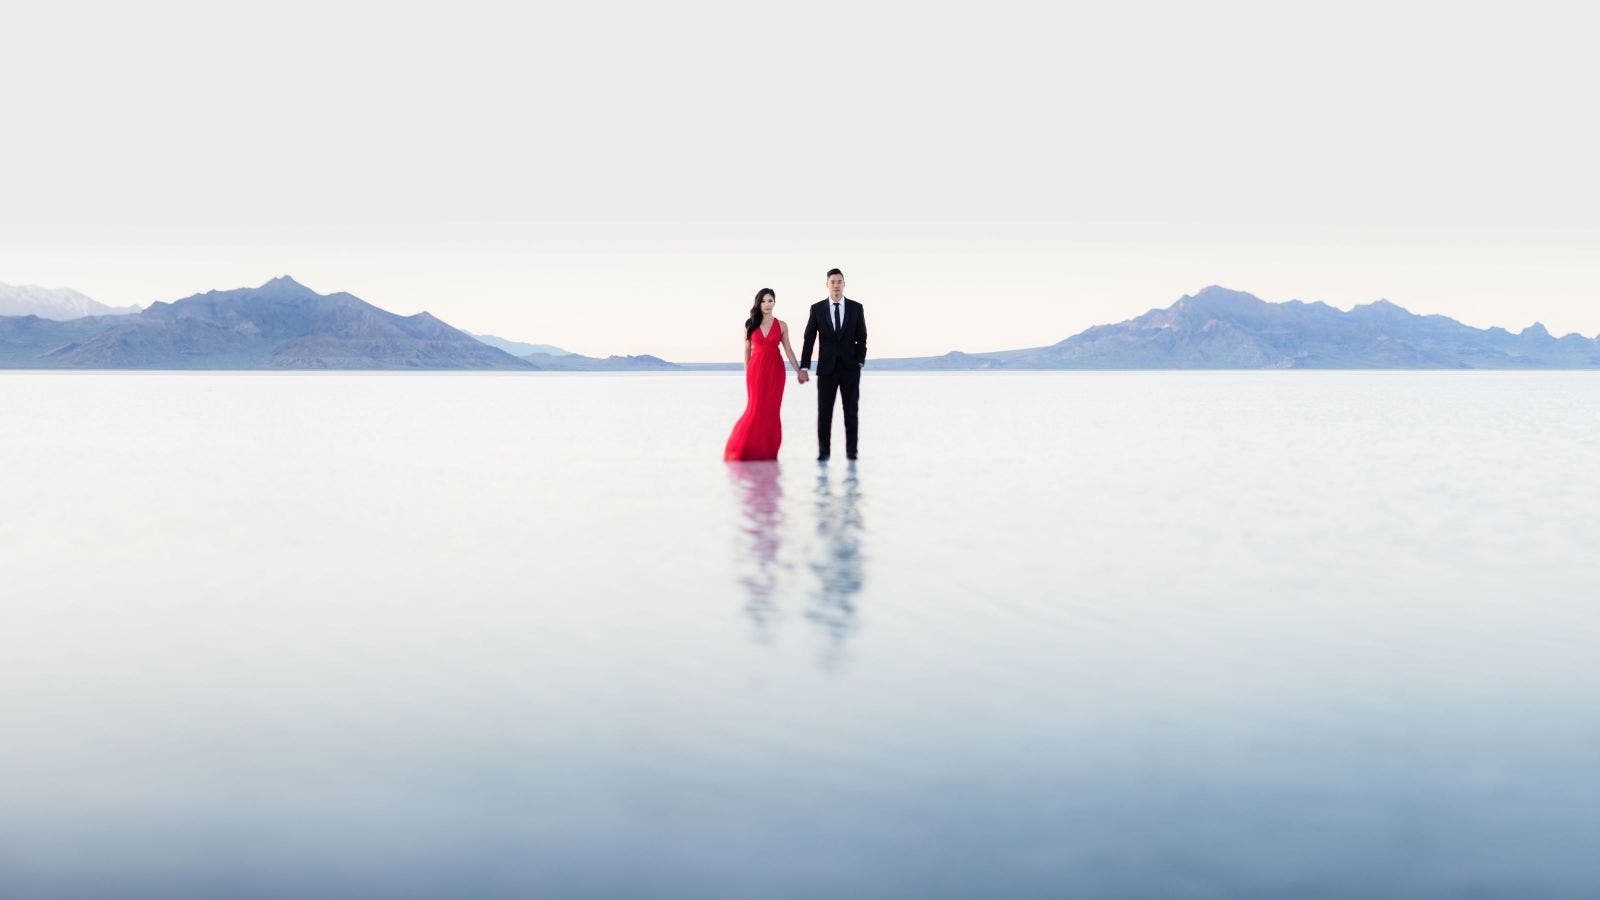
Part of the goal when using the Brenizer Method for panoramic portraits is to separate your subject from the background with an extremely shallow depth of field. Wide angle portraits don’t usually afford us an opportunity to capture a wide frame and a shallow depth of field at the same time, which is why Brenizer Method portraits always grab our attention. They feature the best of both worlds. To further accentuate the look, set your aperture anywhere between f/1.2 and f/2. If you’re using a telephoto lens with a narrower aperture, you don’t have to open it up as much to get a similar effect.
9. Mind the Moving Objects

This is a simple, but important tip. Mind the moving objects in your scene in order to avoid capturing duplicates of someone or something moving across the frame. What’s worse, a person may only move slightly and then appear awkwardly distorted in the final image. Of course, you can correct this with manual stitching or a quick spot heal or clone stamp. The downside is that fixing the image in post requires more time. It’s easier to get it right in-camera.
Bonus: Moving elements like water are great with long exposure panoramic stitch photos, if you’re going for that look.
10. Take a “Big Picture” Approach in Post
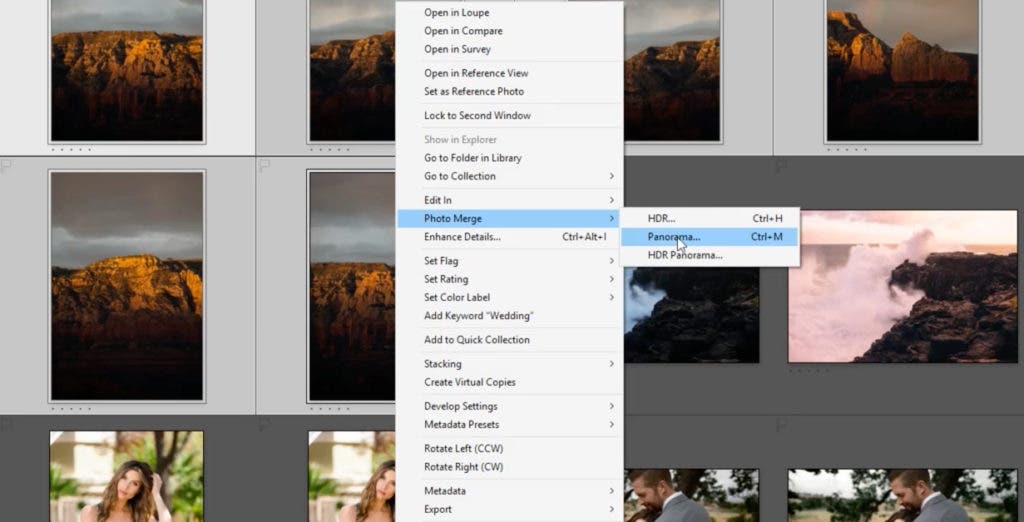
Although they begin their journey as individuals, the images we use to create a panoramic portrait must work together as a team. In other words, consistency is key when it comes to panoramic stitching. Edit one frame and then apply the same adjustments to all of the remaining frames. Once the individual shots have been edited, you can move to Photoshop for stitching – or use Lightroom’s “Photo Merge” tool.
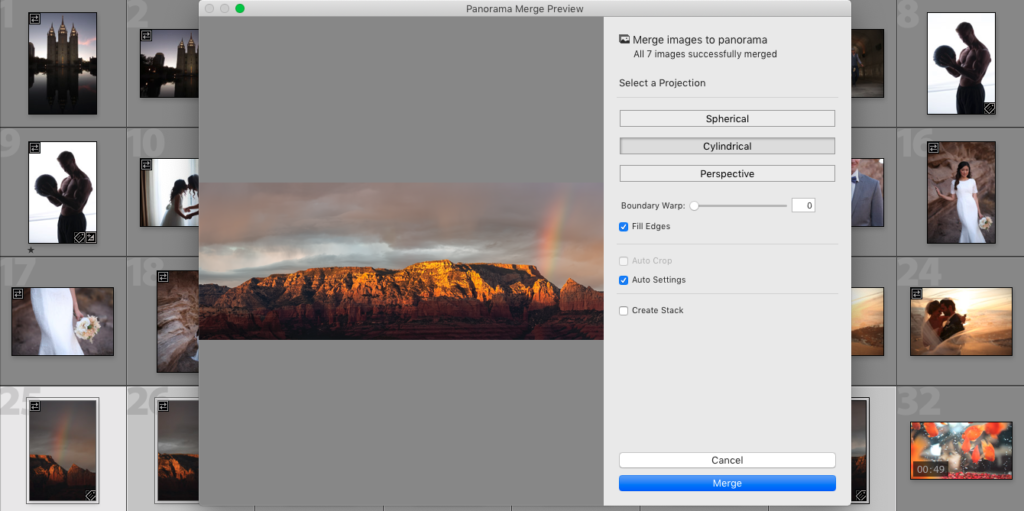
Here are my recommendations for the settings when using Photo Merge:
- Projection – Begin with Spherical. Select Cylindrical or Perspective if there’s too much distortion/warping in the image. NOTE: Sometimes the image will fail to merge with specific Projection-types. If this is the case, select a different Projection.
- Boundary Warp – Bends/warps the edges of the image, adjust as desired.
- Fill Edges/Auto Crop – Fill Edges will attempt to fill empty space at the edges of the frame. Auto Crop, however, will automatically crop away the empty space. Select either.
- Auto Settings – Auto settings will attempt to process the image. We’d recommend you leave this unchecked and process it after the image is merged.
- Create Stack – Stacks the merged image with other images in the selection. Leave unchecked unless you prefer stacking as a method of organization.
Finally, flatten and finish your edit in Lightroom with dodge & burn. If you don’t use Lightroom or Photoshop, you can find other dedicated stitching software options like these.
Conclusion
I hope you found these 10 Brenizer Method tips for panoramic stitching helpful. With a little practice, you can master this technique and use it to wow your clients with incredible imagery. If you want to see more examples of panoramic stitching, check out this video on Adorama TV with Doug Mckinlay. In it, Doug touches on some of the concepts mentioned above and adds great, real-world photo examples.
All photos featured in the article courtesy of SLR Lounge and Lin & Jirsa Photography.
