Anyone who enjoys being in nature knows the special thrill of coming upon a field blanketed with wildflowers. These swaths of brightly colored flora usually emerge starting early in the spring and generally last only a week or two before yielding to the greens of summer.
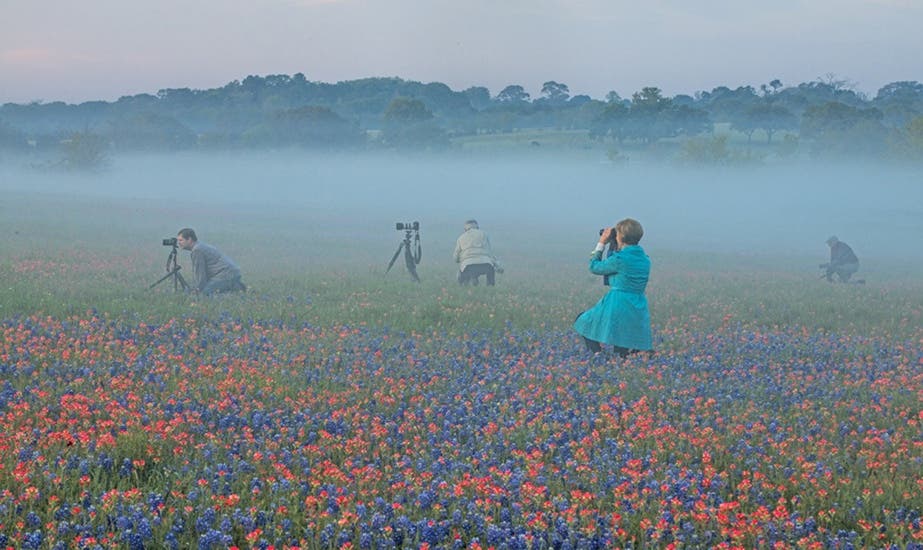
Among the many places I’ve photographed wildflowers are the deserts of Israel and the dry foothills of Death Valley, the Rocky Mountains of Colorado and the coastal meadows of Maine — even the outskirts of Cape Town. But the region I’ve returned to most often is the hill country around Brenham, Texas. The flowers in this area of Texas are so easy to get to and so reliably beautiful that I’ve led at least ten photography workshops there — with one coming up this spring (April 6-9, 2017). But the lessons we learn apply to any wildflower location so check out what you can find near your own home and start your photographic outings soon. Here are some suggestions to help you come back with stunning images of wildflowers:
Stop the car.
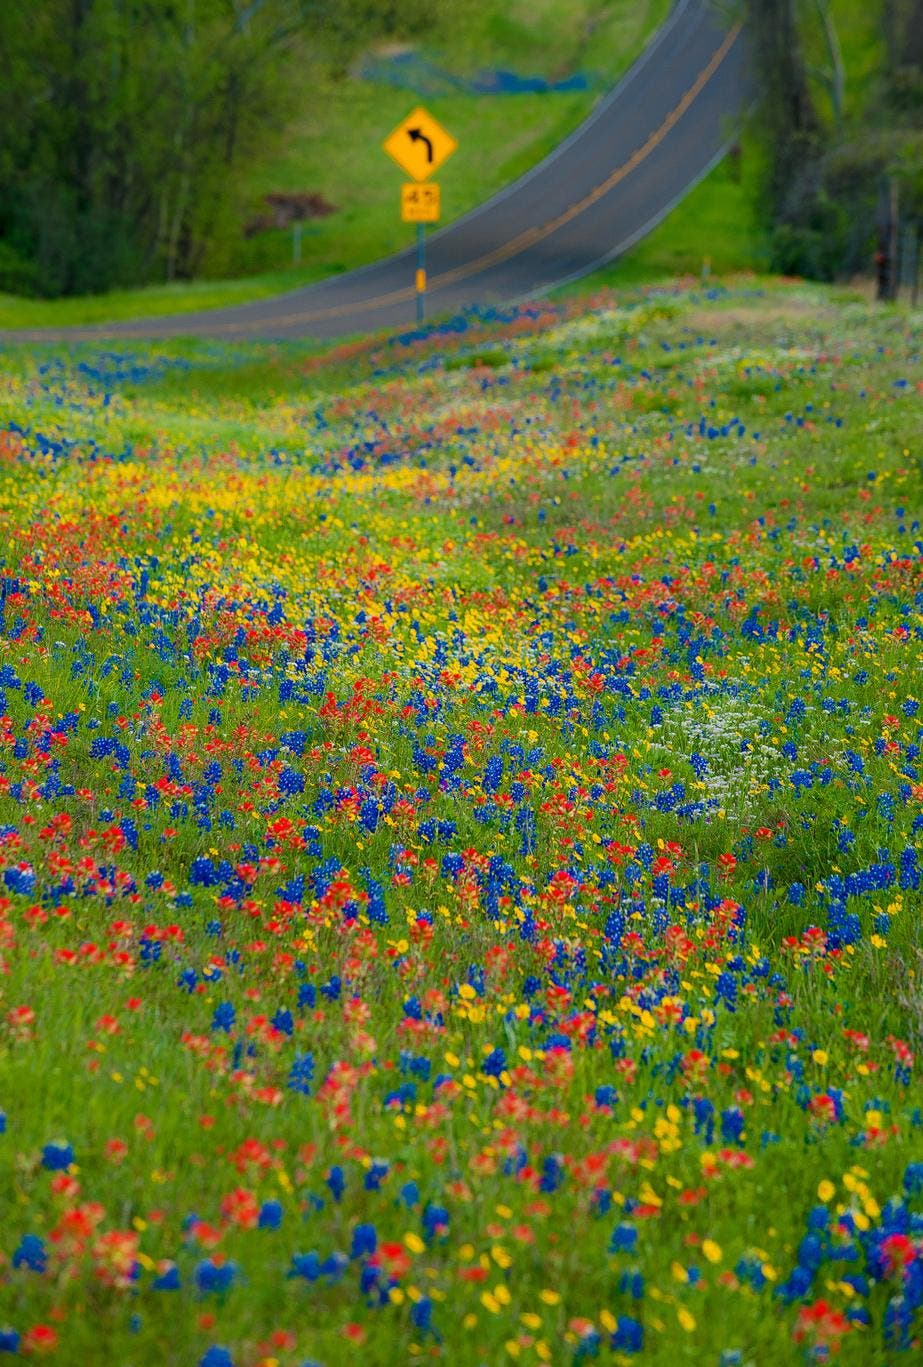
Students often ask me how I got a certain image and I tell them, only half-jokingly, “I stopped the car.” How often have you been driving along a road and seen a sea of wildflowers at your side? To turn that vision into an image, you have to stop, get out and use your camera. (Of course, you have to do this in a safe way and keep your warnings lights flashing if you’ve stopped on the shoulder of the road.) You can’t assume that you’ll see more of the same flowers later on. Even if you do, it’s still a good idea to take the pictures you can and then get more if you have another opportunity.
Vary your compositions.
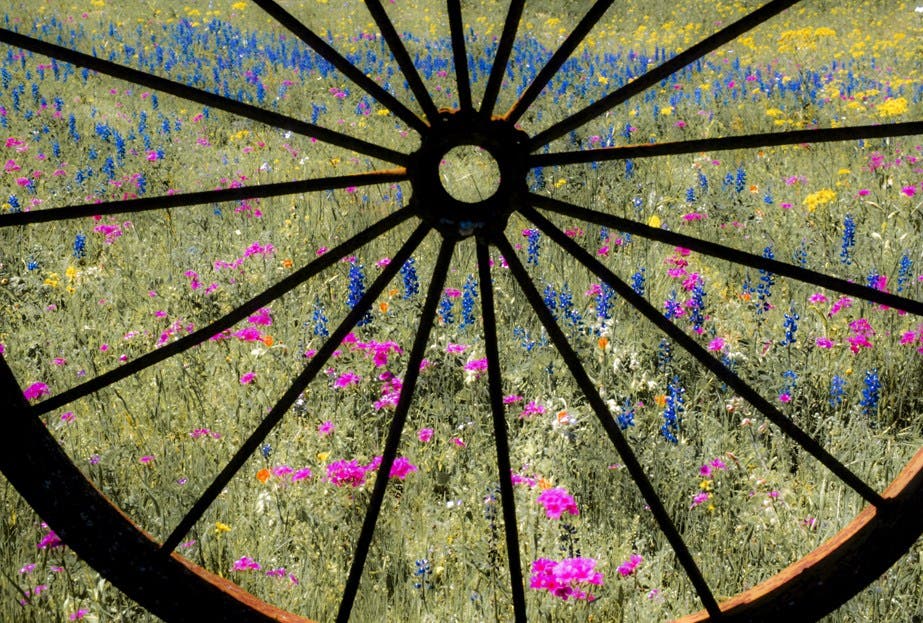
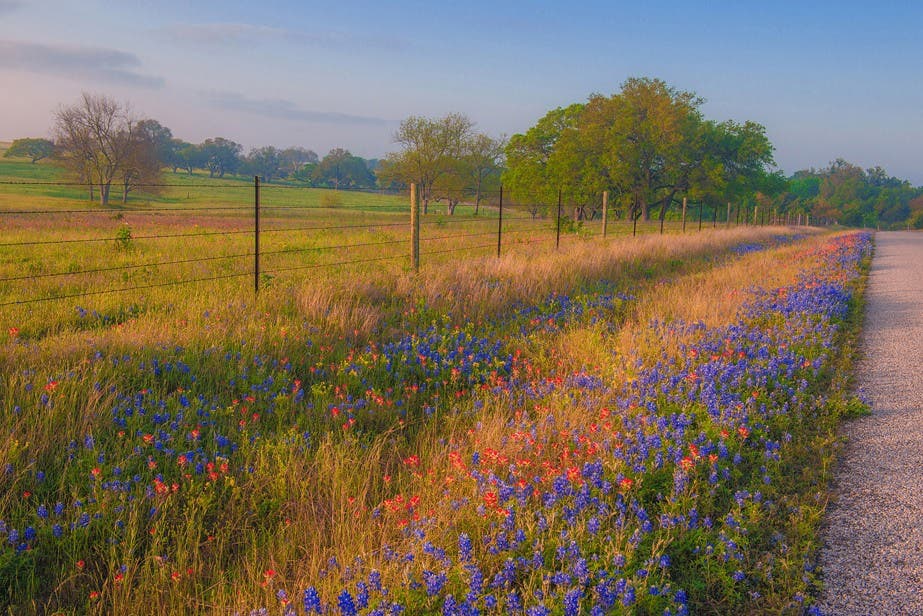
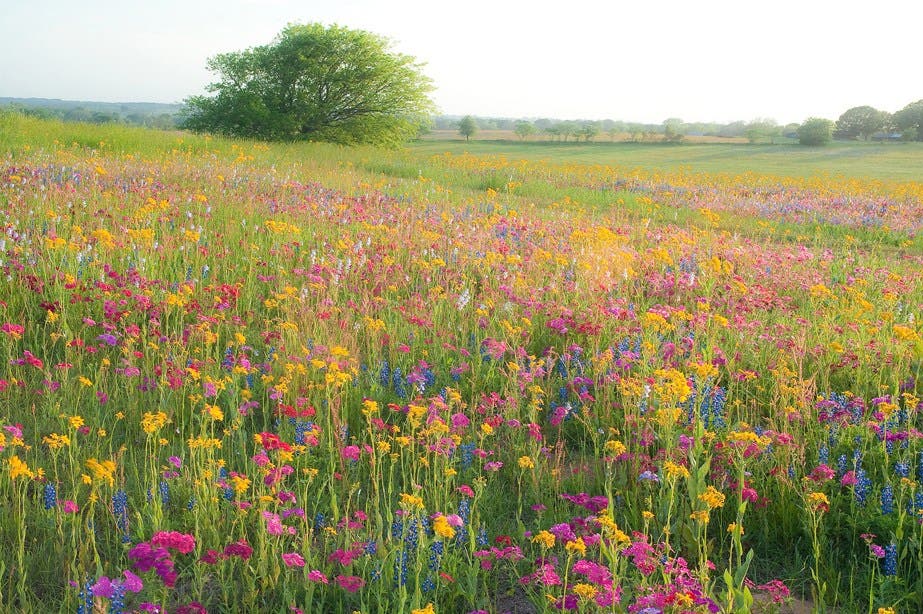
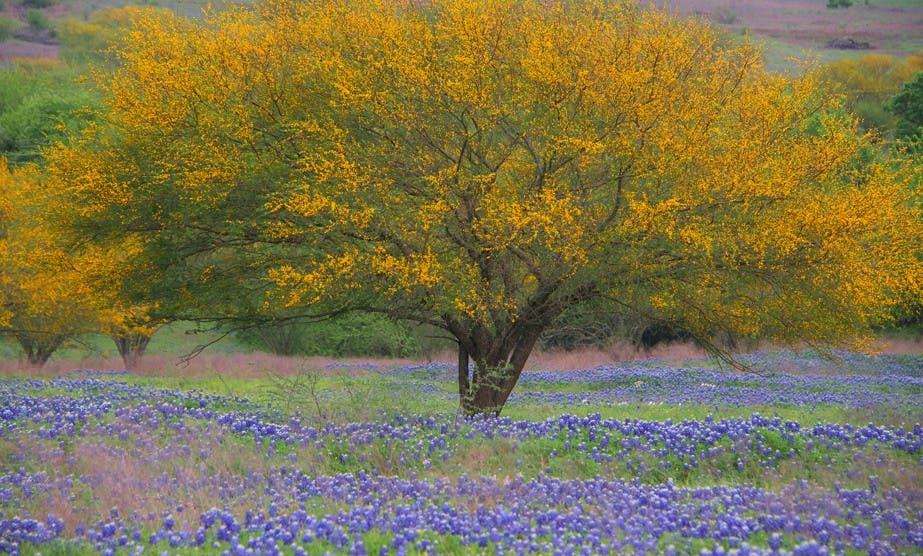
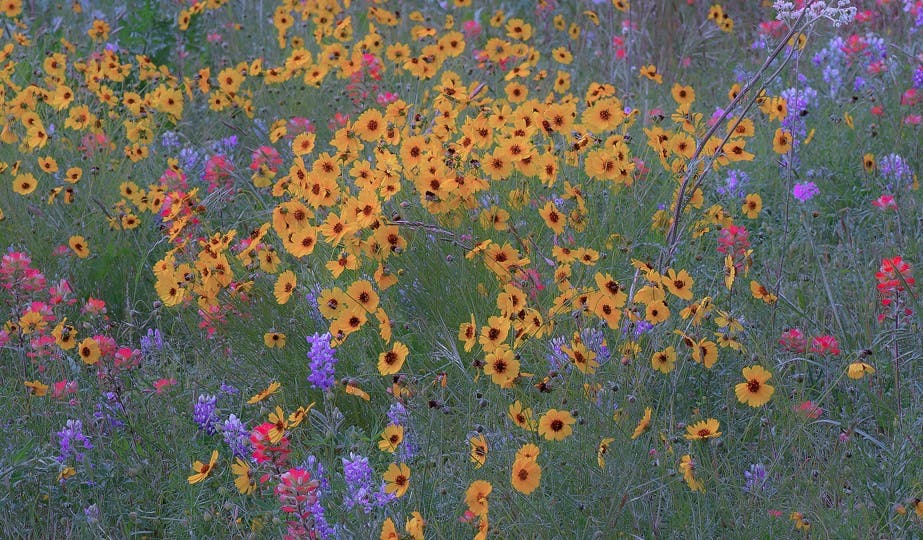
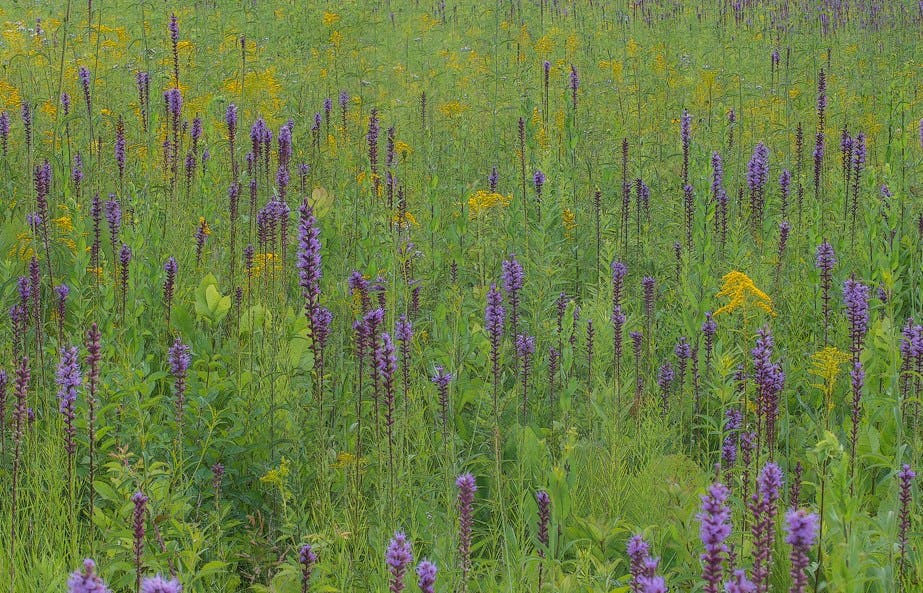
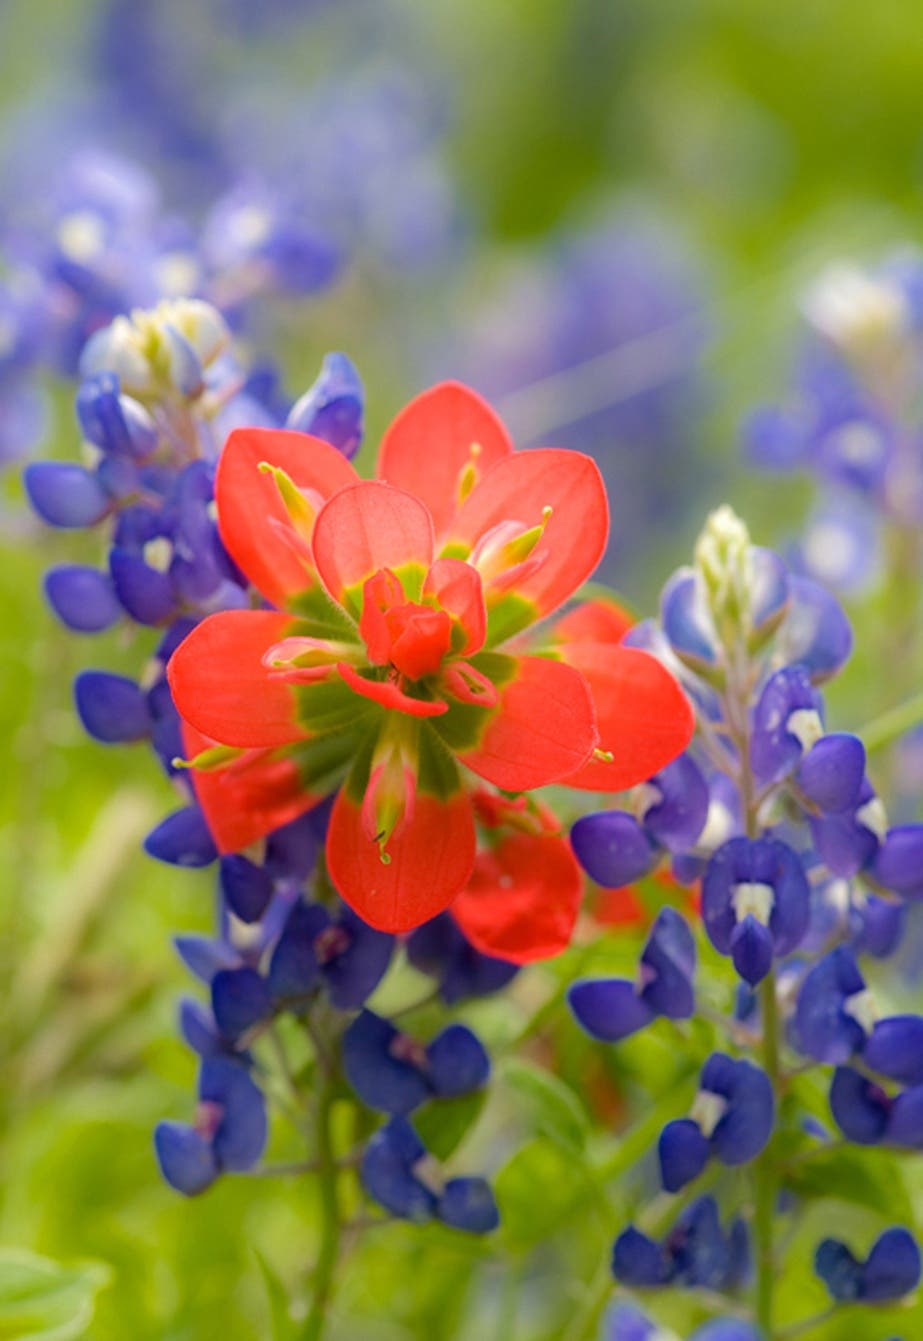
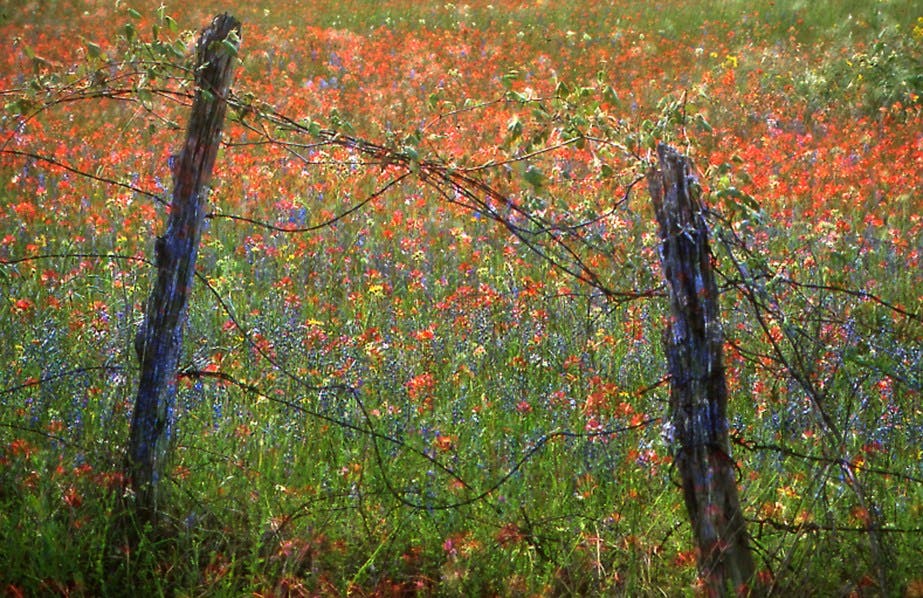
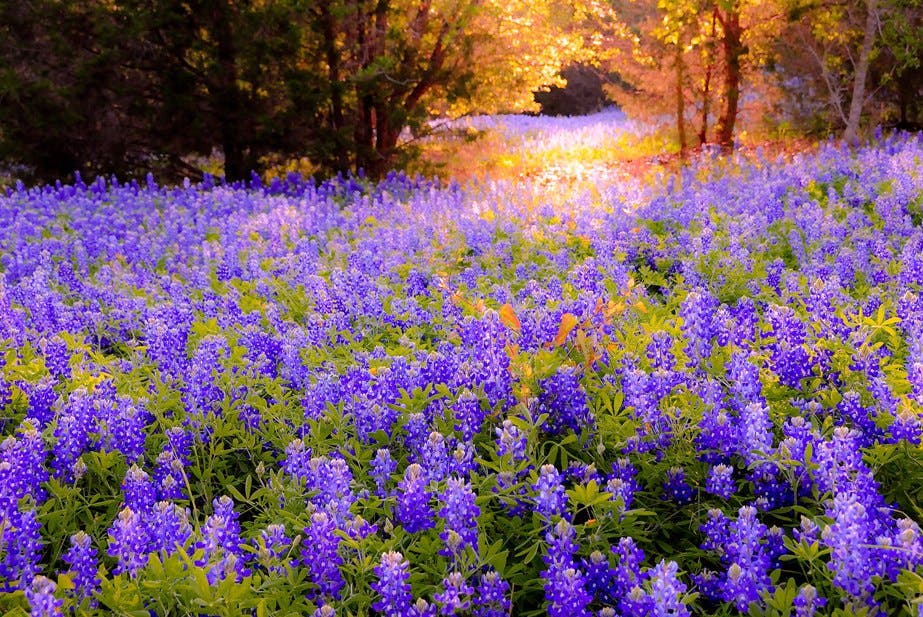
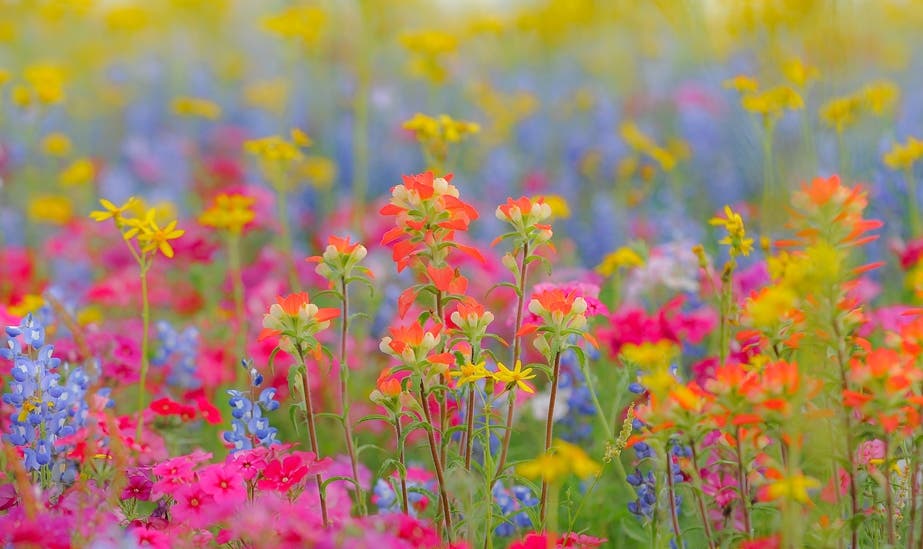
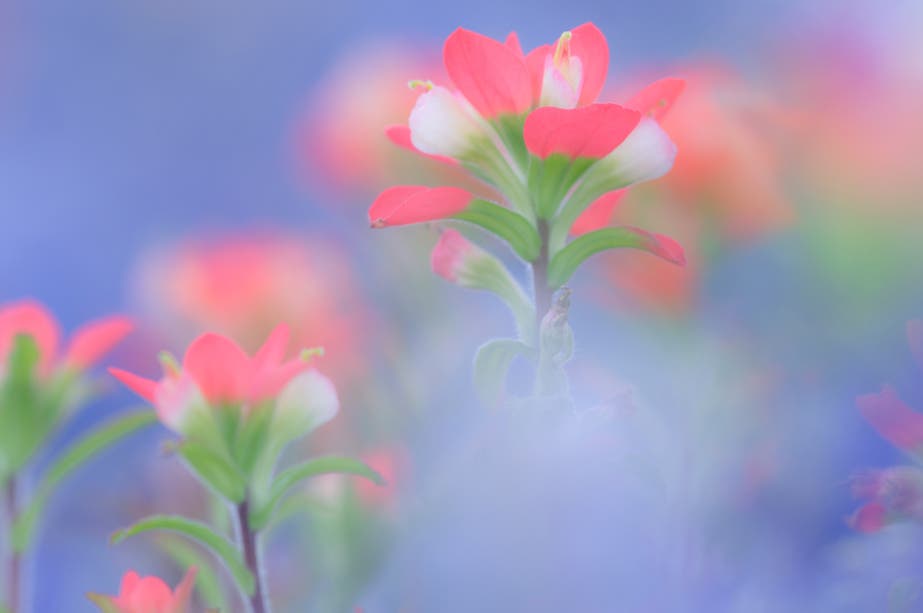
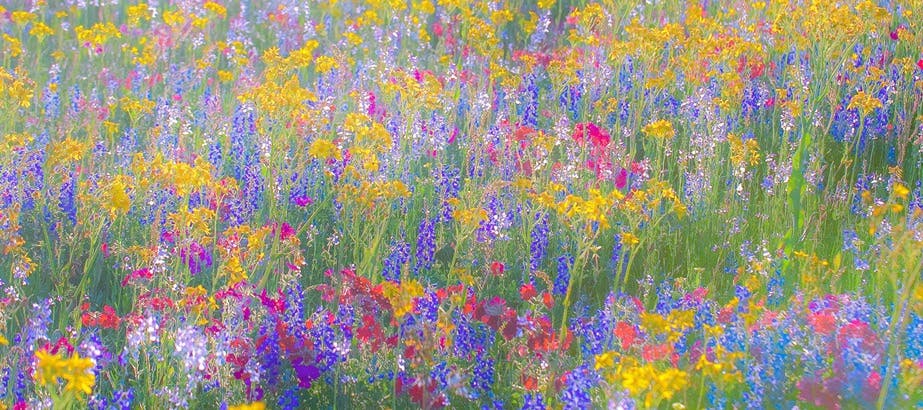
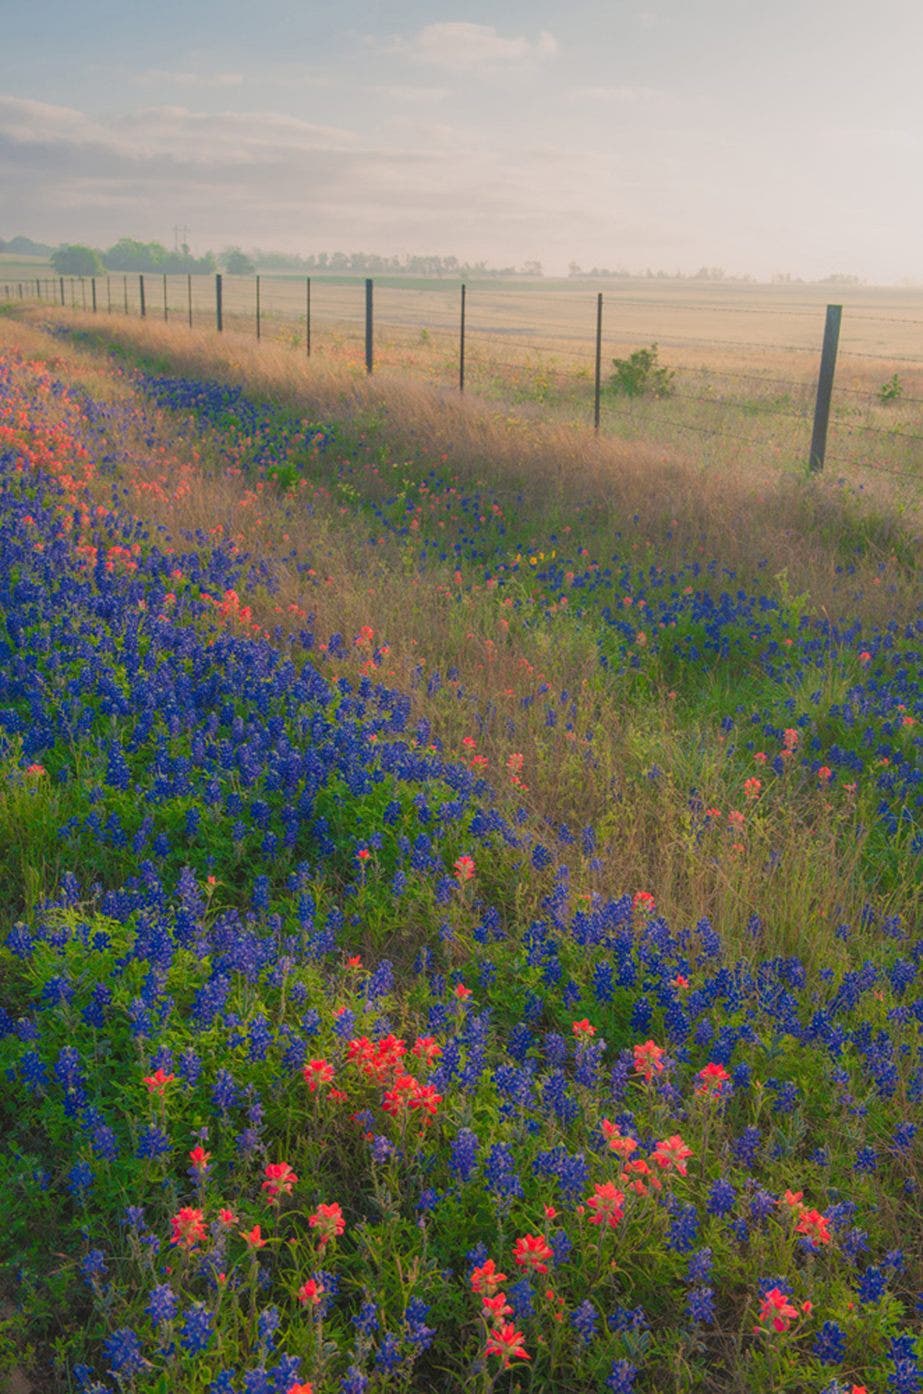
It’s hard to avoid getting into a rut but that’s one of a photographer’s main objects. A good way to begin is to take shots that represent overviews, vignettes and details. The overview is an establishing shot that may show the field of flowers in its context, such as surrounding mountains or hills, or a nearby tree or fence. Including the environment shows wildflowers in their unique setting and places them in a visual context. Vignettes feature groupings of wildflowers and let you explore their endless combinations of colors and shapes. Use vignettes to home in on parts of the scene that speak to you, and push yourself to flowers or even pieces of flowers. Such details communicate the essence of looking closely and seeing things we normally overlook. My favorite choice for wildflower close-ups is the Nikon 100mm macro lens, but you can’t go wrong with Canon, Zeiss, Tamrom, Sigma, Tokina or Sony. Finally, vary your format from horizontal to vertical to see things from each perspective.
Vary your focal length.
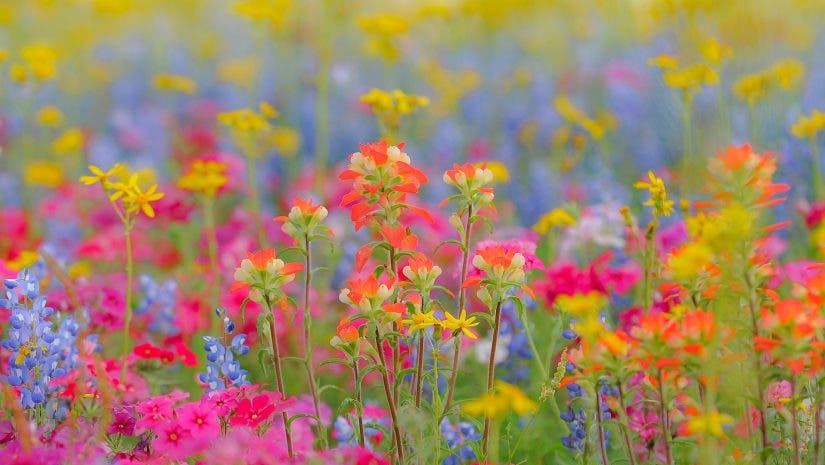
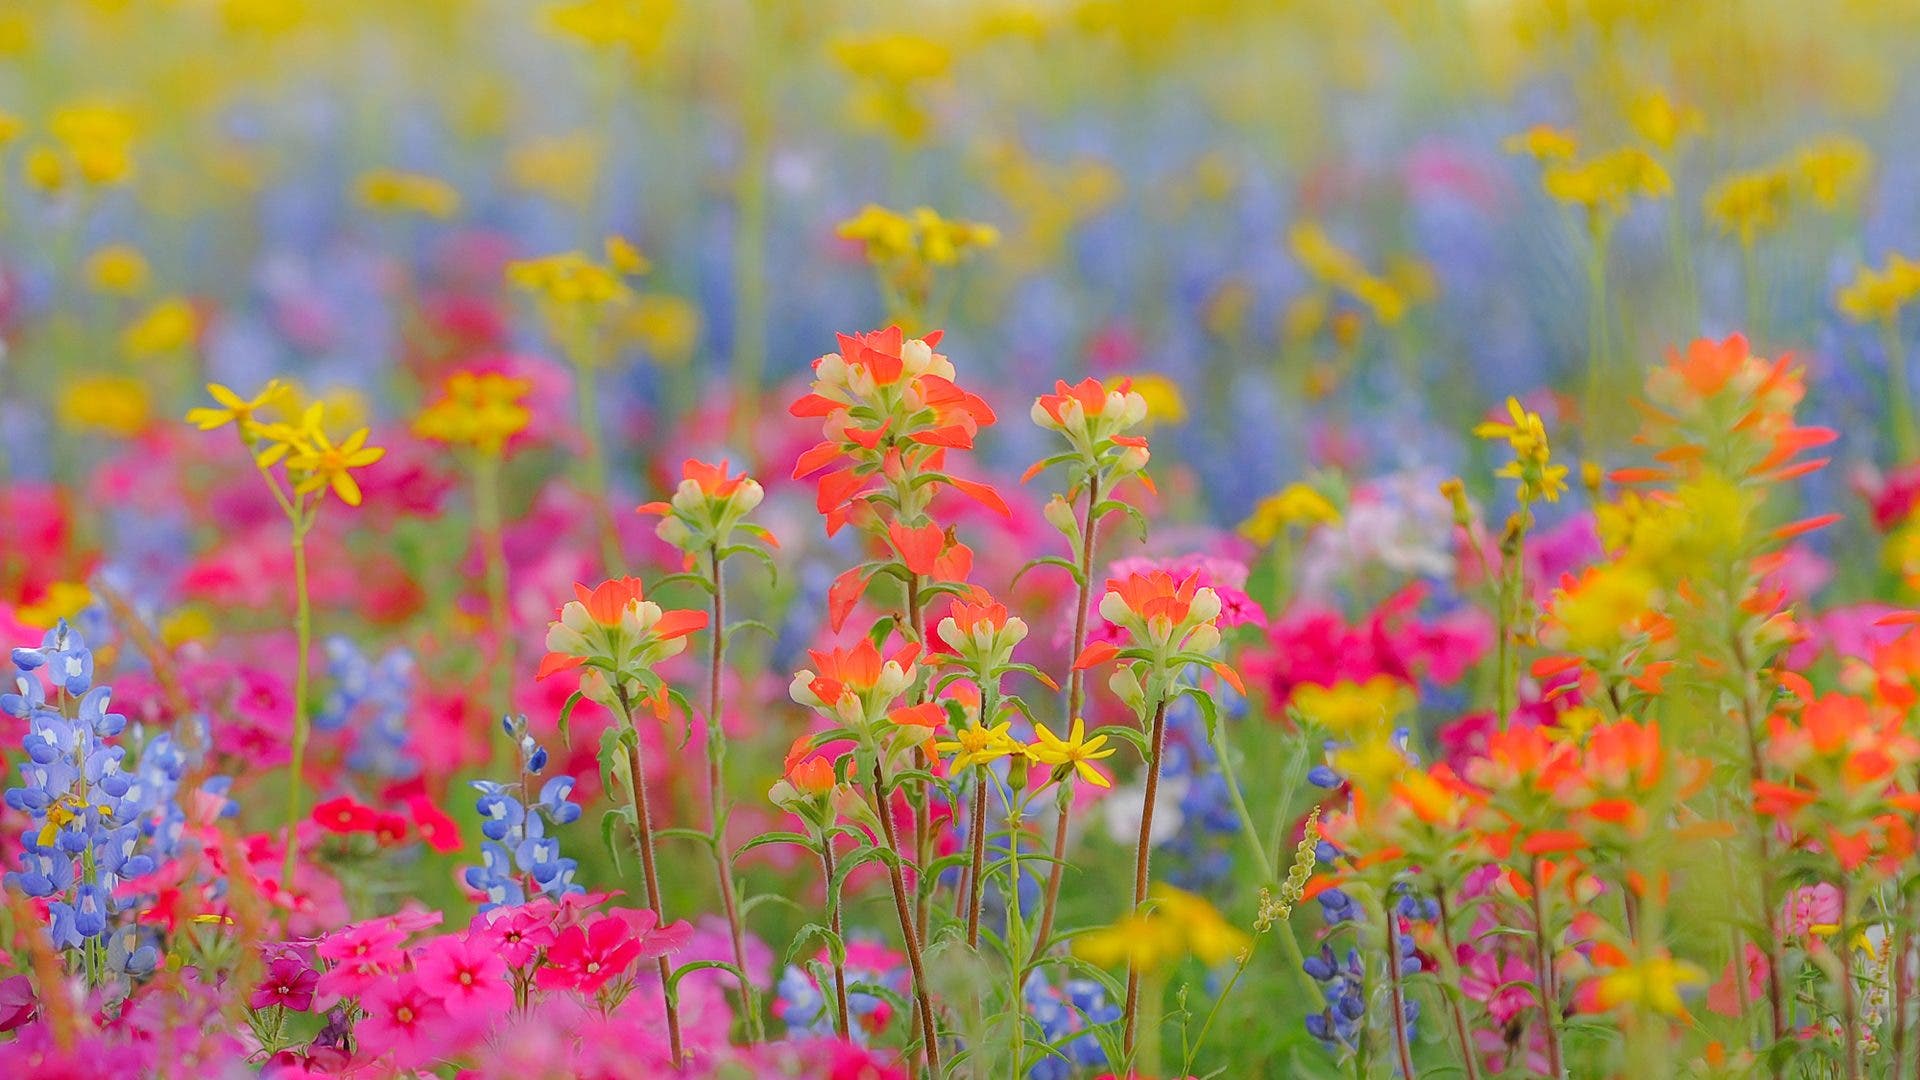
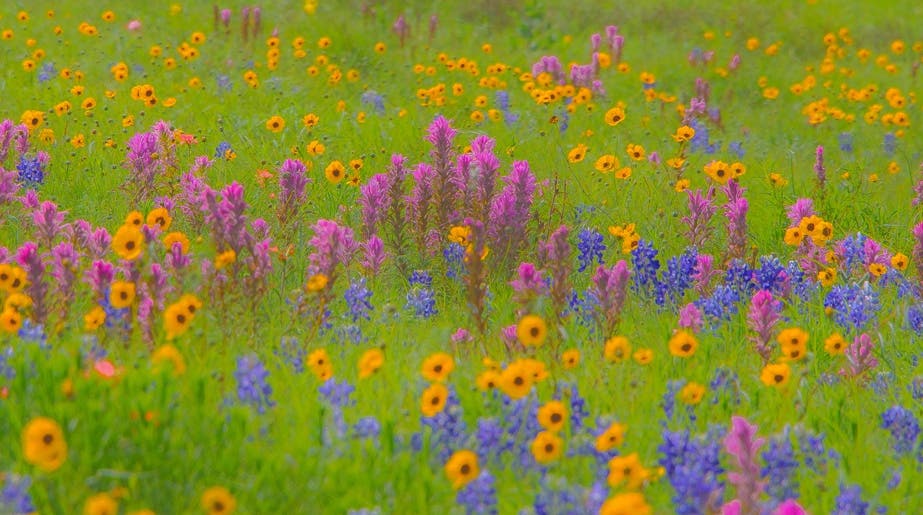
Whether you use different lenses or a single zoom lens, changing your focal length not only widens or narrows your viewpoint; it also affects your depth of field. Wide angle lenses have a greater depth of field while telephoto lenses have a more shallow depth of field. Controlling the depth of field is an important creative tool in wildflower photography when you sometimes want maximum sharpness and other times want to deliberately limit the depth of field. For example, using a very shallow depth of field allows me to isolate a slice of the scene or what I call a “shoot-through.” The result can keep some flowers well-defined while the ones in front or behind become a wash of color. Limiting the depth of field also allows you to blur out the background behind a flower so it pops out. I like using the long 200mm Nikon macro lens for shoot-throughs, though you can use any telephoto lens, perhaps with an extension tube or close-up lenses that screws on (see below). A macro lens is also the best choice for wildflower close-ups.
Notice the light.
On my wildflower workshops, we always get up early to catch the light at sunrise — and we’re back in the late afternoon to take advantage of the sunset. The low-angled light at these times gives a special glow to wildflowers, which are generally close to the ground and in the open. Such light also lets you experiment with backlit and side lit effects. Low-angled light also creates dark shadows so the shape of each flower is clear. If the sun is strong, a polarizing filter can help you remove glare from the foliage and deepen the blue of the sky. Just rotate the polarizer to see how it will affect the image. But don’t fret if you have a cloudy or rainy day. Use the soft, uniform light to capture paler tones or include water drops on the flower petals or leaves. Just bring a colorless tarp to protect yourself and your camera as you shoot. The hardest light to work with comes when clouds sweep in front of the sun, casting shadows below. In this case, try to choose an area that is either fully in sun or fully in shade so you’ll be working with uniform light of some kind. Uneven or splotchy light will make it very difficult to get good exposure on everything.
Adapt to the wind.
Wildflowers will happily blow in the wind, not caring a whit if they are frustrating your photographic efforts. You can’t control the wind but you can adjust your photography to it. If you’re determined to get a sharp image, you can patiently wait for those moments when the wind lets up — or you can freeze the motion of those wind-tossed flowers with a fast shutter speed — at least 1/500 of a second. Another approach is to go for some blurring by using a moderate shutter speed to record the movement of the flowers. Play with the shutter speed settings to see the results and decide what pleases you.
Wildflowers will happily blow in the wind, not caring a whit if they are frustrating your photographic efforts. You can’t control the wind but you can adjust your photography to it. If you’re determined to get a sharp image, you can patiently wait for those moments when the wind lets up — or you can freeze the motion of those wind-tossed flowers with a fast shutter speed — at least 1/500 of a second. Another approach is to go for some blurring by using a moderate shutter speed to record the movement of the flowers. Play with the shutter speed settings to see the results and decide what pleases you.
Other suggestions.
Photographers have found a few accessories particularly useful for shooting wildflowers. You’ll save yourself a lot of wear and tear by using a good, steady tripod that goes fairly low to the ground, together with a cable release. I recommend the Gitzo-Traveler with a Swiss Arca ball head. You may still need to go down on your knees, but you won’t have to hold the camera steady as you do. Also, wear knee pads or bring a gardener’s pad to kneel on. Your knees will thank you. Bring along a set of extension tubes (Kenko is a good brand) and screw-on magnifying lenses, especially if you don’t have a macro lens, to get in really close. Nikon and Canon are best of the screw-on close-up lenses available, followed by Hoya and Vivitar. They come in sets of three: +1, +2, +3; the higher the number the greater the magnification. You can combine all three for maximum magnification. Just screw on the
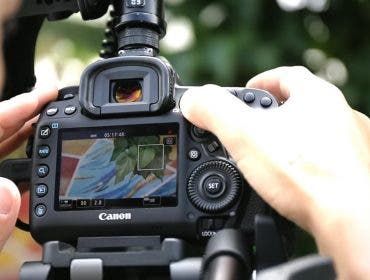
Photographers have found a few accessories particularly useful for shooting wildflowers. You’ll save yourself a lot of wear and tear by using a good, steady tripod that goes fairly low to the ground, together with a cable release. I recommend the Gitzo-Traveler with a Swiss Arca ball head. You may still need to go down on your knees, but you won’t have to hold the camera steady as you do. Also, wear knee pads or bring a gardener’s pad to kneel on. Your knees will thank you. Bring along a set of extension tubes (Kenko is a good brand) and screw-on magnifying lenses, especially if you don’t have a macro lens, to get in really close. Nikon and Canon are best of the screw-on close-up lenses available, followed by Hoya and Vivitar. They come in sets of three: +1, +2, +3; the higher the number the greater the magnification. You can combine all three for maximum magnification. Just screw on the the highest magnification first and the lowest magnification last. Finally, if you can, use a camera with a renticulated monitor so you can swivel it up and look down on what’s in your frame — much easier than looking straight ahead. This feature should be on every camera made!
Follow ALC with Bloglovin
