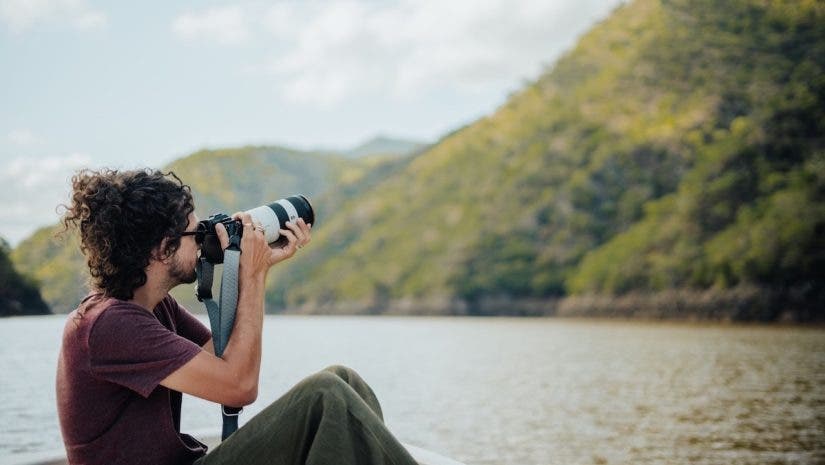
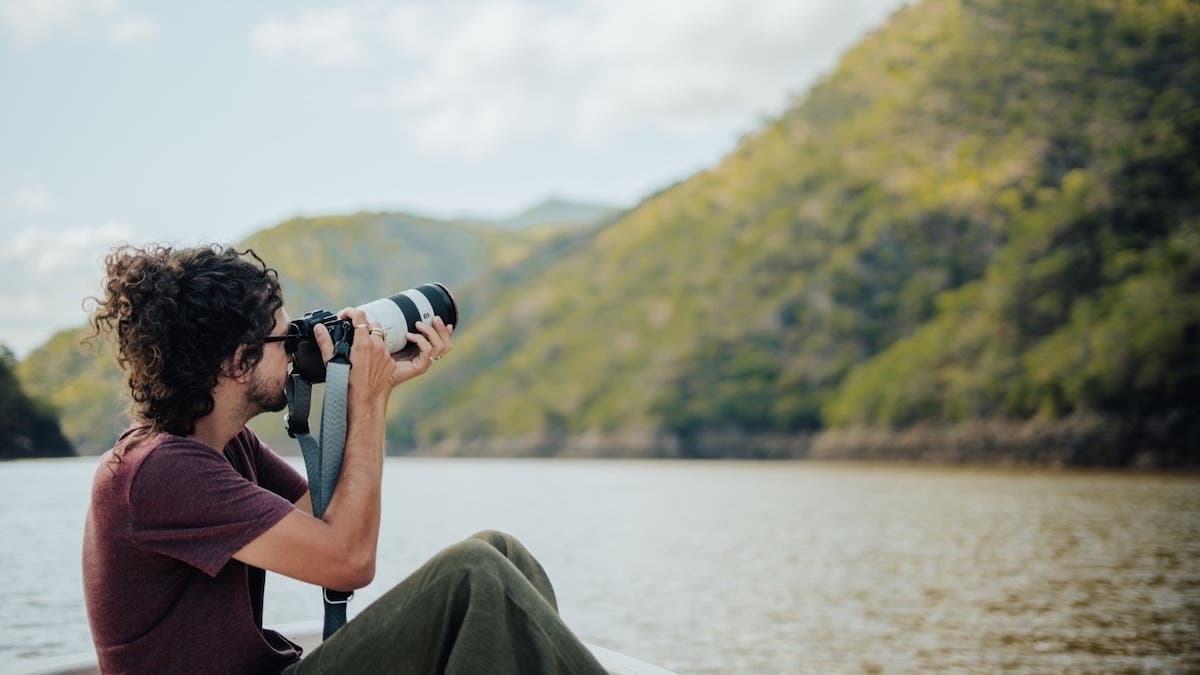
If you’re thinking about filming wildlife, this article will provide insight when deciding what to put in your filmmaking bag. I’ll be sharing with you some of my favorite gear and accessories that I’ve chosen based on countless hours of trial and error while out in the field filming wildlife.
I’m a co-founder of Atlas 1 Studio and have recently spent six weeks in Botswana and Zimbabwe researching and filming wildlife for a documentary film project. For this early stage of the project, we chose to travel across the two countries in a “mobile studio” – a 4×4 van with a rooftop tent. Many of the locations we were filming had limited electricity access, minimal mobile network, and no electronics store for hundreds of miles. So, let’s just say we had to be very conscious about what gear we brought along.

In this article, I’m going to review a few essential gear items in my filmmaking bag when traveling to remote locations.
Cameras
The most important factor in filming wildlife is the camera itself. I’ve experimented with a few different Sony models over the past few years. As soon as I got my hands on the Sony FX3 Full-Frame Cinema Line Camera, I knew it was the camera for me. I eventually chose this body over the FX6 (which I have owned in the past) as a main camera because of it’s slim profile, optimized menu design for filming, and top-handle with XLR inputs.

When filming wildlife, especially from a vehicle using cinema lenses, stabilization can be a challenge. Ideally, I’ll opt to use a tripod on the ground. Although, that’s not always possible when a moment presents itself with no time to pull out a tripod. The FX3 has 5-axis stabilization built into the body.
The top-handle of the FX3 is one of the factors why I like it the most about this camera. This adds just a little extra length to the handle, which is a bit short in my opinion — at least for my hands. The SmallRig version, which comes with the cage, also gives you the added addition for building additional accessories onto the camera.

For our approach to shooting, we combine the FX3 with the Sony Alpha a7S III Mirrorless Digital Camera without a cage for an even more slimmed-down kit. Later in the article, I’ll explain our lens choices and how we set up the cameras. But first, I’ll get into the main camera rig.
Building Out the Rig
The Base
Being able to build up the FX3 to fit various shooting scenarios is one of the primary reasons why I love this body. Adding to the SmallRig extension and cage, I’d recommend a base-plate setup where you can retain the slim profile, but also add 15mm rails. For example, I’ve got the SmallRig Baseplate. With the baseplate and rails, you can attach additional accessories to the rig. For example, you can use these Arri Arosette attachments:
Building onto the SmallRig cage, I opted for the Left-side Tilta Focus Handle to stabilize and for grip. Because I’m primarily using DZOFilm Catta Zoom Cine lenses (manual focus), I chose this handle to combine with my Tilta Nucleus-Nano control system. Primarily, I use the side-handle for focusing the cine lenses, but sometimes use the wireless focus system when we’re filming macro scenes. This is especially true when filming slow panning or tilting camera moves.
For out in the field, to balance the rig on the right side using 15mm rails, I’ve added the SmallRig wooden handle for additional stabilization.
The Screen
The swivel screen on the FX3 is quite nice. Although, it’s not very practical for recording and focusing. For filmmaking, I highly recommend using an external monitor as you’ll gain a much greater control of the focus. This can be very difficult to nail on the small default screen of any mirrorless camera.

Over the past few years, I’ve used a variety of external monitors and one of my favorites is the Atomos Ninja V. Both because of the brightness it can produce (1000 nits of output), the standard batteries it uses. It has a slim size and light weight, and can record externally via SSD.
External recording is an option with the Ninja V that allows for recording ProRes RAW in up to 60p 4.2K. I use the Angelbird 1TB SSDs for external recording, which are also much more affordable right now when compared to the fastest internal recording SD cards. Of course, the SSD (~520 MB/s write speed) is not as fast as the CFExpress Type A cards (700 MB/s write speed). Although, when you compare the price per GB and what you can record onto each of the media format, it makes a lot of sense to me to go with the external recording method. Of course, we don’t record externally all of the time, since these files can be much larger in the long run, but having the option to do so is essential.
To attach the external monitor to the rig, I use a magic arm for position flexibility. Plus, I use a standard quick release plate that allows me to remove the monitor if necessary. As for an HDMI cable, I prefer the ZILR model both because of the length and the price. cable.
The Audio
The FX3 has two XLR inputs and the option to turn off the heat dissipation fan during recording. This is helpful when recording audio using a shotgun mic attached to the top handle. A recent favorite of mine has been the Rode NTG4+ because it can be charged via USB instead of having to use AA or AAA batteries like other recorders. I find this to be a favorable factor, especially batteries can be easy to mismanage when traveling. Once fully charged, the internal battery can last up to 150 hours, which is incredible. Even so, if this battery runs out, the NTG4+ can operate on phantom power provided by the FX3.

Another reason why I like the FX3 so much is because of the audio controls on the handle. If you’re recording wildlife, audio can sometimes make or break a scene. Capturing natural sound while you’re out in the field is essential to bring your viewers into the moment. The Rode shotgun microphone is also very handy because it can easily be setup as a boom for interviews.
Lenses and Filters
As I’ve covered in the past, I’m a big fan of the DZOFilm Catta Zoom Lenses. They’re pretty much the main lenses I use when filming wildlife on the go in medium to close range scenarios. I love the look of the lenses and, combined with the Tilta focus handle, it’s a powerful setup that allows me to quickly adjust focus on the go. When paired with the DZOFilm filter solution, it’s even more ideal.
Although I do miss the internal VND of the FX6, it’s easily made up for when combining the Catta Coin Filters with a PolarPro VND. I usually have the Catta Coin 1.2 ND and PolarPro Peter McKinnon 2-5 Stop ND for maximum flexibility when shooting during normal daylight conditions. In low-light conditions, I’ll typically remove the Catta Coin and only use the VND while switching between the two base ISOs of the FX3 — depending on the specific lighting situation. In general, there’s a lot of flexibility with filters and the dual base ISO.

The PolarPro VNDs are, of course, very compact. Although, when the sunlight is very intense, utilizing the matte box setup with the PolarPro Basecamp VND Kit is essential. Usually, we’ll have one camera set up with the Catta Zoom 35-80mm T2.9 and one with the 70-135mm T2.9. One will have the Basecamp kit and the other with the Peter McKinnon VND. That way, we have options when out in the field and we can switch the lenses quickly between the cameras.

Macro Lens
One of my new favorite lenses is the DZOFilm 90mm T2.8 Macro lens. Capturing close-up details of the environment is crucial in being able to bring viewers into the world of wildlife. Filming grass, flowers, insects, trees, and other abstract elements can help tell a more in-depth visual story. Macro lenses allow you to focus much closer to your subject. This DZOFilm lens has the ability to focus as close as 0.258m (0.84 feet), which enables 1:1 object to image size ratio on the sensor.

Long Lens
When we’re filming close-ups, our go-to lens is a 400mm F2.8 lens. Whereas the 35-80mm and 70-135mm lenses can be shot handheld, it would be very difficult at 400mm to obtain usable footage with such a small angle of view. Although we have resorted to using the side of a vehicle door or a beanbag for support, it’s best to secure the camera and lens with a tripod.

ND Filter
When filming wildlife, it’s preferred to keep the shutter speed two times the frame rate. But doing so with most lenses is no problem because you can add filters to the front. With the 400mm F2.8 lens though, you’ll need to utilize the rear filter slot, which is 40.5mm. You can use any screw in type threaded filter, for example, Tiffen 0.9 ND, which will allow you to retain a lower aperture while filming wildlife in bright conditions.
Alternative to 400mm Lens
The 400mm F2.8 lens is a highly desirable lens for filming wildlife, but it’s not at all affordable. A viable alternative to the 400mm is utilizing the 70-200mm F2.8 + a 2x teleconverter. You’ll be able to quickly switch between 70-200 at F2.8 and 140-400 at F5.6, plus you can utilize the stabilization of the 70-200 to shoot handheld. Combined with the PolarPro Peter McKinnon Variable ND or the Basecamp setup, you can achieve epic close-up shots of wildlife.
SSD Storage
As with any production, it’s highly recommended to do a double backup of all your footage straight away each day. Because our productions take place in remote locations with high heat conditions and bumpy roads, spinning disk HDs were less desirable due to higher possibility of failure. Thus, we utilized the Sandisk SSDs. I’ve been using these for years for direct downloading from the camera/SD card reader.

We use both the 2TB and 4TB versions, and later transfer the contents to spinning disk HDs when we get back home. The SSDs are more expensive but reduce the footage downloads and are also more reliable in terms of storage.
To learn more about my filmmaking process, check out my AdoramaTV video below:
