Underwater photography is fun. But as entertaining and addicting as it is, it is equally as frustrating when first starting out.
The underwater environment presents many challenges that you don’t find on land. However, there are a few “golden rules” that can make creating images below the surface much easier. Many of these rules are related to composition in the underwater environment, but don’t forget what you have learned from shooting on land. Topside experience can be just as important.

-
Get as Close to your Subject as Possible
The most common complaint from new underwater photographers is that their images always seem to have a dull cyan-grayish hue over them. The beautiful colors found on tropical coral reefs do not show up in their photos. This common problem has an equally common cause and solution. Because water absorbs light, we must limit the amount of water between the camera and the subject in order to produce a clearer, sharper, and more colorful image.
And so, the number one rule in underwater photography is to get close. Or, as the underwater photographer mantra goes, “get as close as you think you need to get, and then get closer!” Repeat this saying over and over again, write it on your camera, or do whatever you have to do make sure this is ingrained in your mind.
Additionally, there are countless infinitesimal particles floating in the water column that will likely go unnoticed until you are reviewing your images. These particles, referred to as “backscatter,” are the bane of many underwater photographers, as they can easily ruin shots. Minimizing the amount of water between your camera and your subject will also minimize the amount of backscatter in your images.

-
Shoot up
Underwater subjects look better when shooting them with a slight upward angle. The tendency to shoot down is a more natural one, as we are usually swimming with the reef below us, but images of the tops of most subjects shot this way are almost never appealing. By shooting up, you can include the water column in your image and can create necessary contrast between the foreground subject and the background.

-
Don’t Chase The Fish
“Fish chasing” never got an underwater photographer anywhere but back on the surface quickly with a memory card full of bad shots. We might as well face it: Fish are faster swimmers than us. New underwater photographers tend to be overexcited and want to chase after subject. However, this chase and shoot style usually results in lots of “fish tail” shots and an out of breath diver. Look and wait for compliant, approachable subjects; they are the ones that will result in great shots.
-
Keep An Eye On The Eyes
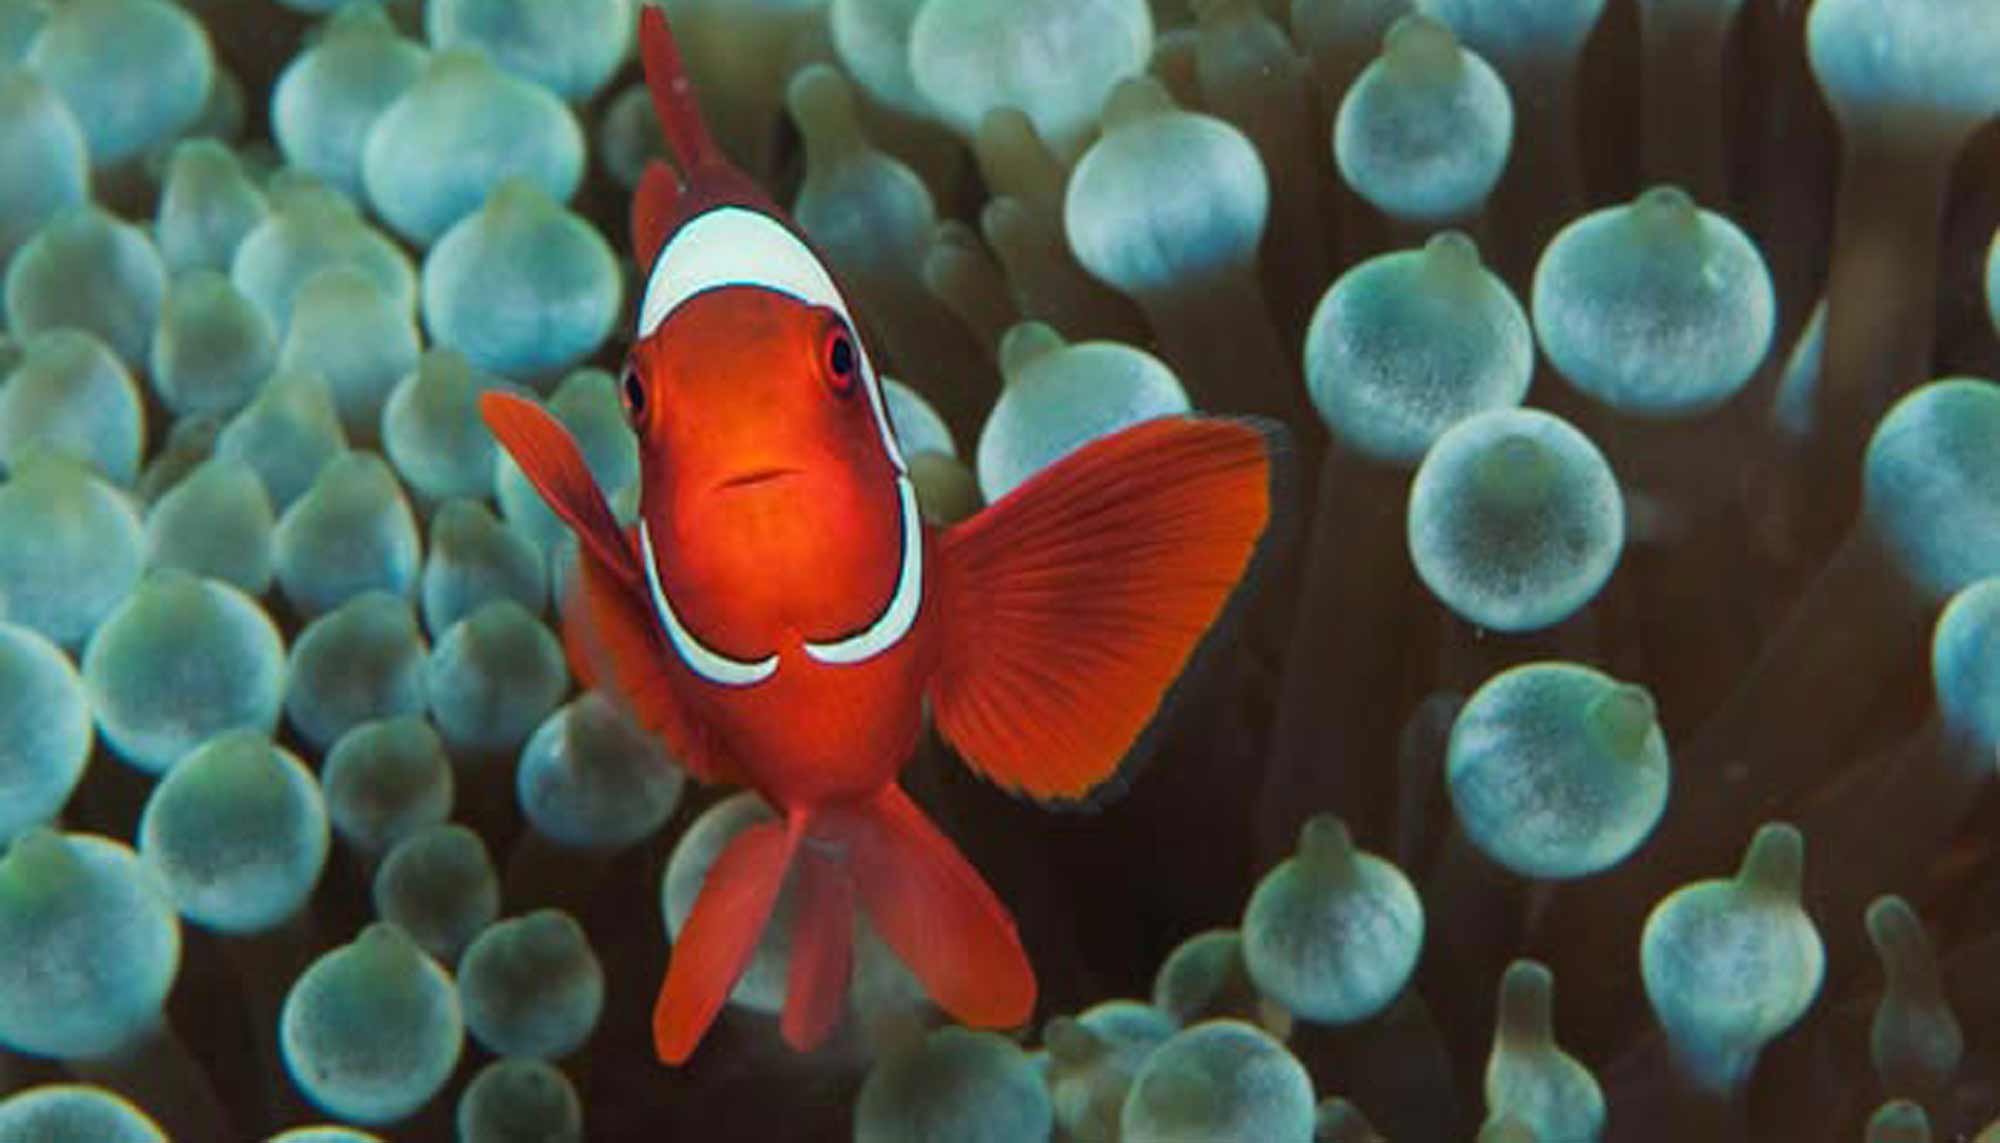
Just as with topside wildlife photography, successful underwater photography composition hinges on the photographer’s ability to capture the subject’s eyes in crisp focus. Humans are naturally drawn to eyes. If your subjects’ eyes are not sharp or in the frame, you will lose your audience’s attention. This holds especially true for bizarre underwater creatures, which the average viewer will have a harder time relating to without capturing its eyes.

-
Use a Strobe
As previously mentioned, water absorbs light much differently than air. Because water is 800 times denser, it absorbs light much faster. Specific frequencies of ambient light get absorbed at different depths, from the longest wavelength to shortest. Remember the mnemonic ROYGBIV (red, orange, yellow, green, blue, indigo, violet) from high school chemistry?
Underwater, red nearly disappears at around 5 meters, followed by orange at 10 meters, yellow at 20 meters, green at 30 meters and eventually even blue at 60 meters. In other words, there are not many colors left at deeper depths.

Our eyes are very sophisticated, so they can adjust and compensate to the ocean and still perceive colors at these depths that our cameras cannot. That’s why so many underwater images look blue and lack color contrast. The best solution is to add artificial lighting by using underwater strobes. Strobes, such as the Epoque ES-230DS, basically underwater flashguns, emit daylight-balanced light that will bring back color, create contrast, accentuate textures, and retain details that were lost from the water’s absorption of natural sunlight. After purchasing a camera and housing, strobes are arguably the best investment you can make to improve your underwater photography.

-
Go Manual
Beginning your underwater photography foray in “auto mode” is not a problem, but eventually you will want to start using manual controls. While “auto” or “program” works fine on land, they were designed for shooting in air, not water. Additionally, if you are using an external strobe, you will want to manually control your exposure, as your camera won’t be able to automatically balance the natural light in the scene with the additional light from the strobe.

-
Get The Right Lenses
Unlike topside photography, not all lenses are best suited for underwater use. Deciding which lenses are most useful actually goes back to rule number 1: the need to get close. Because you are forced to be in close proximity to your subject, you will need to use lenses with close minimum focus distances. This is why underwater photography is usually categorized into either macro or wide-angle, as the lenses that work best for shooting close are macro or extreme wide lenses. Midrange zooms tend to have minimum focus distances that are too far for underwater photography, so you can leave that kit lens on land.
-
Know How to use your Equipment
Underwater is not the right environment to learn how to use your gear. Before you ever get your setup wet, you should be completely comfortable with how it operates on land. Spend some time at home getting accustomed to your camera, underwater housing, and accessories. Know what every button does and how to access the important functions. Whether you are an experienced diver trying to create images for the first time, or a long-time photographer going underwater for the first time, underwater photography will be a completely new experience and you should be as prepared as possible ahead of time.
-
Maintain Your Equipment
Maintaining your equipment is just as important as buying and learning how to use it. It goes without saying that water and electronics don’t mix well, so it’s important to take the time before each dive to make sure everything is set-up properly. One strand of hair or spec of dirt can be the difference between keeping the ocean out of your housing or flooding it. Assuming you are shooting in saltwater, rinse your camera gear off with fresh water after every dive. Never let salt water dry on your equipment. A little effort can go a long way in protecting your valuable investment.
-
Have Fun. Be Safe.
At the end of the day, underwater photography is all about having fun. Taking pictures underwater is a completely unique experience, and by following these basic rules producing stunning images that your land-lubbing photography friends will drool over isn’t too difficult . However, you must always remember that we are privileged guests in the underwater world. Respecting the environment, its inhabitants, and protecting yourself should be your top priorities.


