You’re an amateur photographer. You consider yourself not half-bad. You know what all the buttons on your DSLR or ILC do. You’ve memorized the menu structure. You passionately believe that your chosen camera is better than any other brand of camera. You make sure to take photos every. single. day. But something happened — you look at your photographs and they’re not exciting you. You don’t seem to be getting better. In fact, you’re worried that you’re losing some of your mojo, or that you’ve hit a plateu. What should you do?
You, my friend, are a prime candidate for one of the most effective techniques to up your performance. What you need to do is to constrain yourself. Hobble your photography and you’ll get better at it. Athletes do this kind of thing all the time – they practice with weight belts so that when they’re in competition, the event is easier. It’s the same idea here. Practice with a “photographic weight belt” and you’ll find your shooting will improve.
Here are some ideas for you. Do each of these for a week, in any order. (Of course, if you have a paying gig don’t compromise on your client’s behalf — you have to give it your all. But for all your personal shooting, stick to one of these techniques religiously.) The next week, pick another. You’ll find that after you’ve done a few weeks of this you will be a lot happier with your photography.
Shutter speed: Pick one shutter speed and stick with it for an entire week, regardless of the lens or lighting conditions you have. Make that shutter speed work for you. You can pick a slow one or a fast one – doesn’t matter, because eventually you’re going to run into trouble and you’ll need to figure out how to make it work for you.
Lens: Pick one lens and stick with it for the week. Important: It should be a prime lens, not a zoom. I did this once with an ultra wide-angle lens — it definitely got me out of my comfort zone! But you can do this with any lens, though, again, the key is to stick with it for a week.
Chimping: Stop chimping for a week! With enough practice you can get a sense of what the picture looks like without looking at the screen. So jumpstart the process. Go into your camera’s settings and set it that it shouldn’t show the last picture taken on the screen. Then, if you still don’t trust yourself not to look, take a piece of gaffer’s tape and tape a piece of cardboard over the screen. You’ll also find that your battery life is extended with this technique!
No cropping: Use your viewfinder to crop. Zoom with your feet. For this week, Photoshop’s crop tool is off limits. Make it work in the camera or don’t take the shot!
Black and white: This is a hard one because many of us barely even remember film cameras, we don’t have any concept of what it means to visualize a scene in black and white. But composition and storytelling become much more important in black and white. Set your camera to the black and white preset, and leave it like that for a week. Pay careful attention to all the basic rules of composition, and to the brightness levels of the scene.
Aperture: Can you stick to one aperture for a week? Try it – it’s even harder than sticking to one shutter speed! Pick an aperture. It doesn’t have to be an extreme like f/1.4 or f/22; you can pick something like f/8 if you’d like. But stay true to your decision for the entire week. (Note that if you pick, say, f/2.0, you’ll have made your kit lens off limits – it probably has a maximum aperture of f/3.5.)
Shooting .jpg: This last one is a bit counter to the advice many photographers give: “Always shoot RAW.” In a perfect world, one can argue, there wouldn’t be the need to shoot RAW because what your mind visualized when taking the shot will be faithfully recreated in the camera as soon as you click the shutter. And, to be clear, I absolutely agree — you should normally shoot RAW. But if you want to grow a bit, spend a week shooting .jpg only. You won’t have the RAW fallback – if you’re underexposed or your white balance is off, you have no RAW safety net.
Try these techniques. They work. One caveat: A week might not be right for you — if you’re a full-time photography student, three days apiece might be enough. If you’re a weekend warrior, maybe you want to try each technique for a few weekends before you go to the next one. Whatever works for you.
Lastly, after you’ve done this, evaluate. Is your shooting better than it was before you started this? I’m willing to bet that it will be. Share your masterpiece on Facebook and tag me – we’d love to see the results!
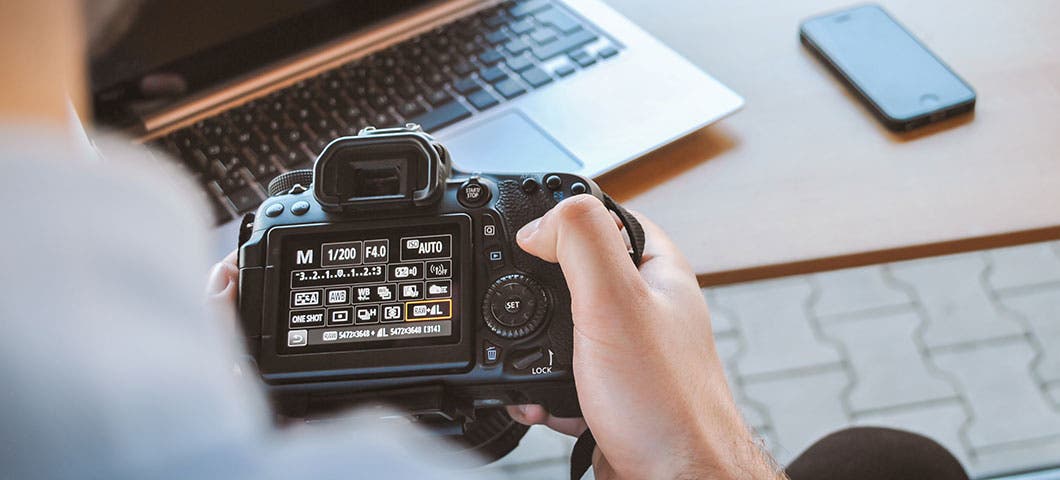
Feature photo by JESHOOTS.COM on Unsplash
