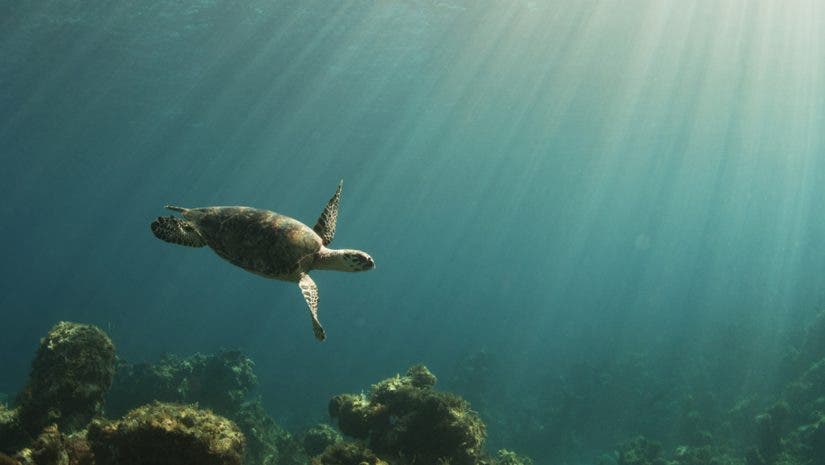
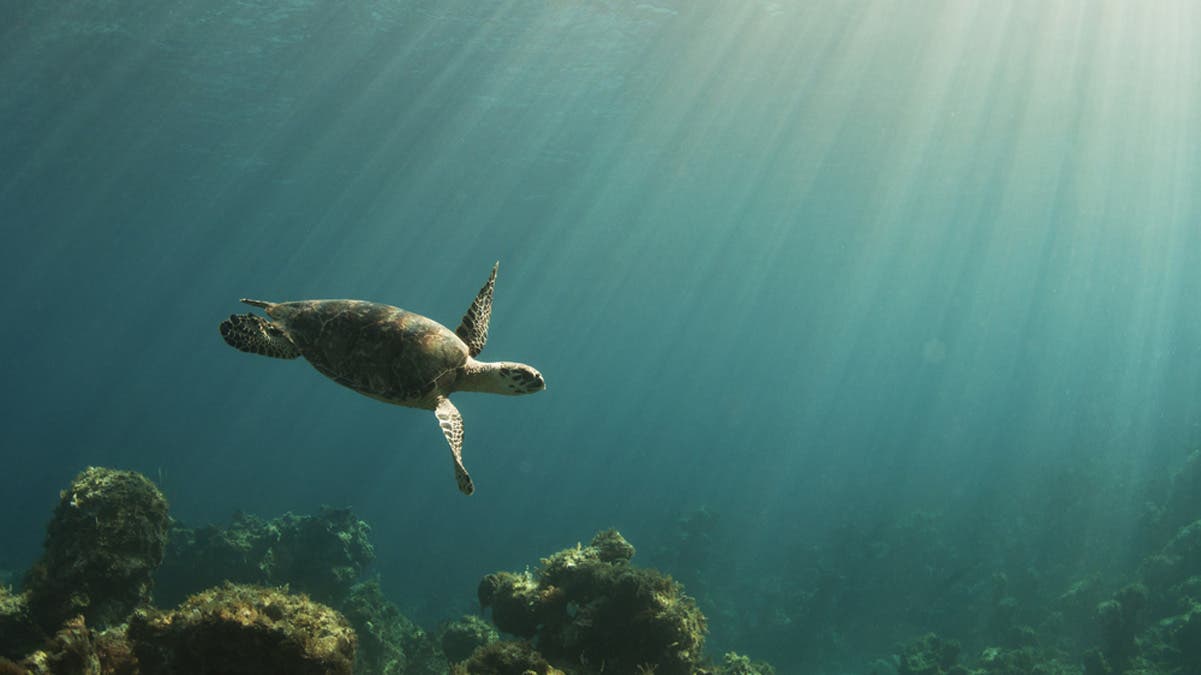
You don’t need massive strobe arms and heads for impressive underwater photography. Try the physical and creative freedom of leaving your lights on land and shooting with just your camera.
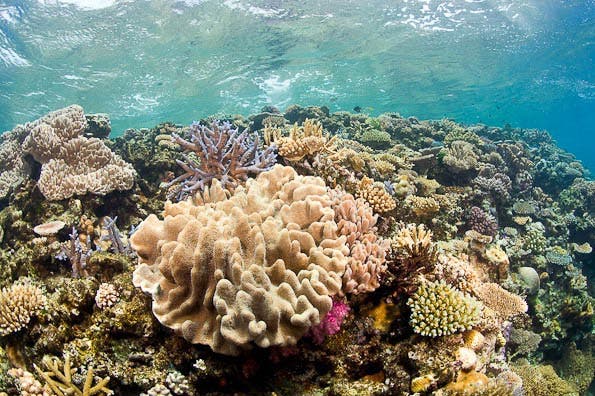
I thoroughly enjoy ambient, i.e., natural light underwater photography. I feel a sense of freedom when I don’t have to drag massive strobe arms and heads with me. For people with housed point and shoot systems or compact digital waterproof cameras, all of which are available at Adorama, you will be even happier knowing you can capture some amazing images with such a small system.

Whether I’m on a SCUBA dive or snorkeling, it’s fun to see how creative I can be with just the camera, and nothing else. I can concentrate on the subject, and trust me, when I have large animal encounters, I would rather enjoy the subject during the experience. Some of the most powerful underwater images in the world are ambient light photos. Take a look at some of the work of such underwater superstars as David Doubilet, Brian Skerry, and Flip Nicklin. For an even more impressive portfolio, look at the work of Ernest H. Brooks.
Just returned from looking at the website? I bet you are overwhelmed with the beauty in his images. And yes, black and white is definitely a way to capture the magnificence of the sea. With digital, you can shoot both black and white and color and decide later which version makes the stronger image.
If you’re going to shoot in ambient light, now is a good time to review the basics of exposure. Be sure to read Do You Know Your DSLR’s Exposure Modes? by Joe Farace to learn about the differences between Program, Aperture-Priority, Shutter-Priority, and Manual exposure, and watch Mark Wallace’s AdoramaTV video on Camera Settings to understand the interrelationship between aperture, shutter speed, and ISO in determining the proper exposure. Also, understand how depth affects the overall hue of your underwater images.
That said, here are some of my preferred camera settings when shooting underwater in ambient light:
Increase ISO with care: When the light level drops—the deeper you go, the darker it gets—you can increase the ISO to help capture those larger, fast moving sharks! It is important, however, to know the limitations of your sensor. The higher the ISO is, the higher the chance for “noise” in the image. On my Canon 5D, I tend to stay at 320 ISO or lower. There are many who say you can go higher, but I am a bit conservative. I suggest you do some testing on your camera sensor’s ability to utilize a higher ISO. You can also try Bryan Peterson’s technique to squeeze more speed out of your camera while keeping noise under control by using low ISOs.
Program or Auto in shallow water: I only recommend using Program Mode or Auto, for shallow ambient light photography where you have plenty of light and the subject is too big to light with strobes – such as that humpback whale that comes up to see what this new “toy” in the water is.
Control your shutter speed: Shutter Speed Priority will let you choose the how fast you want to capture a moving target. Again, I tend to use this in shallow water, ambient light situations. Aperture priority will let you select how much of the subject you want to be sharp.
Know your basics: Learn to shoot in manual mode: For most underwater imagery, I recommend you learn your exposure chart and shoot in manual. You would think in the age of digital you wouldn’t have a problem with proper exposure of foreground versus background. Unfortunately, digital doesn’t fix all, especially when you use strobes. So here is where your skill and understanding of f/stop vs. shutter speed come in. You will want, in most cases, to maximize the depth of field and freeze that mega shark action.
Use a wide angle lens: The best choice of a lens for ambient light and big animals, of course, is a wide angle. This is a landscape and you will want all the glorious light and space captured to get the sense of place. Exposure is very simple, since you only have one source, the Sun. You have several choices here on what mode you would like to use. This might be the one time you would like to use auto or program. I would like you to try all possibilities: aperture/shutter priorities, and manual. You can immediately review your results and decide which mode works best.


Starting with the basic shot, make sure your light source (the sun) is at your back and is lighting the subject. Look at the difference in the images created using the various modes. In manual, you may want to try metering off the water between the lightest and the darkest area – what we call mid-water column. White sand bottoms in shallow water can provide a natural reflector and will produce some nice images whether you are shooting up, down or horizontally on the subject.

Now try something different. Make a silhouette by placing the sun in front of you and behind your subject. Pointing the camera at an upward angle with a diver or large animal can make for an impressive image. If you find the image too dark because the camera is trying to expose for all that bright light, swing the camera to a mid-water column exposure by holding the shutter half way down, then turn back to the subject and take the picture.

Also try some piers if you don’t have shallow reefs close by. Having the sun stream through the various posts can make for a dramatic image.

In deep water, I find the best subjects are structures, especially wrecks with interesting forms and profiles. Since the light levels can be quite low, this a good subject for experimenting with higher ISO levels. To add some interest and a sense of scale to the image, have a friend or two carry flashlights. Try having your buddy shine the light on a subject and take an image. Also, have the diver shine the light in the direction of the camera but not straight into the lens. Now go have fun with whatever system you own. It doesn’t matter if you have a big system for a DSLR or one of the many point and shoot cameras available for underwater!


Have a diver carry a strong underwater light to help add interest to the image. I actually put another light inside the cockpit just to give a little interest to the image.


