Yes, modern cameras (and even some cell phones) can capture good quality images, but it takes beautiful light to make beautiful pictures. That’s a truism about art, and technology won’t change that. The good news, however, is found in another truism about art: Beautiful light is often simple light.
By Ben Clay
The Concept
If you have kids, you know how quickly they change and grow up. It can be downright disconcerting at times, especially when you’ve gone a stretch without having taken any print-worthy pictures of them. And you become acutely aware of this fact when you start going through even semi-recent photos of them. Recently, I felt a pressing need to bring my 22 month-old daughter, Nola, into the studio for some simple, classic portraits. I also thought it would be fun to shoot some HD SLR video of her while I had her in the studio, as she loves to sing. But rather than set up two different sets of lights (one for stills and one for video), I decided to use one lighting setup that would accommodate both: two continuous lights and a reflector.
Now, photographing a toddler is a little different—some might say more challenging—from your average portrait session. Getting a tot to sit still is a challenge, so it really helps to be prepared in advance, have a plan, and to be flexible with those plans during the shoot. I’ve had some practice with this (as my eight-year old son Aidan, who appears in many of these lessons, can attest), and it seems like each time, the process gets a little easier. Here’s how this photo-shoot played out.
The right time of day is critical for studio portraits like these. If your subject is tired or hungry, that’s likely to be a struggle you’re not going to want to take on. I decided that mid-morning would be the ideal time for this shoot and went to the studio early to set up.
Keeping It Simple
I wanted to keep the set and lighting simple and straightforward, so that the viewer’s attention would stay mostly on Nola. I opted to shoot against a movable wall corner we have in the studio and use a minimal amount of lighting. I created an elevated surface by placing a sheet of 4×4-foot plywood on top of four foldable sawhorses, onto which I placed a chair of Nola’s from home. My hope was that Nola would stay in one spot for the most part so that I could maintain sharp focus, especially with the video.
The Main Light
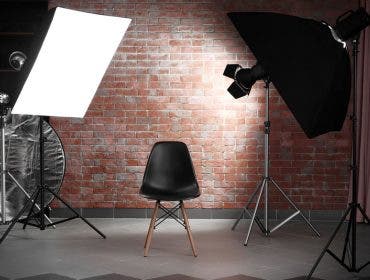
For my main light, I set up a medium StarLite® Kit, which consists of a StarLite light fixture (continuous light, not flash), a 500-watt bulb, a 24×32-inch SilverDome® soft box, a Connector, a medium LiteStand, and a power cable that goes into any outlet. For a natural, window light effect, I raised it about five feet high, angled the box slightly downward toward the chair and positioned it so that it was just out of frame, camera right.


The Rim Light
To create some separation of Nola against the background, I set up a basic StarLite® kit (the same as the medium StarLite® kit, only with a 12×16-inch SilverDome® soft box and a smaller LiteStand) and placed it opposite the main light with the chair directly between the two lights. This is often referred to as an “opposing light” setup.

The Bounce Fill
I knew that without any other ambient light, the shadow side of Nola’s face would be pretty dark in shadow. So, I set up a reflective panel with soft gold fabric attached to bounce light from the main light into the shadow areas. This LitePanel Kit is simple to set up and does a wonderful job of reflecting soft, even light. Here, you can see the LitePanel frame held in place with a single GripJaw™ clamp, which is attached to a LiteStand.


Booming an Audio Mic
With the lighting gear roughly in place, I then rigged up a boom for the USB microphone I’d be using to record the audio from Nola singing. Even though most DSLRs that feature HD video recording have sound capability, you’ll always be better off with having a separate microphone positioned close to your subject. I set up a Photoflex Boom and Boom Stand and used gaffer’s tape to secure the microphone to the end of the boom. I then set up my computer on a rolling studio cart and positioned it near the Boom Stand so that I could easily connect the USB cable to it. While shooting video with the camera, I’d also be recording a separate audio track using GarageBand.


Here’s how the set looked prior to Nola and Tamara arriving to the studio.

Effects the Main Light Only
Once Nola arrived and got comfortable on set, I decided to take a few shots with each of the lighting components to see how they were affecting the shot. First, I turned off the rim light, pulled the LitePanel away, and took a test shot with just the main light.


Upon reviewing the result, I liked the overall effect of the main light, as it gave shape to Nola’s facial features in a soft, yet defining way.
Effects the Rim Light Only
To see what the rim light was doing, I turned it back on, turned off the main light, and took another test shot.


As you can see, the result shows exactly what the rim light is doing and nothing else. It’s important to turn off other lights if you’re using more than one so that you can see the light levels of each. It may seem like an extra step, but it can actually be a real time-saver. You’d be surprised with how much time you can spend chasing your tail with multiple lights trying to get the light levels where you want them. Here, I was happy with the subtle light level; I wanted some definition along Nola’s hair, face and arm, but I didn’t want it to be too dramatic.
Effects of the Main and Rim
Next, I wanted to see how these two lights played off of each other. I got Nola to smile and took another test shot.


Effects of all Three: Main, Rim & Fill
The lighting was better, but as I anticipated, the shadows falling across her face were too dark. To remedy this, I brought the LitePanel back in and angled it so that the main light bounced warm light into the shadows. The nice thing about working with continuous light, as opposed to strobe lighting, is that you can see the effects of the lighting in real time. No need for multiple adjustments of the lighting gear. With Nola starting to lose patience with me, I took another test shot.

“Sweetening” the Mood
Her sour expression aside, I liked the overall lighting scheme and was ready to start shooting the still shots. Afterward, I would ask her to sing while I shot video. It’s a lot to ask a child to sit still, pose and perform for both photos and video, so I decided to help the process along by doing something I don’t normally do: bribe her with sweets.
I told Tamara I had packed some lollipops in my camera bag, and as soon as she presented one, Nola’s mood brightened instantly. I knew this elation wouldn’t last long, so I got to work.


CAMERA SETTINGS
I had my Olympus E-5 set to the following for every shot:
-
Exposure Mode: Manual
I always shoot in Manual Exposure mode in the studio because I’m able to control the exposure levels of the lights. If you shoot in any other mode (Program, Auto, Aperture Priority, Shutter Priority, Scene mode, etc.), your exposure levels can vary, depending upon your metering mode and placement of your subject within the frame. Shooting in Manual Exposure mode simplifies/stabilizes the process and allows you to concentrate on other elements of the shoot.
-
Aperture: f/5.6
The lens I was shooting with (Olympus Zuiko 50mm f/2.0 E-ED Digital Macro) has the ability to open up as wide as f/2.0, which would have given me more flexibility in terms of exposure, but I was concerned that such a wide aperture setting would have provided too shallow a depth of field for my moving subject and I didn’t want to risk having Nola’s eyes being out of focus. f/5.6 was a safer choice, yet still provided a soft quality to the background.
-
Shutter Speed: 1/90th of a second
This was a good shutter speed for this type of shooting. Had Nola been jumping around, though, I would have needed a faster shutter speed to prevent motion blur from occurring. For an action shoot like that, it would have been better to shoot with strobe lights, rather than continuous lights.
-
ISO: 800
As with many modern DSLR cameras these days, the Olympus E-5 performs markedly better than any of its predecessors when it comes to high ISO settings. And high ISO settings allow you to shoot at faster shutter speeds to prevent motion blur. When you zoom in tight on an image taken at ISO 800, for instance, you can see some grain, but it looks more textured (like film) than noisy (digital), which I like.
-
White Balance: 3400°K
Although the StarLites project light that is color-balanced at 3150°K (tungsten), I set my WB setting slightly higher than that for this portrait to achieve a slightly warmer skin tone. For still life and product work, however, I shoot closer to 3150°K, particularly if I need to achieve accurate color balance.
-
Focal length: 50mm
The film equivalent for this 50mm Macro lens (as with every Olympus lens) is twice that stated, or 100mm. Though it’s a fixed lens (no zoom), it provides no optical distortion, it’s very sharp, and it offers shallow depths of field, all of which is great for portraits.
The Stills
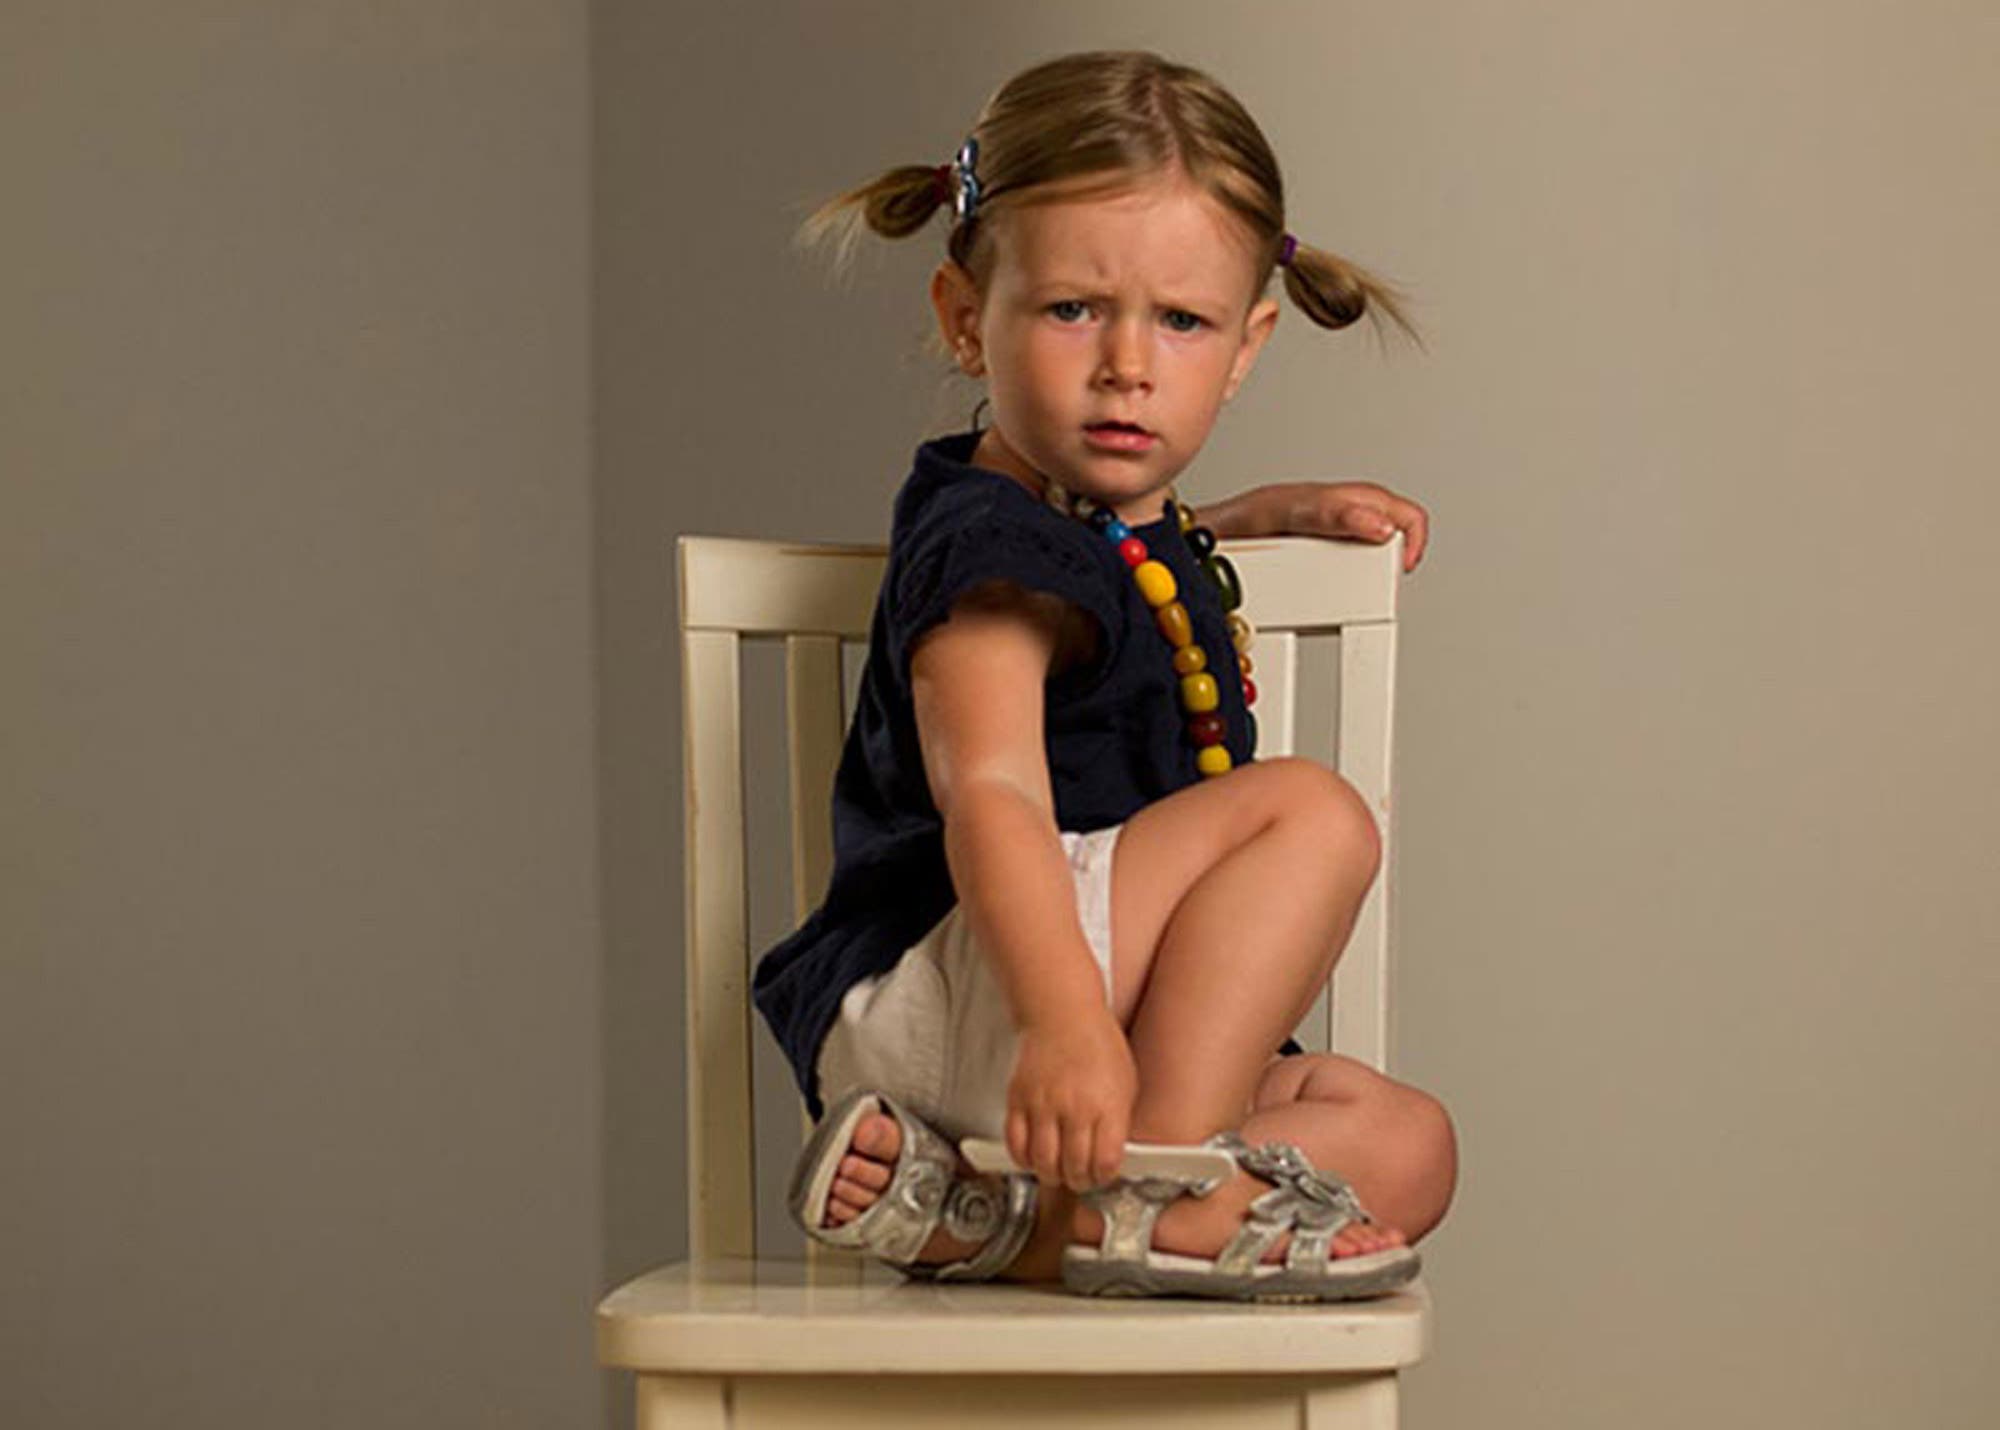
I took about 30 or so shots and felt that I had captured some keepers. But I didn’t shoot too long because I wanted Nola’s mood to still be good for the video. Here are my favorite stills from this series.


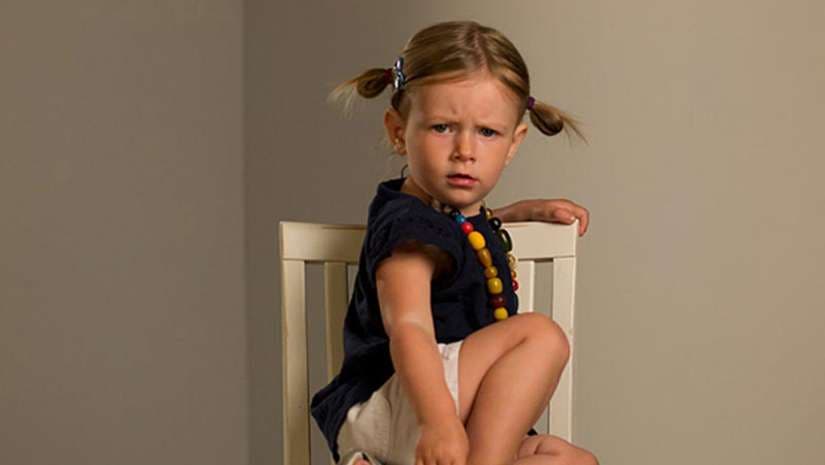
As you can see, the lighting scheme was flexible enough to maintain beautiful light for more than one pose. In reviewing the results, I was happy with the balance of light on Nola and the soft gradation of light on the chair and background.
Comparisons
Here’s a side-by-side look at the three lighting elements at play.

The Switch to HD Video
With the still shots complete, I was ready to shoot video. The transition was simple. All I did was change the shooting mode in the camera to HD video and left all the other camera and lighting settings unchanged.
A few weeks prior to this shoot, Tamara and I had introduced Nola to the music from The Sound of Music, which she took to immediately. Although she knows and sings many of the songs on this album, Do-Re-Mi is her favorite. I was prepared to try and get her to sing a few takes of this song, given that that’s typically how recording songs goes, but after this first take, I didn’t see any reason to have her do more. Both Tamara and I loved it, lollipop breaks and all.
Summary
This lesson demonstrates a simple, efficient approach to indoor portrait lighting for both stills and video, and will yield some great results, but I also encourage you to experiment with different techniques. Experimenting will also get you more comfortable with your gear, which will in turn allow you not to have to think about it too much, so you can focus more on taking pictures.
And as always, have fun in the process!
Photographed and written by Ben Clay, contributing Instructor for PhotoflexLightingSchool
Assisted by Tamara Savage Clay
Modeled by Nola Jane Savage Clay
Related Products:
- Olympus E-5 12.3 Megapixel Digital SLR Camera Body, CF/SD Dual Slot, 3 Inch Swivel LCD
- Olympus Zuiko 50mm f/2.0 E-ED Digital Macro Lens for the E Digital SLR System
- Photoflex Basic Digital Starlite Kit with 500 watt Starlite, X-Small Silverdome, Lightstand
- RPS Studio 1000 Watt Two Light Kit with 10 inch Diameter Aluminum Reflectors and Umbrella Holder, 7 Feet Light Stand, Storage Box
Learn more at the Adorama Learning Center:
- Small Studio Flash Tips—AdoramaTV
- Traditional Lighting Setups–Adorama TV
- Setting up simple studio lighting – Adorama TV
- Recreating 1920’s Portrait Lighting
