Whether you are a commercial creative or passionate hobbyist, there is a common piece of kit we all likely own: the smartphone. The capabilities of these devices are truly mind-boggling. In particular, they are a ridiculously capable photo and video tool. This article is not a gear review, but to illustrate the ways that your smartphone can help you create more compelling content.
There are a multitude of ways that you can employ your smartphone in the pursuit of better photo and video content. Below I’ll illustrate a few of the built-in functions that I’ve become particularly reliant on when creating for commercial clients or personal projects.
Timelapse
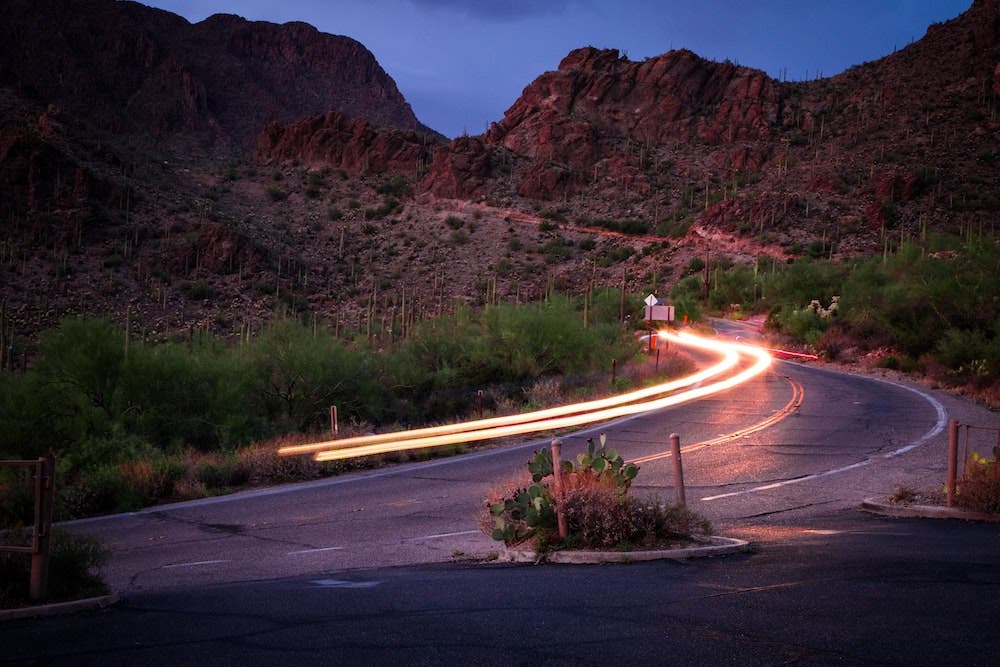
One of my favorite things to do when arriving at my shooting location is to set up a simple timelapse on my phone and let it run. By doing this, I can focus my attention on the scene or task at hand without missing the conditions unfolding. I started doing this as a way to better remember my adventures. I also do it to create a more well-rounded package of assets to share on social media.
Timelapse video shoots well in landscape or portrait orientation and the social engagement that I get when I post them is always higher than still or static content. Also, these timelapses are processed, rendered, and ready for export as soon as you shoot them. Anyone that has stitched together their own timelapse can attest to the massive amount of time that this saves in the processing phase.
Check out How to Shoot a Timelapse Video for more information.

SloMo
While I do not employ SloMo as frequently as I do the timelapse feature, it has still proven to be a useful creative tool for my smartphone content. On my phone, I can shoot 240/120 frames per second (fps) at true 1080p HD or 60 fps at 4k resolution. These settings match or exceed what I am able to shoot on my professional camera kit. I will often shoot at all three frame rates to give myself an idea of what I can professionally achieve with my commercial setup.
Wildlife encounters, panning across your scene, and running water such as rivers and waterfalls are all especially pleasant to shoot and view in rich, cinematic SloMo. The fact that this footage is stabilized and immediately rendered for export makes your smartphone one of the most capable units on the planet.
Cinematic Mode
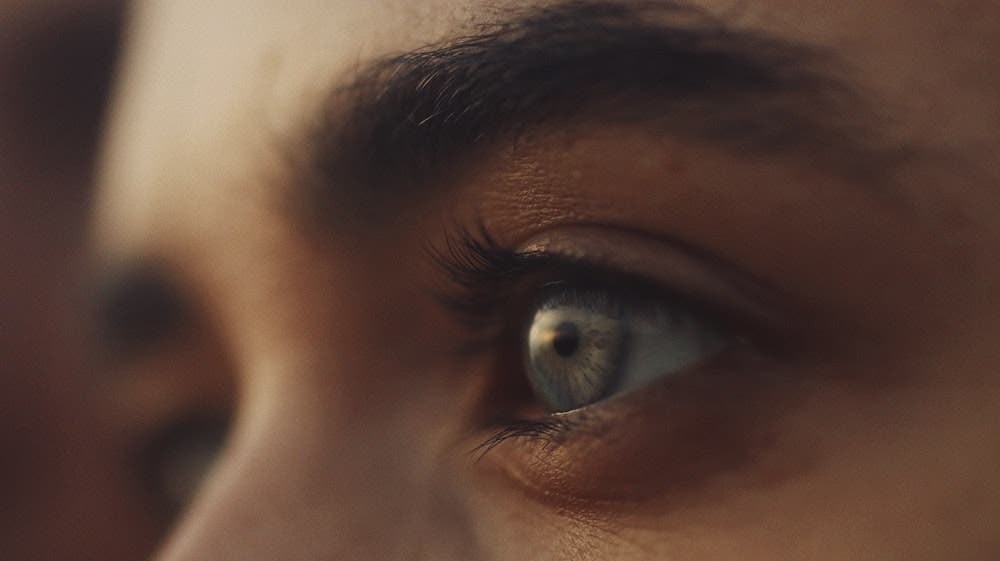
This is a new video feature on the iPhone 13 to improve your smartphone content. While there are some inevitable wrinkles to iron out, it is absolutely stunning. It adds depth of field to your iPhone videos via computational algorithms. It essentially offers you cinema-style videography in the palm of your hand. You can adjust the depth of field and exposure while shooting. You can also change the points of focus when editing.
The ability to shift focus during playback is absolutely insane. The content I’ve generated has been a goldmine for social media use. Every time I post something shot in Cinematic Mode, I always get replies asking me what camera and lens I used. As this software capability learns and progresses, this will truly be an invaluable asset to those creatives owning an iPhone.
The only drawback to this function is that it can only record in 1080p HD. This isn’t a problem for most social platforms, but can be tricky when trying to seamlessly blend it into a video project with higher res files.
Use Your iPhone Camera for Framing
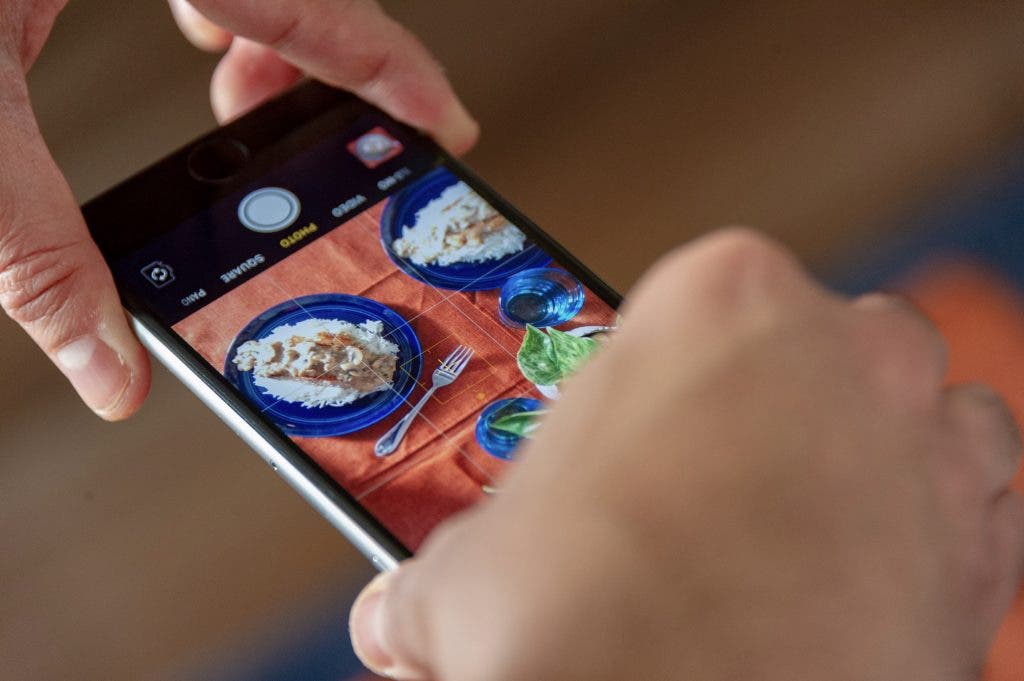
Sometimes, when I’m on trail, I’ll stop and wonder what this scene looks like to the camera and if it’s worth dropping my bag and getting my gear out. Since I always hike with my phone in a breast or hip pocket, I can easily pull out my device and gauge the scene at around 26mm for the standard camera and 13mm for the ultra wide. These two focal lengths can help me determine if it’s worth the time and effort. It also gives me an idea of what lens I’d like to start with. I also use the telephoto to isolate certain scenes and the macro (ultra-wide) to document details.
Use Remote Shutter
I also use my smartphone as a remote shutter for my camera. Advanced controls let me use the app as an intervalometer for executing proper timelapse on my camera. It also allows me to insert myself in any of the frames to help tell a story or knock out a client brief.
Things to Consider
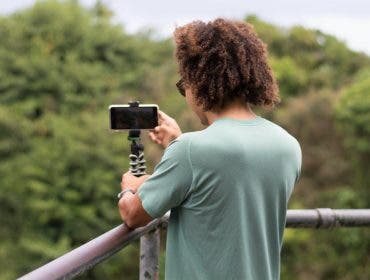
In order to properly access and utilize some of the above functions, there are inevitably pieces of gear that you can purchase that will make these tasks exponentially easier. For timelapsing on my phone, I use a small travel tripod with an adjustable ball head and cell phone mount. This enables me to employ some compositional techniques and prevent the need to prop my phone in between found objects like rocks and branches.
For SloMo and Cinematic Modes, a handheld gimbal and an attachable anamorphic lens inspire a true moviemaking experience for me without the cumbersome weight and fussiness of a camera rig. The approachable and comfortable interface allows me to learn and employ cinematic techniques on the fly without much thought or workflow interruption.
For more recommendations, check out Best Add-On Lenses for Mobile Phone Photography.
Note: I am currently using the iPhone 13 Pro Max. All functions and capabilities described may not be identical unless you have the same make and model.
