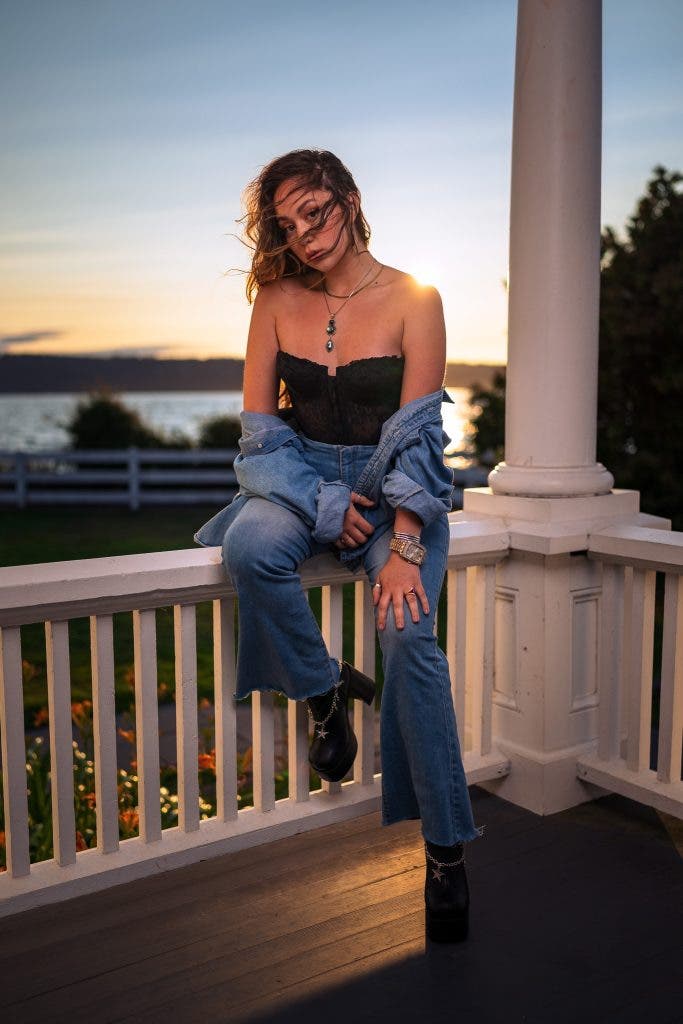
Golden hour is the most popular time of day for portrait photography. Also known as the “magic hour”, it can be seen when the sun is between 6 degrees above and -4 degrees below the horizon. It’s generally characterized by stunningly soft, diffused, and colorful light. Golden hour occurs at different times of the day across the world, depending on the geographic location, the season. It is commonly referred to as the hour of light before the sun rises or sets. Today, I will be sharing my optimal method for capturing stunning golden hour portraits.
Why you should use a strobe for golden hour portraits
The beautiful qualities of golden hour are what make it a desirable time of day for portrait photography. Howecer, shooting at golden hour can make it very difficult to achieve a balanced subject exposure in dynamic lighting. There’s an inherent trade-off between capturing the beautiful colors in the sky and exposing for the subject. This is best mitigated through the use of off-camera lighting or strobes. Capturing the tones and colors in the sky necessitates the preservation of as much highlight detail as possible. It can result in an image that strongly skews towards hard shadows. On the other hand, exposing for your subject will require the mid and shadow tones to raise. This results in the loss of highlight detail in the sky. To properly balance, I use a high quality strobe lighting, like the Flashpoint XPLOR 600. This allows for the creation of the perfect golden hour portraits because the highlight detail in the sky can be retained. Meanwhile, the hard shadows on the subject are filled with beautifully soft light.
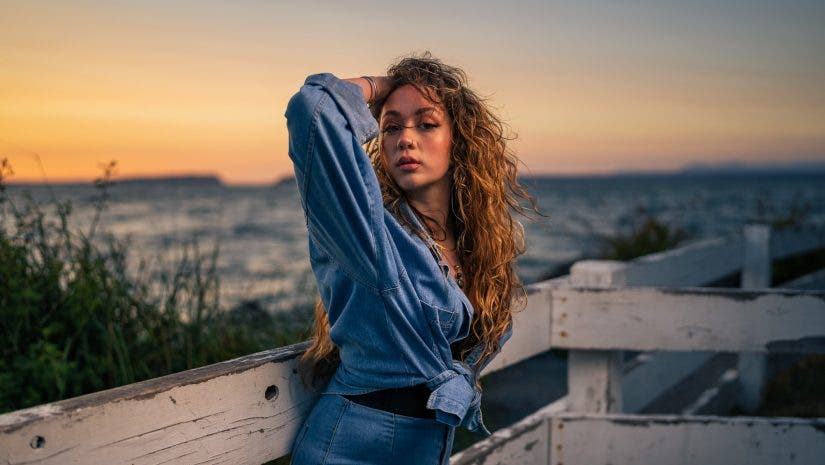
Exposing for the Sky

Choosing to expose for the sky will typically result in an under-exposed subject because the goal is to protect as much highlight information as possible. This will leave your subject back-lit by the sun, and under-exposed in the hard foreground shadows.
Exposing for the subject

Choosing to expose for your subject will typically result in an over-exposed sky because the goal is to raise the mid and shadow tones. This will cause the highlight information to “blow-out” and all the beautiful tones in the sky to be lost. The overall benefit of shooting at golden hour is diminished, since the colors in the sky are lost.
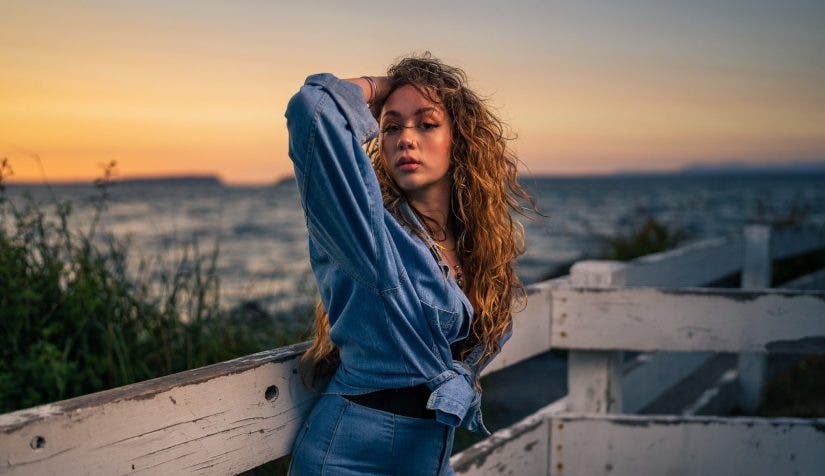
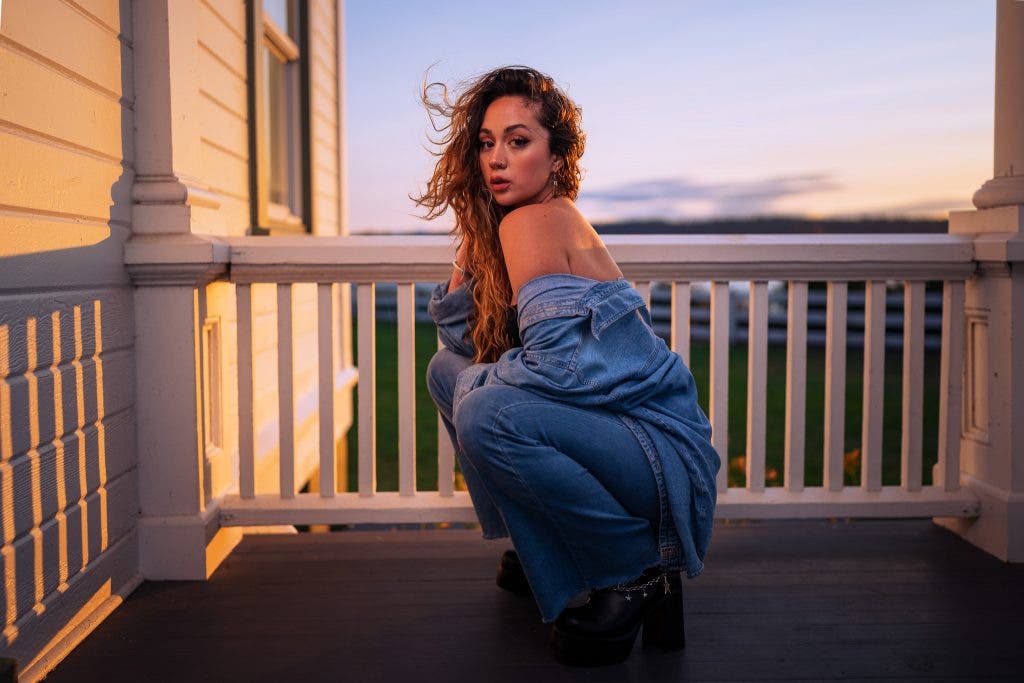
The balanced exposure, using the Flashpoint XPLOR 600, and the EZ Lock 34” Beauty Dish Silver

These examples demonstrate the need to balance the two exposures for the sky and the subject. This can easily be achieved through the use of a strobe light like the Flashpoint XPLOR 600. Using a powerful strobe and a light modifier like the EZ Lock 34” Beauty Dish Silver makes it super easy to preserve the beautiful golden highlights in the sky. It also fills in the hard shadows on the subject. The result is a balanced exposure that preserves the gorgeous golden hour light, while simultaneously filling in the shadows on the subject.
Steps to create the perfect golden hour portrait
- Set your ambient exposure first, by focusing on protecting the highlights, to get the maximum color and golden tones from sky.
- Try to capture your ambient exposure at the base ISO value of your camera’s sensor. This will give you the most amount of dynamic range when editing in post-production.
- Ambient exposure is typically controlled by shutter speed and ISO. To increase the ambient exposure in your sky, reduce the shutter speed or increase your ISO as needed.
- After setting your ambient exposure to taste, place your off-camera flash at a 45-degree angle to your subject. Raise it to be just above the eye-line. This position will create beautiful catchlights in the eyes, and provide an even exposure on the face.
- Attach your Flashpoint R2 trigger. Test-fire your strobe.
- To reduce the impact of the flash exposure on your subject, decrease your flash output, close your aperture down, or physically move your flash further away from your subject.
- The size of the modifier used, along with the angle and placement of the light, will have an impact on the quality of light on the subject. It will also affect the shadows on the subject’s face. The general rule for light modifiers is the larger and closer a light modifier is to the subject, the softer the fill light will be.
- The sun can also be used as 2nd light source on the subject, in conjunction with a strobe. It is typically positioned behind the subject at golden hour to give the subject’s hair a golden glow, or “hair light.”
Final Thoughts
Learning to expose for beautiful golden hour light, while simultaneously filling hard shadows is the key to creating the perfect golden hour portraits. These techniques allow creators to perfectly balance the ratio of ambient to subject exposure, resulting in dynamic portraits that can’t be achieved any other way. Creating the perfect golden hour portraits can be easy and fun. Remember these simple techniques, and consider adding some professional lighting, like Flashpoint XPLOR 600, to your photography toolkit.
