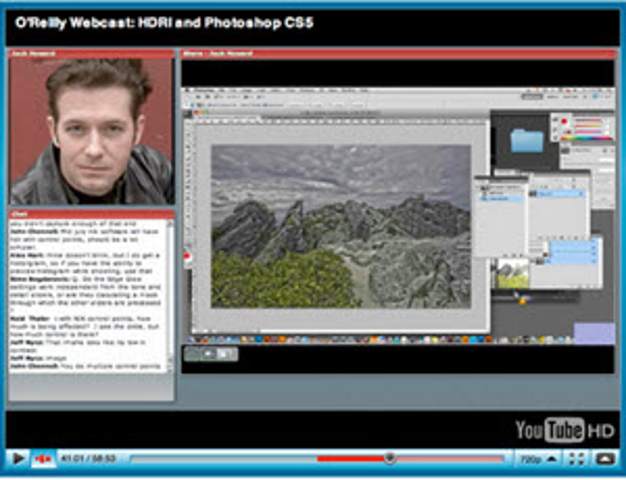
Over the past few years, I’ve been asked to give presentations and photo workflow walk-throughs on various topics, including High Dynamic Range Imaging in support of my book, Practical HDRI, including this O’Reilly Webinar I presented last week.
I’ll be honest with you, I’ve gotten much, much better at this over time. I have learned from my mistakes and missteps along the way. Here’s some real-world advice to help you make the most of your time in the spotlight if you’re invited to give a photo workflow presentation.
Pick a topic, breadth of presentation, and target audience skill level
You can’t possibly cover everything under the sun in the time allotted, and you especially can’t cover everything under the sun in the time allotted to multiple skill levels. That’s quite OK. Being honest with the description in the sign-up information as to the scope of presentation and target audience skill level will help in making sure the viewers you hope to reach are reached and will lead to more satisfied–and also less dissatisfied–attendees.
Build a Sandbox and don’t expose yourself!
You should make a new desktop folder containing all the files you need and only the files you need for the screencast. You don’t want to have to go rifling through your drives to hunt for an example image and accidentally flash those personal honeymoon photos or inadvertently share your electronic bank statement. And during the presentation, turn off all instant messenging, email, and any other programs with possibly embarrassing pop-up alerts.
Have a loose script outline, and rehearse it.
Work off bullet lists to hit all your critical information. Keep the outline itself short, sweet, and in a large enough font for you to quickly grab back to should you sidetrack momentarily. No points on your outline should be more than a few words long. You’ll have your hands full enough trying to narrate and illustrate every step in your workflow, so reading word-for-word from a script isn’t very practical.
Work off low-resolution images.
Whenever possible, work off web-resolution images. Whether it is a screenshare presentation over the web, or an HD projector mirroring your laptop display, the process of sharing your screen will tax your processor and slow down your computer’s reaction and processing time.
Time it, then time it again.
Then add about 20-25% to your time estimate.
Find your confidence
You were most likely asked to give this presentation based on your body of work and subject matter expertise. Speak with authority and confidence. If you do lose track or focus for a moment, excuse yourself from speaking to have a sip of water and clear your throat. Take this moment to regather your thoughts rather than simply trying to ramble your way through it.
Use menu commands, not keyboard shortcuts, whenever possible, at least once.
I usually fly through my work paths, using built-in and custom keyboard shortcuts. But be sure at least once to use the top-menu command path to show viewers where that dialogue box that seemingly magically appeared on-screen lives inside the program architecture. I caught myself doing this last week and was able to circle back and include the command path in a later segment.
But feel free to call out and “tip” the viewers to keystroke shortcuts in your narration like so: “So next I want to adjust the black point, so I pull up the Levels box under Image>Adjustments>Levels or CMD+L” and then reference back to the keystroke shortcut the next time you launch this box via the shortcut. “So I quickly pull up Levels again via keystroke, as we showed you earlier…”
Ask viewers to hold their questions until the end of your presentation
You’ll quickly find your time disappearing before you’ve covered much ground, and you’ll likely get flustered and be run down so many rabbit holes if you don’t insist that viewers hold their questions to the end. But with that being said…
Leave ample time for audience Q and A
Too often, there’s not enough time allotted for audience-generated questions. Be ready for it, and roll questions back to the main focus of the presentation whenever possible. Use it as an opportunity to impart more tips and tricks, and to cover some tangential points that were outside your original limited scope. And if you get a question that is so far out of scope, just politely glide past it with something like this: “well, that’s an interesting thing to consider, but let’s see if anyone else has a question about [our selected topic.]
Most of all, have fun!
Enjoy your moment in the spotlight and let your audience feel your excitement and passion for the subject.
Got any other tips for nailing a photo presentation? Let us know!


