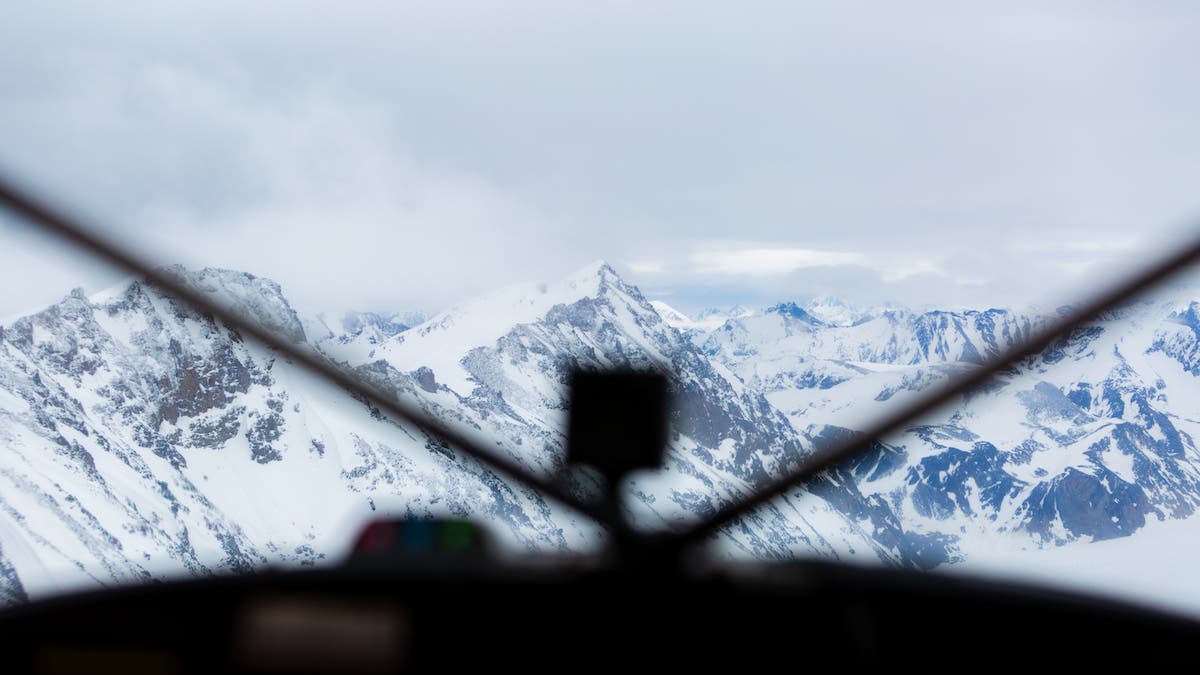
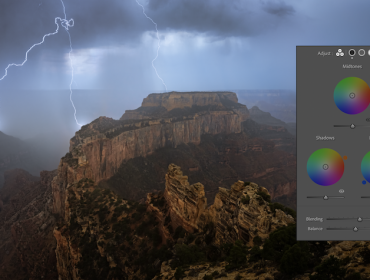
There’s nothing better than shooting from the air. It offers a unique perspective compared to the average photo. Although, putting photography aside for a moment, seeing a mountain or lake from above is mesmerizing. Today, we will talk about how to take a photo out of a plane (or helicopter) to make sure you’ve nailed the bucket list shot.
Lastly, as we dive in, let’s set a few boundaries. This article will focus on flightseeing situations, so we won’t factor in Boeing 737 Jumbo Jets and their multilayered and scratched windows.
Prepare for the Shot
Before you’ve even booked the flightseeing trip, you need to ask some questions. The more you know going in, the better your shots will be.
- Ask if this is doors on or off (helicopter only).
- Ask them about window clarity. They should be clean, but make sure.
- Inquire if one side of the aircraft has better views than the other.
- Ask if they recommend a front, middle, or rear seat to take better photos.
Getting this information may seem inconsequential, but it can be immense and turn an average day on a flightseeing tour into a magical one.
Next, you should study the route. Take a look at photos the company has posted and look online to get a good idea of the experience. Some of the things to consider are:
- Landmarks you don’t want to miss and what side they are on.
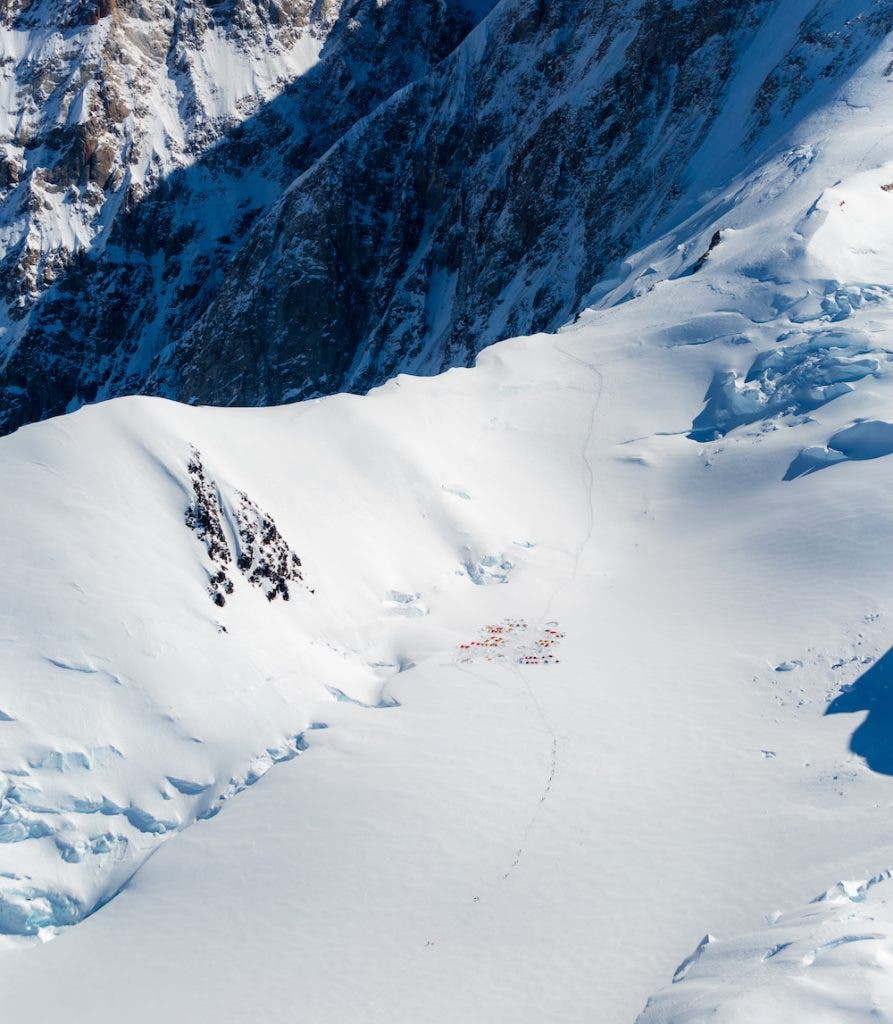
- Potential surprises. (For example, I never expected to see Denali’s Basecamp. I just happened to be on the right side of the plane.)
Lenses
Here are some lenses to consider:
- 24-70 (f2.8) – Only if you’re on a doors-off helicopter flight
- 70-200 (f/2.8 (or f/4)
- 100-400 (f/4.5-5.6)
- 100-500 (f/4.5-7.1)
Being in the air will require you to shift your mindset. As much as you want a wide-angle shot, this isn’t possible unless you’re on a doors-off helicopter flight. The windows are usually only 12 in. by 8 in. A wide-angle lens would show the window frame, and that’s not what you’re aiming for.
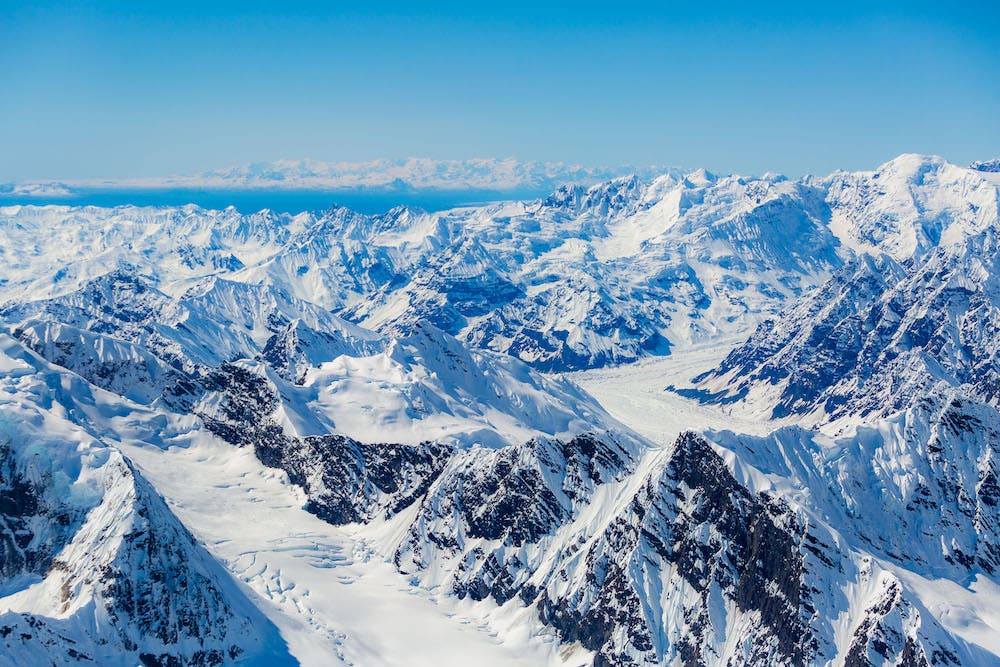
To combat this, you’ll want a telephoto lens. On my flights, I use a 70-200 mm. lens. I found this to be a perfect size as I could shoot at 70 mm. and miss the window frame but still get a broad enough perspective. Furthermore, 200 mm. allowed me to get close enough to see unique details in the snow and ice.
Settings
I promise you — these will be settings you likely have never set before. Secondly, understand this is a guideline, but you should be testing things once in the air.
Shutter Speed should be 1,000-2,000. You need a fast shutter speed to keep your images sharp because you’re moving at a couple of hundred miles per hour. Play around at the beginning to find a sweet spot. However, erring on the safer side and making it faster won’t hurt unless it’s a cloudy day.
F/Stop is determined by the weather. As much as you want it to be between 5.6 and 8, your fast shutter speed may force you to push it down.
ISO should be as low as possible, but going up to 300-500 shouldn’t hurt if it means you can get a sharper f/stop.
Auto vs. Manual
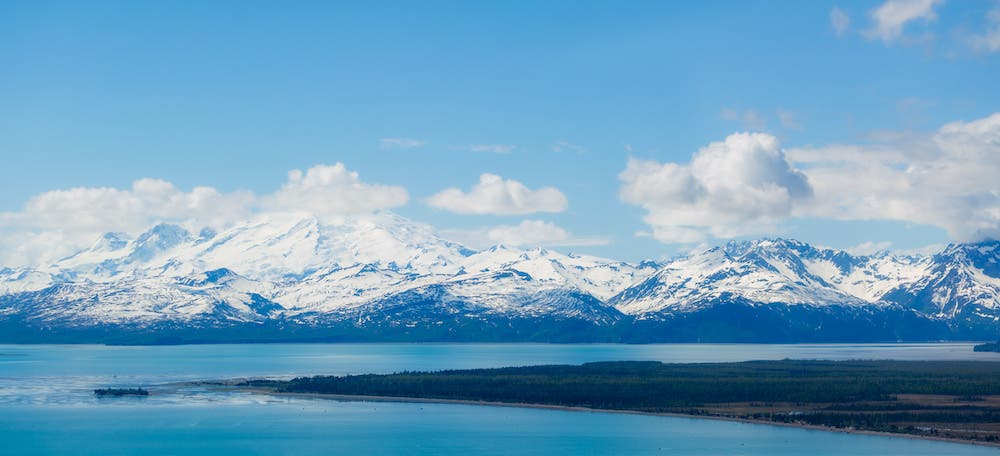
I’ll be honest — I shot auto focus for all of my flights. Thankfully, it worked 95 percent of the time. Unfortunately, the exception was the beginning of my flight over Lake Clark, where I was in an uncomfortable seat and the angle/window caused my camera to bug out.
I’ll leave this decision up to you. Although, if you do use manual focus, make sure you keep an eye on your photos and don’t bump your focus meter. If you do, and you’re not aware, all of your photos will be slightly out of focus. No one wants that.
Bring Extra Batteries
This should be engrained into every photographer’s brain, but bring a backup battery. There are few worse things than missing your bucket list shot because your camera is dead.
When in the Air
When you’re in the air, remember your pre-flight prep and enjoy the experience. Yes, you want to land a great shot, but mental memories are great too. This could easily be something you never do again. Balance the urge to shoot the entire time with soaking up the views is paramount.
Below are four tips to remember:
Anticipate: Does it look like a turn is coming? Get ready for a bank that will allow you an angle to shoot more directly at the ground. These are rare on flights, and best not to miss them!
Shoot straight: Shooting straight through the window will decrease glare and any warping effects the window will have. However, test out your shots from different angles and see what works and what doesn’t.
Test things out: As is the theme of this article — test it out. Everyone has a different flight seeing experience because there are so many variables to affect your photos. Because there is not a one size fits all rulebook, let your creative freedom reign.
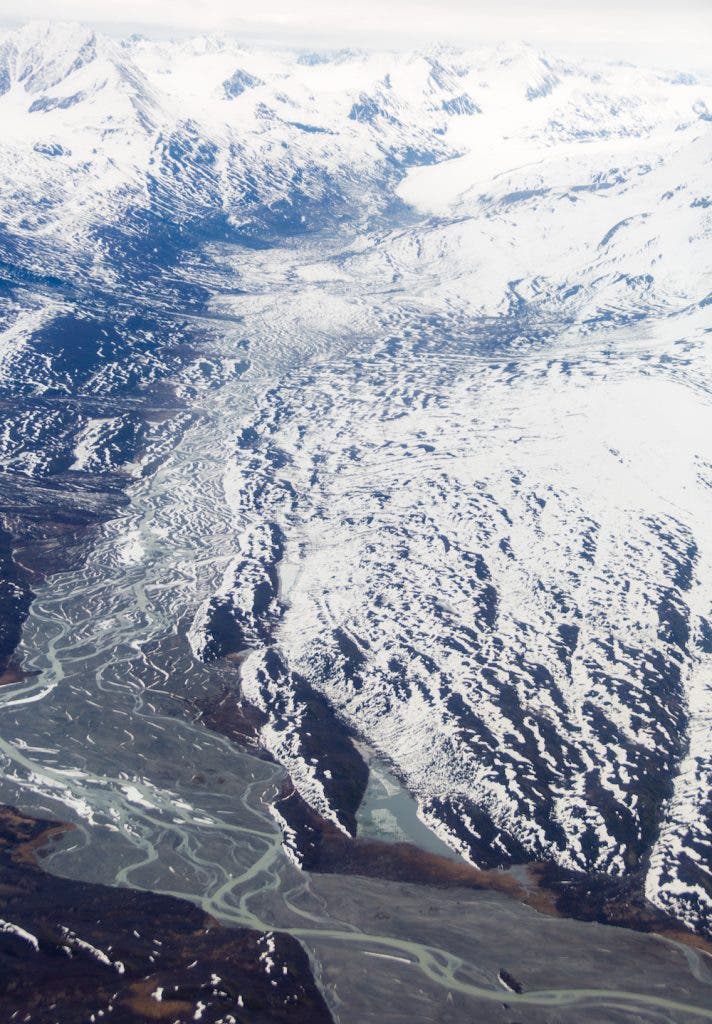
Look for intricate details: Instead of always shooting the main subject, look for smaller details in the scenery. While these may not be as flashy, they offer a unique view of the flight that may set you apart from others.
