Photography is a way to express your creativity and craft pieces that show your distinctive voice and perspective. Capturing the photo is just the beginning — how you edit and process it in the digital darkroom will help establish your unique flair. Below are a few photo editing styles to help you get started and get your creative juices flowing.
Different Photo Editing Styles
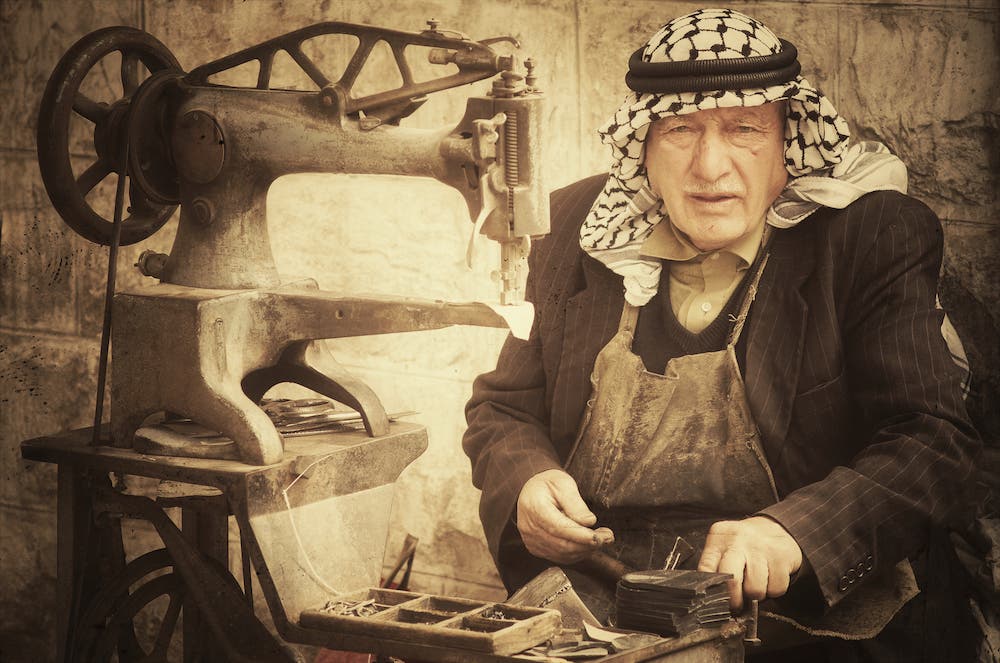
Vintage
There’s something timeless about the look of film from yesteryears. It imparts a sense of nostalgia and endurance. Think of an old photograph or polaroid: how it fades a little, has a few scratches, curves up at the corners, and takes on some warm tones. The image itself tends to be contrasty with deep shadows and bright highlights. All this can be replicated in post-processing. Play around with tone curves, saturation, and toning (e.g., sepia). A distressed look (e.g., scratches, dust) can also be added.
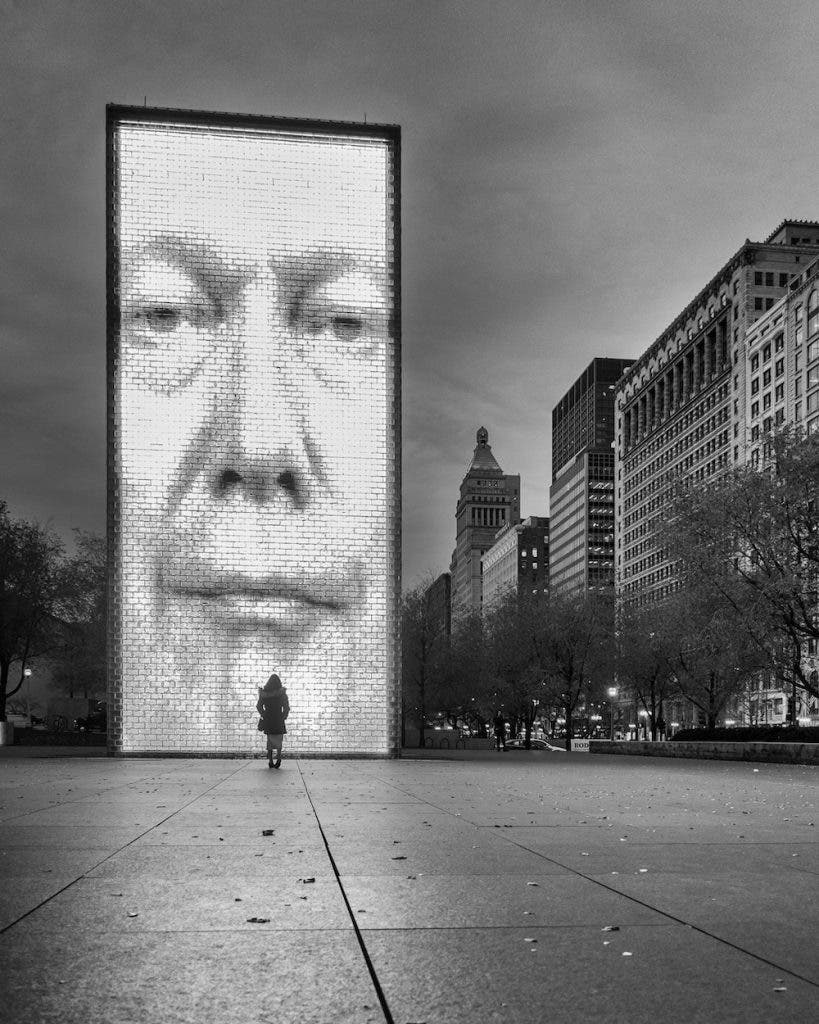
Monochrome
Many automatically think of portraits when I mention black and white photographs. However, remember some of the best know nature images are black and white (e.g., the work of Ansel Adams). Monochrome is also a favorite among street photographers. That’s what is amazing about monochrome photographs — it transcends all genres. You no longer have deeply saturated hues and colors to enthrall the audience. You’ll have to lean heavily on textures, contrast, and composition. You can shoot in black and white film, use a black and white only sensor camera or convert a color image.
You can learn more about shooting black and white landscape photos on 42West as well.
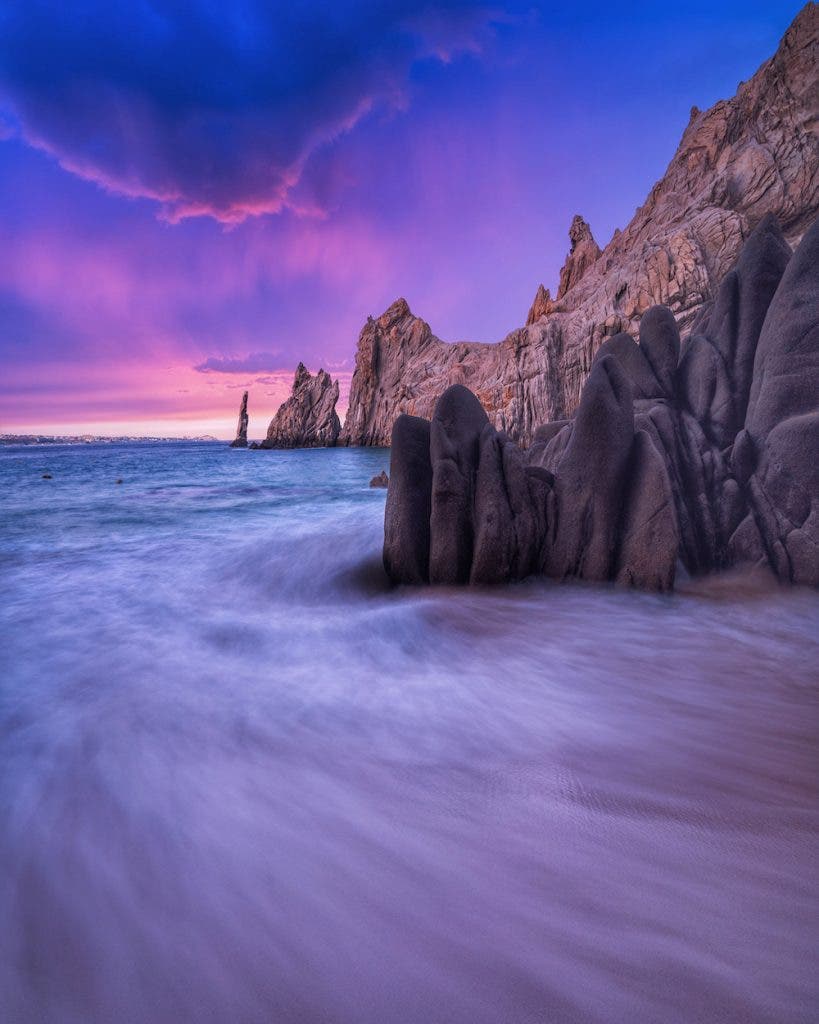
High Dynamic Range (HDR)
During very bright conditions where there are a lot of deep shadows and brightly lit areas, a digital (or film) camera might not be able to capture the range of tones with a single exposure. Our eyes can see a broader range of brightness (dynamic range) than any sensor, so it might be difficult to portray what we envision with a single exposure. In such situations, you might need to “bracket” the exposure by taking multiple shots as various exposure values, then blend them in an editing software. Not long ago, this was a tedious, manual process. More recently, it has been automated by many software including Lightroom and Photoshop.
This method is also often referred to as composite photography.
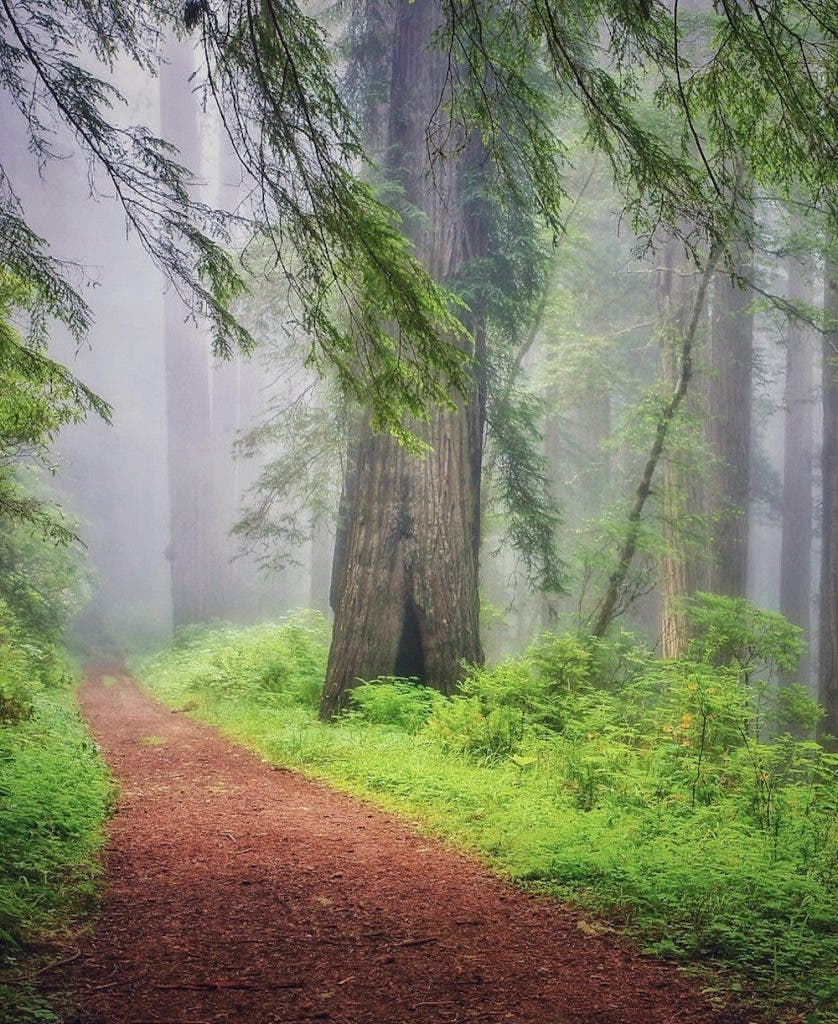
Highlight Glow (Orton Effect)
A highlight glow can make a landscape image look magical or ethereal. When applied to portraits, it can hide some imperfections and smooth out skin textures. It’s sometimes referred to as the Orton effect. The trick to this effect is to apply it with a subtle hand. It is easy to go overboard when first starting out.
Here’s my advice: Try it out. Step away for a few minutes. Come back to the image.
If it looks “overdone”, then try again and repeat. It’s often difficult to judge the full impact of our edits immediately after we apply them.

Artistic Double Exposure
This style has become more popular recently on social media. It usually involves the extraction of a portrait from the background and then blending it with a nature shot like mountains, sunset, night sky or forest scene. Several apps now allow you to semi-automate this process by quickly extracting a subject from the background.
Cross Processed
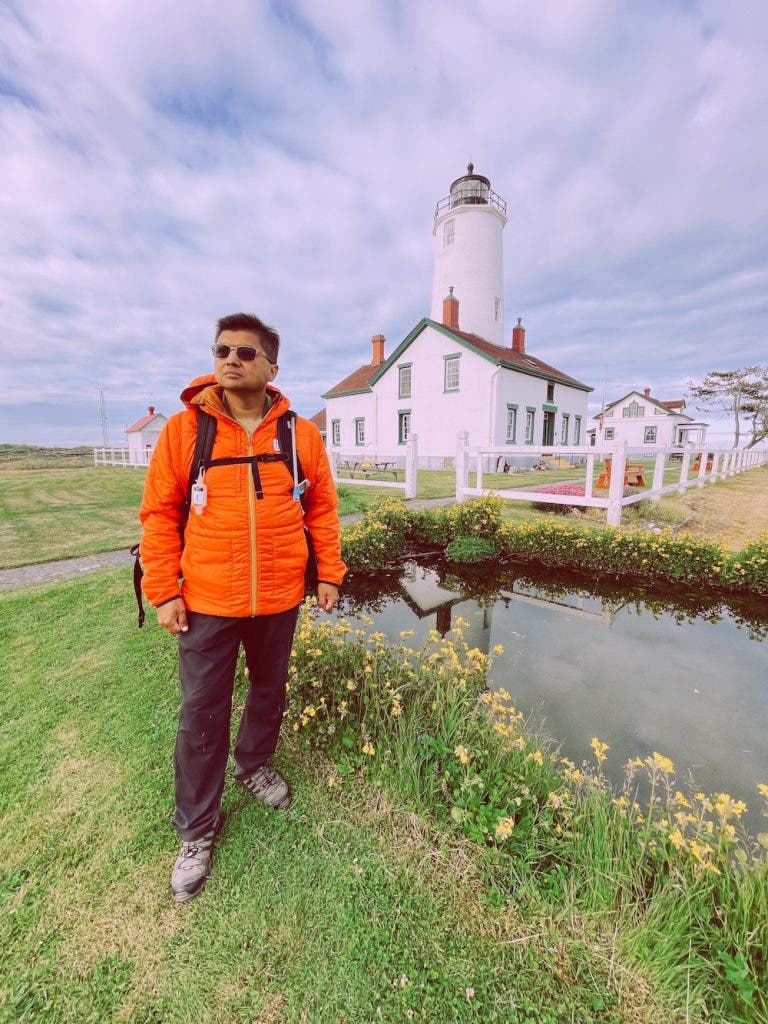
A particular film is usually paired with a certain chemical solution to maintain tonal fidelity. When unorthodox combinations of film and chemicals are used, unusual coloring is imparted to the image. For example, a blue sky can suddenly become a muted shade of red. Similar effects can be simulated in digital images. For example, VSCO, a popular photo/video editing app has a cross-processing preset called Alchemy. This serves as an excellent starting point for this style, if you’re unfamiliar. It doesn’t work very well for all photographs but is worth experimenting with and adjusting to taste.

Montage (Collage)
If you have a group of images that tells a story or has a similar theme, it might be more impactful to present them as a collage. You don’t have to show them in simple square or rectangular frames. Instead, different-shaped crops and partial crops can be visually effective. One of my favorite apps to make eye catching collages is Unfold.
Conclusion
The above suggestions are simply that — suggestions. They are a starting point for you to establish your own unique look. Consider combining several photo editing styles to add further diversity and distinctness. You may also want to look at other people’s work for some inspiration. Instagram, for example, has many creative accounts showcasing distinctive styles. As you’re establishing your style, please remember that it all starts with the initial photo. It’s still important to consider composition, light, and atmosphere. The better the initial capture, the better the final edited output.

