By Jonathan Hoyt
Being sent on your first “out of town” assignment can be an exciting experience. There is a certain “prestige” to hopping on a plane, loaded with gear, and landing in a new city to find and tell a new story. But planning and packing for such a gig can be a daunting task. Maybe you already have an arsenal of gear, maybe you are just beginning to put your kit together- I’m here to help. Most of my work has involved travel, sometimes just a car ride away, sometimes a plane ride. I have spent a great deal of time, and money, designing my travel kit and I’m going to share with you the tools and the tricks I’ve learned to travelling light but having everything I need to tell a compelling story.

Learn how to fit all your gear with room to spare.
I’m not going to talk too much about cameras and lenses here (my approach works with any style camera), instead I’m going to talk about how I purchase and use my gear to maximize versatility while minimizing what I lug around.
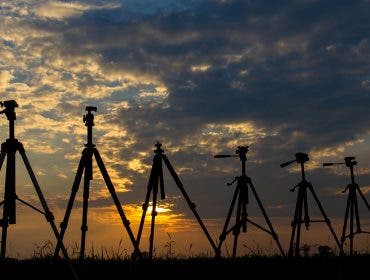
First things first, I carry two cameras with me at all times: one Nikon D800 and one Nikon D5300. This means I need two tripods. My main tripod is a Manfrotto 502 head on Induro legs. It’s a nice setup that’s easy to use and expandable. My second tripod is a Manfrotto 681B monopod with the 678 Universal Folding base. I love this monopod setup, and I use it as more than just a tripod (more on that later).

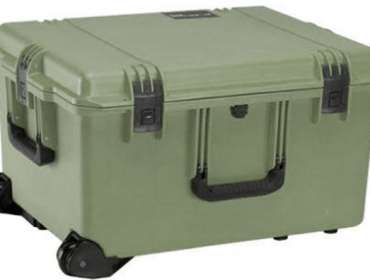
Yes, all this stuff fits in the Hakuba Tripod Case.
These two tripods rest in my large Hakuba Tripod case along with a light stand, Lowel Tota light and power cord, and a 42” umbrella. The Tota light fits perfectly in the side pocket of the case with the cord in the main compartment.
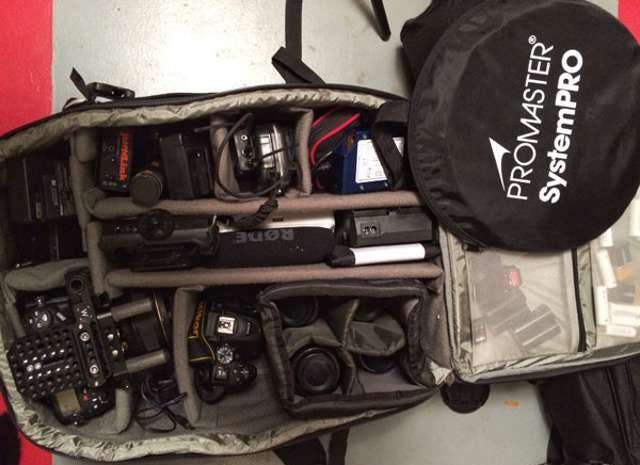
This brings me to my main bag. I use a Think Tank Airport Addict 2.0 Backpack (the current version is called the Airport Accelerator, same bag though). I love this bag. It has plenty of room and more features than I always know what to do with. In this bag I keep my cameras, lenses, audio gear, reflector, batteries, memory cards, and all my other gear. Some people use wheeled bags, but I prefer having the speed and accessibility of a backpack. This bag has quite a few handles in addition to the shoulder straps, which makes it very easy to grab and go.

This is what the bags look like all packed up and ready to go.
Audio is incredibly important, so I employ a couple of different methods for capturing it. I carry three microphones: a Sony UWP wireless lav system with a Rode Lavalier mic, a Rode VideoMic, and a MXL small diaphragm condenser (mine is an older version of the 604). For running audio into my camera, which is my preferred method, I use a Juicedlink RA202. This setup is especially great with the Sony system. This gives me the most sensitive and clean interview audio; I sometimes even have to increase the mic’s attenuation to its highest level to limit its sensitivity. If I’m running and gunning, I attach the Rode VideoMic to the 202 via 3mm to XLR adapter. Sometimes, though, I need to record audio separately. For this I use that MXL condenser mic and a Zoom H4n running phantom power from my Denecke Dcode PS-1a – this is a trick I learned from The Sound Effects Bible by Rick Viers. Using the PS-1a gives me the cleanest audio I can get from the H4n. This does mean I carry two mic cables for one mic.
But the real heart of and style of my shooting and lighting is all of the little odds and ends that I’ve acquired- some of which are things you might never think about even looking for. This mostly means a menagerie of mounting gear.
Most importantly, almost everything I use is a multi-tasker. Remember that monopod I mentioned? Sometimes I throw a ballhead on it and use it as a makeshift tripod or a microphone stand (using a Manfrotto MIBA 3/8″F to 5/8″M adapter). I have two Adorama Universal Swivel Holders– I use them on light stands or drop ceiling scissor clamps to bring even more flexibility to my lighting setups. An added bonus with these holders is that they fit on standard 5/8” studs and come with female and male ¼” 20 to 3/8” studs and cold shoes.
Let’s not forget gaffer’s tape. A little gaffer’s tape and a lot of creativity can get you out of a lot of sticky situations. Be warned, however, the only time the TSA stopped me to search my bags was over a huge roll of tape, so I from now on I buy the smaller rolls.

Combined weight is 46lbs. Not light but very manageable.
Now that you know how to pack like a pro, my next article will focus on using equipment on the fly to get the highest quality video possible. In the meantime, keep checking in to ALC for tips, tricks and the latest industry news.


