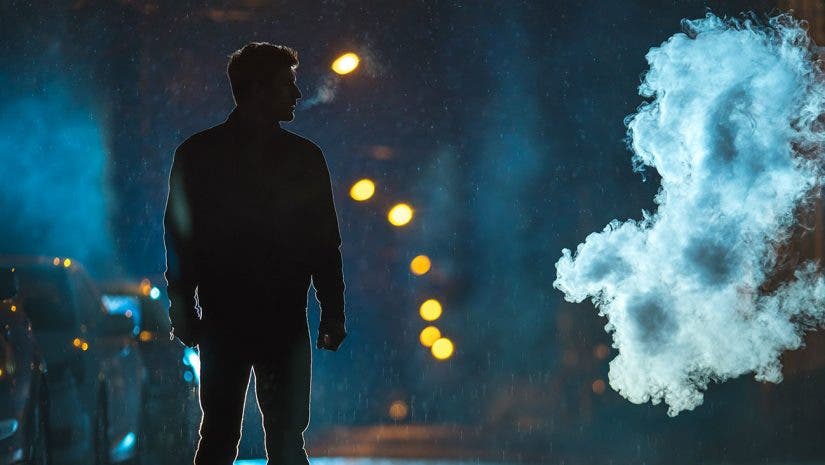
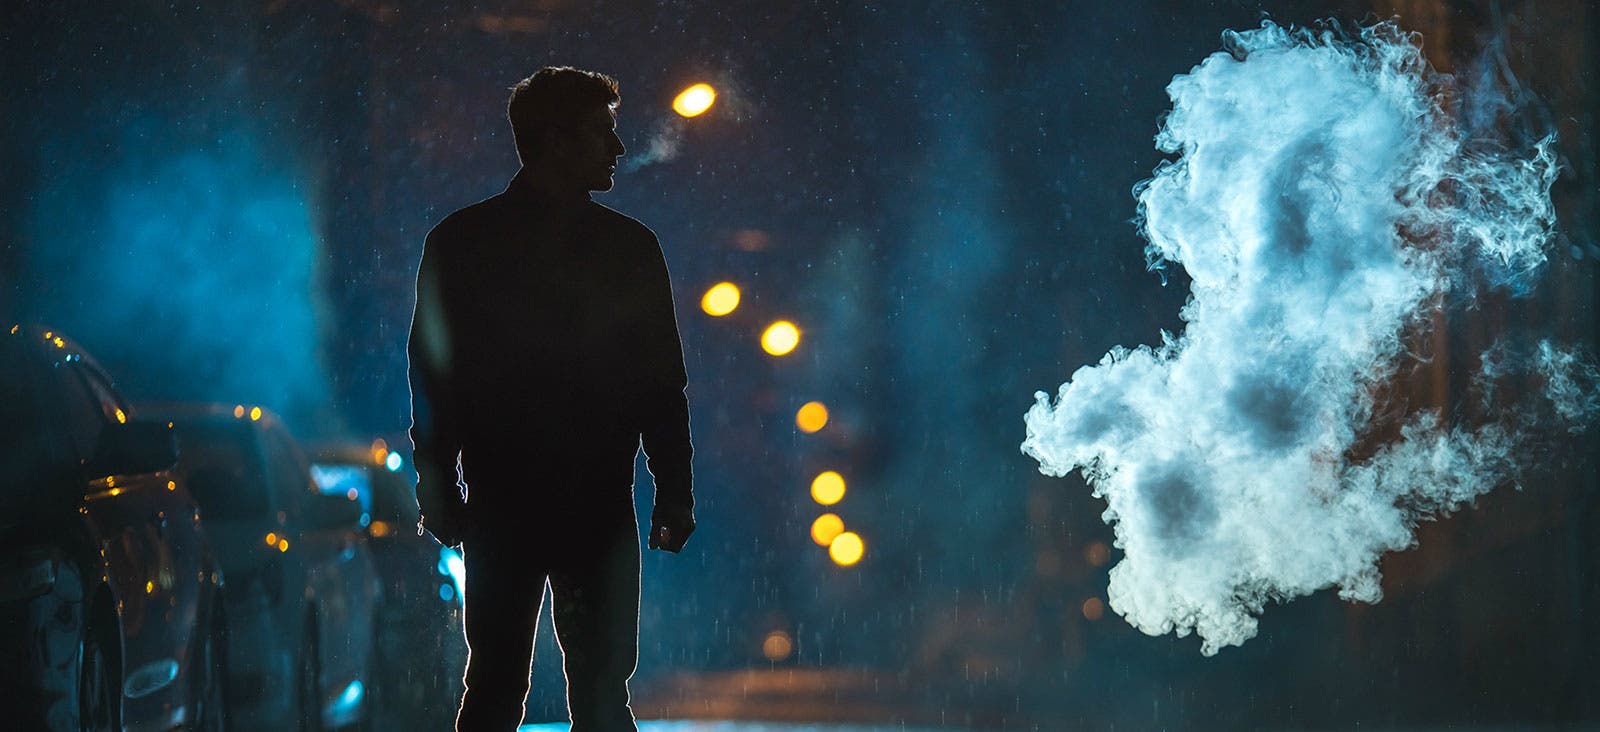
Want dramatic photos of city scenes? That’s easy! Photograph at night. When city lights are turned on, buildings, streets lights, signs, and skylines take on a magical glow.
Sure, nighttime scenes are photogenic, but capturing those scenes creatively with your camera takes a little know-how. Here’s a rundown on a few techniques that have worked well for me.
Basic Night Photography Tips
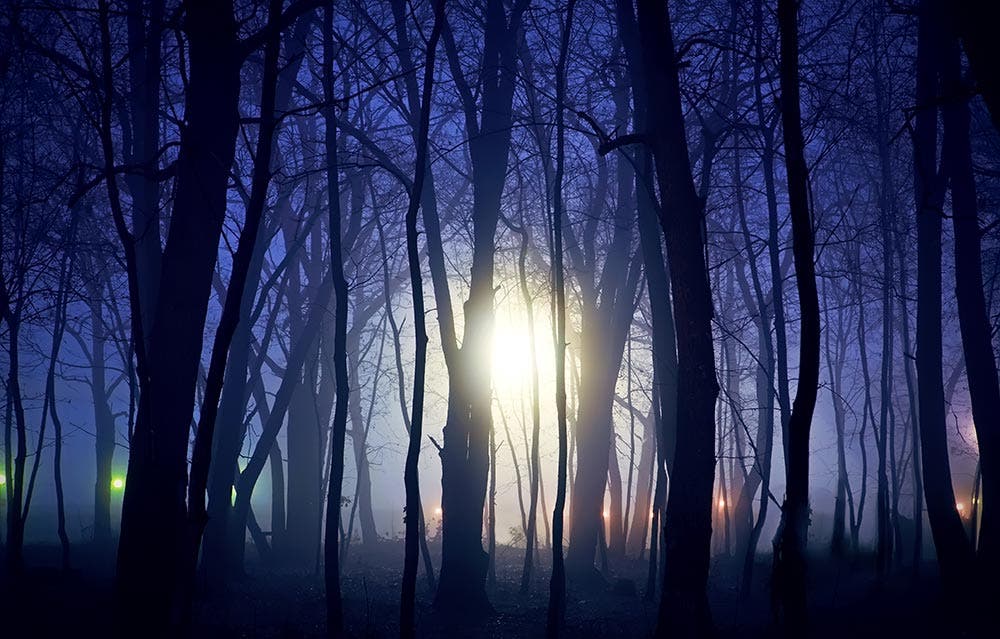
Don’t Shoot Late at Night
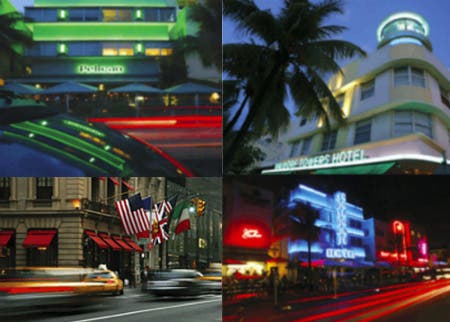
A good time to take pictures is actually not after the sun has completely set, but rather during the Golden Hour when there is still some light in the sky. That’s the time when you can capture city lights along with a hint of light in the sky. The images you’ll get under these conditions are often more dramatic and picturesque than those taken against a dark sky.
Use a Slow Shutter Speed
A shutter speed of as long as several seconds can enhance nighttime scenes that include moving cars. Long shutter speeds blur taillights and headlights and let them streak through the scene, creating a sense of motion and adding drama to the scene. If you plan to use long exposures, you’ll need a tripod to stabilize your camera. To eliminate camera shake during a long exposure, use a cable release or actuate your camera’s self-timer. Another option for steady shots at shutter speeds faster than around 1/2 sec is to use an image-stabilizing lens.
Carefully Increase the ISO
When setting the ISO, bear in mind that as the ISO increases, grain in film cameras and noise in a digital picture also increase. To reduce digital noise, use your digital camera’s noise-reduction feature (if it has one). For the cleanest film shots, use a film with a relatively low ISO.
Set Your Exposure Compensation to -1/2 or -1
No matter what camera (analog or digital) you use, here is a general rule for nighttime photography when shooting in an automatic mode: Set the exposure compensation control on your camera to -1/2 or –1, especially when the sky and street take up a fair portion of the scene. That reduction in exposure will help prevent the highlights (lights) in your scene from being washed out—something that is very difficult to rescue in the digital darkroom.
Here are three quick suggestions for night shooting under different circumstances:
- When photographing family and friends at night, a flash will brighten nearby faces. Bracing your camera or using a tripod and setting your digital camera to the non-flash Night mode will usually result in good overall exposures. However, you’ll get a shutter speed that’s slower than the one the camera would set in the Program mode, so moving background subjects will be blurred.
- When using film, set your camera to Manual mode, selecting a slow shutter speed (say 1/30 of a second), and then set the correct aperture setting that goes with it. That way, you’ll be able to shoot handheld if the lighting conditions are sufficiently bright.
- Finally, wear brightly colored or reflective clothing if you plan to shoot near a busy street. Personal safety should always come first.
Here’s how you can take those dramatic night shots even without a tripod. Check out this special AdoramaTV episode with Gavin Hoey:
GuruShots Photography Challenge: Low Light Mood
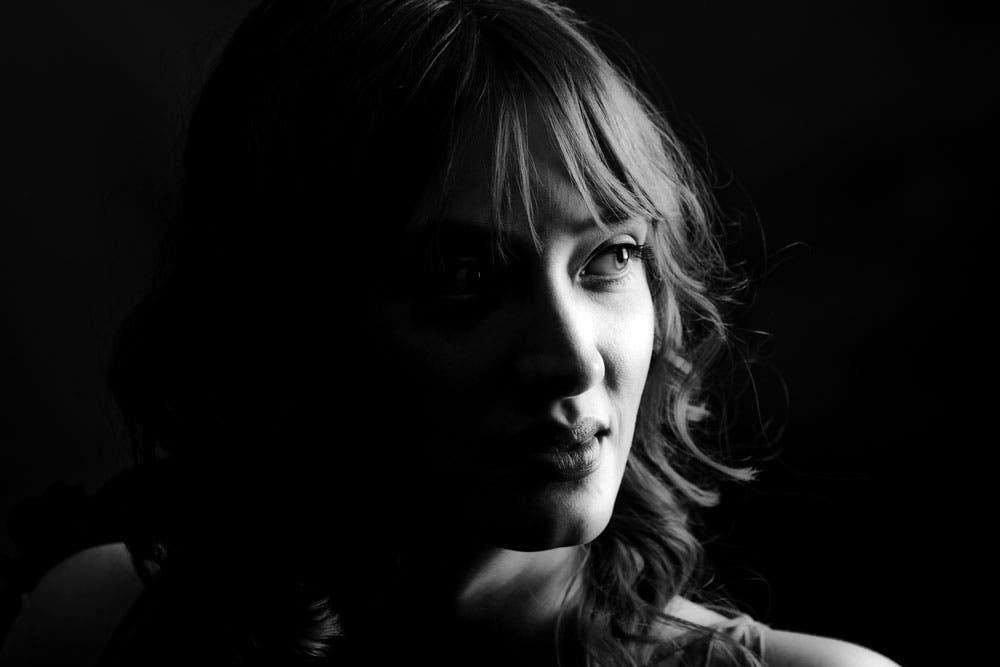
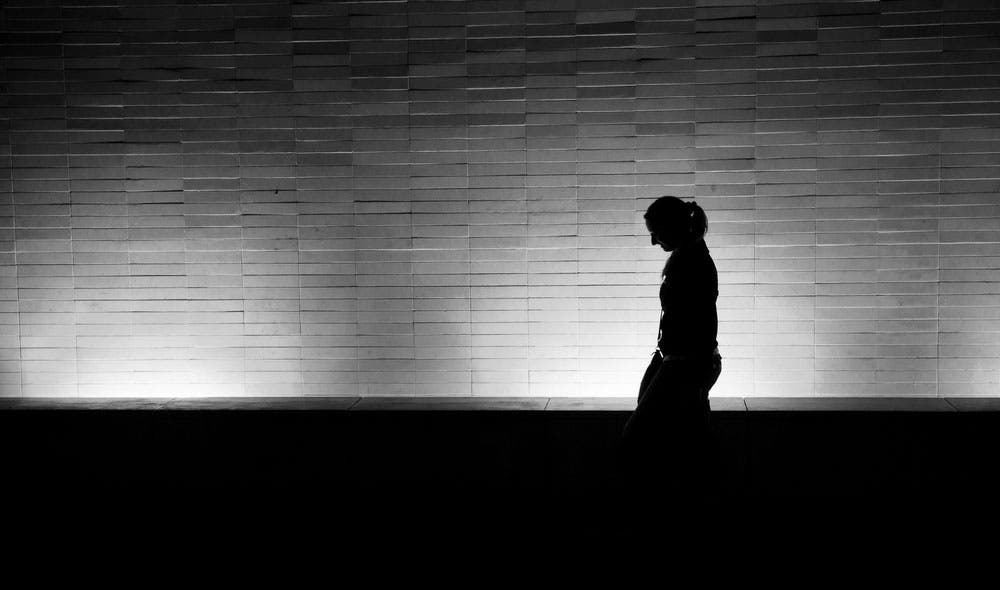
Shooting at nighttime sure can produce some of the most interesting images. You can even recreate the effect with proper use of external camera flashes and create some of the most powerful and dramatic low key images.
If you have any nighttime and lowlight images that are worth showing off, share them with us for Adorama and GuruShots.com‘s Low Light Mood Photography Challenge! As long as you are 13 years old and above, you can showcase your work and win as much as $400 worth of prizes. Any of your four (4) entries can win you any of the following:
- Top Photographer Award – $200 Adorama Gift Card
- Top Photo Award – GuruShots bundle with 20 Swaps, 15 AutoFills & 10 Keys
- Guru’s Top Pick Award – GuruShots bundle with 20 Swaps, 15 AutoFills & 10 Keys
Join the GuruShots Low Light Mood Challenge!
- Interested participants can send up to four (4) photo entries only.
- The photo challenge runs until March 12, 2018.
- Photos submitted should be in JPEG format with a minimum resolution of 700 x 700 pixels and a maximum file size of 25MB.
- Images must be distinct in subject, background, foreground, and location. Thus, multiple cropped or edited images will not be accepted.
- Entries must be strictly your own or else you will be disqualified.
- Non-relevant entries will be disqualified.
- Obscene, provocative, defamatory, sexually explicit, objectionable or inappropriate images will be disqualified.
- GuruShots will use a “blind voting system” method to keep the voting as fair as possible.
- Entries will be ranked as follows:
- All Star – 1950 votes
- Elite – 1200 votes
- Premier – 600 votes
- Skilled – 250 votes
- Popular – 50 votes
Head on over to GuruShots for more photo challenges and stay tuned for more photography tips!
