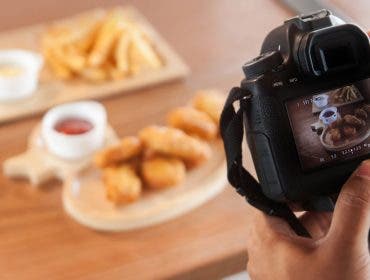
From a photographer’s perspective, it has never been a better time to photograph food. My name is Bill Brady and I am a professional food photographer. For over 15 years I have been creating stunning food images for my clients. When I first learned the art of food photography it was an extremely difficult subject to tackle. Today the ability to photograph food is within reach for any aspiring photographer.
Digital photography has really made it easy to pick up a camera and shoot food. If you follow these simple tips you could be on your way very quickly.
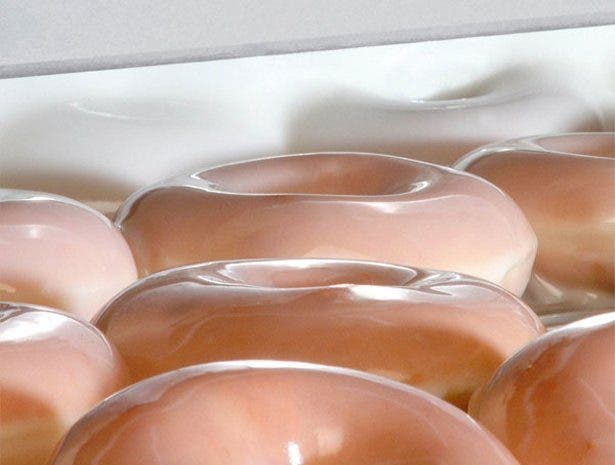
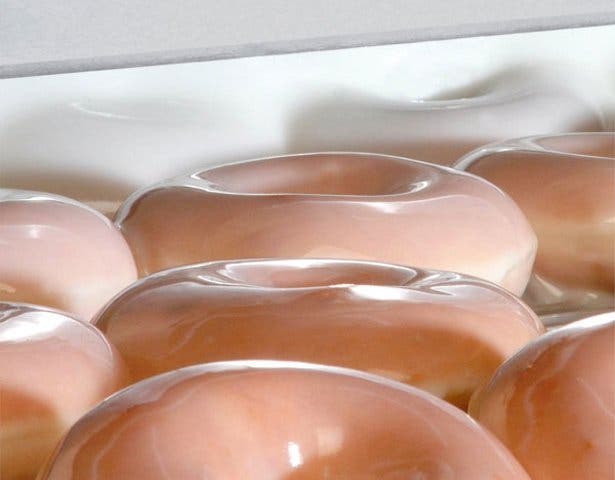
I tell allaspiring food photographers the same thing: when first learning to shoot food,keep it simple. Unless you’re a professional chef or food stylist, you want to begin with dishes and elements that will give you the greatest success and build your confidence. For that reason, I recommend using carefully selected pre-made baked goods like doughnuts, cookies,or fruits and vegetables from the farmers market. By removing the cooking element in the beginning you can concentrate on technique.

All you really have to understand about food photography is that it is essentially a still life. The major difference is food, especially hot food, begins to look bad quickly. The clock is ticking so in order to set you up for success follow these simple steps. With a little bit of advanced preparation your food images can really stand out.
When you first begin, try to master the basics of shooting food. By choosing less complicated subjectsyou can take your time and really explore lighting and composition. Once you get that down it’s easier to advance to more complex dishes.
Lets talk a little about the gear needed to shoot food. I shoot with several different camera systems, mostly Nikon and Mamiya. For the average photographer the most necessary piece of equipment you should own should be a digital SLR. Other camera systems can work. Cameraphonesare great for some things, however, in my experience, the ability to change lenses is really important when creating great food images. I shoot with a Nikon because I prefer the lenses. Canon really makes some incredible cameras as well. I always tell aspiring photographers to purchase the best equipment you can afford. You always get what you pay for.

I recommend using a macro lens for food photography. I use a 105macro, which creates a shallow depth of field that is necessary to isolate areas of the subject and create mood and feeling.
The last piece of essential gear is a sturdy tripod. The reason I shoot food with a tripod is simple, it allows maximum control over shutter speed and f-stop while enabling you to keep the ISO settings as low as possible. I generally like to shoot at 100 ISO. When using a tripod you can do long exposures without camera shake.
What about lighting? Try not to overcomplicate the situation by keeping it simple. I recommend twoinexpensive light tools that can really make your photos amazing. First is a light disc. You want to purchase one that is large enough to cover a window. You want one that has the ability to pass light through it. The other tool are white cards sized at about 12 x 24 inches.
To best light the food, either use back-light or side light. Front light is unflattering in food photography. In order to create contrast we prefer to light from behind. Direct sunlight is very harsh so we use the light disc for diffusion to soften the hard light source. When the light is diffused it makes the food look very appetizing. The white cards are used to bounce light from the window back into the subject creating an even exposure. Depending on how far or close you place your cards to the subject you can control the shadow detail.

The last detail you’ll want to address is propping. Great props, dishes, surfaces, napkins can really make or break a food photograph. Keep in mind that we are shooting close up so the area you need to address and prop is relatively small. As you advance you can create more elaborate sets. I prefer white plates so the food stands out and does not fight with the plate. Tone on tone also works really well. Great color schemes are yellows, reds, greens and browns. I avoid blues unless they are muted.
Let’s piece it all together.
- Determine your subject.
- Gather and match props
- Create you set
- Determine your camera angle
- Set up the lighting
- Adjust your settings
- Take the picture
- Evaluate and adjust
Find a window that receives nice light. When you use a tripod you can really shoot in very low light so don’t be too concerned with light level. Place your diffusion between the window and the subject. Place your camera in front of the subject.
The light source is behind the plate and the camera is placed in front. Compose your scene, determine camera angle. I like a ¾ angle slightly above looking down. This way you are not shooting into the white diffusion. This set up also works great for overhead shots. Get as close to the subject, you want to fill the frame. You don’t need to have the entire subject, plate rims and all in the shot. What works well is isolating half of the plate or subject and moving in nice and close. The macro lens really comes into play now. If you shoot at f8 or under the background should fall off rather quickly and give you a nice depth of field. Shutter speed is not important since your using a tripod. Place your bounce cards in front of the camera either on light stands with a clamps you can usetall glass bottles to keep the cards in place. Make sure you leave an alley so the lens can see through to the subject. The light from behind will reflect off the white cards giving a nice even exposure with soft light. Lastly, if your camera has a mirror-up function, use it to prevent camera shake. If not set the auto timer for 5 seconds and press the shutter release. That will also prevent hands shaking the camera. Take the shot. Your now on your way to becoming a food photographer.
