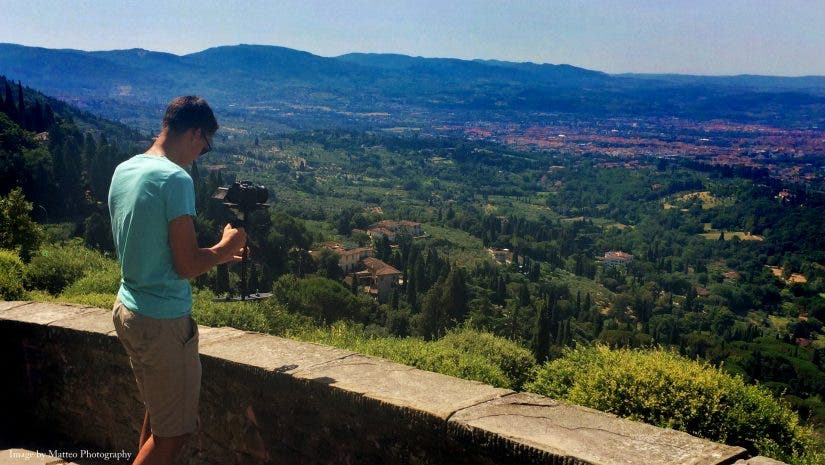
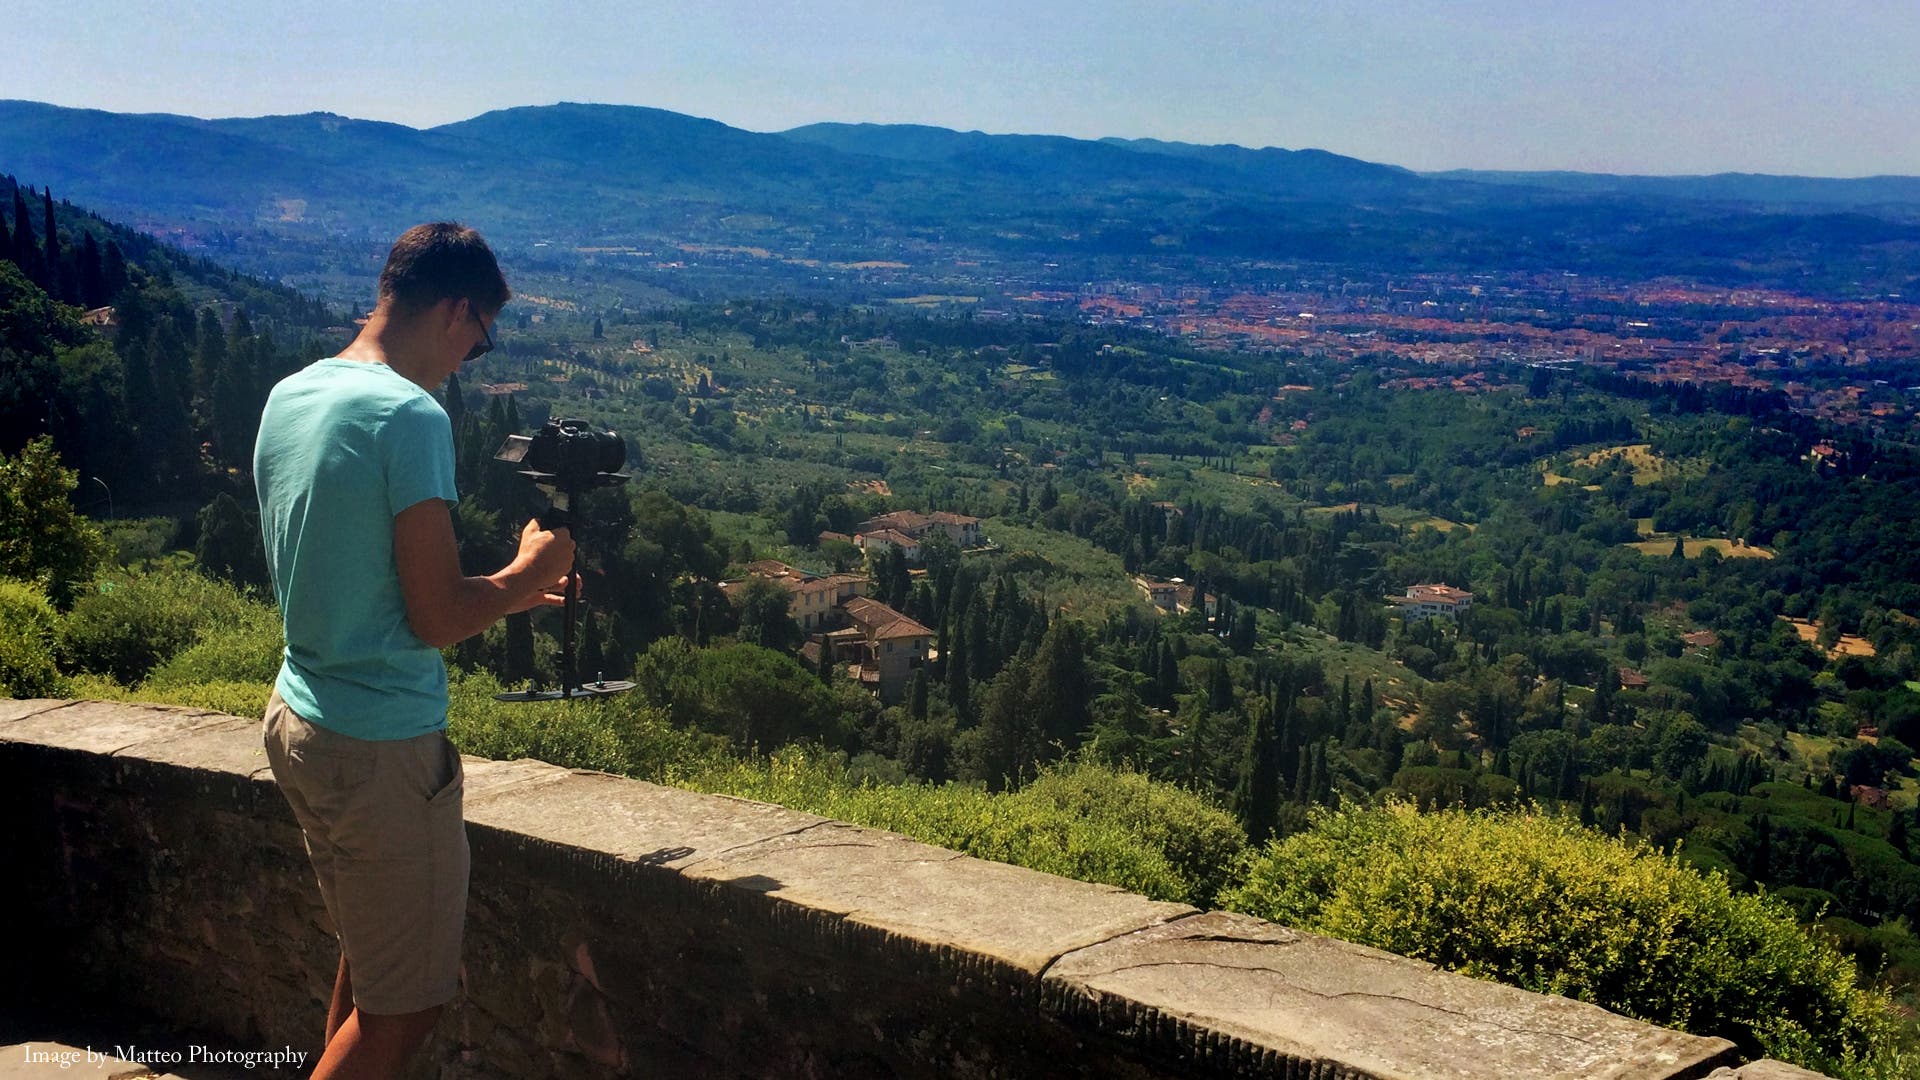
There is an inherent problem trying to take steady video. The human body is not steady, nor is it on wheels, a slider, or a set of cams. That means that when you’re trying to take video, the odds are that the camera, being handheld, will shake, pan, and vibrate, and the results will show in the final product.
Of course, there are multiple solutions, from software to post-process stabilization, to panning cranes like this one. But is there a way for the professional (or dedicated amateur) to significantly improve their video footage quality without breaking the bank?
ProAm USA, a relatively young company, is trying to answer that question with the affordably priced Autopilot camera stabilizer. The Autopilot is intended to keep walking, panning, and running shots – especially outdoors – smooth and stable. (Here’s an accurate demo from ProAm that will give you a quick idea of what it can do.)
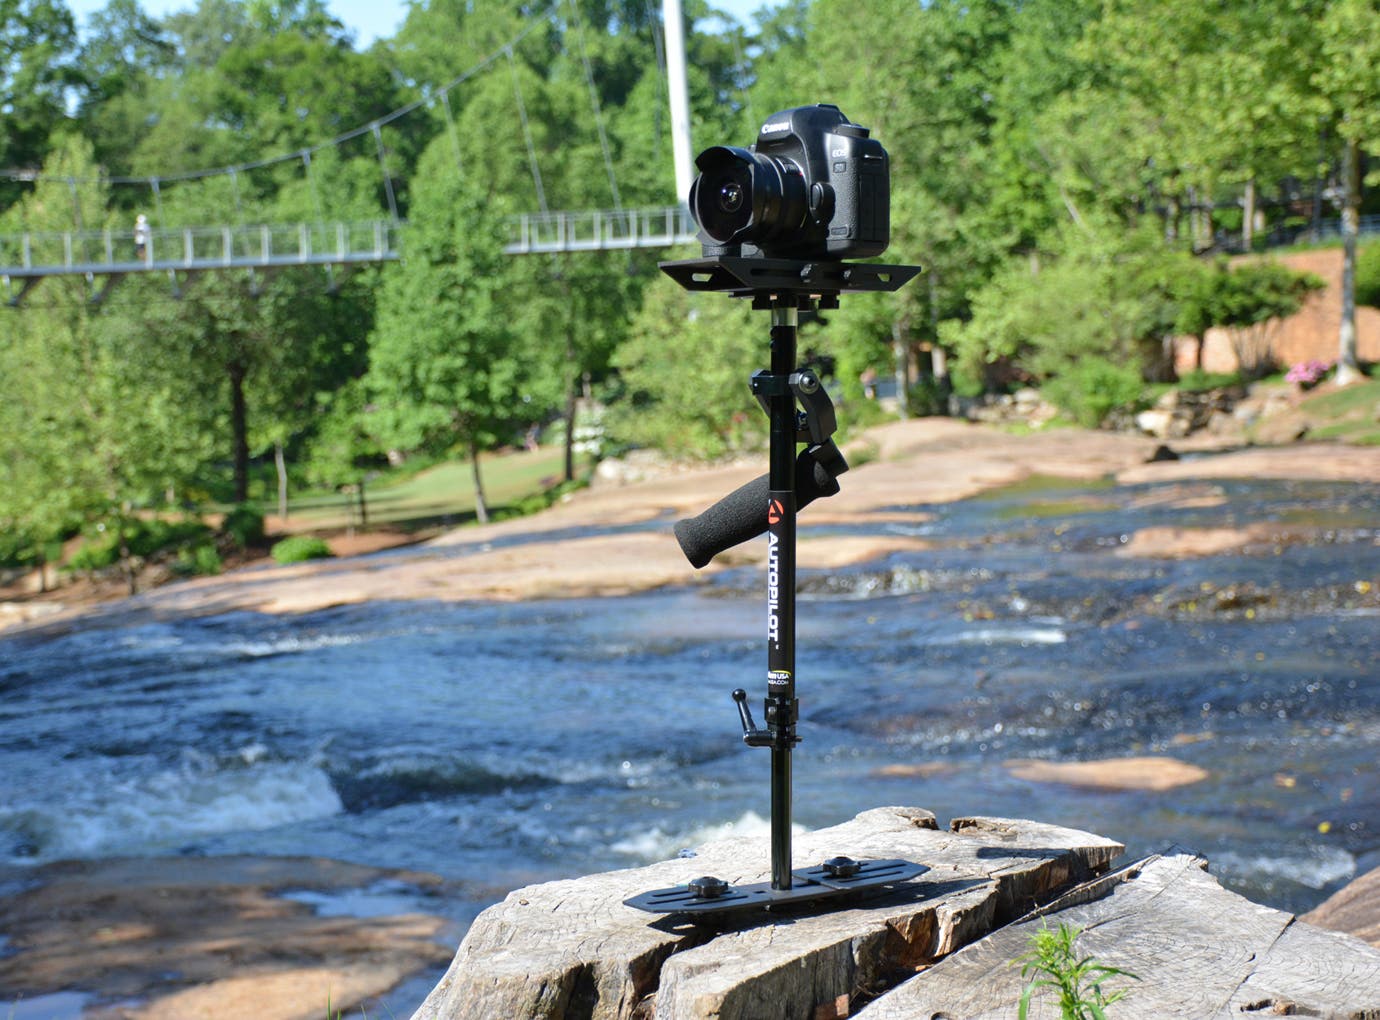
To be clear – this is not a new product. The Autopilot has been on the market since 2014, but it’s worth highlighting now. Not only is it a very solid product, but now Adorama has a new bundle for it. It’s now available for a very economical $199.95, and includes a very well constructed carrying bag bundled together with it. Previously, the stabilizer alone cost $189 and the carrying bag cost another $35.
When buying the bundle, the Autopilot comes dressed to impress in a black nylon case (about 17” x 10” x 3.5”). In it, you’ll find the Autopilot preassembled in the foam insert. (The only pieces not preassembled are the counterweights – more on those later). It’s very much worth spending the extra $10 to get the bundled case. The Autopilot is purpose-engineered – it’s first and foremost intended to make your video smooth, and it’s not constructed to allow for ease of transportation and storage. The case holds the Autopilot (and its counterweights) neatly and makes for the perfect method of transporting it from your studio to wherever you’re shooting. If you’re buying this, get the bundle.
Engineering:
Let me say something about the engineering on this unit. The Autopilot is essentially a platform, counterweighted on bottom, with a handle towards the top to hold the unit with. But the handle is attached to a gimbal that is engineered to be incredibly sensitive to the slightest pressure. This thing is smooth! And it’s the key to the Autopilot’s operation. By making the camera “float” on the gimbal, the Autopilot smooths out much of the operator’s side-to-side and up-and-down motion, to make for significantly smoother video.
Further on the engineering, I should note that the Autopilot is made cleanly and with a lot of thought. The platforms for the camera, as well as the weights – the two spots that are most likely to see much wear – are covered in a powder black finish. The entire construction, top to bottom, gives the impression of strength and durability. I only had my review unit for a week, but I can see this lasting for a lifetime. (So does ProAm – the Autopilot comes with a lifetime warranty.)
Setup:
How does it work? You could read the included 8-page instruction booklet. But there’s a great 11-minute video on YouTube that ProAm made to tell you how to setup, balance, and start using the Autopilot.
It took me a bit more than half an hour to set up the Autopilot the first time. But this included struggling with the instructions and then watching the video, in addition to the actual setup time. Once you do it once and understand the system, it’ll take five to ten minutes – tops! – to do it again.
Essentially, you’re going to balance your camera on the x, y, and z-axis. The Autopilot can handle anything from a GoPro to a pro-level camera with a solid lens – up to 6 pounds (about 2.7 kg) worth. (I tested it with a Canon 7D and a Tokina 11-16mm lens.) By precisely adjusting the center of gravity to fall somewhat below the body of the camera, the stabilizer will get rid of a lot of the forward/backward and side-to-side camera shake.
Using it:
How quickly will you get results from the Autopilot? That depends. The Autopilot is not a magic wand, stabilizing your video without any effort. You’ll have to put in some practice because of two main reasons:
- Your camera, when using the Autopilot, is much heavier than you’re used to! You are, essentially, doubling your camera’s weight when you use the Autopilot. And you’re holding all that weight in one hand, while in the past you almost certainly used two hands for video. This doesn’t make much of a difference if you are filming with a GoPro, but if you’re using even an advanced amateur DSLR, you’re going to feel it. But – good news! You WILL get used to it.
- The Autopilot is incredibly sensitive to motion and movement. This is, of course, its strength and purpose. But it’s also the main reason why there’s a learning curve. You have to learn how to use it – it’s going to take some practice.
Some tips:
If you’re having some trouble keeping the Autopilot pointed at your target after you have it properly calibrated, extend the bottom platform a few extra inches. This will make the center of gravity lower, and the Autopilot a bit less sensitive. Play around with it like this for a bit, until you get used to that. Then raise the bottom platform – if it’s extended too much, you’ll find it’s less stable – and try it at the proper balance.
If your video still seems choppy, try using a wide-angle lens, at least at the beginning. The wider the lens, the more stable the video. As you get better, you’ll be able to shoot with longer lenses.
Practice on moving objects – just try keeping them on the same part of your screen. Remember that you can tip your stabilizer forward, backwards and to the sides with the slightest touch. And you can pan horizontally just as easily by twisting the center rod from side to side.
If you’re using a zoom lens and your balance seems off, make sure that you haven’t zoomed in or out since you balanced the camera. The Autopilot is so sensitive that just zooming in or out can push the balance off-kilter.
Performance:
Once I got the hang of it, I loved the Autopilot. My video was very noticeably steadier. I never do this in real life (though I’m sure some of you do!) but for this review, I took my camera up and down a staircase a few times, with and without the stabilizer. It was like day and night. Without the stabilizer, each step I took shook the camera, but with the stabilizer it was almost as if it was sliding up and down a track. (To be clear – it wasn’t precisely like going up and down a track. To look like that you need to have a track! But it was so significantly better that I wouldn’t have a problem shooting video for most purposes with this stabilizer.)
In regular outdoor and walking shots, the Autopilot was also admirable, smoothing out ascents and descents on steps and bumps. It also helped compensate for the side-to-side movement that walking makes. (I’m not sure why, but the higher I held the Autopilot, the steadier my shots were. I ended up doing a lot of shooting holding the Autopilot at eye-level.) When I tried running, the footage was even smoother than when I was walking.
Something else I loved was how easy it was to make panning shots while I was coming towards my subjects, because of how easily and smoothly the camera turned on the gimbal.
Some criticism:
I had some design quibbles. The ¼” 20 mount for your camera is not attached to the body of the Autopilot’s camera platform. I know ProAm realized this, because they included a wingnut to hold the mount screw to the platform when there isn’t any camera on it. But you WILL lose the wingnut, and then you WILL lose the mount. Good thing you can get an entire set of replacement bolts, including both the mount and the wingnut, for only ten bucks.
Another complaint I had was that the front-to-back and side-to-side adjustments are each made by adjusting four thumbscrews. Could the next version of this stabilizer limit those to two on each axis, instead of four?
The bottom line:
The ProAm Autopilot is a wonderful tool at $159. It has a learning curve, but its results are well worth it. When you look at its price with the bundled carrying bag – $199.95 – it becomes a no-brainer. This stabilizer, with a little practice, can make your video footage look much more than $200 better. And it probably will last the length of your career. I very much recommend it.
