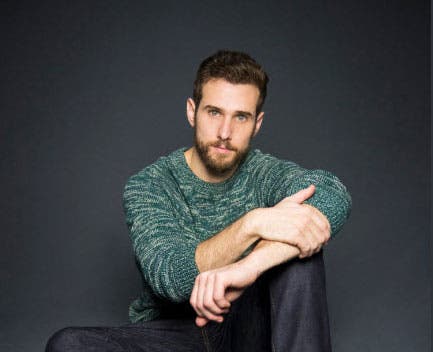
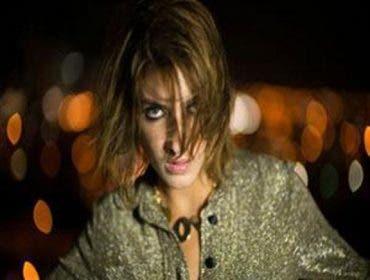
Building your photographer’s kit can be an intimidating task, especially when trying to do so affordably. New enthusiasts often feel they can’t pursue their desired projects because they can’t afford the equipment they think they need. After making the essential purchases such as lenses and camera bodies, it can be confusing choosing what comes next. So we decided to give ourselves a challenge here at Adorama: producing a fashion shoot on a modest $200 budget that meets everybody’s price point.
When it comes to shooting fashion, one of the biggest necessities is lighting equipment. You need a light source, light modifier, such as reflectors or softboxes, and a picturesque shooting space. Due to the budgetary constraints, our selections were limited and so we elected for a continuous light source. We chose the Flashpoint Softbox,as it fulfilled two of our basic essentials:the light source as well as the light modifier (in this case, a 20×27”softbox). There was also a light stand included in this kit, a wonderful added bonus! The last important requirement was fulfilled through the purchase of abackdrop standand a muslin backdrop. These seemed to me the most versatile purchases as they provide longevity and efficiency;a muslin backdrop will far outlast the lifespan of a typical paper seamless, and the cost of a muslin backdrop will be significantly less than the paper seamless long-term. In this project, we also made the assumption that most photographers have a circular silver reflector, and used that in our photo shoot as well.
It must be noted there are two minor disadvantages to this kit, as is the case with most inexpensive equipment. The first being that our light is not as bright since we elected to use a continuous light over a most expensive strobe. Even with the ISO compensating for the low light output (1000 ISO), I still needed to shoot at f2.8 to produce the desired brightness. Due to the thin nature of the backdrop, wrinkles are also an issue, so you should have an iron or steamer on hand to address this and leave some extra prep time.However, for anyone relatively new to photography or in the early stages of building a body of work, these two drawbacks are very minimal and should not deter you from staying within your budget.
We kept to a fairly simple lighting setup, with our light source on the right side and a reflector held on the left side to soften and fill in some of the darker shadows. It’s a classic arrangement that works well for both portraits and fashion, and I deeply enjoy the clean, simple aesthetic it produced. The softbox, while a little on the smaller side, produced a lovely spread of light that was fairly soft, and we feathered the light so as to enhance this softness. The medium-gray color of the backdrop was also very versatile, as the shade will brighten or darken with distance. I use this setup as my standard design for headshots, and it has yet to do me wrong.
This selection of gear is a great starter kit for learning your light and how to use it. The individual pieces are very compact, perfect for the tiny NYC apartment or studio. As you can see, even when working within tight financial constraints, you can still produce beautiful and high-quality imagery.


