Part of a regular Adorama Learning Center series, Sara Landeau’s ‘InSound’ explores the best in audio gear, how-to’s and interviews with other musicians. Read previous installments here.
When I first moved into my music practice space, it was a creaky commercial rectangle with holes in the ceiling, scraped thin walls, and reflective wood floors. The only instruction from the landlord was to be sure it was securely soundproofed since there had been complaints from neighbors about the adjacent music spaces on our floor. To top it off, a fancy restaurant was being built below. It was quite a process to get this room soundproofed, organized, and ready to use on a limited budget, but it quickly came together. The complaints stopped, even from the neighbor who screamed into the phone at me in Mandarin every night, a conflict neither of us would ever win given the nature of this negotiation, and given the language barrier. I found out later he called everyone on a nightly basis, so the guilt wore off fast.
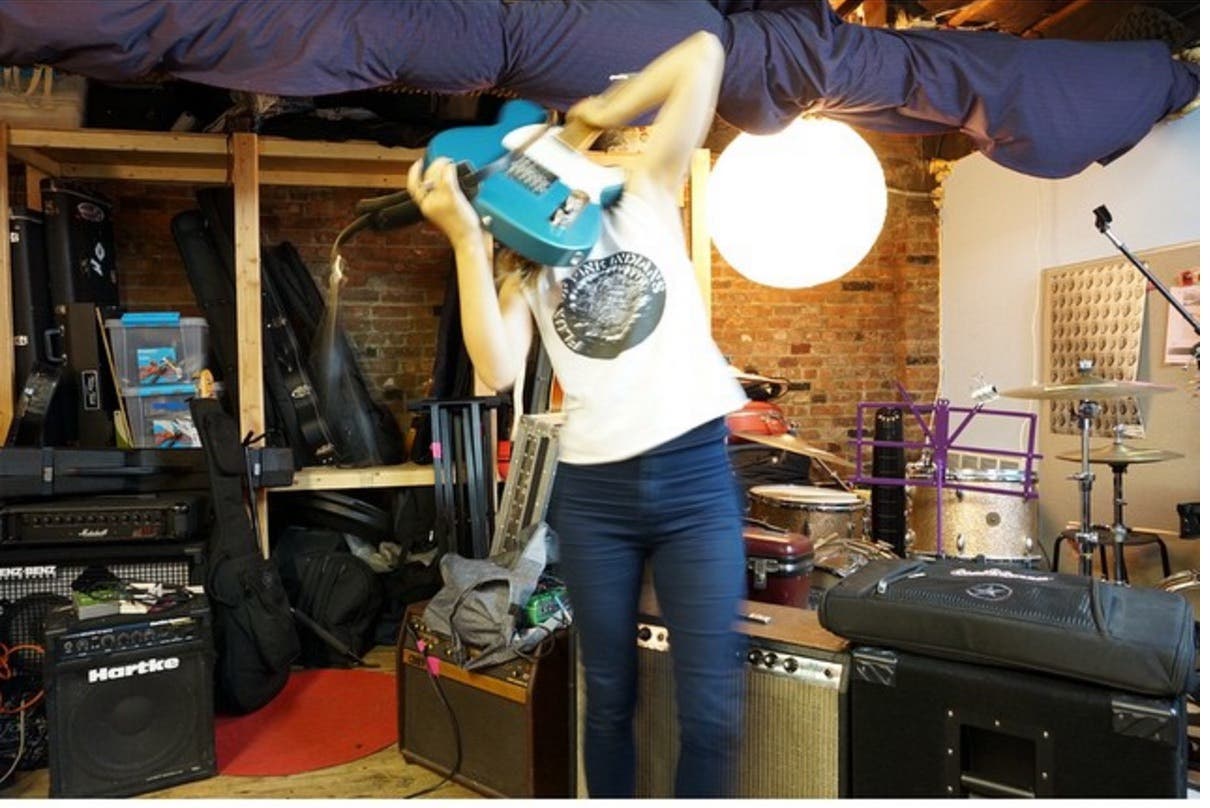
SOUNDPROOFING. First, am I soundproofing or just creating sound treatment? I had to do both to this space. Every room sounds different and involves a unique plan. First, all of the holes had to be filled in completely to avoid sound leaking. I learned quickly to think of sound like water – if there’s an open pipe to the next room, sound can leak through it. If there are cracks in the ceiling, sound will escape, even if we can’t see any light through the space. The only thing that completely stops sound is solid mass, so we had to compensate. For the walls, I enlisted help from friends to build a box-in-a-box. This meant putting up drywall one foot from the original wall to the room next door. I had a limited budget so we filled it with as much insulation as I could afford as well as padding like rugs and leftover carpeting. The drum riser, carpeted and also filled with insulation, worked to keep sound from going to the restaurant below. On top of the new walls, I added Audimute draping and lined the ceiling with acoustical foam, along with purple and blue fabric to absorb sound.
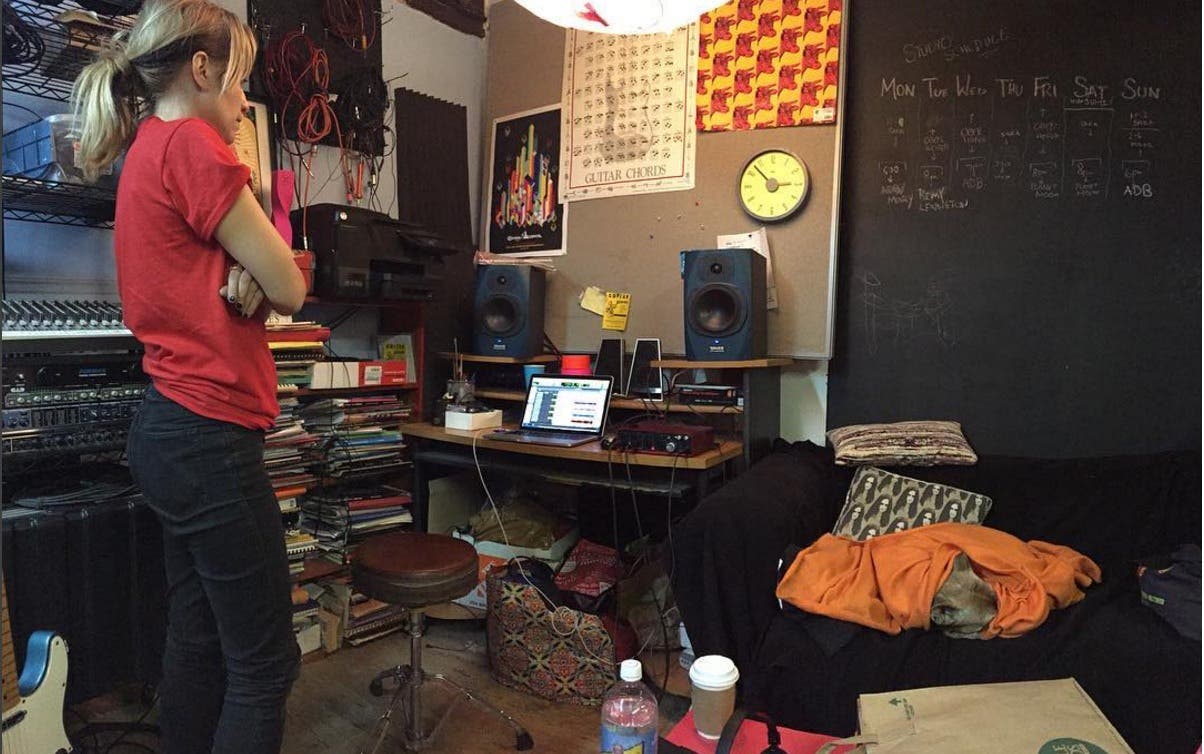
COLOR, SPACE, and THE ANTI-MAN CAVE. Nothing wrong with a man cave. I just didn’t foresee moving my students from my home studio (a.k.a. living room) to a dark cavernous room straight out of Hoarders. The studio has been called a GIRL CAVE by more than one person, mainly in times where I’m fixing something and there’s plenty of clutter, an “equal opportunity” sort of clutter. But overall the room should be organized in order to teach, record, or offer rental space. I painted the longer walls a light sea foam blue, the hallway wall eggshell white to add dimension, and covered one wall with black chalkboard paint which has come in extremely handy for writing notes, chords, ideas, and keeping the studio schedule on (and, apparently, drawing cats). The floor is scattered with brightly colored rugs and neon chairs that stack. And the luxury of collecting your thoughts on a small comfortable sofa with a coffee table cannot be underestimated in any recording or rehearsal room.
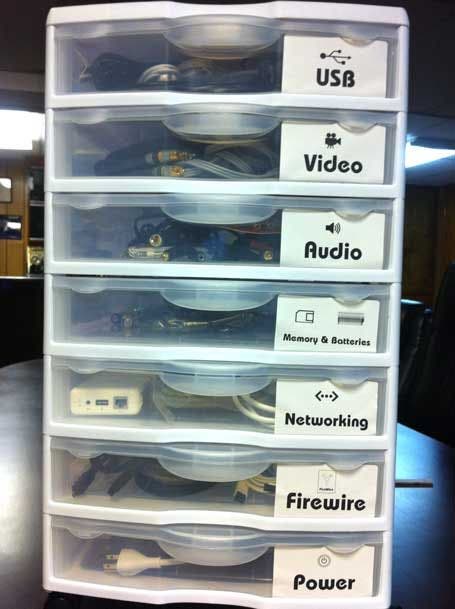
ORGANIZATION. I’ve inherited a few things from my old job working at CBGB’s – extra microphones, stands, a precarious P.A. system, monitors, and random accessories. P.A. speakers are chained to the ceiling on either side of the space, offering more room for amps on the floor. Broken pieces are on a designated shelf for future repair. Sturdy plastic bins from Home Depot hold extra cables, patches, and drum pieces. Everything is labeled with colored tape and is hopefully in its right place when we look for it.
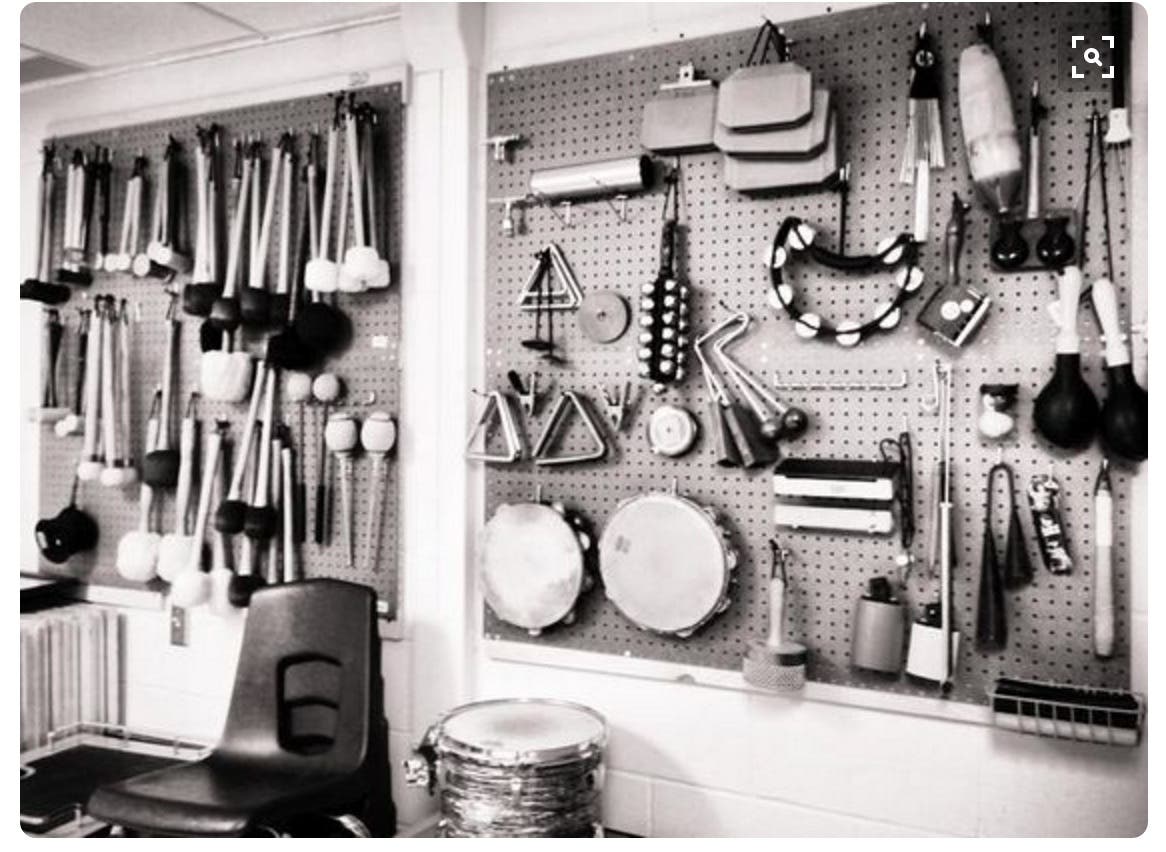
Screws, washers, tiny pieces of drum equipment, and other important looking puzzle pieces are consistently being found, then stored in a shoe box sized bin for further inspection. Toy store suitcases are great for this. I keep all the guitars and basses in their soft or flight cases lined up on a wooden shelf built for sideways storage with extra room atop. As nice as a guitar looks hanging on the wall, I can’t help to worry about temperature control and fear a warped neck so I no longer leave a guitar out in the elements. This has happened to me twice. And don’t forget the pegboard for the walls – add some silver hooks and you’ll have the easiest access to your cables, anytime. I use the pegboard blocks for XLR cables, 1/4 inch cables, computer cables and anything else used on a daily basis. You can even hang percussion items on them, your tools, or your purse.
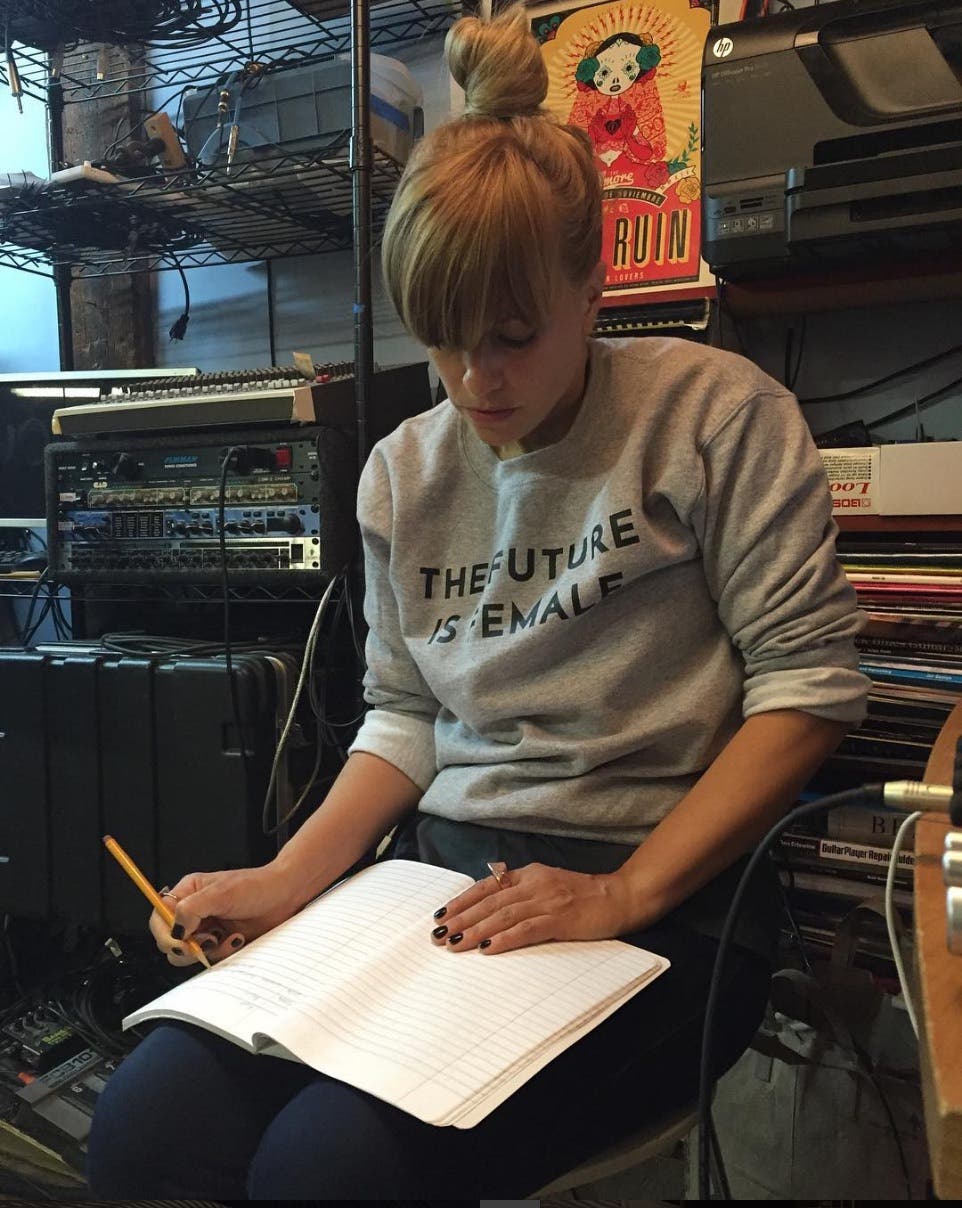
Bringing in too much can often turn your space into a dead sounding room instead of a sound controlled environment, so less can be more. I love those gorgeous recording studios where jagged shards of wood diffusers line the walls like a work of installation art. Or the vocal booth is eerily, yet just perfectly, silent. It’s all part of the process, and focusing on your individual style and staying organized is the best way to maximize your space and to create your perfect idea of a music room.
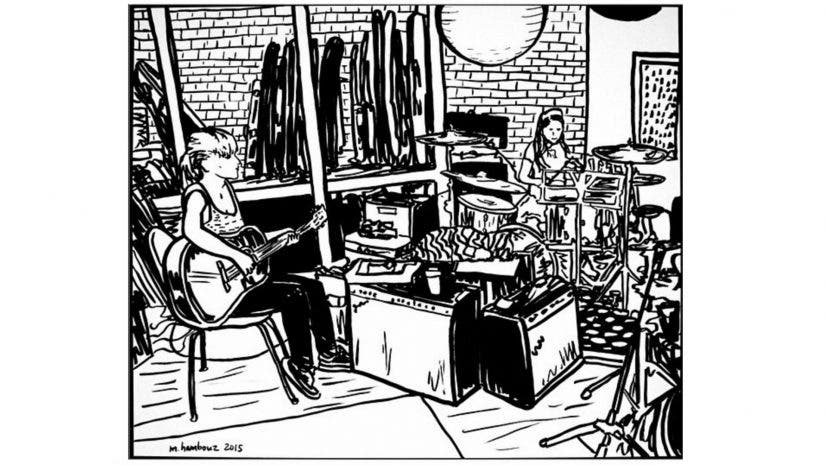
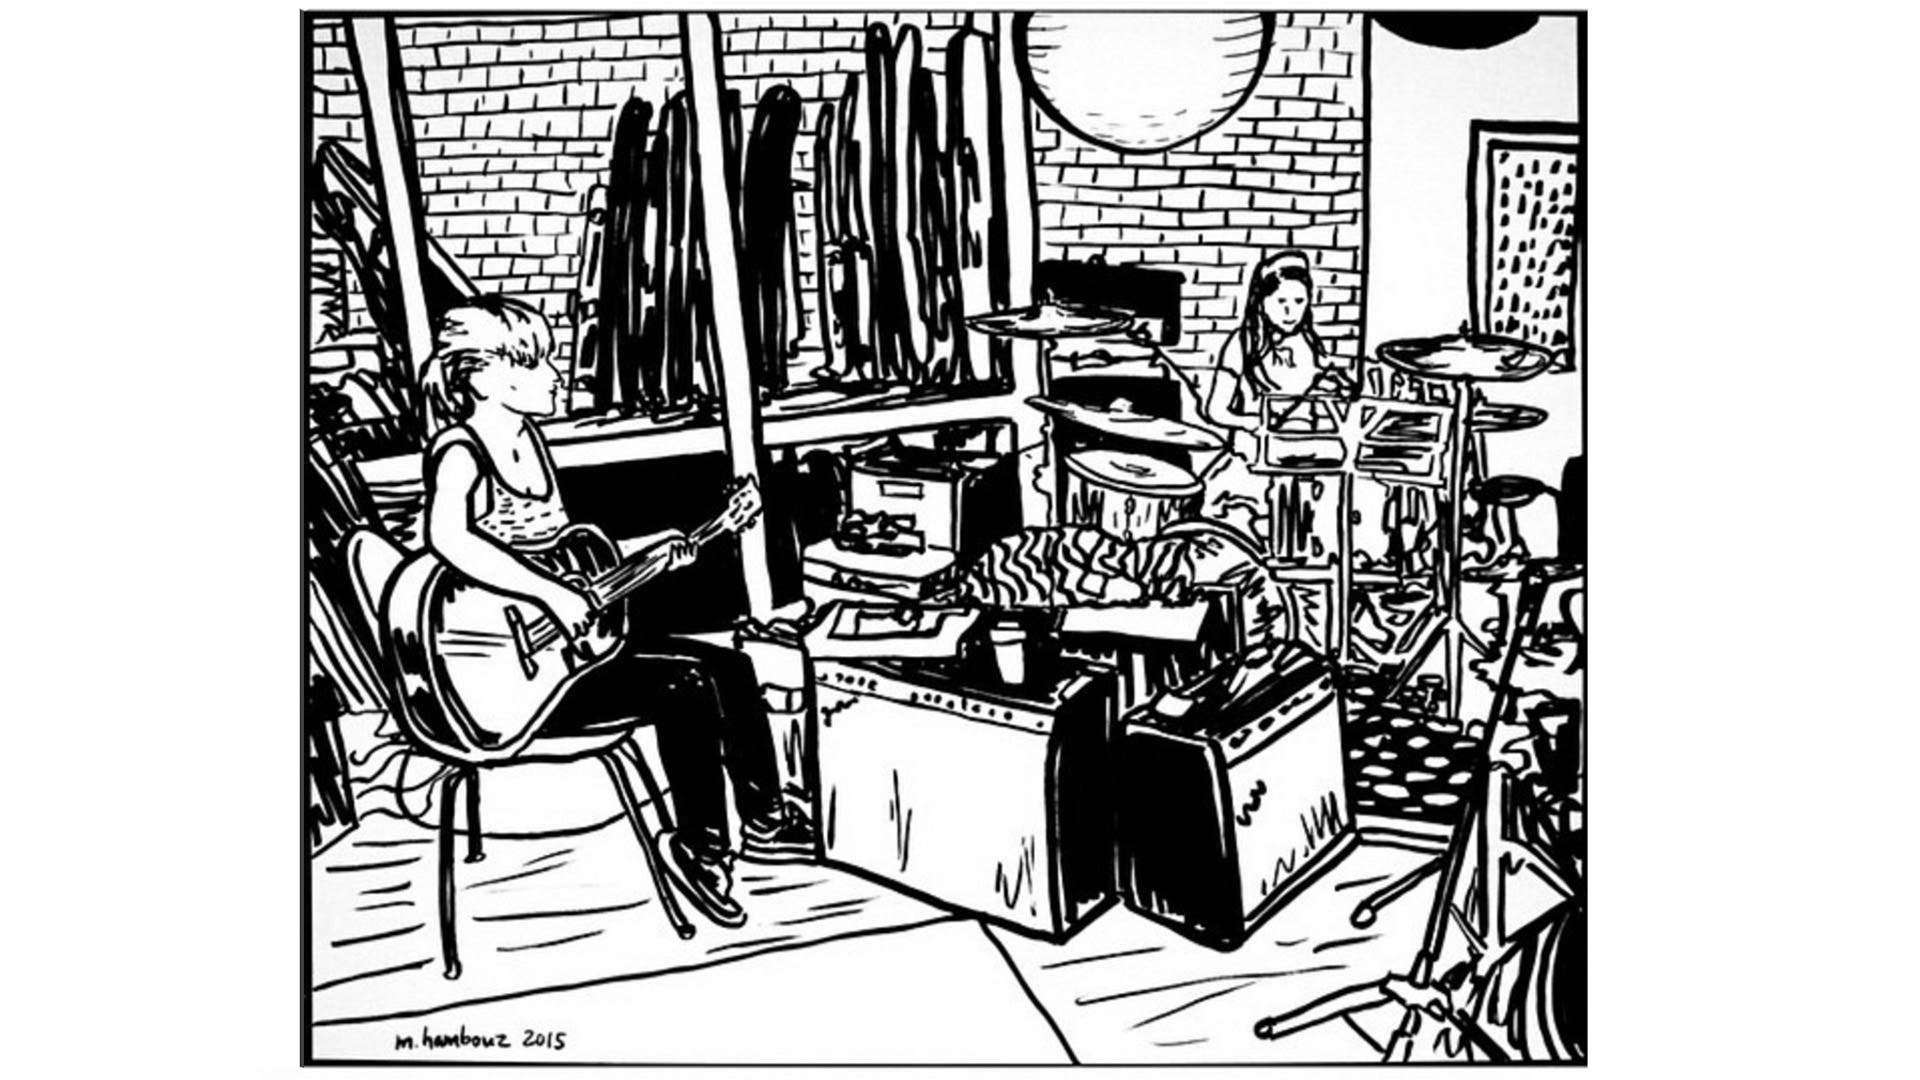
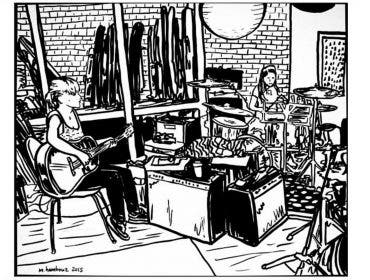
*Header illustration by Michael Hambouz
What’s in Sara’s Gear Bag?
