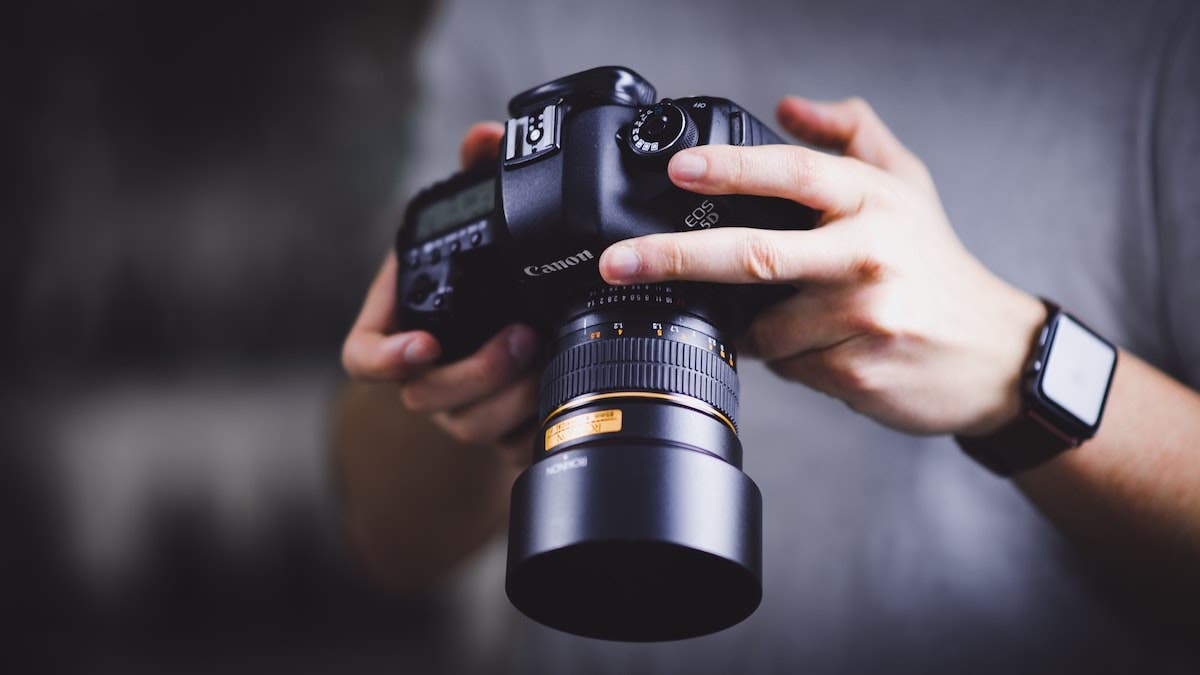
Mastering your DSLR or mirrorless camera means more than just adjusting the first layer of settings. It means learning when and how to use all the features in the menu. For example, do you know that every time you take photos using one of the camera’s automatic or semi-automatic modes, you use a metering mode?
How well Auto, Aperture Priority, and Shutter Speed Priority modes work depends on the metering mode selected at the time of shooting. Here is everything you need to know about metering modes, why you shouldn’t ignore them, and when it’s the best time to use each of them.
What is a Metering Mode?
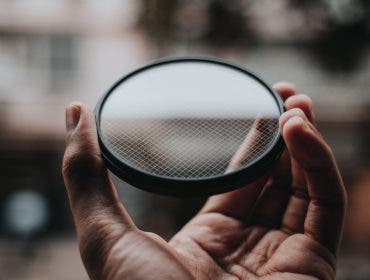
Each camera has a light meter that is able to function in several modes, also known as metering modes. A light meter is a tool that evaluates the amount of light reflected by a scene to set the aperture and/or shutter speed to achieve the perfect exposure. The perfect exposure for a camera is a middle gray tone (18% gray).
Metering modes dictate how the meter performs this light evaluation, how much of the scene it considers, and the weights of the points it takes into consideration. For example, a spot metering mode bases its evaluation on a narrow portion of the scene around the focusing point. It usually uses between 1% and 5% of the scene. A matrix metering mode, on the other hand, bases its evaluation on the entire scene and averages highlights and shadows to determine the perfect exposure. Other metering modes have their own formulas for determining the amount of light in a scene.
Most cameras have at least three metering modes: spot metering mode, center-weighted metering mode, and matrix metering mode. Each of them performs better for a particular type of scene and lighting. Although they are meant to provide the perfect exposure, you can always use them to create artistic effects, such as high-key and low-key photos.
Why Should You Adjust the Metering
The main reason is to improve the camera’s chances of correctly evaluating the light of a scene and setting the aperture and/or shutter speed accordingly. For example, if you have an evenly lit scene — such as a landscape — a metering mode that considers the entire scene will ensure your photo will be well exposed and all details preserved.

However, if you have a scene with extreme highlights and shadows, averaging them will result in overexposed dark areas and underexposed bright areas (e.g., a landscape with snow, a portrait with light falling on the model, and a dark background). For these scenarios, you need to indicate the area the meter should consider precisely.
How to Change Camera Metering Mode
We strongly advise you to check the camera’s manual and see your options. However, most older or entry-level cameras keep the metering options in the main menu. You don’t have special buttons or cogwheels to adjust metering. For example, you need to enter the Menu, go to Shooting Menu, and select Metering.
Then, you get to choose one of the three available metering modes: Matrix, Center-weighted, and Spot.

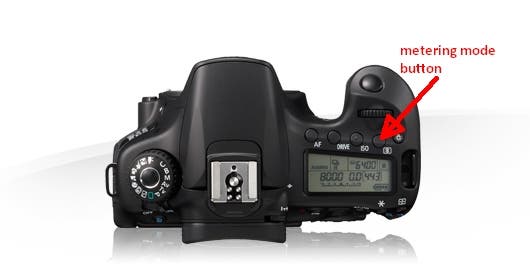
High-level DSLR cameras may have a dedicated quick metering mode button. As you sometimes have to adjust metering before each shot, having quick access is a nice feature.
Don’t expect to have the same metering modes and ways to switch between them on all cameras. Read the manual and see what your camera model has to offer.
Different Metering Modes
There are six different metering modes available. But keep in mind that your camera model may not have all of them or use the same names. We’ll try to cover as many options as possible to help you understand what each metering mode does and when to use it.
Evaluative Metering Mode
Evaluative metering mode (or Matrix metering mode or Pattern metering mode) considers the amount of light existing in the entire scene. The decision algorithm varies from one camera model to another as each manufacturer tries to come up with a more intelligent way of determining the right exposure. For example, some cameras attribute more weight to focusing points (manual or AF), while others compare the scene with a reference image database.
Evaluative metering mode is a general-purpose metering mode and the default setting on many cameras. You can use it for evenly lit scenes, such as landscapes, street snapshots, and commercial photographs. It fits easier with natural lighting and deep depth of field. However, evaluative metering may fail to deliver the correct exposure if the scene features high contrast or light irregularities.

Center-Weighted Metering Mode
Center-weighted metering mode uses different weights for the amount of light in the circular area at the scene’s center of the scene compared to the rest of the scene. The central area that weighs heavily covers around 30% of the scene.
It is useful when you have a relatively large subject in good light situated in the middle of the frame — such as a person or a window — and the background is darker. Center-weighted metering mode tries to find the best exposure settings for the large circle in the middle of the frame, but it still takes into consideration the background. Therefore, it aims to provide good exposure for the entire frame. Nevertheless, it’s less effective when the subject is smaller than 30% of the scene or situated in other parts of the frame.

Partial Metering Mode
Partial metering mode is a specific Canon mode that considers the amount of light existing in a circular area of about 7-15% of the scene. It may be the center of the scene or around the focus point. The meter ignores the rest of the scene.
Partial metering mode is effective when the subject and background are lit differently. For example, when the subject benefits from frontal lighting and the background is darker, you want the meter to ignore the background and evaluate the light on the subject. Because the partial metering mode takes into consideration 7-15% of the scene, it is suitable for photos with larger subjects, such as portraits and photos with the subject in the foreground. It also fits easier with artificial light and shallow depth of field.

Spot Metering Mode
Spot metering mode considers only the amount of light existing in a circular area of about 1-5% of the scene. It is the most precise metering mode because it considers only a small area around the focusing point.
Photographers use spot metering mode when the subject is very small or far away, as in the case of bird photography. It is also efficient for photographing high-contrast scenes because it gives you precise control over the exposure. If you choose to expose a bright point, the rest of the frame will be darker and vice versa. For example, with spot metering mode, you can create silhouettes or emphasize the sparkle in someone’s eye.

Highlight-Weighted Metering Mode
Highlight-weighted metering mode is a metering mode provided by the latest Nikon camera models. It makes sure the highlights in the scene are perfectly exposed. Highlight-weighted metering mode considers the entire scene and is efficient when highlights are spread throughout the frame.
Nikon recommends this mode for shooting subjects in motion, subjects lit by spotlights, or subjects with delicate highlights, such as a bride’s veil. It doesn’t fit scenes with large bright areas, such as having a dark subject on a bright background.

Average Metering Mode
Average metering mode is an older version of the evaluative metering mode. Similar to evaluative metering mode, average metering mode consider the amount of light reflected by the entire scene, but it gives equal weights to all points. As a result, it works well only for evenly lit scenes with small variations between highlights and shadows.
Average metering mode suits general-purpose photography with uniform lighting. It favors neither highlights nor shadows and tries to find the right exposure for the entire frame. Therefore, it fits outdoor photographs with multiple subjects and a deep depth of field.
Conclusion
Metering modes allow you to control exposure precisely and create the lighting effect you need. They may help you hide a busy background, make the subject stand out, emphasize details, or create artistic photographs. By adjusting the metering, you tell the camera where to look and, in response, it delivers the settings you need. However, sometimes good photography means playing by the rules and delivering the perfect exposure. Sometimes it means breaking all the rules and delivering artful effects.