Sharp focus is a prerequisite of quality photography, but it’s not always easy to get the focus you want. Lenses aren’t uniformly sharp at every aperture, so even if you have a great lens, a fair amount of blur can impact your work. If you need tack-sharp images throughout your depth of field, focus stacking is your tool of choice. The best part is, post-editing in Adobe Photoshop makes this seemingly complex trick a breeze.
What is focus stacking?
Focus stacking is the technique of taking several photographs of the same scene or object while focusing on different parts of the image. During the editing process, you then layer the parts together to create a single, final image that’s crisp and clean. Also known as z-stacking, focus stacking maximizes depth of field (DOF).
Any time you take a photograph, you choose a focus point. That’s the object in the scene the camera will focus on. If you want a small depth of field and a blurry background or foreground, you choose a large aperture such as f/2.0. But if the whole image needs to be in focus, you choose a smaller aperture, for example f/16 or f/22.
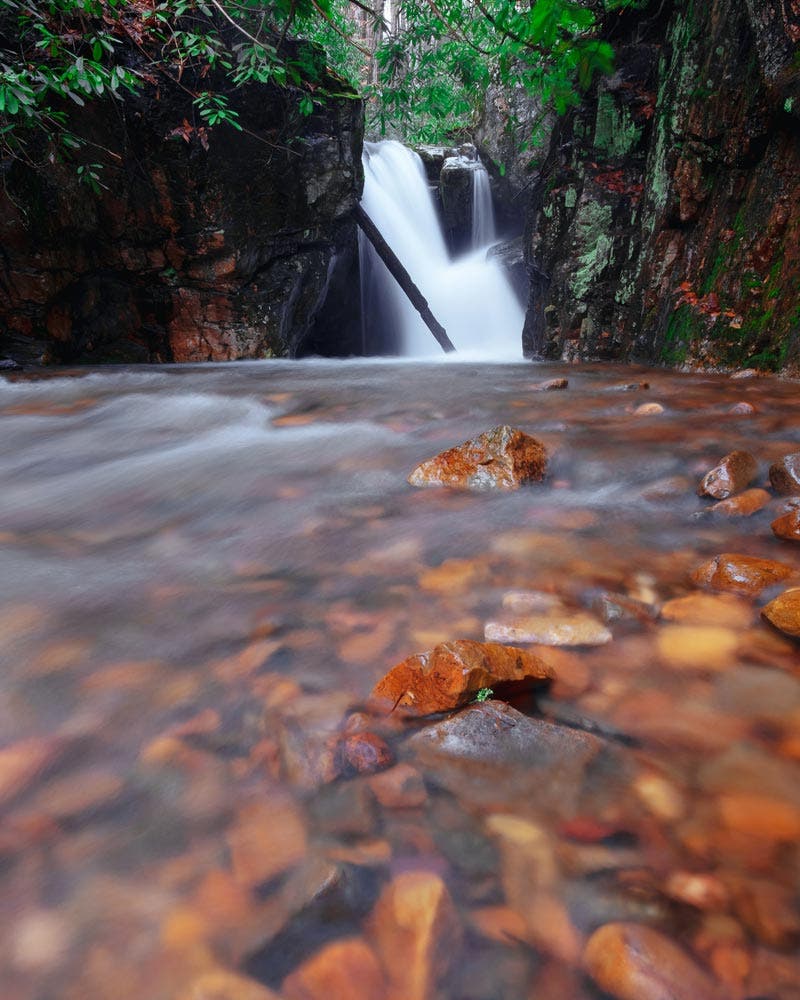
The problem is that even with small apertures you can’t always pull ideal sharpness from the foreground through to the background. This often happens in landscape photography when you want a prominent foreground element to stay sharp while also keeping a background element in focus. That’s exactly where focus stacking comes in handy.

How to stack focus
Focus stacking is best done on a tripod because you’ll have to blend the images later in Photoshop. Use a timer or a remote shutter release to minimize camera shake.
You’ll also want to change your camera’s settings to manual, including manual focus and white balance. This is not a good time for your camera to make decisions for you.
Once you set up your scene and your camera is ready, start by focusing on the foreground and taking a few shots. Then capture additional photos while moving the focal point back gradually. Ideally, you’ll want several images that center on the foreground, midground, and background. Depending on the lens and the focus distance, you may need anything from four shots up to a dozen.
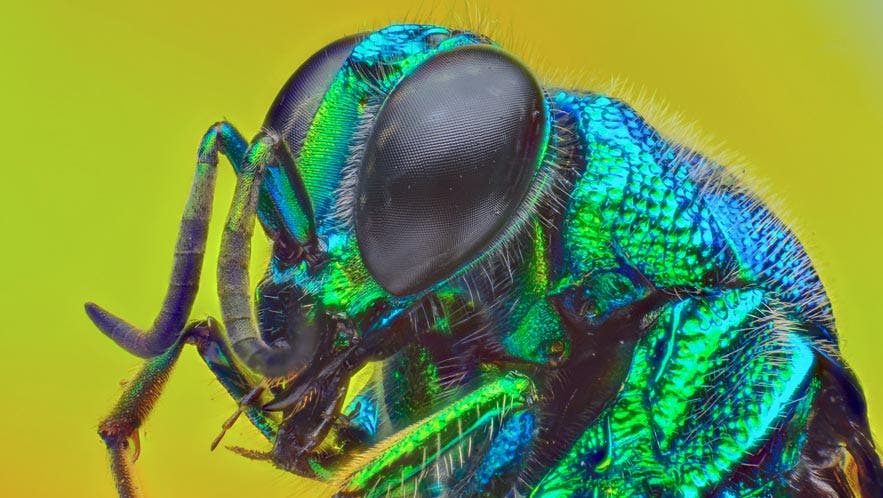
Product photographers often work this magic with items like watches or jewelry. To do this for yourself, keep the camera on a tripod and move the focus to all the object’s important elements, like the hands, the dials, the logo, and so on. Another name for this type of hyper-focused approach is macro photography.
A good tip is to put something in front of the lens at the beginning and end of a run of focus stacking shots, such as a card or your hand. This helps you differentiate between sets and makes selection easier during post production.
Once you’ve got all your photographs, it’s time to import them into Photoshop.

Blending your focus stack
This step may sound tricky, but Adobe has taken a lot of the pain out of the process. Once you’ve selected your stacked image collection in Lightroom, all you have to do is right click on photo > edit in > open as layers in Photoshop.
After the stacked images open as layers, choose edit > auto align layers. A dialog box will pop up. Make sure the align option is selected. When Photoshop blends the layers, select them all and go to edit > auto-blend layers.
That’s it! Photoshop will create a series of masks and blend the sharpest parts of the image, leaving you with crisp lines and zero blur from front to back. You may need to do a bit of cleanup, but all the hard work has been done.
Conclusion
With a little patience and time spent working through this process in Photoshop, you can use focus stacking to overcome the limitations of your lens. And in the end, you’ll have crisp and stunning final images every time.
If you’re interested in trying out focus stacking for yourself but need a new lens (or two), we can help. At Adorama, we have camera lenses from your favorite brands including Nikon, Canon, Fujifilm, and many more.
Feature photo by Shawn Kenessey on Unsplash


