While traditional video cameras that record 2D videos are by no means obsolete, 360 cameras are becoming increasingly popular for offering a much more immersive form of photos and videos. Any content recorded with a 360 camera can be particularly engaging and effective as they give viewers a feel of actually being in the scene and the freedom to look around, as it captures (and replays) the view in every direction all throughout the recording.
Enjoying 360 Videos


Every 360 video is created using multiple cameras to simultaneously record a 360-degree view of a certain scene, although there are now dedicated 360 cameras that can provide the same results. Due to its popularity, 360-degree content is now viewable all around the web and even on iOS and Android devices. When viewed on sites that allow 360-degree video sharing, such as YouTube and Facebook, viewers can choose to view it from whatever angle by dragging around the video with the cursor or a finger, or by just moving the device around. If you’re looking for new content for your page, or are learning how to start a YouTube channel from scratch, consider 360 videos as part of your content strategy.
Thanks to this innovation, virtual reality has since included real life sceneries as opposed to just computer-generated graphics. And with the birth of compact and user-friendly 360 cameras, practically anyone can record and share 360 videos on social media.
How to Make 360 Videos
- Get the right 360 camera
- Use a tripod or monopod
- Consider audio and video requirements
- Optimize viewer experience
- Minimize the parallax effect
- Record and hide
- Edit
- Add metadata
- Watch other 360 videos

1. Get the right 360 camera
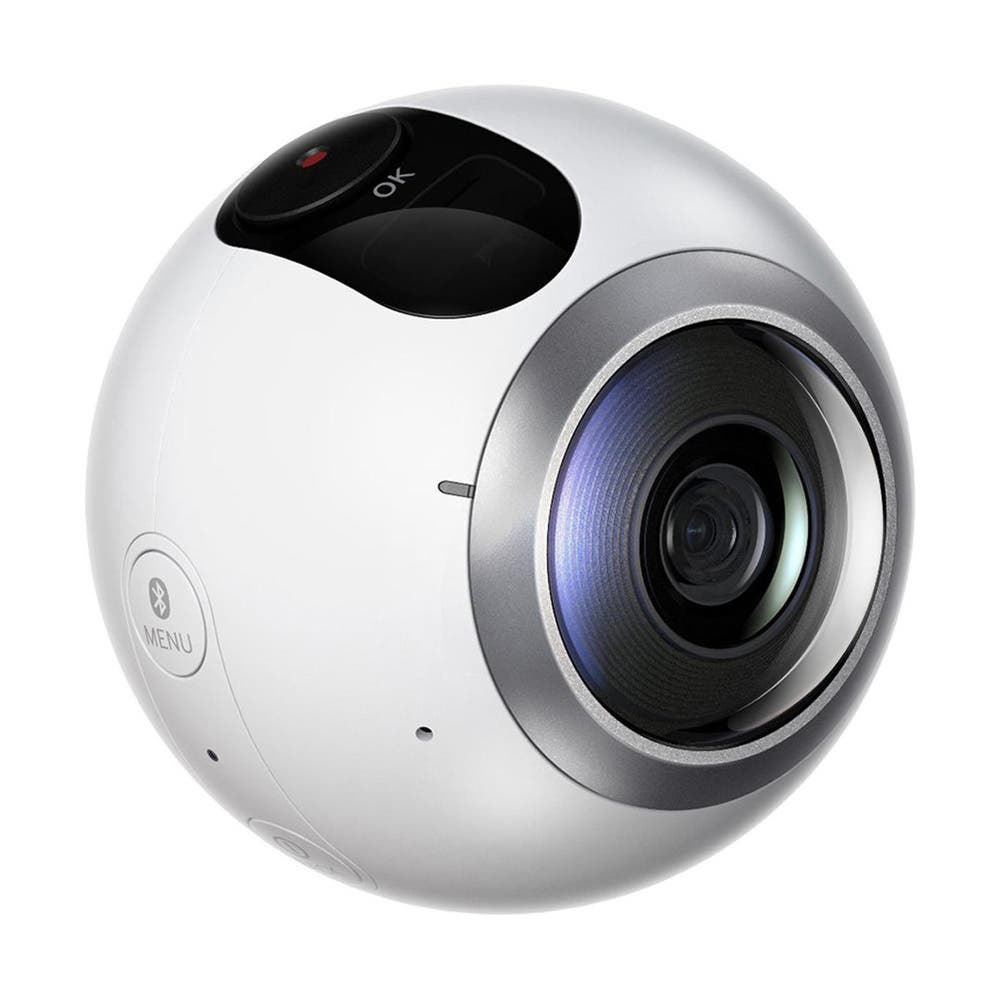
There are many different kinds of 360-degree cameras currently out on the market. All of them have different lenses, and the best ones are distinguished by their capability to record truly omnidirectional videos that can bring scenes to life. Some of the best cameras that offer full 360-degree capability do not require complicated post-processing before export. These cameras work using two fisheye lenses pointing in opposite directions to cover both 180-degree sides of a scene. The videos, as well as 360 camera pictures, will then be stitched together by a compatible software.
2. Consider audio and video requirements
If you’re planning to share your 360 video on social media later on, make sure to consider some of the audio and video requirements before you start recording your videos. Popular sites for sharing 360 videos like Facebook and YouTube recommend the following specifications for 360 video uploads and optimum viewing on their video players:
- File Size: Up to 1.75GB (Facebook) / 128GB (YouTube)
- File Type: MP4 or MKV
- Resolution: Up to 4096×2048 (Facebook) / 8192×4096 (YouTube)
- Aspect Ratio: 2:1 (Facebook) / 16:9 (YouTube)
- Video Codec: H.264
- Frame Rate: Up to 60 fps
- Projection Format: Equirectangular
- Depth: Monoscopic
- Audio: MP3 or AAC (Facebook) / AAC-LC (YouTube)
3. Use a tripod or monopod
One of the main challenges you’re bound to encounter when you shoot 360 is recording videos that don’t show your tripod, because 360 cameras capture everything. You’ll need a travel tripod or even just a light stand that’s lightweight and compact, typically with a ball head that you can adjust with a knob instead of an extended arm. They don’t have arms or levers that stick out and can conveniently “hide” underneath your small 360 camera while recording. While mounted, you can easily walk around with both as you change scenes and positions.
4. Optimize viewer experience
The need to record 360 camera videos that are comfortable to watch should go without saying. This means avoiding unnecessary and quick movements within the video that can cause disconnect and ruin the experience for viewers.
Imagine wanting to focus on something else, and the camera keeps moving. Eventually, viewers will feel nauseous or lose interest and stop watching the video. It’s best to include split-second video transitions when changing scenes to keep it fluid and to minimize distractions. As for audio, it’s also ideal to have a recorder that allows spatial recording, which records audio from all directions to mimic how humans hear sounds in real life.
Like with movies, the shooter must act like a director and consider techniques that will ensure an easier and more realistic viewing experience to keep your audience hooked until the end.
5. Minimize the parallax effect
Even though today’s multi-lens 360 cameras save us from the hassle of having to manually assemble multiple cameras to cover all angles, they have one possible—but avoidable—glitch that we have to be aware of, especially when using one two cameras that are strapped back to back. The 360 video stitching may not look as perfect as you’d hoped when a parallax effect takes place in at least one spot, where the images may not look perfectly aligned with each other.
Thankfully, you can use software to help minimize the parallax effect by making it look like a minor and barely noticeable glitch in the 360 video stitching. You can also help make the stitch line look less noticeable by making sure that it doesn’t pass any objects or visually interesting areas that may end up appearing to be cut in half.
6. Record and hide
Worrying about keeping your tripod out of the shot is one thing, but keeping yourself out of the shot is another. A good way to do the latter is to get a 360 camera that can be connected to a mobile app and allows you to remotely record and pause, so you have time to run, hide, or blend in before hitting record.
7. Edit
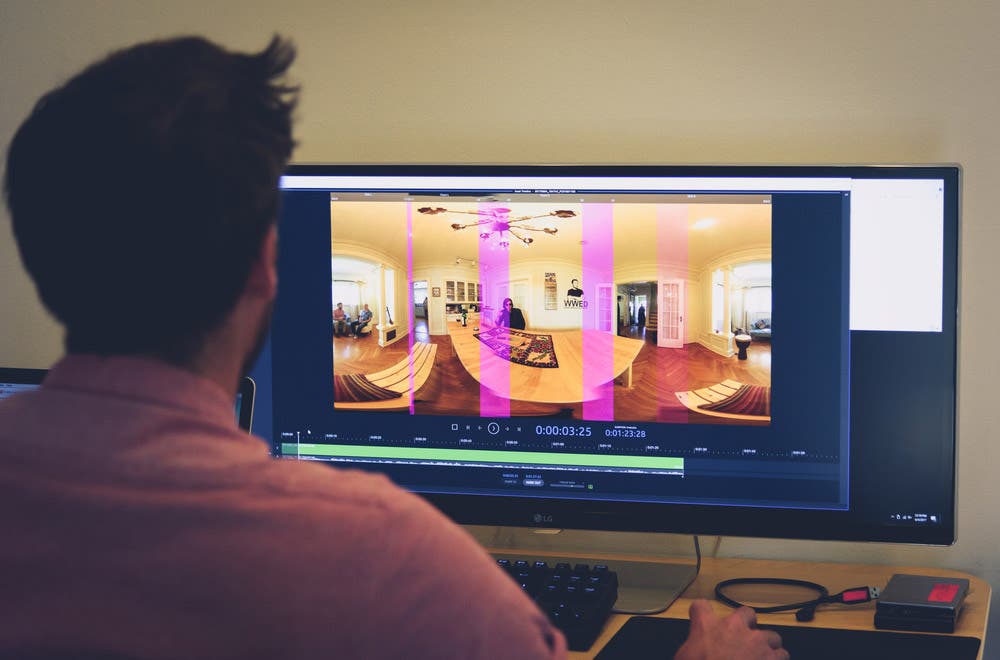
Editing 360 camera videos are obviously more difficult than it is with editing traditional video. Fortunately, 360 cameras already do the stitching for you with a press of a button in the compatible mobile or desktop app. However, other seemingly basic edits like adding texts can be a daunting task.
Remember, your final output is a sphere instead of a flat image. Therefore, you’ll need to distort an image or text to match the spherical video’s curvature to make it look flat. It’s not a particularly strict rule, but you may have to use a special video editor to create more professional-looking titles. These editors, like Adobe Premiere and After Effects, and their required plug-ins can be pretty expensive (more or less $200), but adding texts, hiding your tripod better, and even adding 2D video will be made much easier.
8. Add metadata
Before you go ahead and proudly share your cool 360 videos, there’s one more important thing you’ll have to remember — you’ll need to add metadata to the video in order for sites like Facebook and YouTube for their video players to know that it’s a 360 video. Otherwise, their players will showcase them as a regular and flat 2D video with a steady one-directional frame.
YouTube, as well as other popular sites for 360 content like Samsung VR, 360Heros, and AirPano provide simple instructions for adding metadata to your 360 videos.
9. Watch other 360 videos
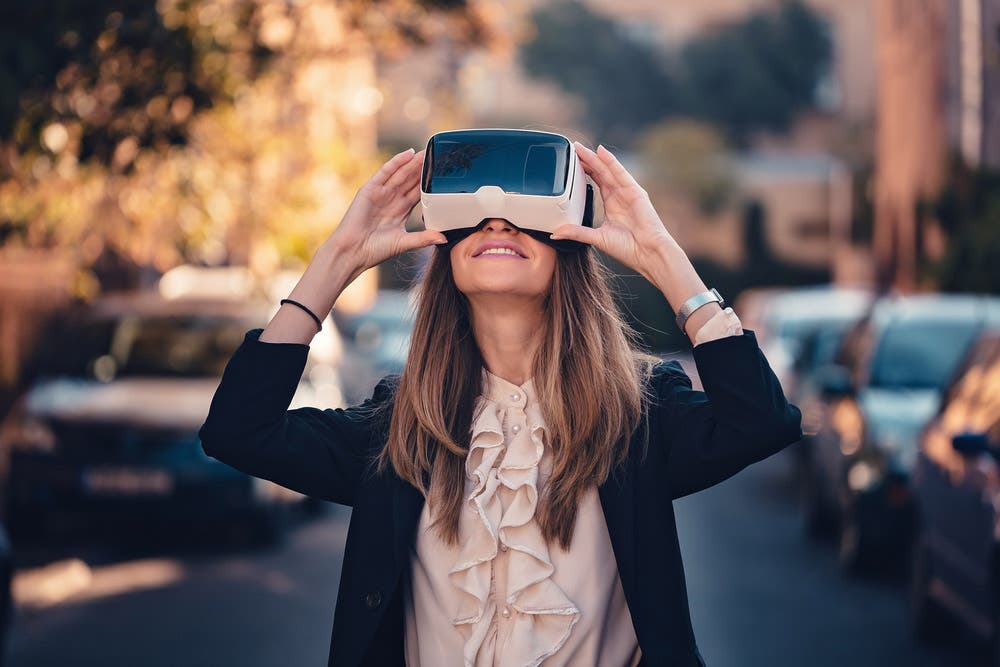
Perhaps the best way to learn how to create 360 videos that are fun to watch is to is to check out other 360 videos online. YouTube has a Virtual Reality channel that features some of the most popular 360 videos of practically every genre. You can also download virtual reality apps that allow you to better immerse yourself in the videos with the use of a Google cardboard or VR headset.
By watching other content, you’ll get an idea of the kind of 360 video that you’d prefer to create yourself, as well as the type of sceneries and environments that look best in 360 format.

