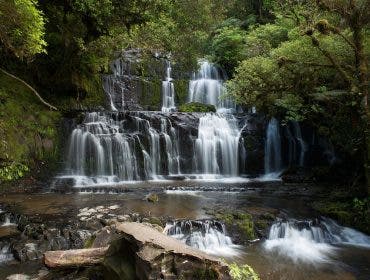
Most of the time, nature photographs are taken in a natural environment and using natural light. As a result, photographers can’t control the scenery and need to adapt to whatever conditions are available when shooting. This includes controlling elements like unwanted objects entering the frame, wind moving the subject, or a cloud blocking the sun. Furthermore, natural scenes have a background that isn’t always as smooth and appealing as a photographer would like. These are the challenges of nature photography, but they are also what keep nature photographers curious, committed, and creative. Knowing how to remove distractions and adapt to unpredictable shooting conditions means technical skills, imagination, and a good understanding of the natural world.
Check out the most common types of background distractions, and learn how to eliminate them and create the compositions you want.

Types of Distractions and How to Remove Them
Although the natural world is the master of diversity and change, we can identify a few background situations that most likely will create problems. However, when you understand your camera settings and learn how to see the scenery artistically, you’ll be able to find a workaround for all other background distractions out there.
Unwanted Elements
Unwanted elements are visual elements you don’t want in the frame. They can be anything from power wires and street signs to sun rays, a splash of color, or a striking pattern. Also, consider the objects awkwardly cropped at the edge of the frame (e.g., part of an animal, a branch of a tree, half a house, etc.). Most of the time, you want either the entire object in or out of the frame.
A natural environment will most likely provide plenty of unwanted elements. However, you have a quick and efficient solution to this problem: change the camera position until you find a better background. Don’t be afraid to experiment with unusual angles you hardly see in other photographers’ portfolios. They create more interesting compositions and define your artistic style. For example, if you want to eliminate all the distractions behind your subject, you can place the camera beneath the subject and use the sky as the background.

A Busy, Textured Background
The natural world is full of wonderful textures and patterns. However, when they aren’t the main subject of your photographs, they might be a distraction you want to avoid. The most common examples are backgrounds with grass, foliage, trees, or strong lines that don’t suit your composition.
For hiding a busy background, a shallow depth of field works best. It’s a technical solution at your fingertips, and you can use it regardless of your camera model and lens. However, it works better with fast lenses with a large aperture like f/2.8 than on lenses with only a maximum aperture of f/6.3.
A shallow depth of field means that just a small part of the frame (i.e., the subject and the area around it) will be in focus. The rest of the scene will be blurred and thus hidden.
To create a shallow depth of field, you have to use a large aperture (small f-stops). It also helps to have a short camera-subject distance or use lenses with a longer focal length, such as telephoto lenses.
Examples

If you move in closer to your subject, the depth of field becomes more shallow, which helps throw the background out of focus.
An often overlooked trick is to get down on eye level to your subject. When shooting down on your subject, the ground becomes your background. This is fairly close to your subject and impossible to get out of focus even with a low depth of field. However, if you get down at eye level, you will often experience a much greater distance to the nearest element. The distance between the subject and the nearest element in itself is enough to create a distraction-free background.
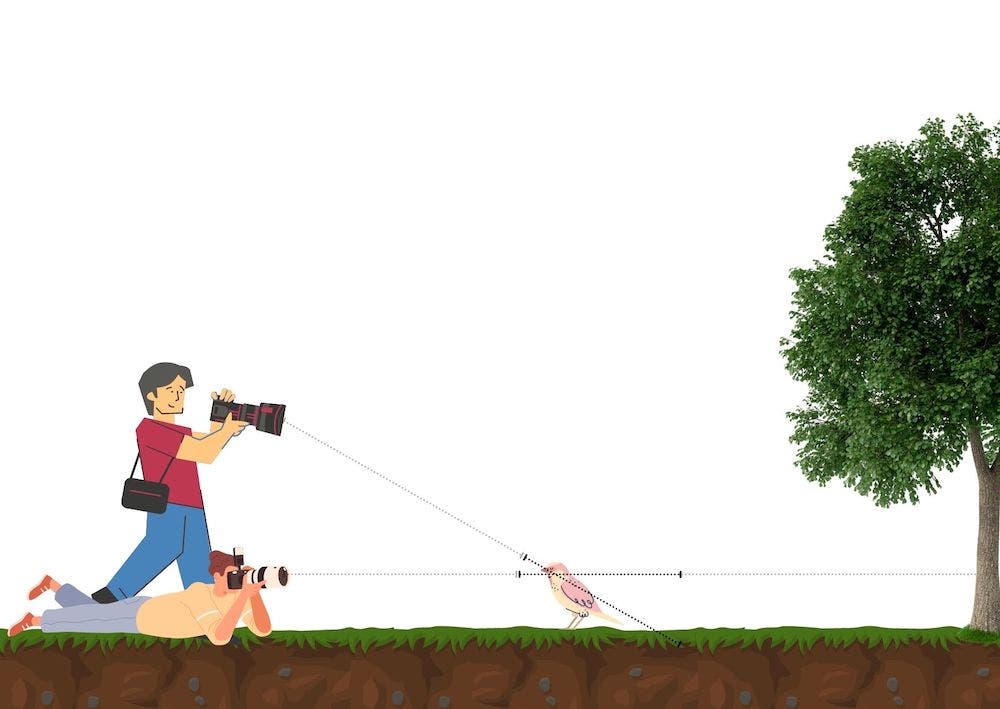
If you stand up shooting down on your subject, the chances are that you will have grass as a distracting background, which is too much in focus because it is too close to the subject. Instead, position yourself closer to the ground, and you will also get more distance to the background.
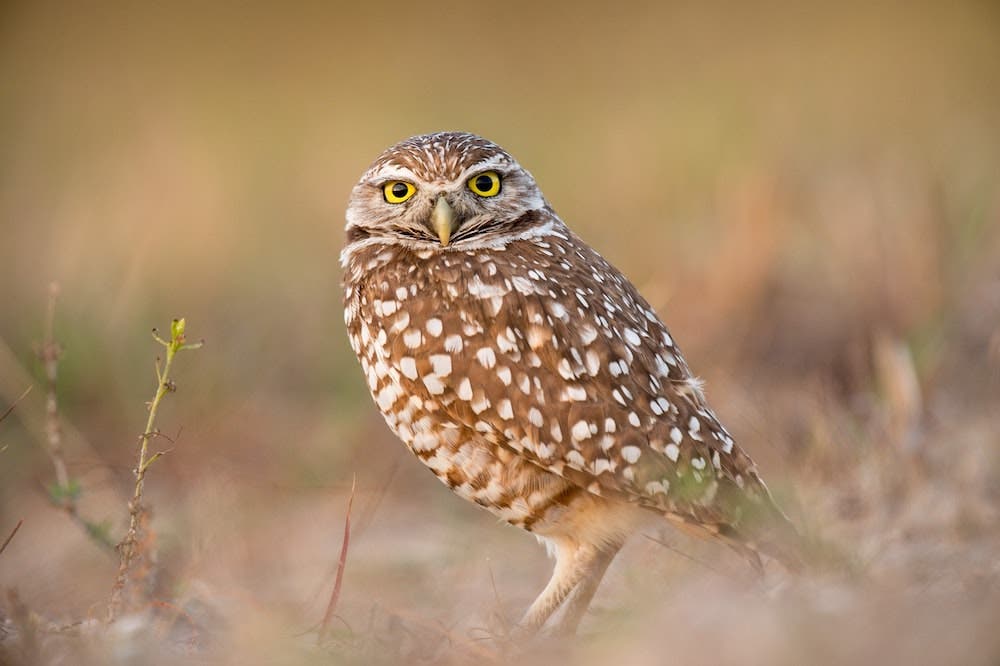
This is an example of how the background looks when you get on eye-level with the subject, like shown in the illustration above.
You can also blur the background and achieve a similar effect in post-processing. However, the best photographs start with a strong-minded photographer who sees the final image before pressing the shutter release button. So, don’t rely too much on post-processing.
Distracting Colors
Sometimes the background is beautiful, but it doesn’t fit your artistic purpose. For example, you want to use a soft, discrete color palette, and the background has an intense, saturated color that overwhelms the subject. Or, the background color contrasts the subject’s color and adds a different meaning and vibe to your photos. Or, the background and subject have analogous colors and make the focal point disappear into the space behind it.
Color theory helps you understand how the viewer will perceive your photos. Color intensity, hue, and the relations between colors influence the message your photographs convey. Pay attention to storytelling and give each element you put in the frame a role. Each color, line, and shape adds meaning.
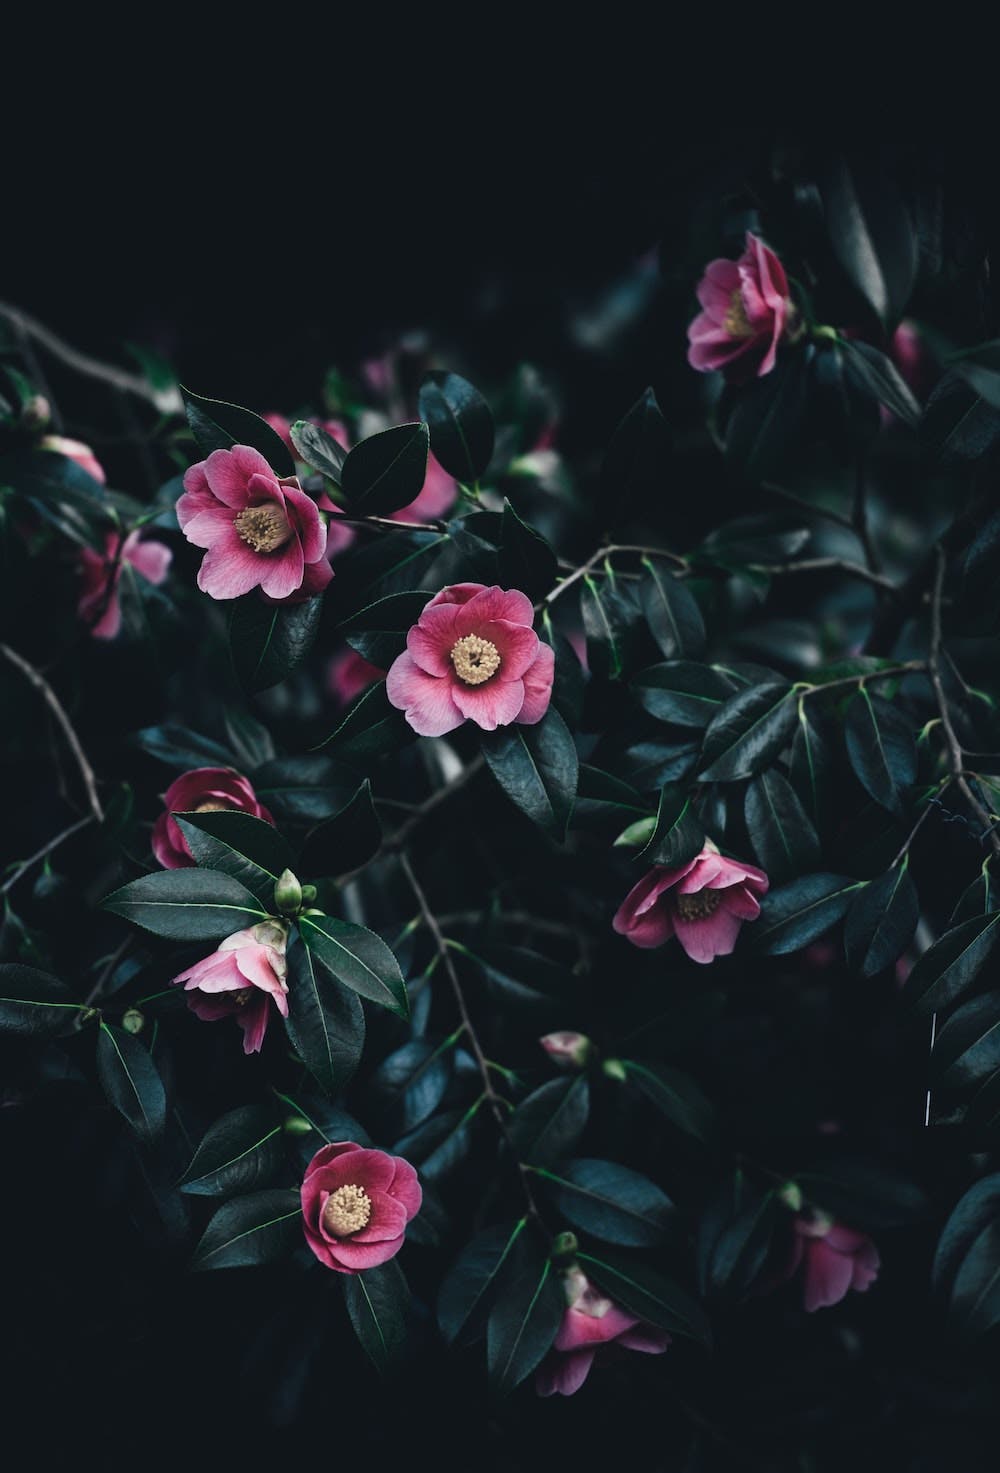
To eliminate the impact of a background in distracting colors, you need to make it significantly darker or brighter than the subject. In close-up or macro photography, one method uses flash to illuminate the front of the subject while maintaining a low ISO. The result will be a darker background that will lose color intensity and a brighter subject that will capture the viewer’s attention. It’s a technique macro photographers use a lot.
Distracting Lines
Lines are distinctive elements that steal the viewer’s attention and lead the eye wherever the lines go. When the background has strong lines such as roads, rivers, coastlines, or the horizon, the subject in the foreground might get overlooked.
If you can, by all means, try to incorporate the lines in your composition. Knowing how to work with leading lines is essential for a nature photographer. Nature has plenty of lines, and it is impossible to avoid all of them. When you have a powerful line in the background, the best thing you can do is work with it. Make it a part of your composition. Use the rules of composition to place the subject in a location pleasant for the eye and use lines to lead the viewer towards the main subject. Lines also influence the decision of using a landscape or portrait orientation. You can try both a see which one better fits your goal. Usually, vertical leading lines look better with portrait orientation, while horizontal leading lines look better with landscape orientation.
If you still want to eliminate the distraction and hide the leading lines in the background, try increasing the distance between the subject and the camera. It will move the focal point from the foreground to the middle ground or background. As a result, you’ll change the distribution of the negative space and eliminate or make wise use of the existing leading lines.

Concluding Words
Practice is vital when creating the composition you have in mind. Changing the camera position and angle delivers the background you need most of the time. And if it doesn’t, a shallow depth of field will hide the background and make the subject stand out. In addition, a shallow depth of field creates a solid focal point for a singular subject and makes the subject the star of your composition. Of course, you can combine more than one solution and work with unusual shooting angles, a shallow depth of field, and a flash system simultaneously.
However, background distractions are relative. You can see them as features and incorporate them into your composition. Or, you can see them as distractions and try to hide them. You should never forget that imperfections are the beauty of the natural world and embrace diversity and nonconformity.


