Preparing to photograph the northern lights — or aurora borealis, as they’re also known — begins months in advance as you plan on a specific destination where you know they are likely to appear. Many factors will come into play as you prepare for this often once-in-a-lifetime shoot, including location, season, weather, amount of activity, and making sure you have the right type of camera to be able to photograph in such low light situations.
Here’s everything that will come into play and ultimately determine the success of your northern lights photography.
Location, location, location
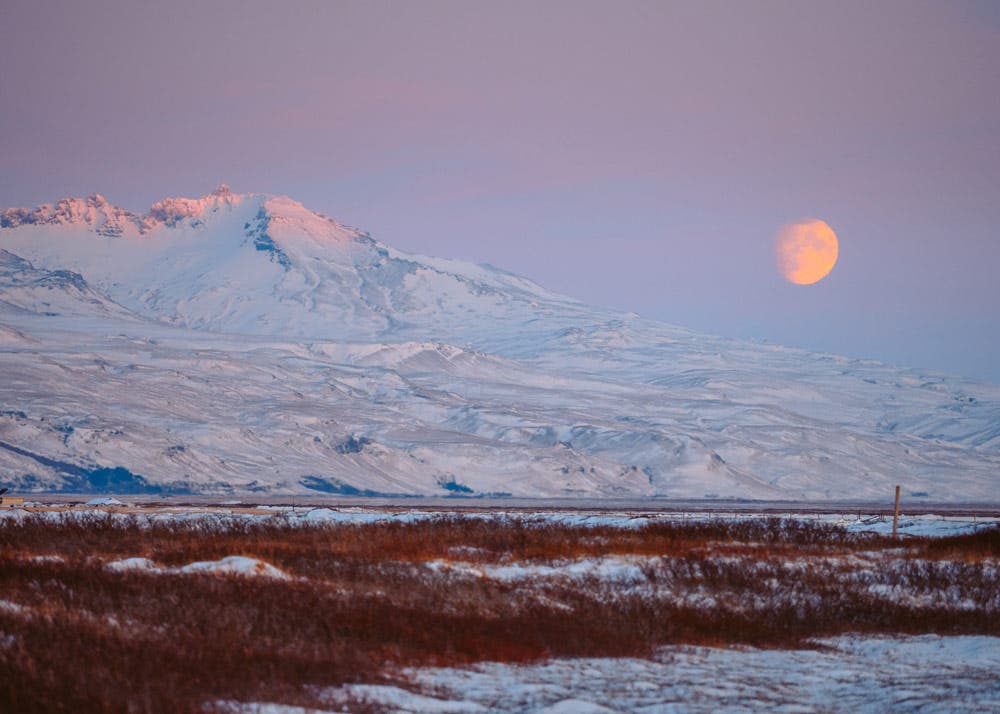
Most recently, we began planning our trip to Iceland six months before takeoff. To ensure you have the best chance of seeing the lights, you have to head north into the Arctic Circle. Iceland, Norway, and Alaska are great options for travel during the winter months. You can see the aurora from Iceland during almost any time of the year, but it is especially active in the winter months of October to April, so plan your trip around that time.
During these winter months, the nights are longer and the Kp-index (a 3 hour measurement of the earth’s geomagnetic activity that ranges from 0-9) is higher during those months. Typically, you’d want the activity to reach at least 3 before you are able to capture the lights.
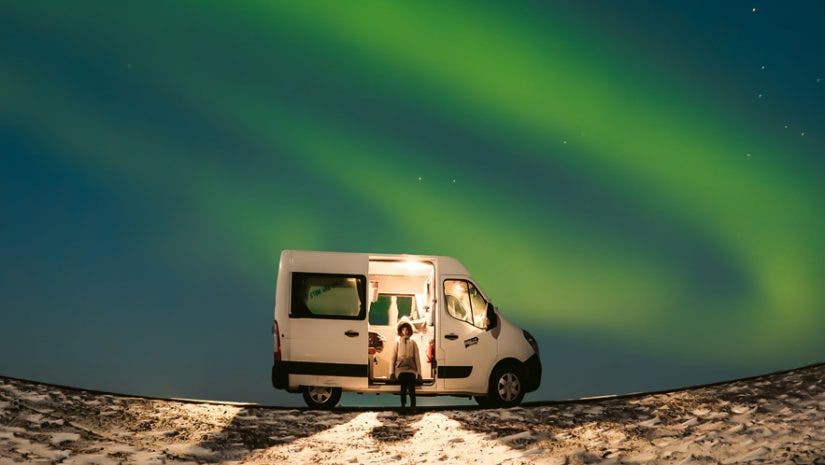
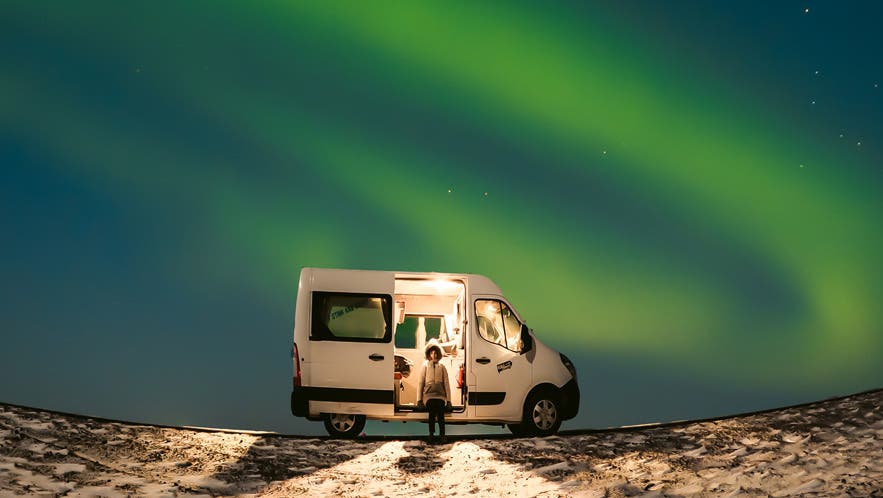
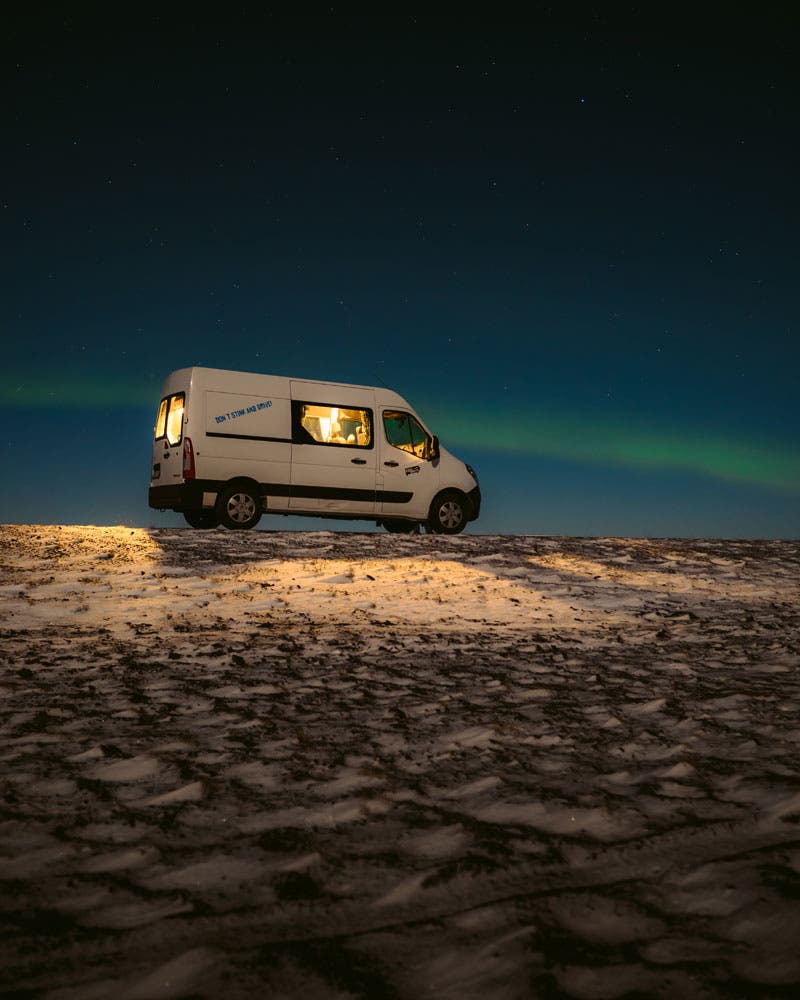
On our first night in Iceland, the Kp-index reached 3 and the sky was clear of any clouds. The second we left the small town of Hella, Iceland, the lights began to dance above us in all of their glory.
Weather
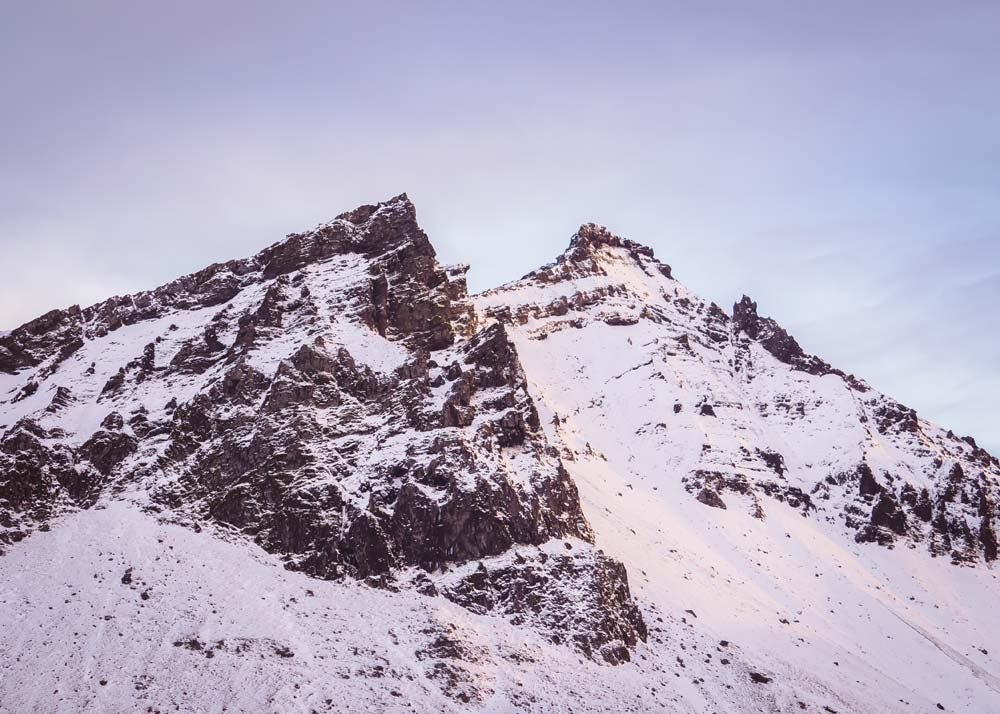
Weather will be a key factor in how well your northern lights shoot goes. Unfortunately, we had to compete with a full moon on this exact night (poor planning on our part — make sure to check a moon phase calendar when selecting trip dates). Light pollution can significantly decrease your chances of really seeing the lights in full form, so drive as far away from city lights as you can. Although the moonlight can make it tough to clearly capture the aurora, it won’t make it impossible. Plus, it will actually light up your foreground for you, making it easier to find a subject to focus on.
Clouds are a definite no-no, and for your own good — and for the sake of your gear — you probably don’t want it to be super cold. Temperatures tend to drop very low, so make sure you come prepared to stand in the dark, cold, and sometimes very wet environment. Layer up and you’ll be grateful you did.
Having the right gear
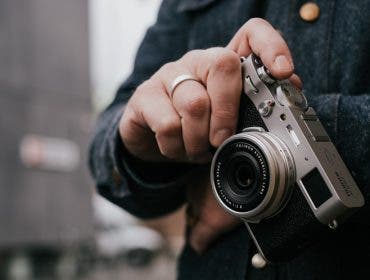
A quality camera is essential to capturing the northern lights. Mainly, you need a body that allows a high ISO and has at least 18 megapixels. I was using my Olympus OM-D EM5 Mark III with a wide angle lens and tripod.
Tripods, in this case, are essential. Do not forget your tripod or you are going to have a tough time capturing the aurora. Tripods let you to open up your shutter and allow more exposure in your frame, which is key when shooting at night.
Camera settings
My team and I spent months before our shoot reading articles and watching countless Youtube tutorials on how to photograph the lights. It is so important to know the correct settings far in advance, or else you could be spending 30 minutes just trying to find the right exposure.
Though you want to allow light into your camera, you don’t want to open your shutter too much because you need to make sure that everything remains sharp, and not blurry. A 10 to 20 second exposure should do the trick. If the Aurora is moving quicker than planned, go for a five to 10 second shutter speed. Use the widest aperture you have in your kit.
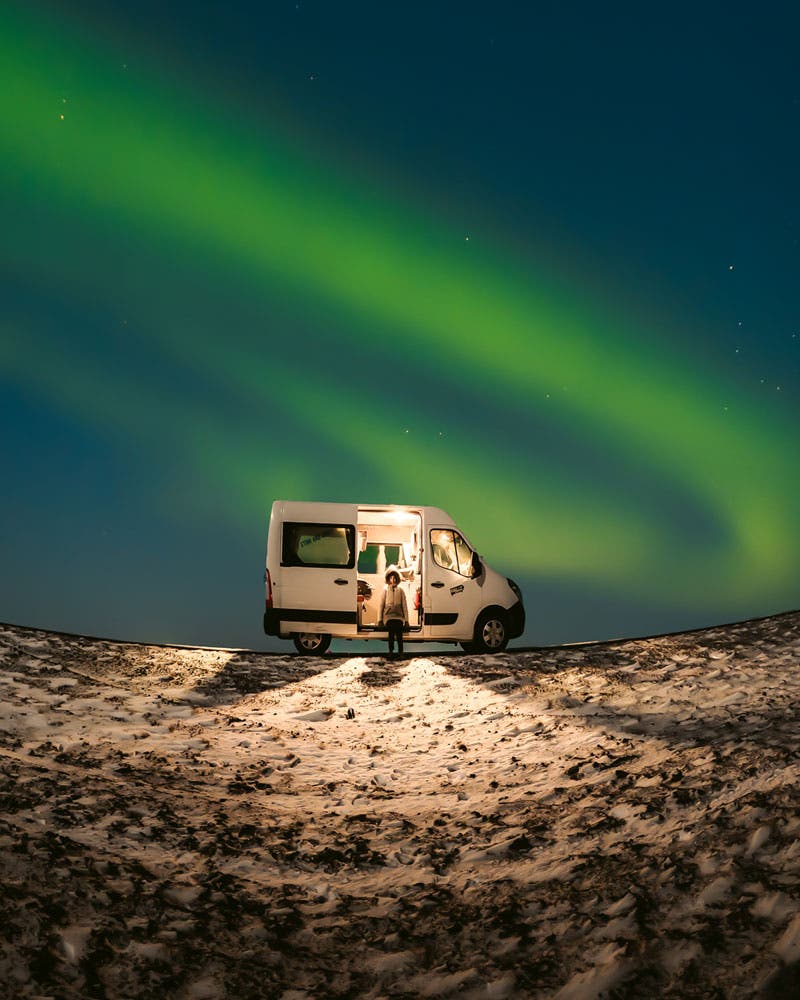
In my instance, I used a prime lens, keeping my aperture at 1.2 throughout the entire evening. If you are a little too focused on your subject and the lights seem a little blurred, then feel free to raise your aperture slightly. Lastly, keep your ISO as low as possible to keep the photo from being noisy. I kept mine around 2000 because I used a lit subject in the foreground of my frame.
Luck
Last but not least, you will need a lot of luck. We planned an entire week of shooting the aurora, and were able to shoot the lights for just a single hour. One hour to photograph something so spectacular.
It was on the first night in Iceland that we had our one-hour moment to photograph the aurora. And when that opportunity rises, you have to take it. That’s exactly how unpredictable and difficult it can be to actually capture the lights. So when it happens, you need to make sure you are ready in every possible way.
Good luck, photographers! And stay warm.
