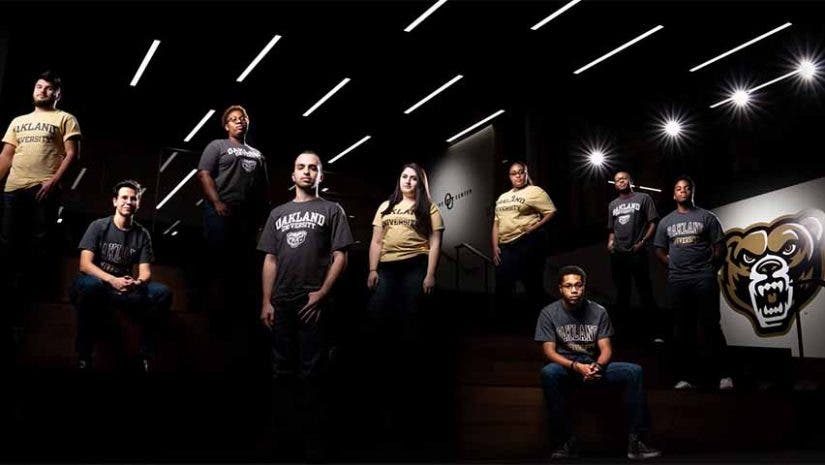
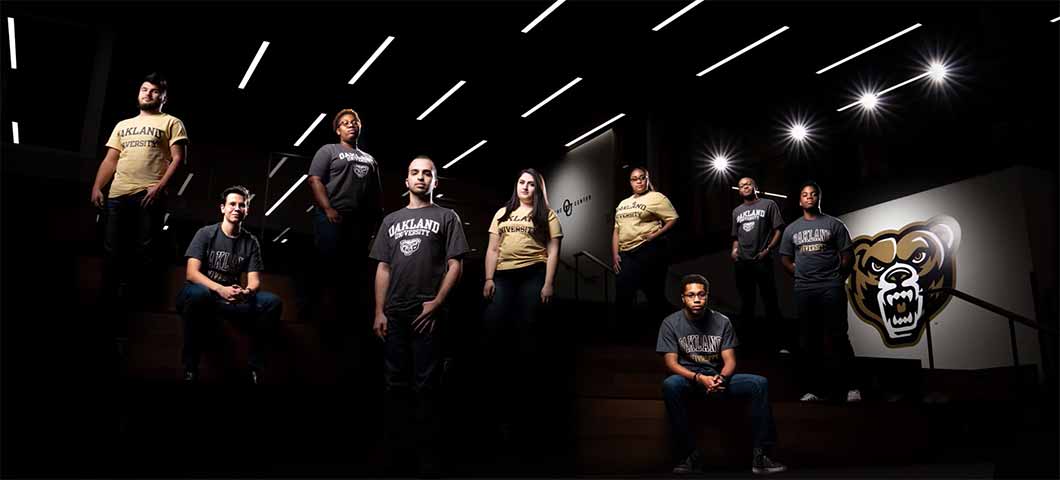
As an editorial portrait photographer for Oakland University, I was requested to create a photograph where nine award-winning students stood out in a large open space that was recently renovated. Initially, I was asked if I could bring nine lights to create the effect but, instead, I thought there was a much better way to approach the session. By doing a composite (the combining of multiple photos into a single image), I was able to create a lighting effect that would be impossible to achieve in a single image without showing any lighting equipment.
I took a number of precautions to ensure that the post-processing of the final image would be seamless. In the video below, I discuss the importance of keeping the camera steady, that way the photos line up perfectly in Photoshop.
Next, I go over how I took control of the environment the reduce the distractions, and make sure the focus of the image was the students. One of the most important aspects is managing the group to make sure you capture all the assets you need in an orderly fashion to avoid the project being ruined in post.
I discuss the lighting setup that I used to achieve a flattering and directional light that would appear natural and consistent across the entire image. Finally, I address how all these precautions lead to a hassle-free composite in post production that required very little advanced masking.
Using this technique dramatically altered the space that we were in while meeting the objectives set by the client. Check out the behind-the-scenes video to see exactly how the image was created from start to finish:


