A Speedlight is usually your first step towards creating your own light for an exposure, but just because you have one doesn’t mean it’s the only light in your shot. Aside from the light emitted from the flash, we also have the existing light in the environment or what we call available or ambient light.
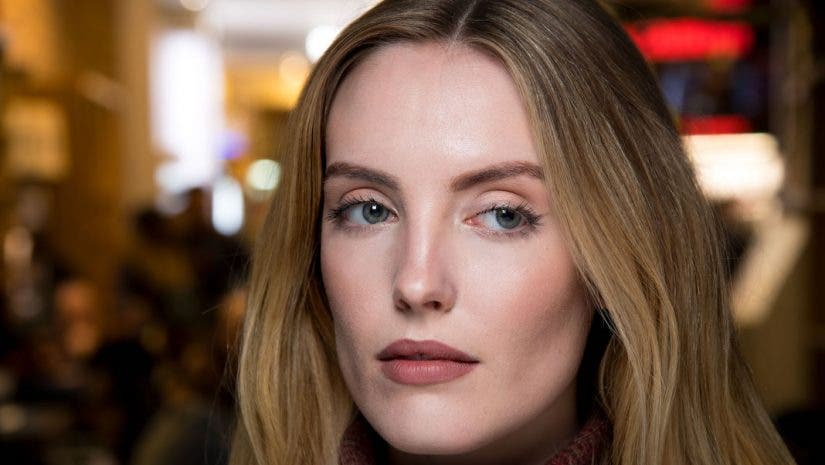
More often than not, we pop the flash and and end up with a severely underexposed background, ending up with just a black void behind the subject, as if it was an open space with not much for the flash to expose. But you put it on auto, right? You spent a ton of money of the equipment, so what’s going on?
More from Adorama: 16 Fast Accessories for Speedlights
Well your gear isn’t wrong — it just has no idea what your style is! In this case, your camera and flash are working together to only get the right exposure for the subject, not the environment. Your camera tells the flash “I am set for this exposure,” and the flash regulates its power to coordinate with that. Sounds right, so why is the frame still not ideal?
A shot can be “correct” but that doesn’t make it what you want. “Correct exposure” and “style” are two different things. To gain more control over our exposure and bring in some of the ambient light in to balance out the exposure — and to balance with what that flash is doing — let’s us switch out of auto and take over more with manual.
Your flash only exists for milliseconds, but your ambient light exists constantly (for the most part). Aperture settings can dictate the exposure of the flash if it’s set to a consistent power setting.
For example, if the flash is set to 1/2 power at 100 ISO and your correct exposure seems to be f8, then at f11 at 1/2 power would look underexposed, and at f5.6 at 1/2 power would appear to be overexposed. Aperture also dictates our depth of field, which is how much of our frame is in focus. That’s a huge weight on what the style of your image will be. Therefore, figure out how much of the frame you want to appear sharp. For example, typically for a portrait, we want just someone’s face in sharp focus and the background to go soft. Once you’ve decided what your aperture should be, you can tell the flash that’s the exposure you want for the situation, along with what ISO setting you’ve settled on for the shot.
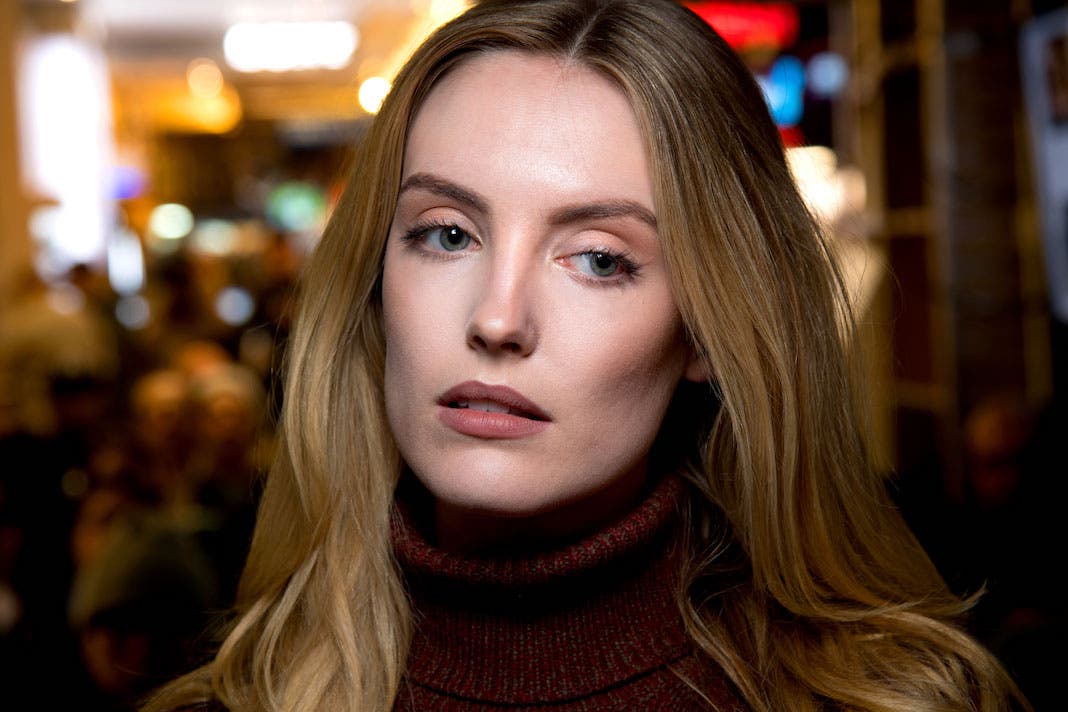
Now you’re back to where you started on auto, with the subject exposed correctly. So now how do we balance? We still have the shutter speed. When we slow the shutter speed down, you allow more time for that ambient light to come into play. Meaning, if at ISO 100, f8 shutter speed 250th, we get a great light on the subject with the flash but a black background, we can then slow it down while paying attention to our meter in-camera to get that ambient light closer to being on exposure.
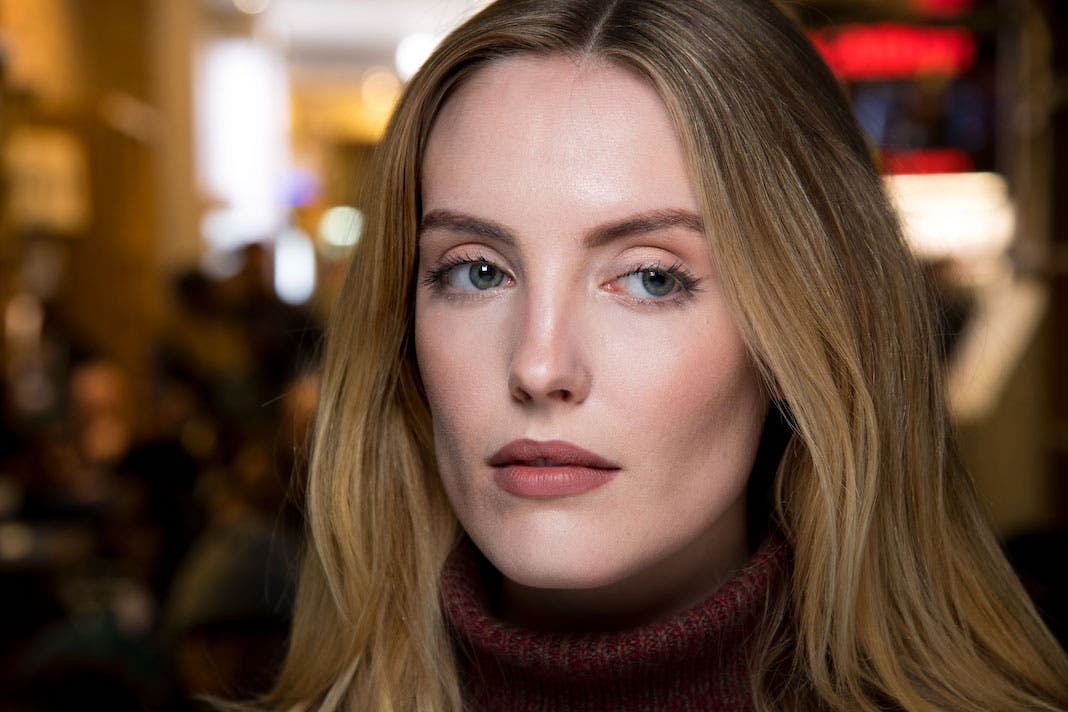
Say we try the shutter at 30th with that much of a drastic change in shutter, you’ll see a difference in your exposure to make sure you don’t overexpose the back. Watch your meter as you slow down your shutter (as that’s reading the light coming into camera) for the environment and you’ve already set your aperture for the light you’re going to create. But now you’re going to say: If I slow down my shutter, I’ll get camera shake showing up in my images!
Keep in mind, shutter will control how much ambient light enters your camera if your subject is backlit. Now, ambient light is exposing your subject, but your flash is only milliseconds during a 1/30th shutter. If it only exists for such a short duration, then that is the exposure you’re really getting with the flash. However, if you slow the shutter speed too significantly, that existing light can affect your subject along with the environment, causing some blur and color shift.
If you feel your shutter is too slow, but you’re OK with the exposure, then you can open up your aperture. But note that this will effect your flash. Shutter, for the most part, effects ambient light, but aperture is a global adjustment to your whole exposure, being that it’s the over all amounts of light entering the camera during the exposure.
If you adjust your aperture, it opens up, and that means more light, which in turn also means we need to dial down the power of the flash accordingly. At the same time, keep in mind that your flash is Daylight, white balance 5-5500k. If your ambient light is anything else than that, light will be a different white balance like tungsten light bulbs, which are warmer at 3200k. This could be a style choice — maybe you like the warmth as a background — but if you’d want to balance the color, a pack of correction gels could help with that. Beyond this, you can include more of a setup with additional flashes but most important, get to know your equipment, and exactly what you want as a photographer. It’s guaranteed that you’ll be way happier with your results.
For more of Seth’s photography tips, check him out on Instagram, @lastxwitness.
