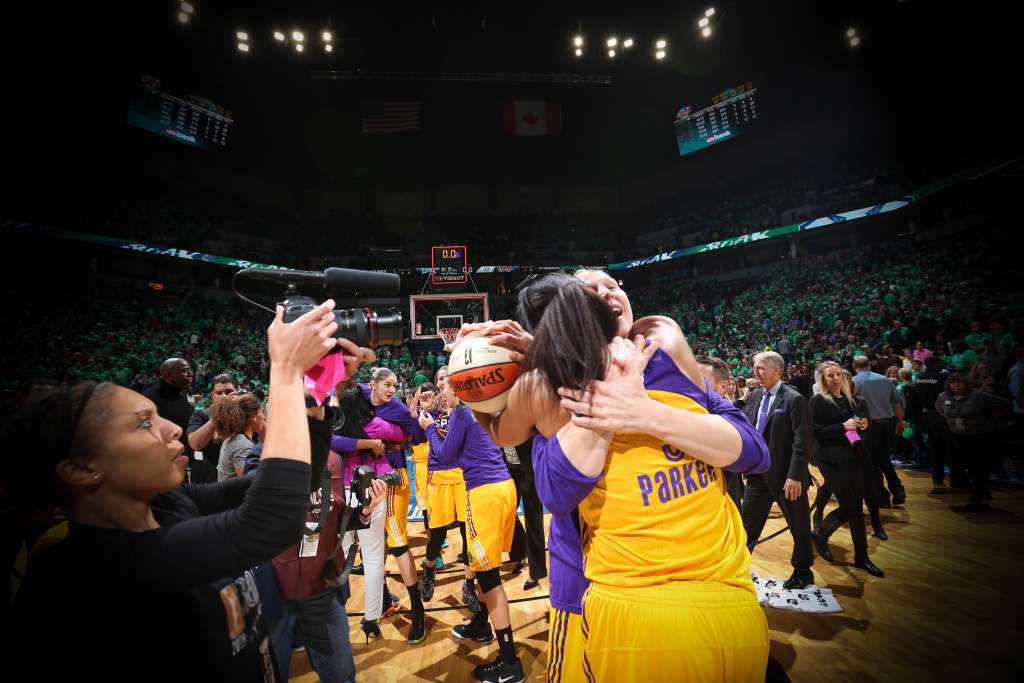
You’ve arrived to the arena. After getting through security, you’ll have about 10 minutes to get acclimated. You’ll spend that time trying to figure out when and where the players will arrive, when the locker rooms will open to the media, and who the starters will be. Your assignment is to cover both teams, get as many compelling sound bites, and as many cover shots as you can. There is limited time and a ton of reporters vying for similar space.
This is what we call game day.
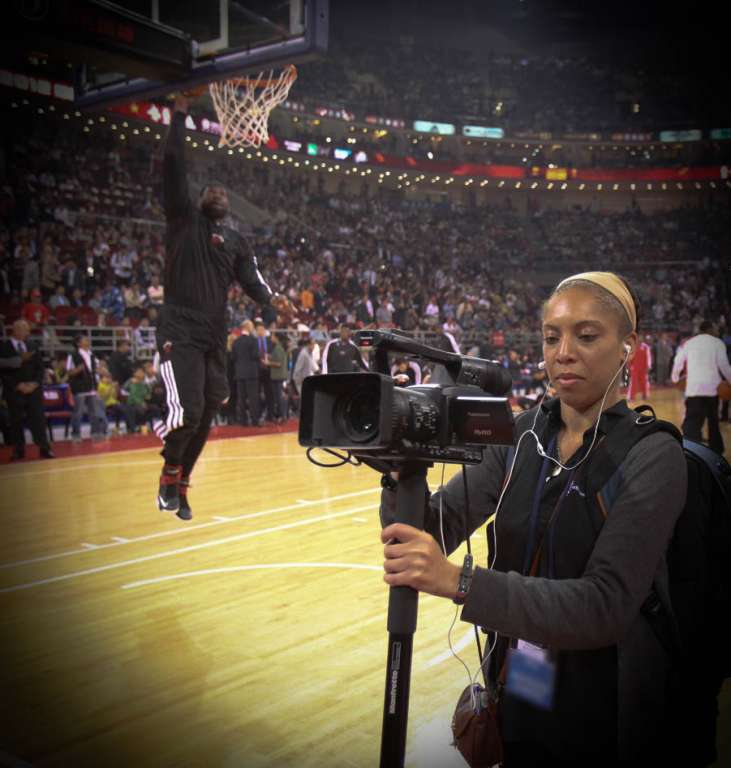
I have spent the better part of 13 years filming in chaotic sports settings. Learning how to adjust on the fly and understanding what to prepare for can be the key to capturing unique moments.
Most importantly, knowing how to film and what to film with can turn your shoot into a manageable experience.
It has become commonplace for content creators to have a more nimble approach in gathering footage at sporting events. Think of a one-man-band. It’s a term I like to use in reference to how I approach many shoots.
If you’ve ever seen a music performer playing multiple instruments at the same time, then you have the right idea. It’s the person playing a guitar with a harmonica strapped to their shoulders, and a pedal for them to strike a bass drum with their foot.
The video professional version of this isn’t much different. The video “one man band” has a camera rig with a stick microphone to conduct interviews and film. To achieve this nimble approach, there is something I like to call a Game Day Survival Kit.
Let’s start with the basics of this kit, or namely, the camera.
In this setting, a large cinema camera isn’t the only necessary option to capture dynamic footage. A camera smaller in size is more than capable of handling your professional needs. Additionally, it will allow for easier travel and movement within a venue. More on that later…
The most important thing to keep in mind about filming at a sports venue is how uncontrolled an environment a typical game day can be. You’ll have little say in your lighting, negotiating sound is quite difficult and there are few compelling backdrops to choose from.
When choosing a camera to work with, you’ll want something that will minimize the effects of your surroundings and help you capture what you need.
One model of choice is the professional camcorder, such as the Sony HXR-NX100 or the Canon XA30.
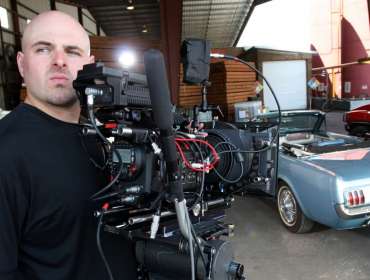
Compact versions of the pro camcorder (as opposed to the shoulder mount versions) are good options for the “run and gun” environment. They are made with a video professional in mind with the look and feel: typically a modular design with a handgrip on the side. The handgrip on these types of cameras has the zoom and start/stop record function right at your fingertips. There are also options to film in full auto. This proves useful when you have other things to worry about, like having to go from one lighting source to another or having to hold a stick microphone out for audio while you’re filming.
Speaking of audio, the pro camcorder can be really handy in that department. Many have XLR inputs for a standard directional shotgun microphone, stick mics and wireless receivers. In addition, if you’re one of the lucky filmmakers who has an audio tech with you to capture sound, there are pro camcorders capable of supporting a mixer with XLR cable input.
I find that the pro camcorders bridge the gap between experience levels. They’re good for seasoned vets who are looking to enhance the look of their footage, for instance, with high-speed frame rates and 4K options.These cameras are also sufficient for less experienced shooters hoping to capture basic footage.
When I began filming at games, I used a compact pro camcorder. I didn’t realize it at the time, but it was the perfect learning tool for me.
Another small camera choice to consider is the DSLR or similar mirrorless body types. This includes the Canon 5D DSLR and the Sony AR7II. Don’t be deceived by the size – smaller does not equal easy. DSLR’s and similar camera body types have a number of settings that can trip up even the most seasoned vets.
Originally, many of these cameras were designed with the still photographer in mind, but in recent years the video functions have become increasingly robust and much easier to navigate. Take the 5D for instance. It was the next model camera that I began using after the pro camcorder. The Mark II version had video capability but something as simple as the start/stop function was tricky to find. Not to mention, there was no option for headphones in order to monitor the audio. As newer versions of the 5D have been introduced, these issues have been addressed. DSLR’s, in general, are now popular amongst content creators who capture video at sporting events. In most instances, it’s less about the size and more about “the look”.
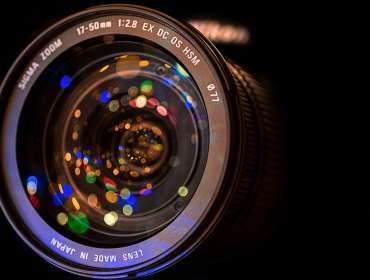
The option for interchangeable lenses can create a more cinematic feel to what you’re filming. This is also true of similar body-type Mirrorless options. How do you know which one is right?
If you’re relegated to gathering sound bites pre game or post game along with some cover footage, you’ll want something that can navigate different light sources. More importantly, you want something good in low light. Locker rooms and sporting venues typically present dark settings.
You’ll also want something that has similar capability to the pro camcorder with a full auto setting allowing you to quickly move from subject to subject without having to fuss with focus or color temperature every time. Why is that beneficial? Take this scenario into consideration. During media availability, both team’s locker rooms are open and you have to choose which team you want to focus on first. The normal practice is for members of the media to form what we call a “media crush”. That is, everyone creates a circle around an athlete in front of their locker. As you can imagine, this is a very tight space to navigate.
You post up, get what you need in terms of sound, and now want to race to the other team’s locker room to get another player. You won’t have a ton of time to change settings. In this case, full auto (or something close to it) capability is clutch.
You will also want a camera that allows for minimal fuss when building audio design. Most DSLR’s and Mirrorless still cameras have a shoe mount for wireless receivers and input for microphones. This will give you the ability to use any variation of a stick mic or wireless mic. Unfortunately, a more advanced option of an audio mixer cannot be patched in directly. If the mixer has wireless capability, you are in luck.
Pro compact camcorders and still cameras (DSLR or Mirrorless) are great options, but there are also compact cinema cameras to consider as well. In the last few years, I’ve had the opportunity to migrate over to this camera type with ease, filming mostly with the Canon C100.
What’s the difference between the camera types we’ve discussed and the compact cinema cameras?
Well, the cinema cameras, like the pro compact camcorders, are made exclusively for the video professional. In addition, this camera type is best suited for a professional who is more seasoned. You have an added advantage in creating a dynamic look for your video depending on the interchangeable lenses you choose. Also, they have a variety of audio options available for the content creator to use.
However, the camera is only one piece of the puzzle.
As you’ve seen, there are other things you’ll want to consider for your Game Day Survival Kit, like audio options and other enhancements for your shoots.
We’ve talked a lot about lighting. Whether your camera choice is great in low light or has limitations in these settings, you should always consider an onboard light. This will force you to adjust your color settings whenever you use it, but trust me when I tell you, an onboard light can dramatically improve your footage and help navigate your surroundings.
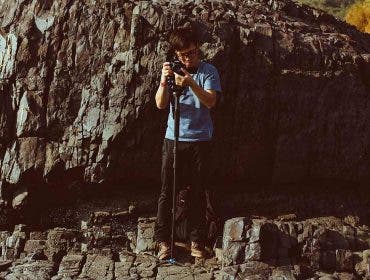
Let’s also consider framing. Remember “the media crush” I mentioned earlier? If you’re as height-challenged as I am, it’s difficult to get a clean shot of your subject if you’re not right in front of them or if their eye line is much higher than your perspective. Also, if you’re outside of the media circle surrounding your subject, chances are you’ll have no shot at all. My option of choice in this scenario is a monopod. The monopod can be used to raise your camera above your head and minimize the amount of movement caused by your hands. You’ll want to consider an option that allows you to tilt the head so that you can film at an angle and potentially see the viewfinder from your position.
Let’s stay with the “media crush” example for a second. If you’re caught on the outside of this crush, hearing your subject will also be a challenge. If you are without assistance and cannot use a stick mic close to your subject, you want to make sure you have a good directional shotgun mic. Even if you have your camera hoisted, a good shotgun mic will do the trick.
All in all, it’s important for you to understand that there is no “one perfect choice” when it comes to the camera or any of the other pieces to your Game Day Survival Kit. The decisions you make will likely be based on your personal preference and can also depend on the types of assignments you are often tasked with (or want to be tasked with). It is recommended that you test something out and do as much research as you can before you purchase.
