When it comes to knowing the difference between program, auto, Tv, Av, and manual, do you find yourself struggling? After this in-depth look at DSLR exposure modes, you’ll be an expert in no time. Photographers can usually be classified into three distinct groups: beginner, intermediate, and advanced. There are always exceptions, but I think many digital photographers fall into one of these categories. Similarly, most digital SLR cameras are equipped with several different automatic exposure modes — as well as a manual mode — so you can capture any kind of subject.
Depending on where you are in your photographic development, each of these exposure modes offer specific advantages that allow you to control the creative elements within a photo. With experience, you will learn which mode works best under any given lighting condition. Although, if you’re just getting started, let’s start with the easiest ones.
Exposure Modes
Green (or Auto)
Many digital SLRS offer an exposure option that’s commonly called “Green mode” and is indicated by a green arrow. This essentially turns your digital SLR into a point-and-shoot camera. In this mode, you won’t find all of the shutter speed and aperture choices that an experienced shooter might choose. Although, it’s designed to produce sharp, well-exposed photos.
Program (P)
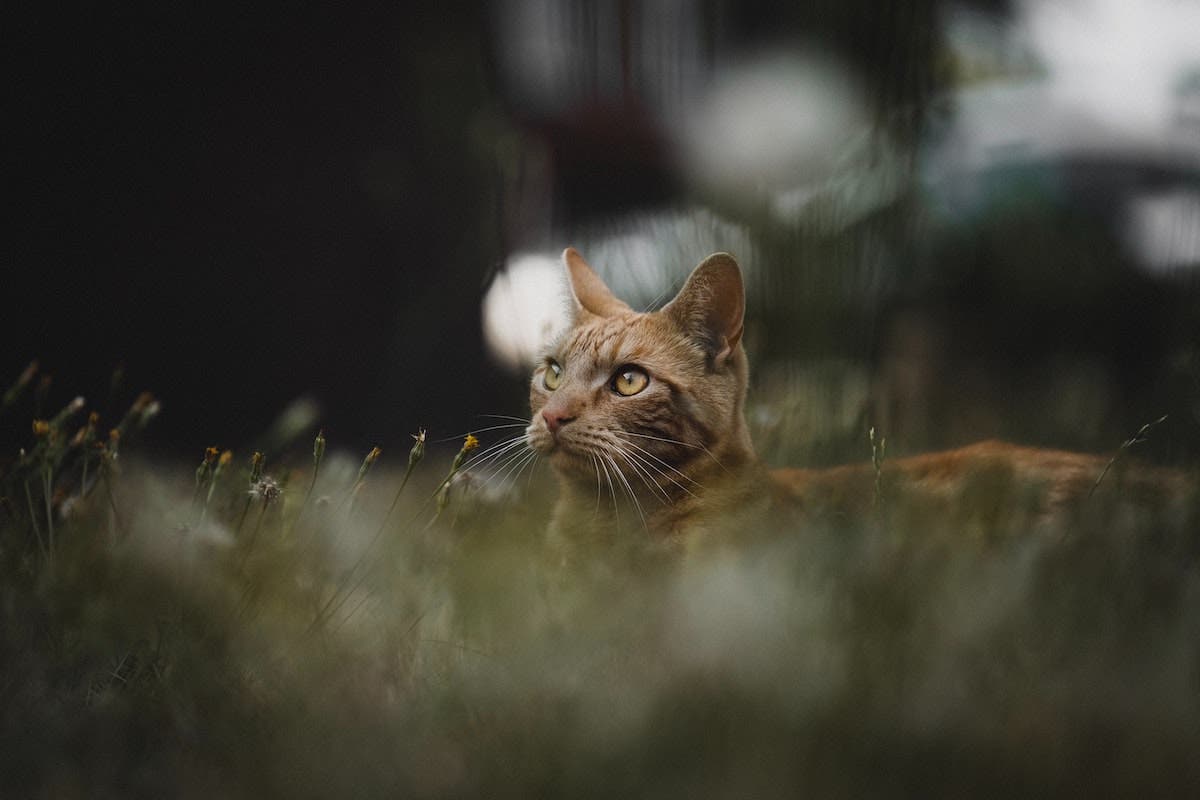
In Program mode, the camera automatically selects a shutter speed and aperture depending on subject data and lens focal length. Program mode is ideal for snapshots or candid shots. Anyone who wants to make images without worrying about camera technology providing instant readiness for those unexpected moments and surprises. As compared to Auto mode (where no exposure modification or control of any kind is permitted) most Program modes are shiftable. This is usually with some kind of control wheel that lets you change the shutter speed or aperture setting. This lets you control depth of field or action-freezing settings.
This is an example of a photo that can utilize Program mode:
You can also alter exposure to satisfy your creative needs by using the camera’s exposure compensation control. This is typically indicated by a button with plus and minus signs. It is usually adjusted in positive or negative directions by some kind of wheel or control. While not an official mode, exposure compensation is one of the most important parts of a digital SLR. The camera’s designers recognize that no amount of automation will produce a “perfect” exposure under all possible lighting situations. Since you are the final arbiter of what’s “correct,” exposure compensation lets you increase or decrease the automatic exposure by one-half or one-third stops depending on your camera and what its custom functions allow. I recommend using the one-third stop option because it allows a more nuanced difference in exposure. You’re going to have to read your camera’s manual to find out how your camera accomplishes exposure compensation.
Shutter Priority (Tv)
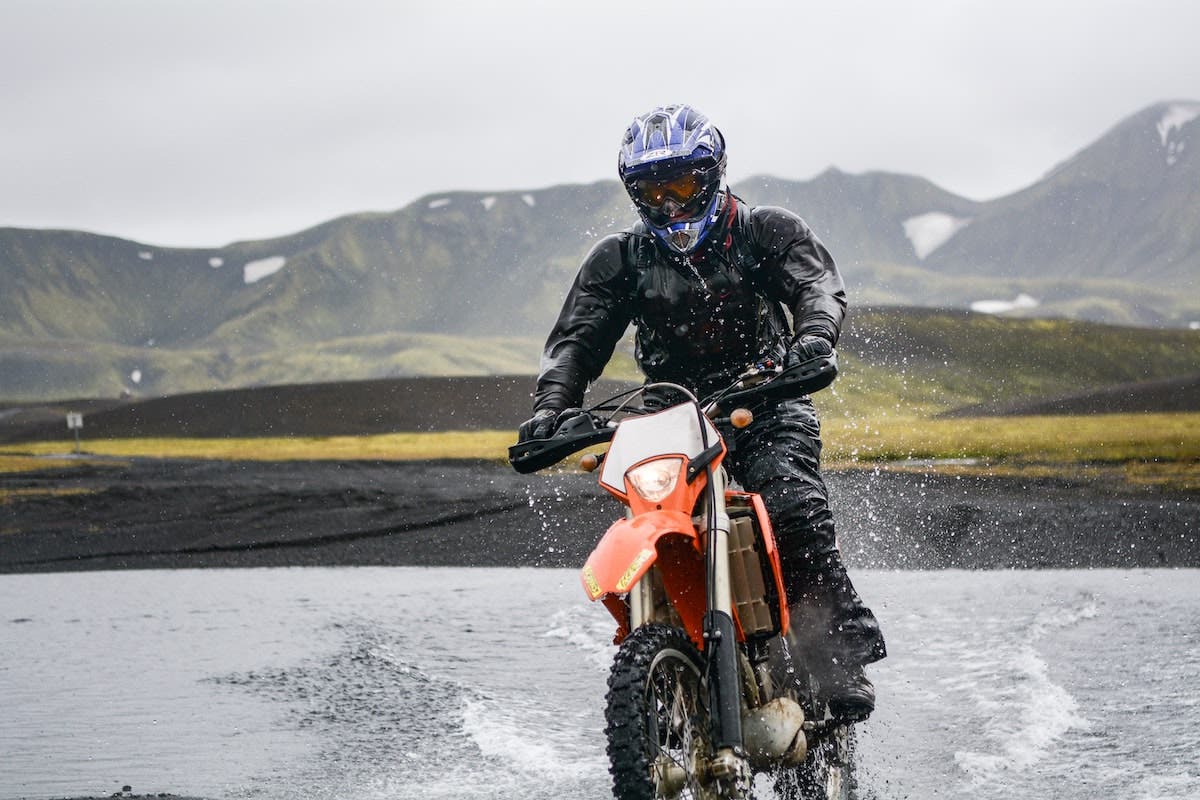
Shutter Priority mode is ideal for photographing subjects in motion, such as sports and action photography. Selecting this mode means an aperture is automatically selected to match the shutter speed chosen by the user. Unlike Program mode, make sure that the available aperture range is sufficient to provide correct exposure at the selected shutter speed. If you don’t, most SLRs will provide some kind of indication. If the selected shutter speed is too fast or slow for an adequate exposure, you’ll have to pick a different shutter speed.
Shutter Priority mode gives you control over whether subject motion is sharp or blurred. When using telephoto lenses, rule of thumb is to use shutter speeds that are the equivalent of the reciprocal of the lens’s focal length. For example, when using a 300mm lens, 1/250th makes a good starting point.
This is an example of a photo that can utilize Shutter Priority mode:
Aperture Priority (Av)
In Aperture Priority or Aperture Value mode, you set the desired aperture using the main dial and the camera automatically selects an appropriate shutter speed depending on lighting conditions. The main reason for using AV mode is to control depth of field that is partially controlled by the selected aperture. Depth of field is also affected by the camera’s distance to the subject. It increases as the lens aperture is stopped down (larger f numbers) and decreases as the lens aperture enlarges (smaller f numbers).
One of the basic laws of imaging is that only one part of a three-dimensional object can truly be in focus at the image plane. Any areas in front or behind that focus plane will appear (more or less) in focus. At the point of critical focus, there is a range of acceptable focus that is one-third of the distance in front of that point and two-thirds behind it.
Manual (M)
There are lighting situations that can confuse even the most sophisticated automatic exposure metering system. That’s where Manual mode comes in handy. This mode is for experienced shooters and those who prefer a car with a stick shift. Manual exposure can be helpful with high subject contrast and strong backlight, but also when a specific mood is desired. Consult your manual for the specific controls in the camera that adjust aperture and shutter speed.
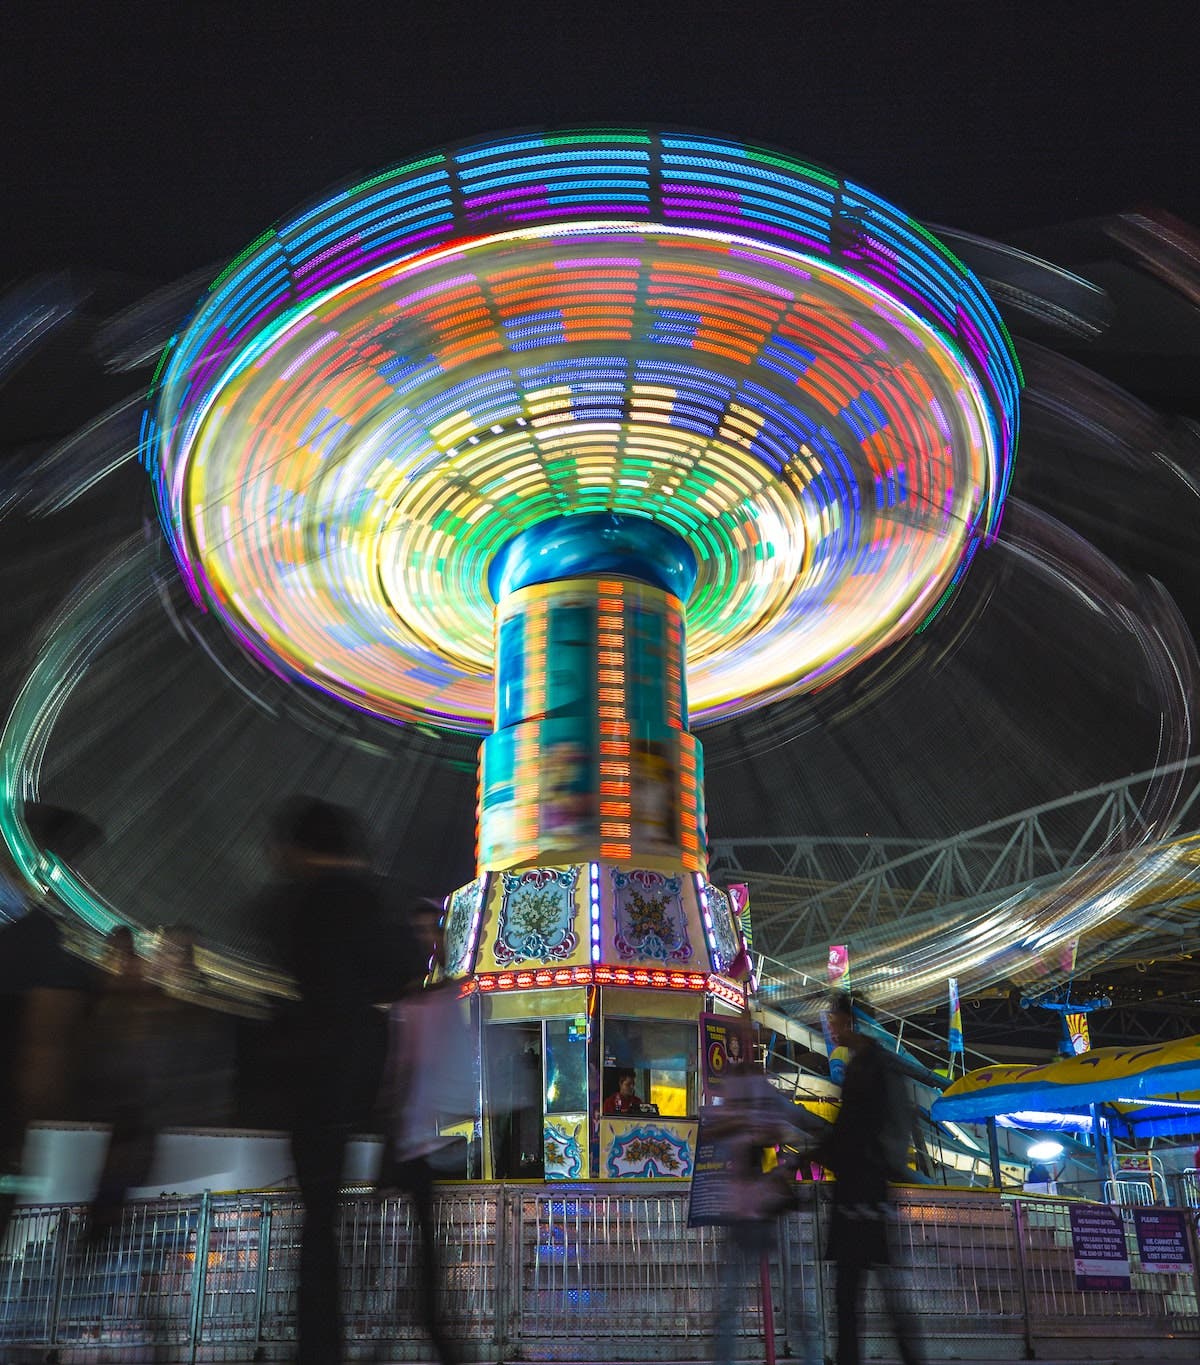
Most cameras offer a Bulb mode where the shutter stays open as long as the shutter release is pressed. This allows you to make really long exposures for subjects such as holiday lights, fireworks, or special effects such as images of carnivals and amusement parks. These kinds of time exposures only be made with a sturdy tripod and you should further reduce the risk of camera shake by tripping the shutter with a cable release.
Some purists claim manual exposure mode is the only one to use. Although, its especially helpful under extreme lighting conditions, such as night photography or when working with studio lights.
This is an example of a photo that can utilize Manual mode:
Scene Modes
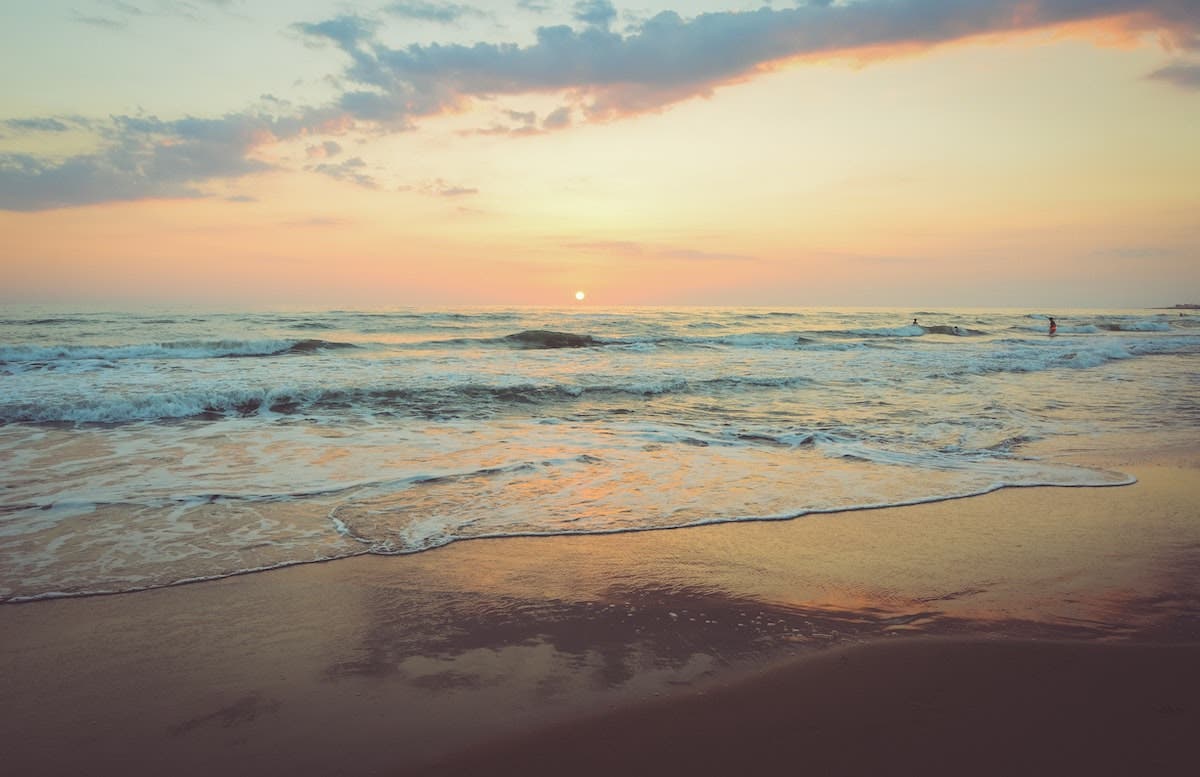
Scene modes are more intense Program modes. They turn the whole job of exposure over to camera’s CPU to make all of the relevant exposure choices, and maybe even ISO and color balance settings. But these modes are biased toward specific shooting conditions. The Scene Mode you choose can even automatically pop-up the built-in flash.
The biggest secret about Scene modes is that few people seem to take advantage of them. Some cameras have a SCN setting on a control knob while others have them tucked inside the camera’s menu structure. But, rest assured, almost all point-and-shoots and entry-level digital SLRs offer some variation on the Scene Mode theme.
Another one of the problems with Scene mode is that each manufacturer has decided there will be little to no standardization on what scene modes are offered. So, you will find similar features with different names in a camera from another manufacturer or it just may be missing.
This is an example of a photo that can utilize a Scene mode:
Depending on the camera manufacturer, your DSLR camera may have more or less exposure modes. Although, this list will at least get you started in understanding what is possible with your camera. And when you’ve mastered the basics, check out 7 Things to Learn After Manual Mode.
