You’ve just opened the box to your brand-new camera. You are ready to get out there and start shooting, right? Hold on! There are five camera settings to change before trying out your new purchase!
Each camera manufacturer uses different wording for each of these settings, so make sure to look through your menus to find the correct places to adjust. All of these settings should be an option on most cameras.
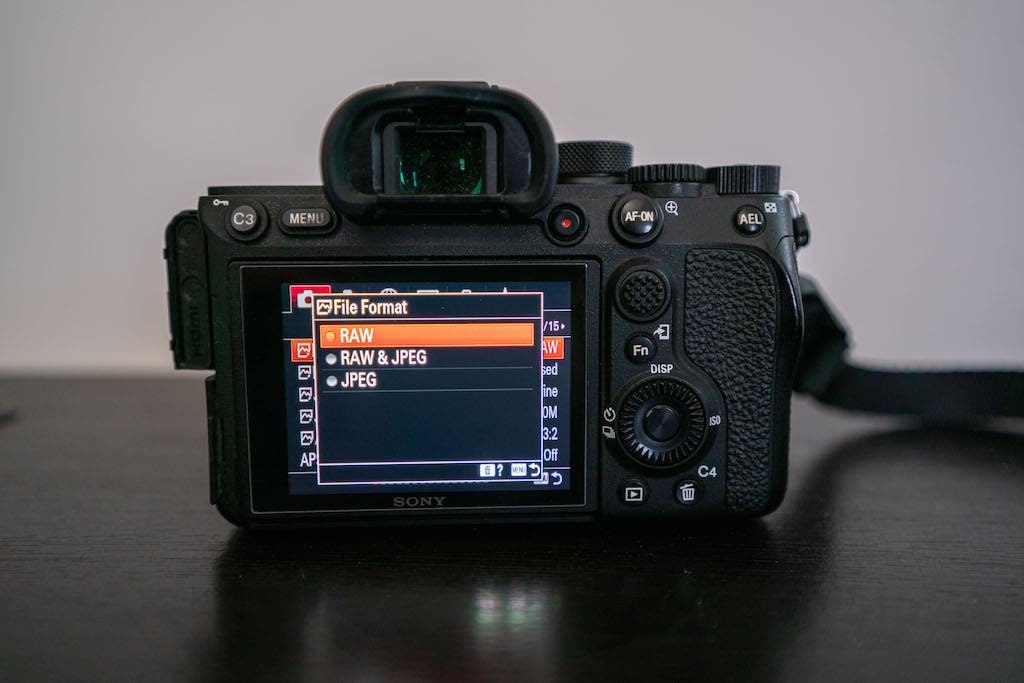
Change File Format
By default, most cameras are set to shoot JPEG files right out of the box. You want to change this setting to “RAW”, or “RAW & JPEG” if you’d like both. RAW images are much larger than JPEG images, but they allow for more details and editing after you’ve taken the image. It’s best to shoot in RAW so that you can adjust the image later as you see fit.
The only reason you would want to consider leaving this setting on JPEG is if you had a very small memory card and never planned to edit the photos. If all you need to do is take them on your camera and do no editing after the fact, you can leave this setting as is.
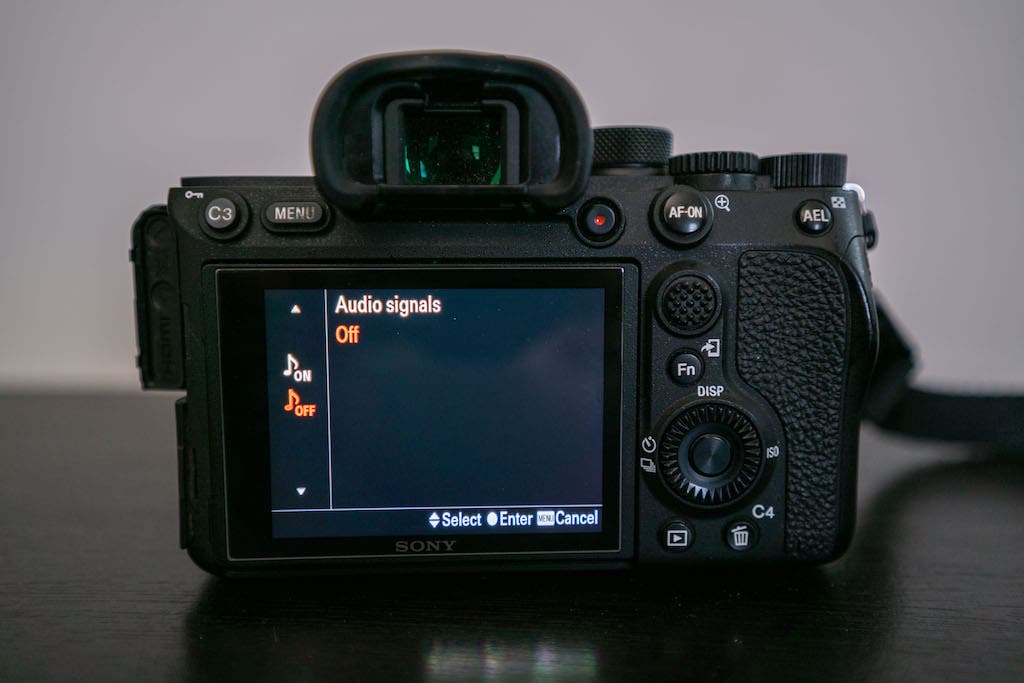
Turn off audio signals
The audio signals on cameras are unnecessary in most circumstances. Audio signals do things like beep while the shutter timer is on, make noise after a photo is taken, and make noise when you try to auto focus. All these things just drain your battery life and annoy other photographers around you. Do yourself and everyone else a favor and switch audio signals off.
Turn off auto review
Auto review is on by default, but it is my personal preference to turn it off. If you want to review an image, it is easy enough to hit the image review button. Having the images set to auto review not only uses more battery, but it takes your focus off the shot in front of you. While this isn’t a big deal for slow-moving conditions (such as a sunset in landscape photography), it can cost you the shot for scenes with fast-moving conditions (such as weddings and wildlife).
Set up custom buttons
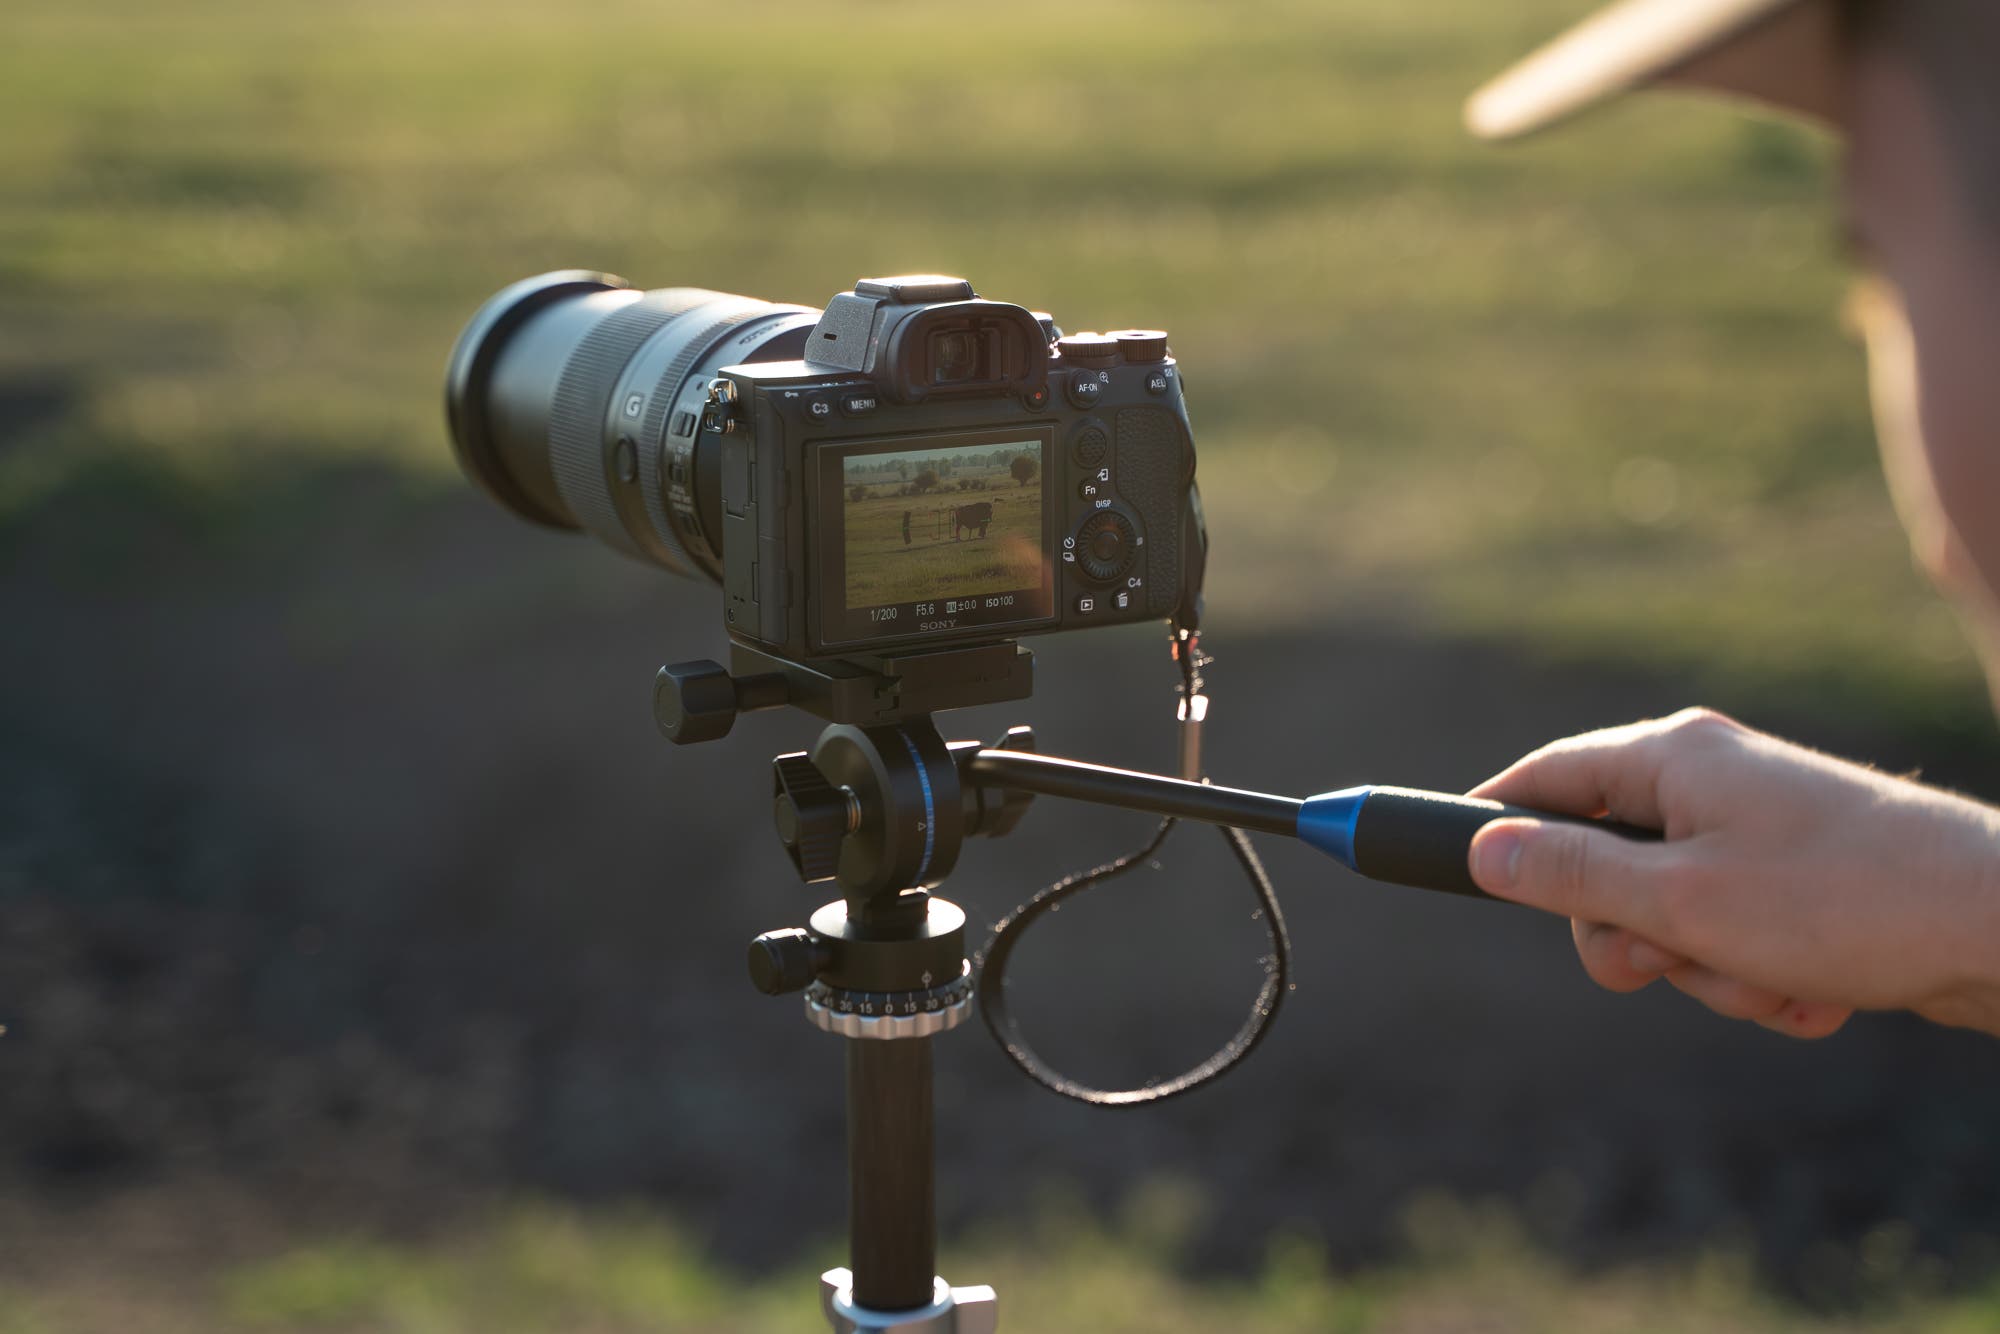
Almost all DSLR and mirrorless cameras have custom buttons that you can change to fit your style of photography. You can usually change almost any button on your camera to fit whatever need. Every button should have a use and be something that you use. For example, on my Sony a7r4, I’ve changed the wheel to control ISO and set my custom buttons to monitor brightness and silent shooting mode. The more you customize the buttons on your camera, the less time you spend doing this in the field. This means more time you can spend capturing amazing photos! When you go to set the custom buttons on your camera, read through all the possible options and select the best choices for your preferred types of photography.
Set the date and time
While it’s not the most exciting thing to change, the date and time is really important because this data is written into your photos. When you go to upload your photos to the computer, they will organize by date. This is helpful because most photo editing software will give you the ability to search by date. If the date is set incorrectly, it makes it so much more difficult for you to find the photos.
Changing these settings takes just a couple of minutes to do, and you’ll thank yourself later for setting up your camera correctly before going out shooting!
