One of the most important elements in creating saleable portraits is knowing how to pose your subjects.
You may be able to photograph a handsome man, beautiful woman or loving couple but if their pose is awkward, clumsy, or unattractive, it will greatly reduce your ability to sell lots of prints. And because often you’ll be working with people who have not been photographed since their wedding or senior portrait, it’s important to develop a good understanding of posing techniques and assist your subject as they move in front of your camera. That’s why providing tips and useful information about posing you can use in the studio or on location is the purpose of this series.
The basic standing pose I use with female subjects starts by asking the subject to put her weight on the foot that’s farthest from the camera, placing their body in a three-quarter pose relative to the camera. Next is something that I’m going to repeat endlessly throughout this series: Once you have a pose you like, refine it with a head tilt or by slightly moving the subject’s hands and arms all the while changing your camera angle and zooming (or walking around) to tighten or loosen the shot.
For either full-length or head shots, I try to follow one basic rule that helps make your portrait a little more dynamic: Have the subject’s body pointing in one direction and their face in the other direction; that’s where I place the main, or “key” light.

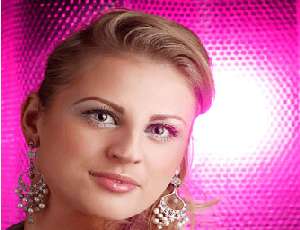
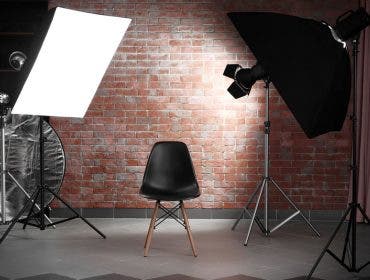
One of the most challenging parts of working in the studio—without props—is, you that there’s nothing for the subject to interact with or do with their hands. Tip: I talk to the subject while moving my hands around my face and head and watch how the subject mimics it and really liked what Noelle did here. The posing ideas a subject comes up will always be one that’s comfortable and natural for them. Here I placed a lightbank at camera left and behind me and the other lightbank at camera right and close behind the subject. Shot with a Canon EOS 5D with EF 135mm f/2.8 SF lens and an exposure of 1/125 sec at f/16 and ISO 125. ©2011 Joe Farace

Be sure to look at both sides of the subject’s face. Most people—even supermodels—have one side of their face that photographs better than the other but don’t let that stop you from posing them one way or another. Tip: Anything can be used as a background. Here bubble pack was used with one head with red gel placed in front of a head and fired from the back while a large lightbank was placed at camera right. Exposure with Canon EOS 60D and EF 85mm f/1.8 lens was 1/125 sec at f/11 and ISO 100. ©2011 Mary Farace
I once asked a famous portrait photographer what was the worst thing I could do during a photo session. My guess was that it would be something technical, but to my everlasting surprise he said, “not talking to the people.” This is important because of that old photographer’s axiom: ESP, or Expression Sells Portraits. If you don’t talk to the subjects you’re photographing you’re never, ever going to make good and more importantly salable portraits.
Joe Farace is the author of Studio Lighting Anywhere, which is available from Adorama (sku: )


