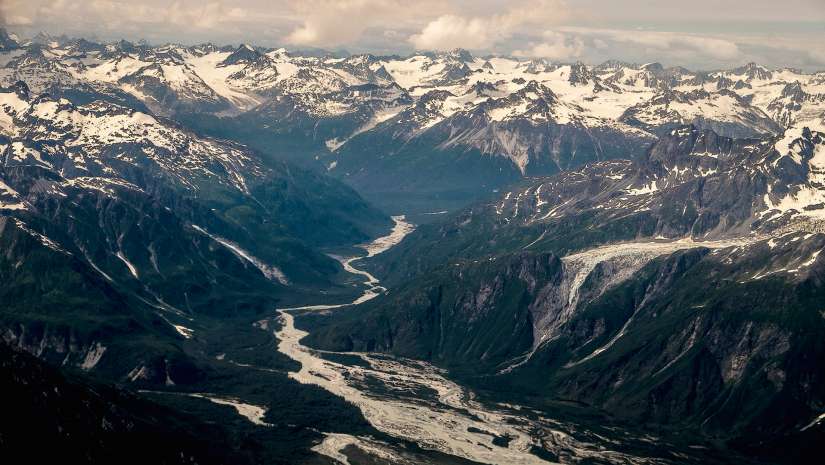
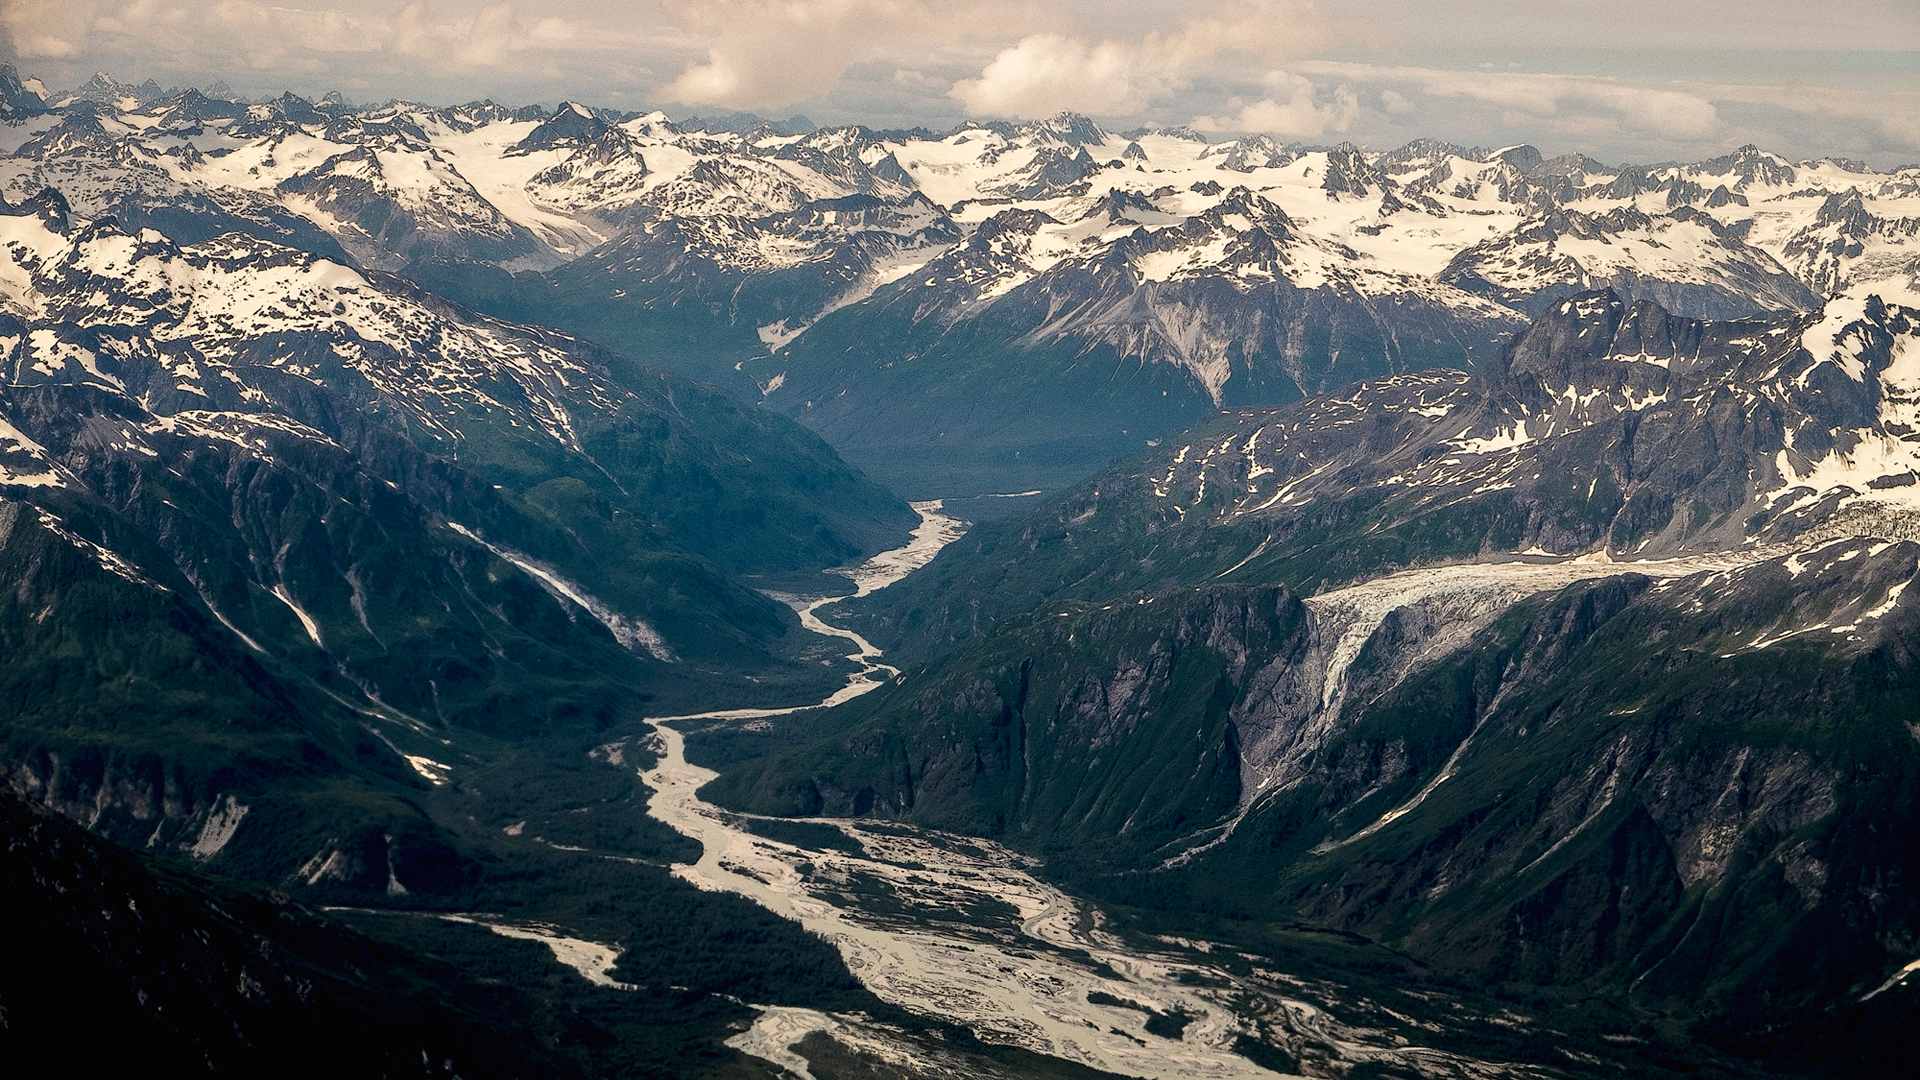
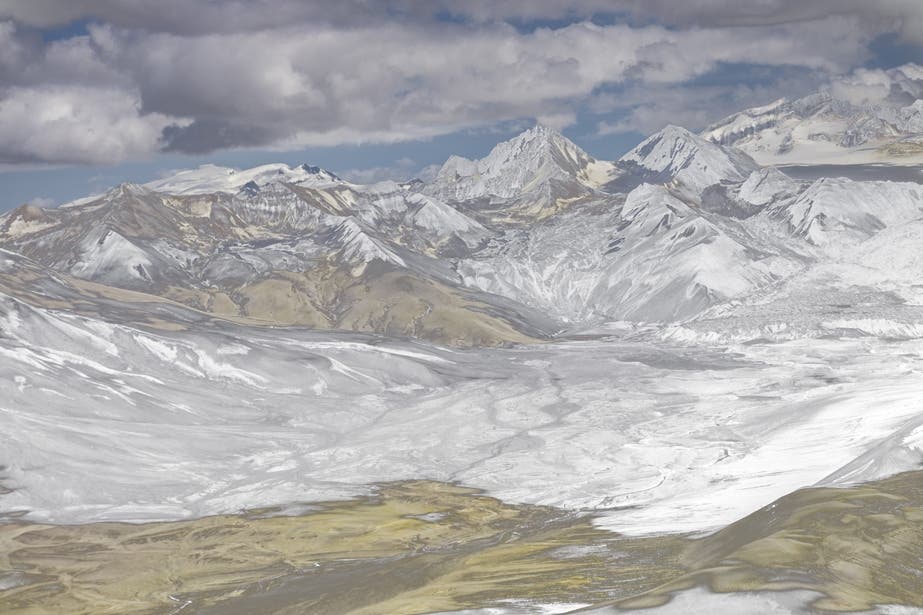
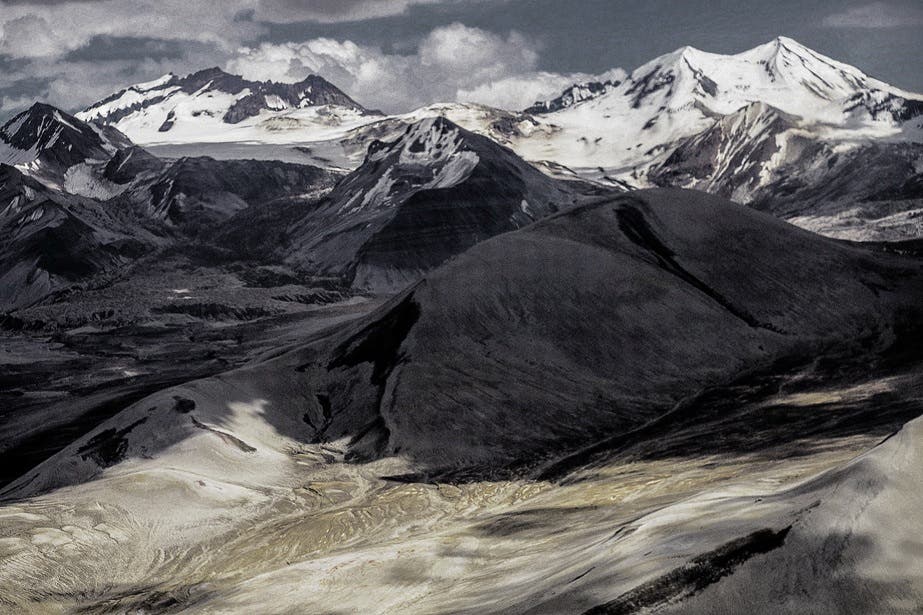
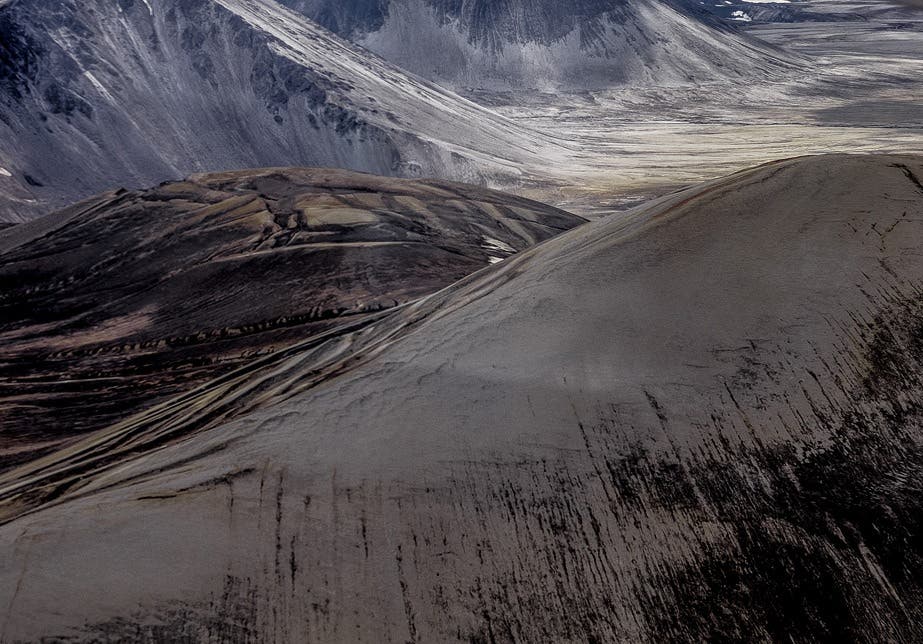
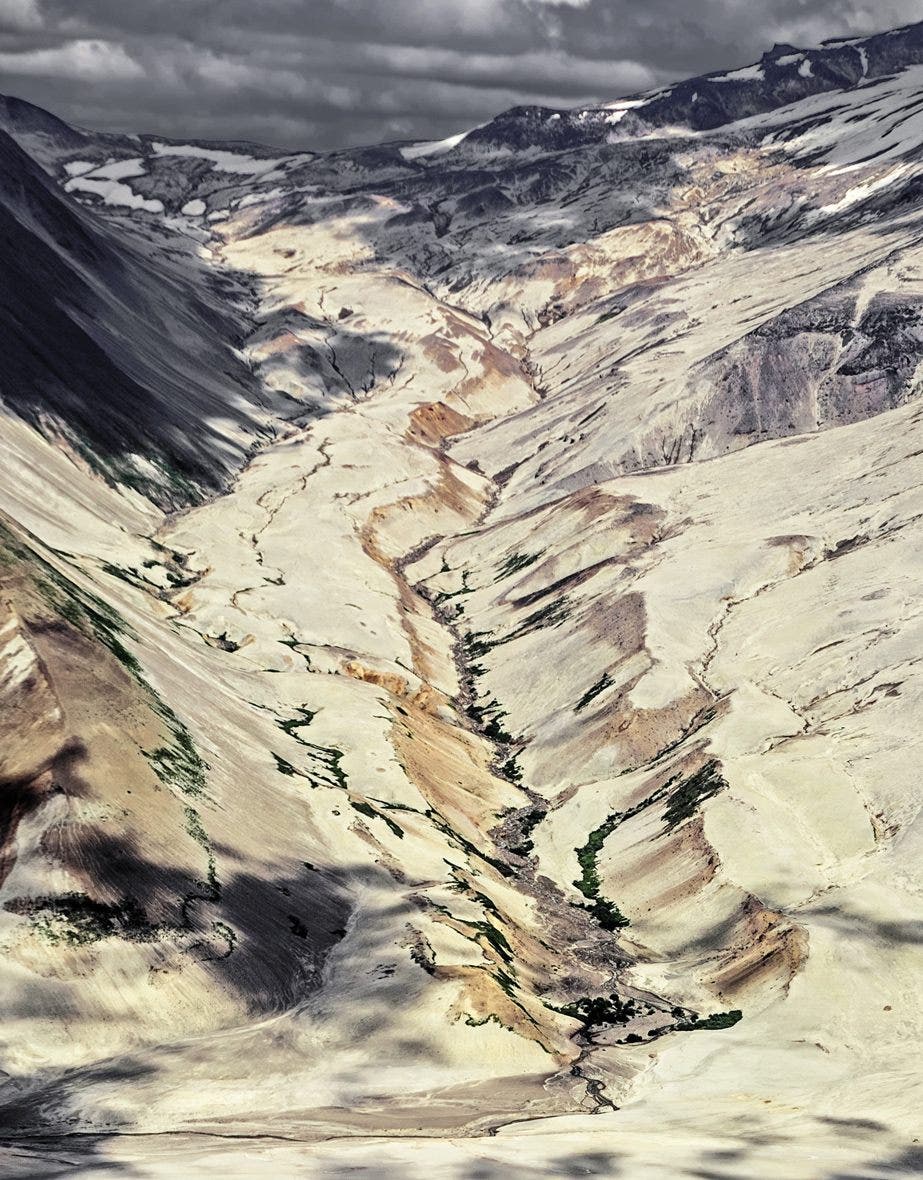
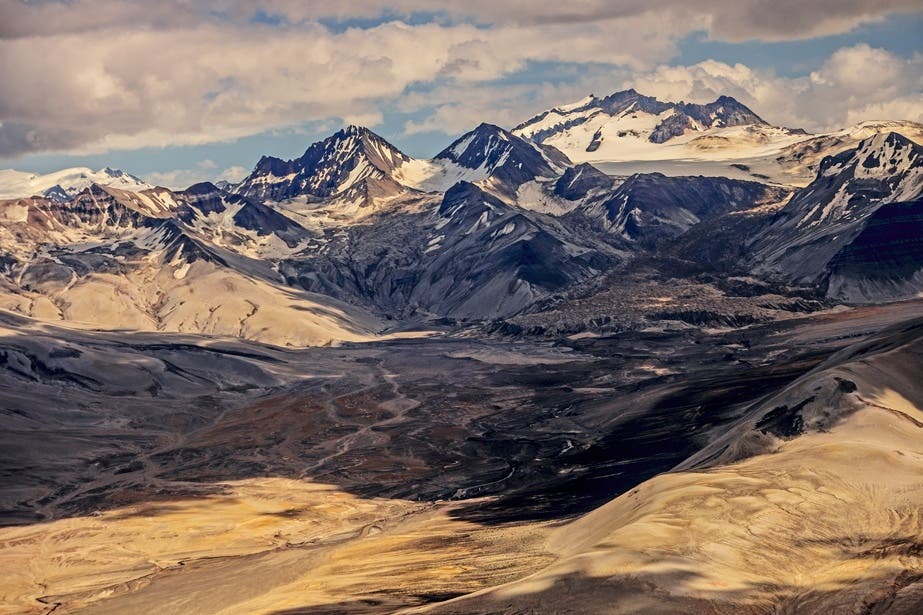
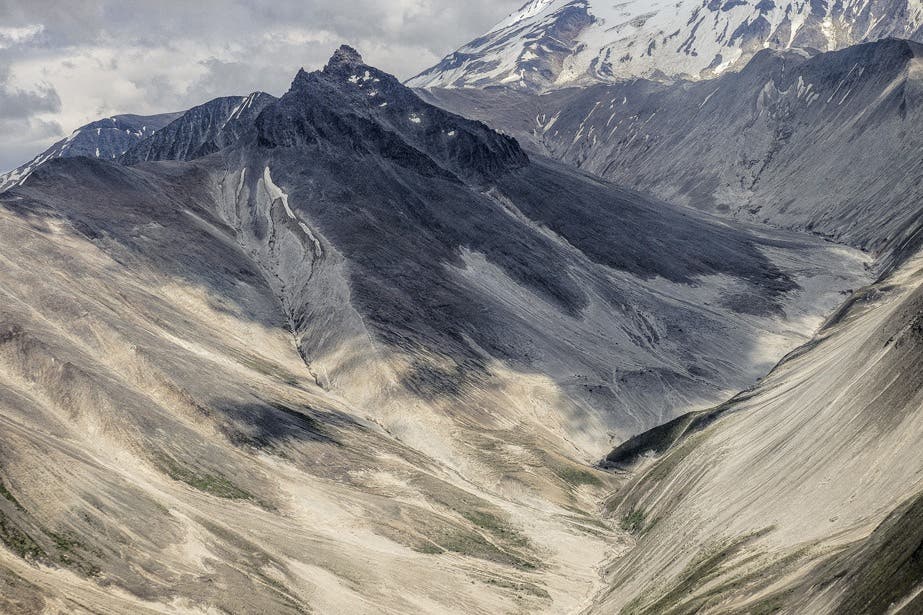
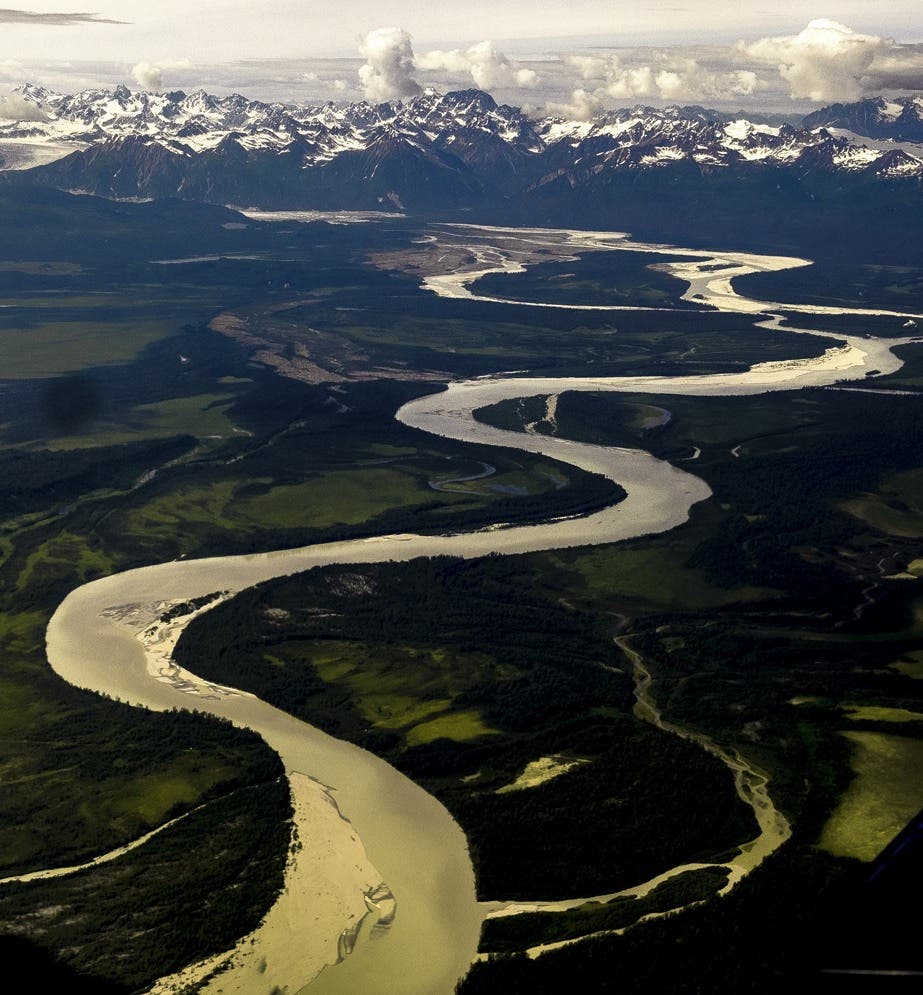
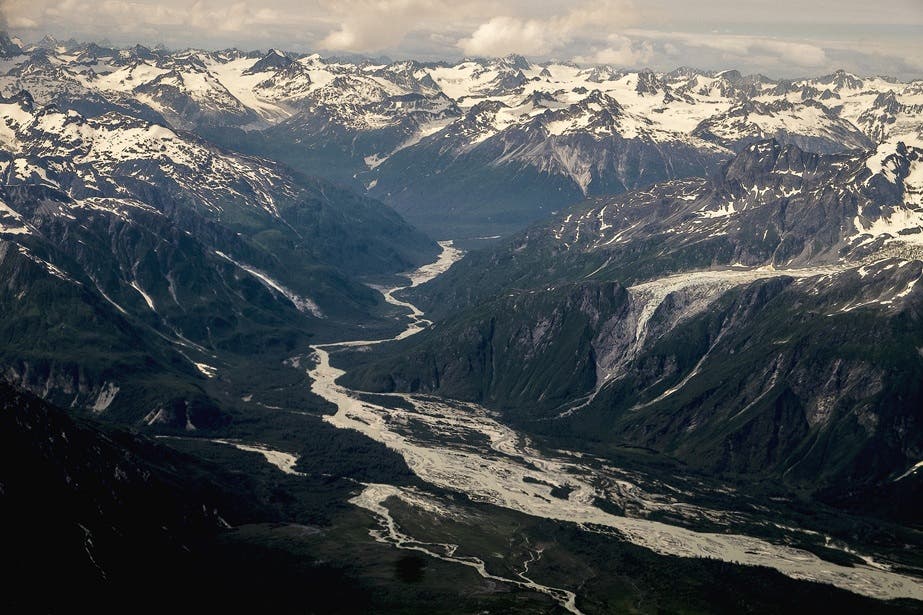
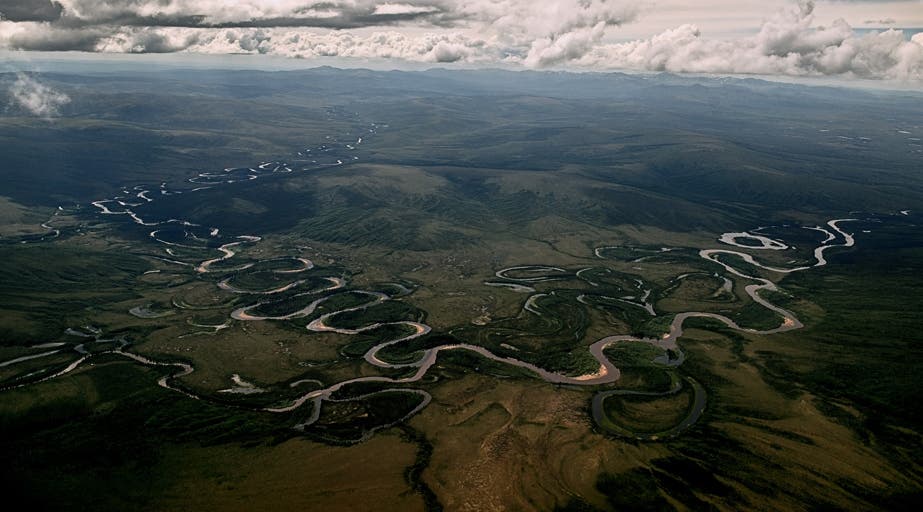
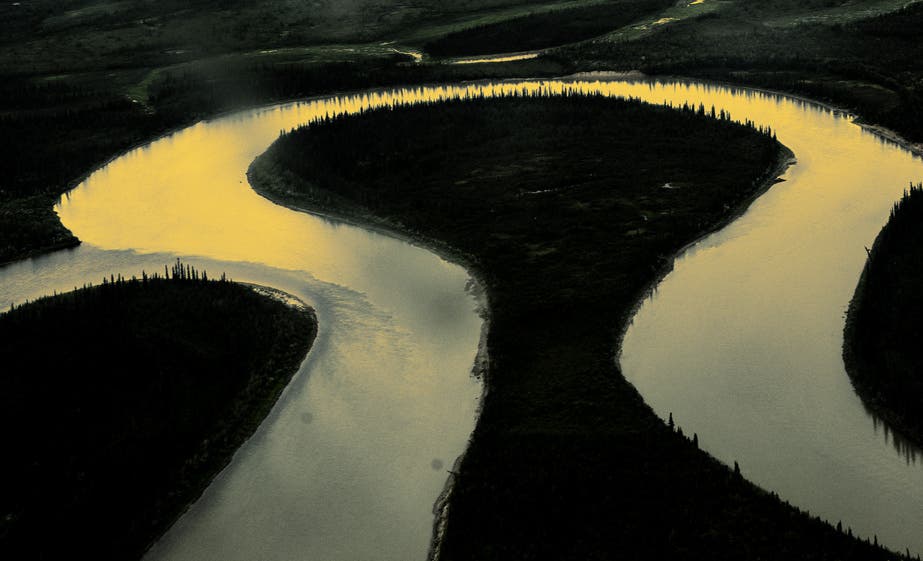
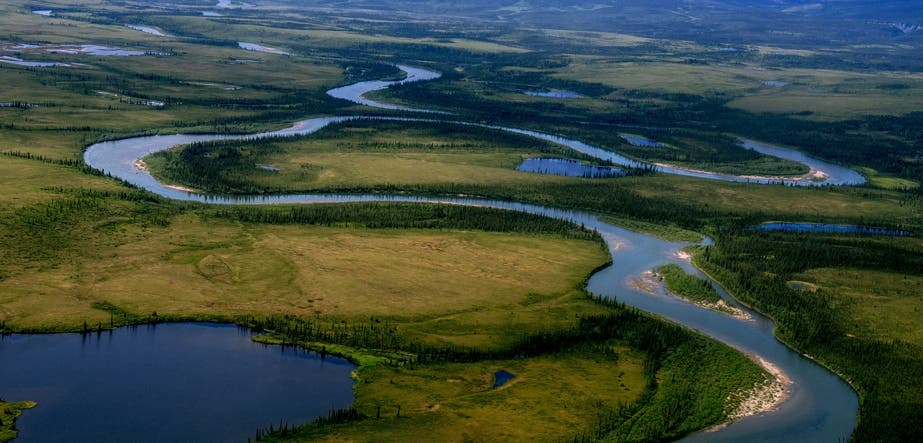
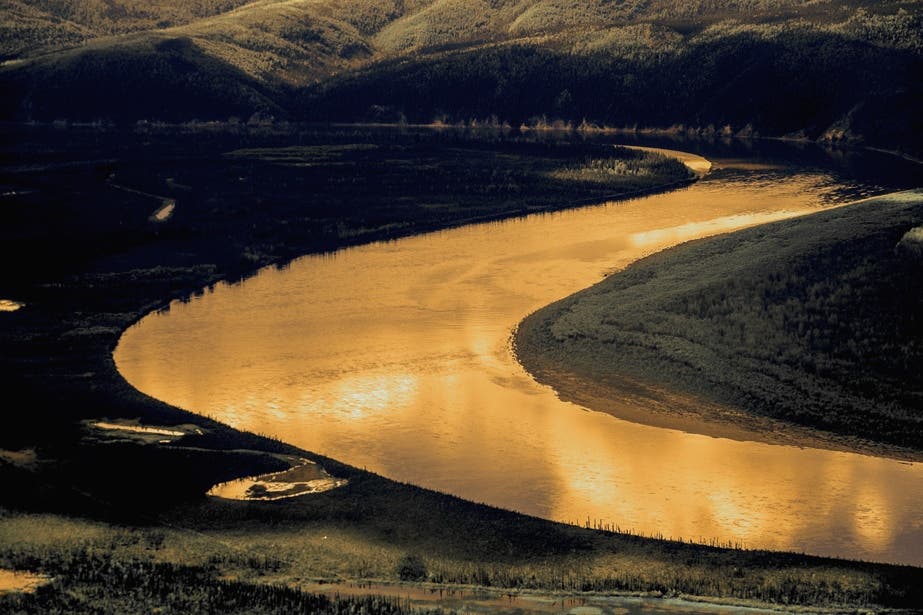
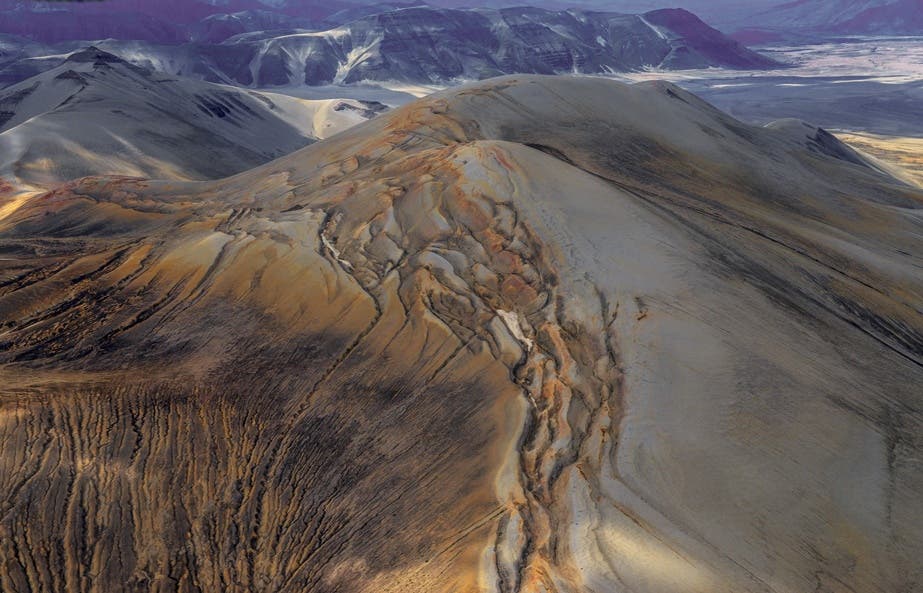
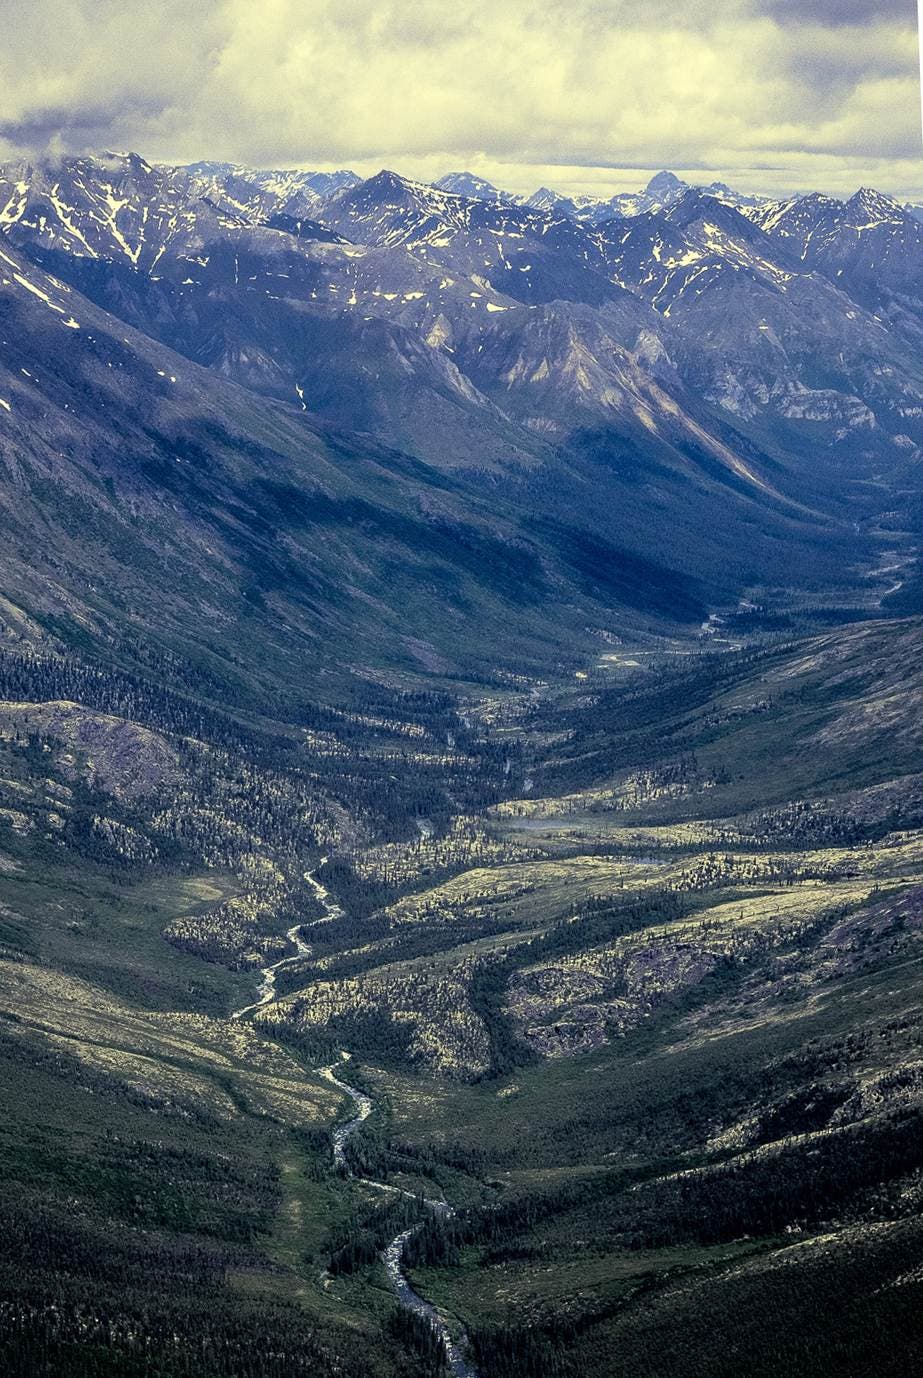
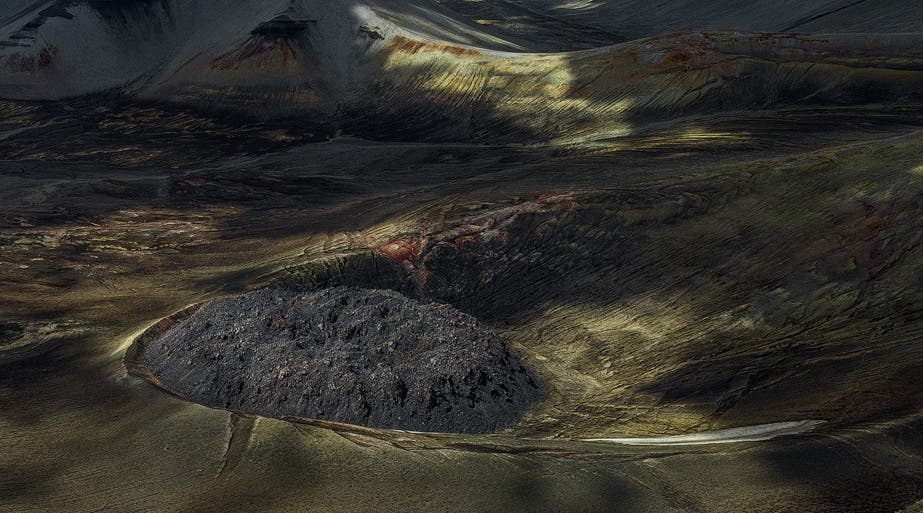
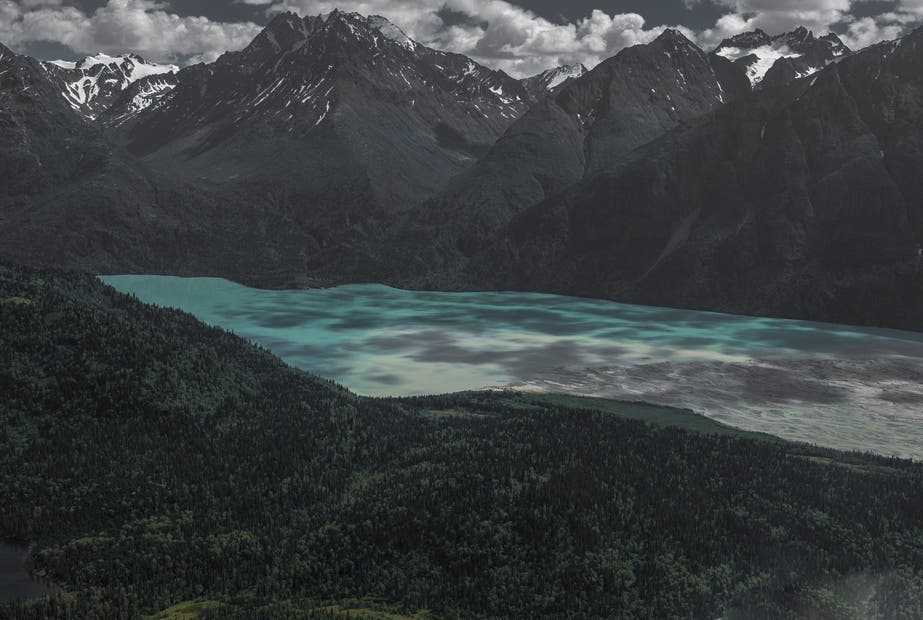
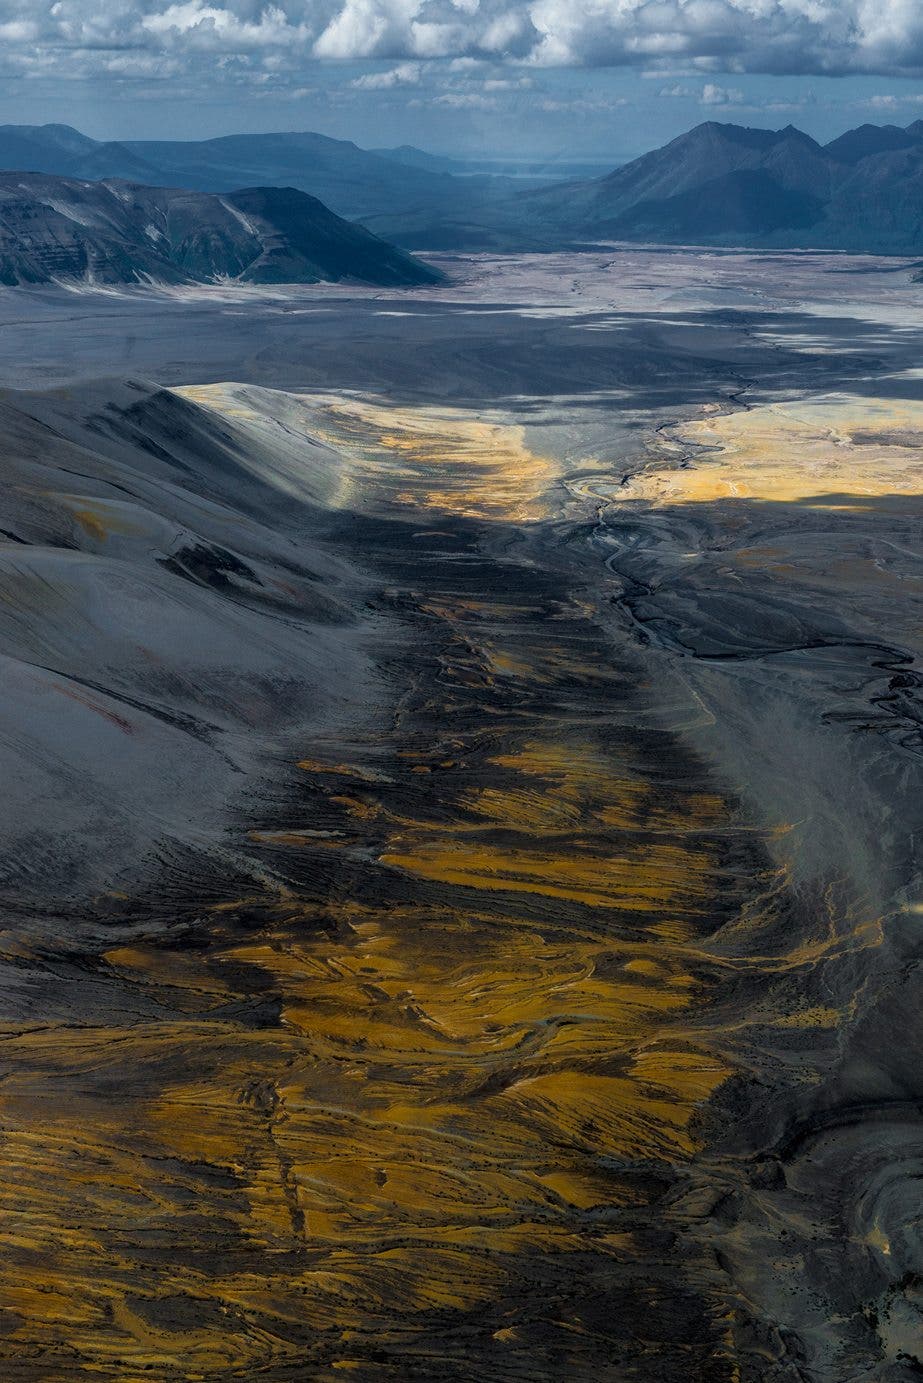
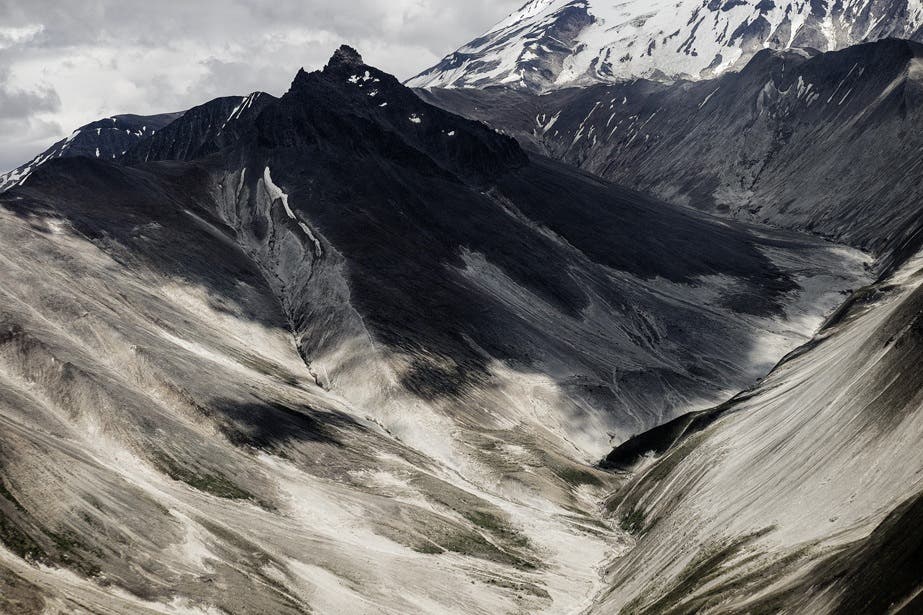
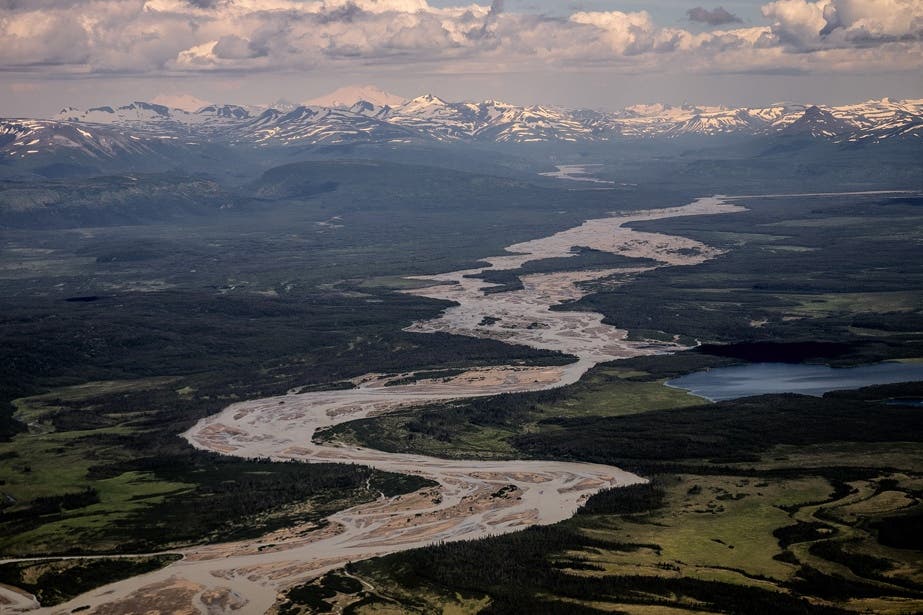
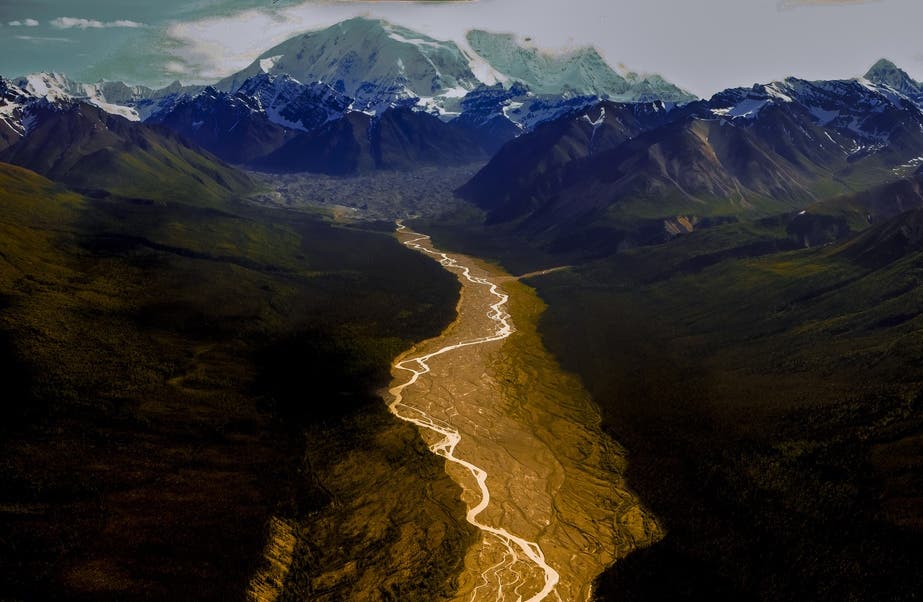
A few years ago, we traveled to Alaska to visit the state’s numerous national parks — eight in all. As we planned our trip, we realized that only three of the parks — Denali (which we had been to before), Kenai Fjords and Wrangell-St. Elias — were reachable by road. And even those are so huge that we wouldn’t get to see much of their interiors unless we ventured further by boat or air. (Denali NP, which gets the most visitors, offers organized bus tours and allows private cars into the campgrounds but no further except by foot.)
Since we were determined to experience even Alaska’s most remote national parks, we booked boats and flights so we could see more of these magnificent wild areas and photograph them. In all, we took nine flights to explore five of Alaska’s most remote national parks: Kobuk Valley, Gates of the Arctic, Wrangell-St. Elias, Lake Clark and Katmai NP. We got to them on small planes of various sizes, including bush planes that can land on water.
We soon learned that Alaskans learn to fly like mainlanders learn to drive — starting in their teens! We also learned that these flights were not just a means of transportation, but a fascinating part of our photographic journey, opening up vistas that truly show what makes Alaska so grand and beautiful.
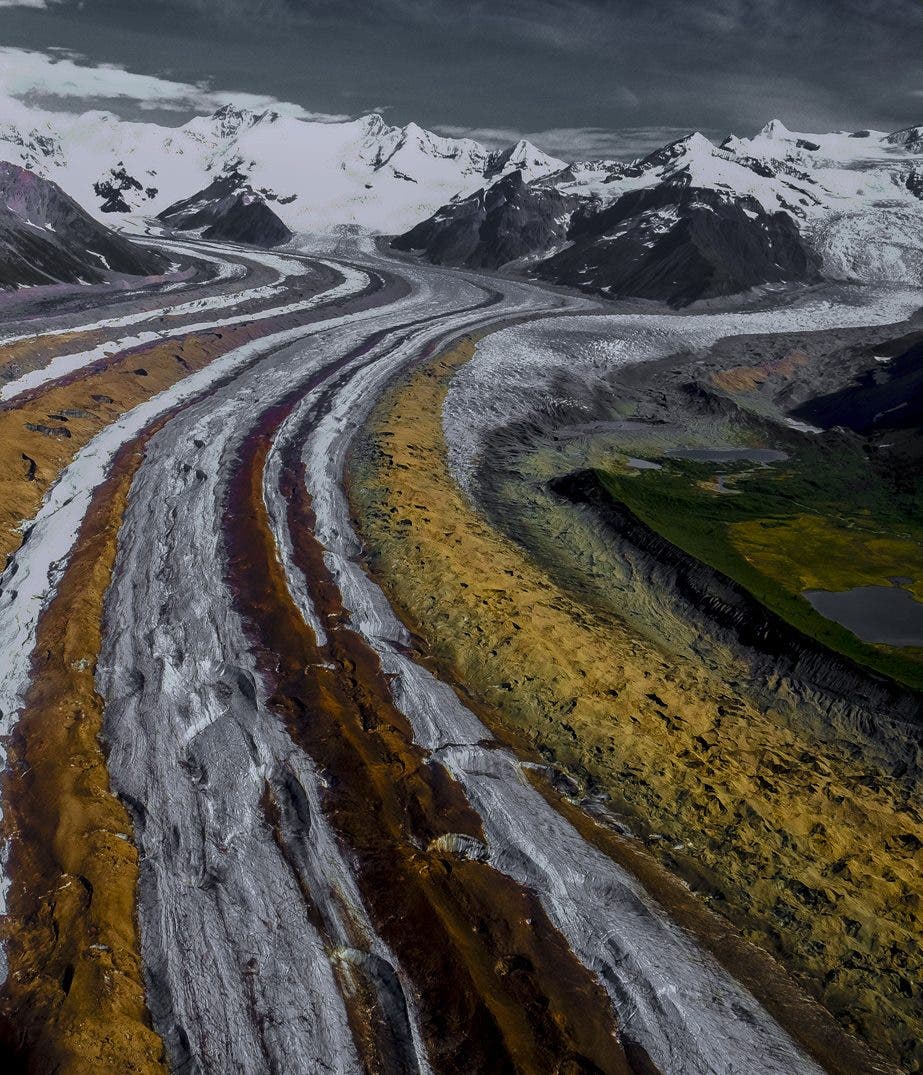
Unlike professional aerial photographers, we weren’t able to instruct the pilots to go back over an area several times or to bank the plane to get the best perspective, with a few exceptions. Nor were we able to open doors or hang out of the plane. We took the shots we could get through the windows. Still, it was a great opportunity to hone aerial photography skills we don’t normally use.
Technically, taking aerial shots from a commercial airline is not so different, but the ride is much smoother and, most of the time, there’s much less tempting you to whip out your camera. Our Alaskan flights challenged us with ongoing vibrations, lots of haze, and eye-popping scenery that whizzed by at about 100 mph. This took some getting used to, but the payoff was an incomparable up close and personal visual adventure.
Here are some take-aways from our experience:
• Since you’re constantly on the move, consider shooting a burst of images by depressing the shutter release for a second or two. You can look at the results later and keep the sharpest ones or the compositions that works best for you.
• For focus, the simplest solution is to use the manual mode and set the focus at infinity since you’ll always be far enough away from the landscape below. Using auto focus may work fine, but it may confuse the camera if there’s no clear contrast or specific point to focus on.
• To get shots through the windows with minimum distortion, take your lens shade off and get as close as possible without touching the window. Putting your lens right up to the window will pick up the plane’s vibrations more than staying back a bit.
• To minimize the effects of vibration, use a fast shutter speed (at least 1/1000 of a second) and fast lenses which let you shoot with a wide open lens. (Some photographers use cameras with image stabilization (IS) and lenses with vibration reduction (VR); if you have these, check if they will work in airplanes.)
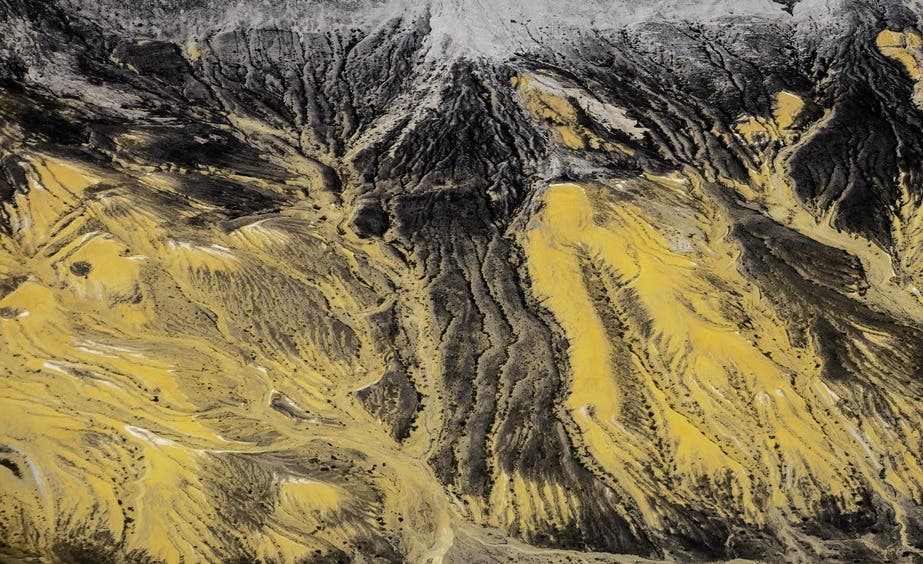
• Keep your compositions simple. Look for lines in the landscape, such as rivers, or create interesting abstractions. Go for overviews, then come in for closer shots that pick out pieces of the scene. For overviews, check that the horizon is straight or correct your image during after-capture. If possible, work with two cameras so you can switch quickly between lenses that range from 24-70 and 70-200; with only one camera, use a 28-300 mm zoom and push the ISO so you can shoot at a shutter speed of 1/1000 or faster with this slower lens. For my tele-shots, I used a Fujifilm XT1 camera with a 55-200mm Fujinon zoom lens.
• Haze is hard to eliminate and UV and haze filters don’t work. If you can’t wait for better visibility, check the histogram on your camera and move the curve to the left toward underexposure so you achieve greater contrast (or correct exposure during after-capture).
• A polarizing filter is most helpful if you see a lot of glare on rocks, snow, ice, water and foliage. But a polarizing filter depends on your angle to the sun, and you’ll lose two f-stops of exposure so be ready to up your ISO to compensate.
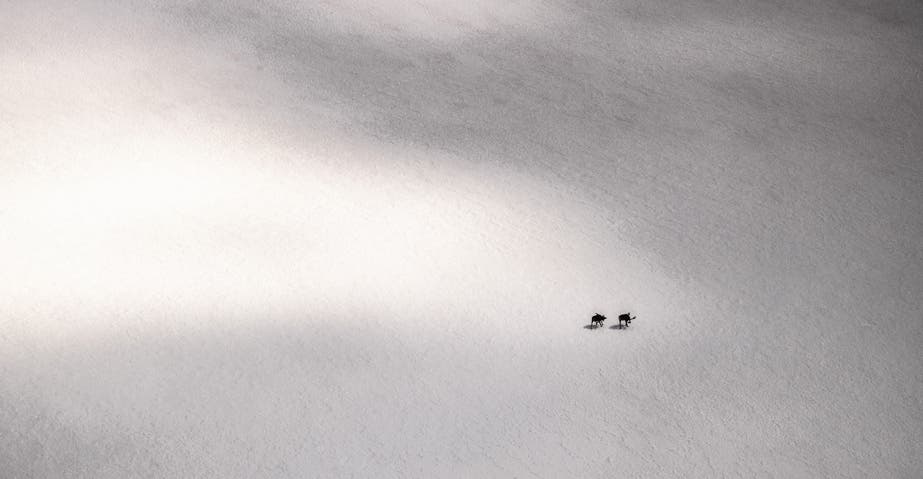
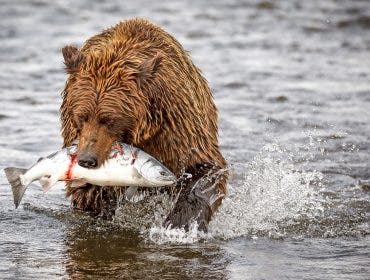
• Flights are not the great opportunities to photograph wildlife even though you’ll see animals on the mountains and in the snow. If you’re lucky and see a flock in good light and your longest lens can pick them out, go for it. But you’re better off going into designated wildlife areas on foot for the best chance to see and photograph Alaska’s wildlife.
• Expect to put all your images through after-capture editing to improve them. You won’t have time to get everything perfect while flying so correct exposure, contrast, horizon lines, etc. using PhotoShop, Lightroom or another after-capture program. Also, go creative during after-capture by experimenting with abstractions that appeal to your eye.
We went to Alaska in June/July, when the weather is relatively balmy. This is also a great time to witness Alaska’s wildflowers, see bears fishing for salmon as they swim upstream, and hike to and on glaciers. But all that is for another article.
