- Tip 1: Use back lighting
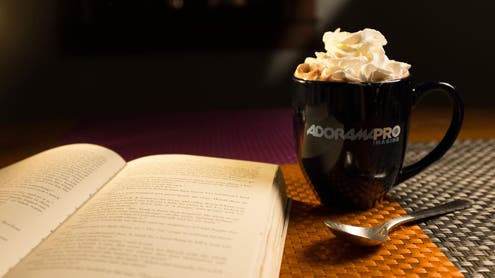
By lighting the food or subject that you’re going to shoot from behind, you give your composition a more three dimensional feel. The added depth of the image will entice people to the food that you’re shooting.
- Tip 2: Use directional lighting
Instead of using a big soft light, using a relatively small source of light will enhance the texture of your food. By demonstrating more texture in your photo, you connect the image to the tactile sensations of a good meal.
- Tip 3: Shoot like you eat
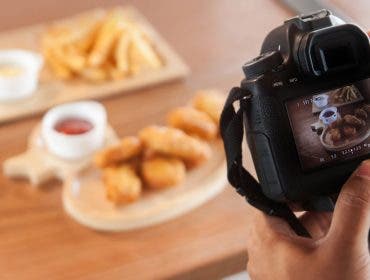
When choosing a camera position consider starting from slightly above your plate, as if you were about to sit down and eat. People see food this way and combined with the depth you’ve emphasized by use of a back light, the photograph will invite the reader to join in the pictured meal.
- Tip 4: Use leading lines
When shooting a table setting (rather than a single item) create a visual path for your viewer to follow. With the use of angles and repetition of form, you’ll lead the viewer of the photo to explore all that you’ve put on their plate.
- Tip 5: Make use of depth of field
When shooting food with a DSLR, use a wider aperture to create depth with focus. With smaller cameras and camera phones, try placing items close to the lens to create a ‘blurry frame’ around your main subject. This will add visual impact to the food that you’re shooting.
We hope that these simple tips will help you get some fantastic photos of the delicious food you’ll have this holiday season.
These pointers and photographs were provided by Daniel Norton of our AdoramaPro department in our store – he regularly hosts weekly ProDays and OnSet demonstrations to help you on your path to becoming a better photographer. For information on the events he hosts, please visit the Adorama event page. Cant make it into the store? You can also get more helpful tips from Daniel by viewing his new AdoramaTV series, OnSet with Daniel Norton.
Have a happy Thanksgiving, from the Pro team at Adorama.


