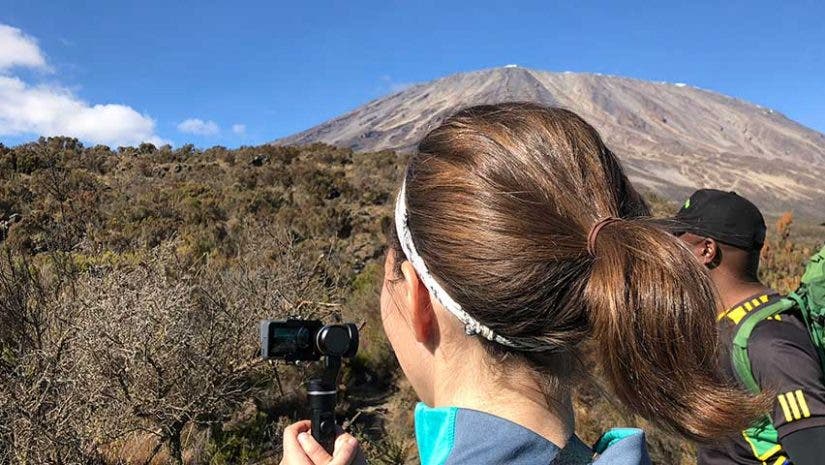
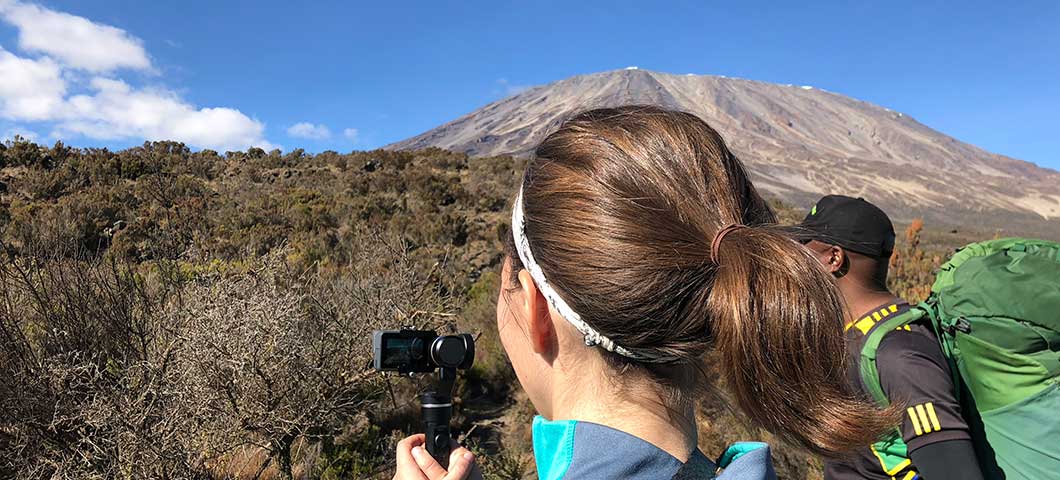
Most people planning a climb up Kilimanjaro spend hours researching gear, footwear and nutrition, but for me, that was secondary. I spent months (seriously) trying to calculate how many batteries and memory cards I’d need to capture six days’ worth of climbing. (Not to mention how to limit my gear so I didn’t break my back!)
Should I get a solar panel for charging? Should I get handwarmers to keep batteries warm on summit night? Physical training aside, preparing to film on Kilimanjaro is tough. There are so many unknowns with six days climbing up Africa’s tallest peak, but after research, back-up plans and brainstorming, I actually figured out a formula that worked. In fact, it worked so well that I had battery power left—and zero broken gadgets—after exiting the Kilimanjaro gates. Here’s what you should know if you’re filming a climb up Kilimanjaro, or really any six or seven-day climb for that matter!
1. Bring the gear you need—and only the gear you need
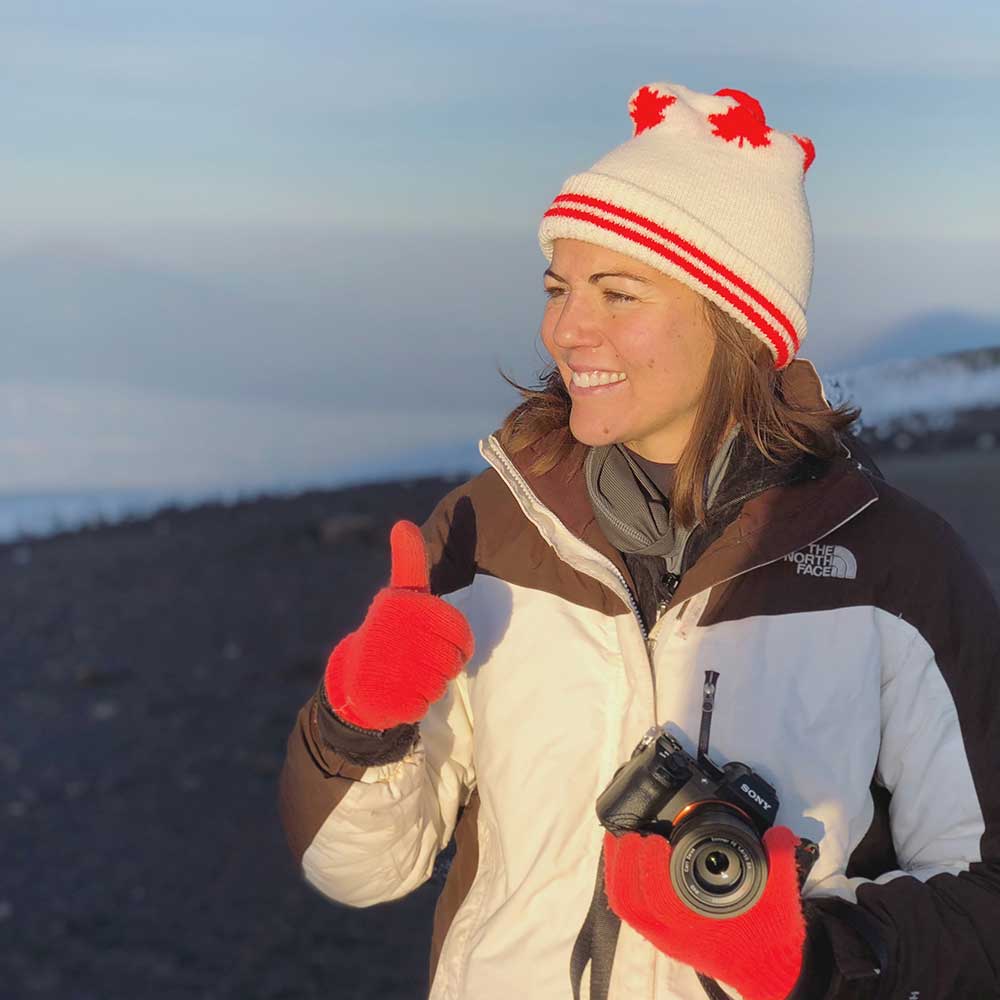
When I film weddings, I pack anything and everything because it fits easily in my car. Climbing up Kilimanjaro, I wouldn’t have a car or, heck, even a suitcase with wheels. I knew I’d have to carry basically all my gear either in my pack or in my 90L duffel (which porters carried). Either way, I didn’t want to weigh down myself — and didn’t think it was fair to weigh down the porters with my indecisive gear selection.
So, I made it a point to pack only what I knew I’d use, particularly when it came to heavier items. I had a pretty set film vision before I went; I knew I’d be creating a business video for our climbing company as well as a personal documentary for myself. With these projects in mind, here’s what my gear list ended up looking like:
- Sony A7Sii
- Sony A7iii
- Mefoto travel tripod
- Manfrotto monopod
- GoPro Hero 6
- GoPro gimbal
- 55mm Sony Zeiss lens
- Wide angle lens
- Zoom lens
- Tascam DR-10L
- Rode on-camera microphone
- Eight 128GB SD cards
- Spare batteries for my GoPro and Sony cameras
- AUKEY 21W Solar Charger
2. Go in with a storyline, but know it may change
The one thing I knew about climbing Kilimanjaro was that I had zero idea what to expect. That’s why I wanted to be as prepared as possible to capture everything to help tell my story, particularly for my documentary.
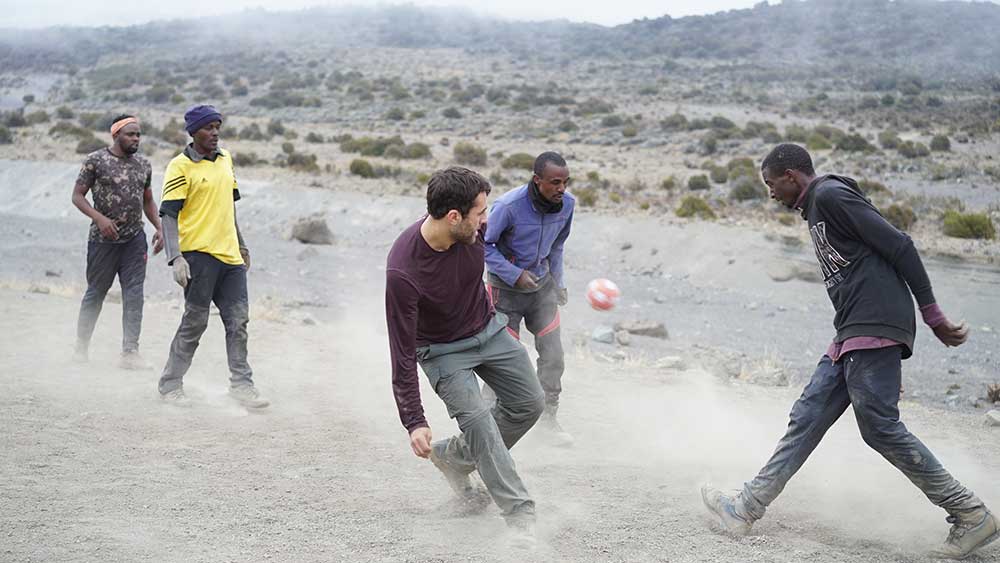
While I had the idea for my documentary set — my dad climbed Kilimanjaro exactly 40 years ago, and we were climbing in his footsteps — I had no idea the twists and turns our own journey would take. For example, we bonded with our porters through soccer (and actually had a tournament up at 10,000 feet!).
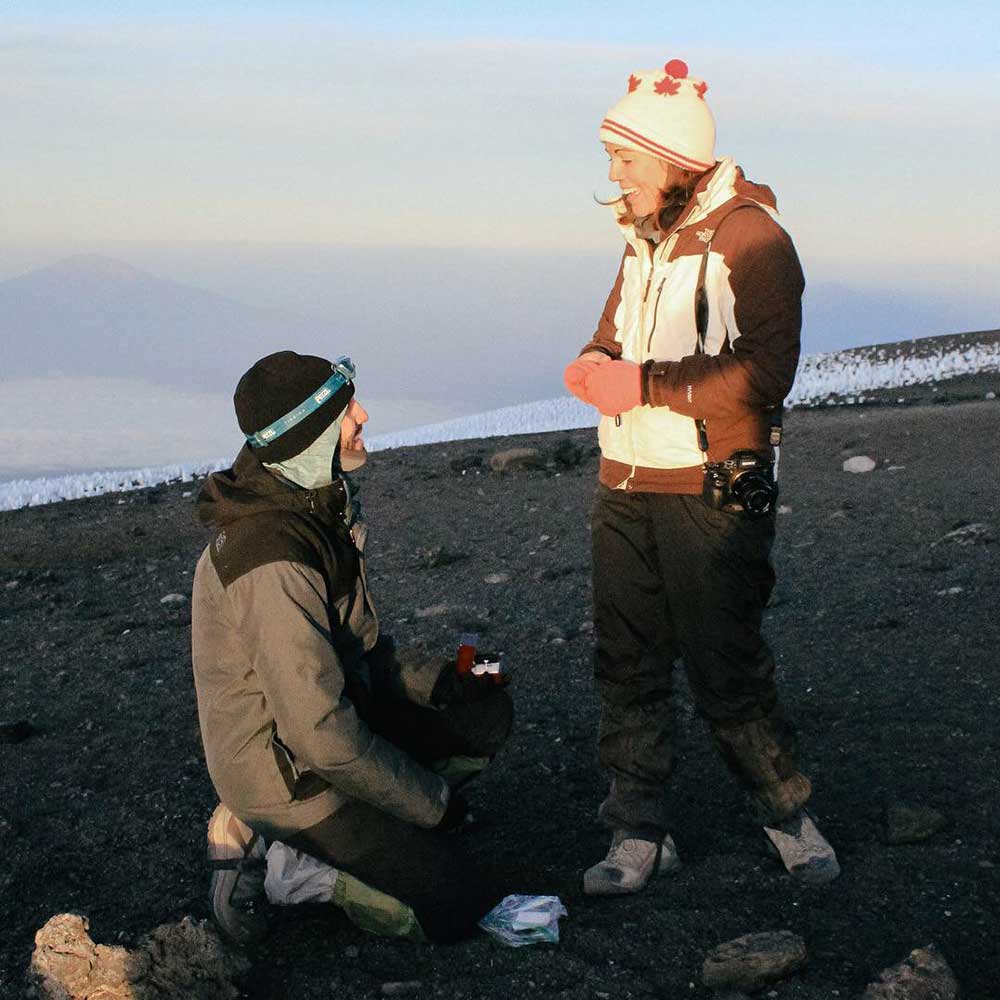
And, in an even more life-changing twist, my (now) fiancé popped a pretty big question once we reached the top. I mic’d myself up for summit night just to capture raw responses of climbing in my dad’s footsteps, and now have perhaps the most important audio recording of my life (which will also be great for my documentary, of course!)
Mount Kilimanjaro Documentary Trailer from Stephanie Vermillion Studio on Vimeo.
3. Mix up angles and frames to add interest (and save battery)
Battery power was the one thing that kept me up at night going into our climb. I was terrified of running out of juice just minutes before summiting, so I went into the climb with a game plan. I’d charge batteries continuously on my solar panel, which was a great use of downtime at camp. I’d also alternate between cameras (Sony cameras and my GoPro) to spread out the battery consumption across gadgets.
This approach worked out because I was able to have more interest in my frames. Instead of, say, all wide-angle shots on the GoPro, I had close-ups of coffee or playing cards I can intersperse with wider frames of the mountain and scenery. While the scenery on a mountain such Kilimanjaro is what many come for, small detail shots can really help transport viewers into the scene.
4. Befriend your guides and porters
While we could film anything and everything from your trip, I felt a bit uncomfortable sticking a camera in the faces of our porters before even knowing their names. If I was going to use their image and likeness to help tell my story, I wanted to know them on a deeper level.
Since we brought a soccer ball, this may have been easier for us than most (I’m telling you, it’s an instant ice breaker!), but there are a few other ways to form friendships quickly. For example, I offered to take portrait photographs for each of them that I sent them after our climb. They loved the idea, and through this process I ended up getting some one-on-one time with all 18 porters. It also gave us the opportunity to keep in touch post-climb; I still talk with most of them to this day!
5. Protect your gear
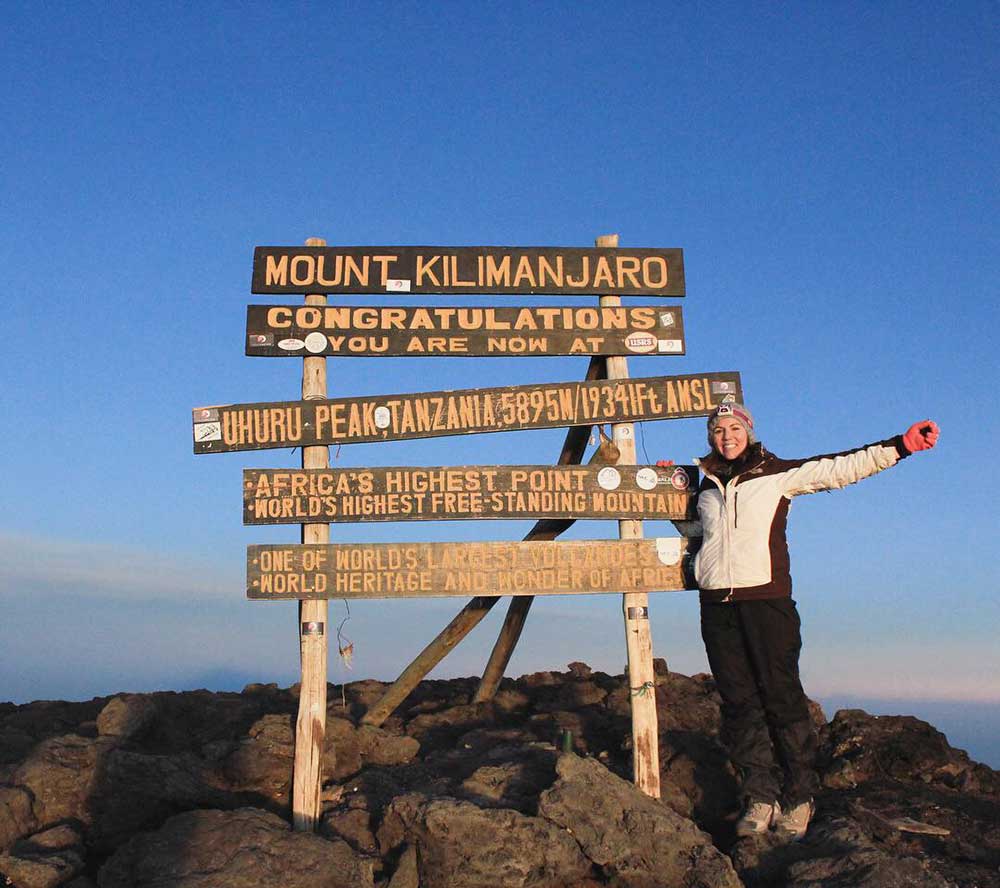
The mountain is entirely unpredictable when it comes to weather, so my last — and perhaps most important — piece of advice is to do everything you can to keep your gear safe. Bring dry bags, dust blowers and waterproof backpack shells; keep them handy throughout the day. I’d also recommend sleeping with your spare batteries in your sleeping bag to keep them warm; they can lose charge quickly in the freezing overnight temperatures.
