If you’ve just bought your first DSLR or mirrorless camera, it can be tempting to think about what lenses to buy so that you can take full advantage of your new gear. But while plenty of great budget lenses are perfect for beginners to start out with, there’s no need to rush out and spend a few hundred dollars on a new glass when you already have a good lens at your photography disposal—your camera’s kit lens.
What is a kit lens?
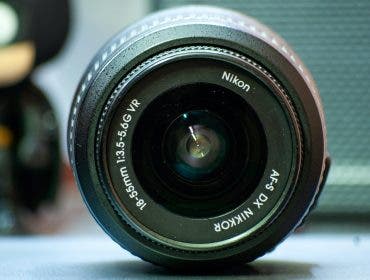
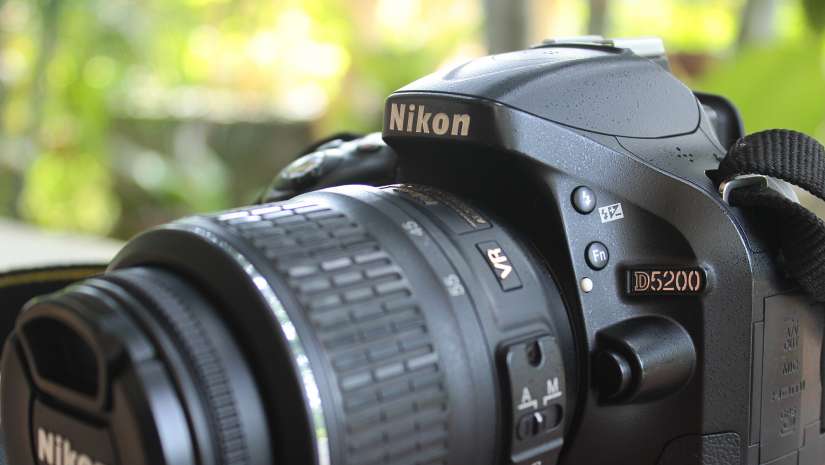
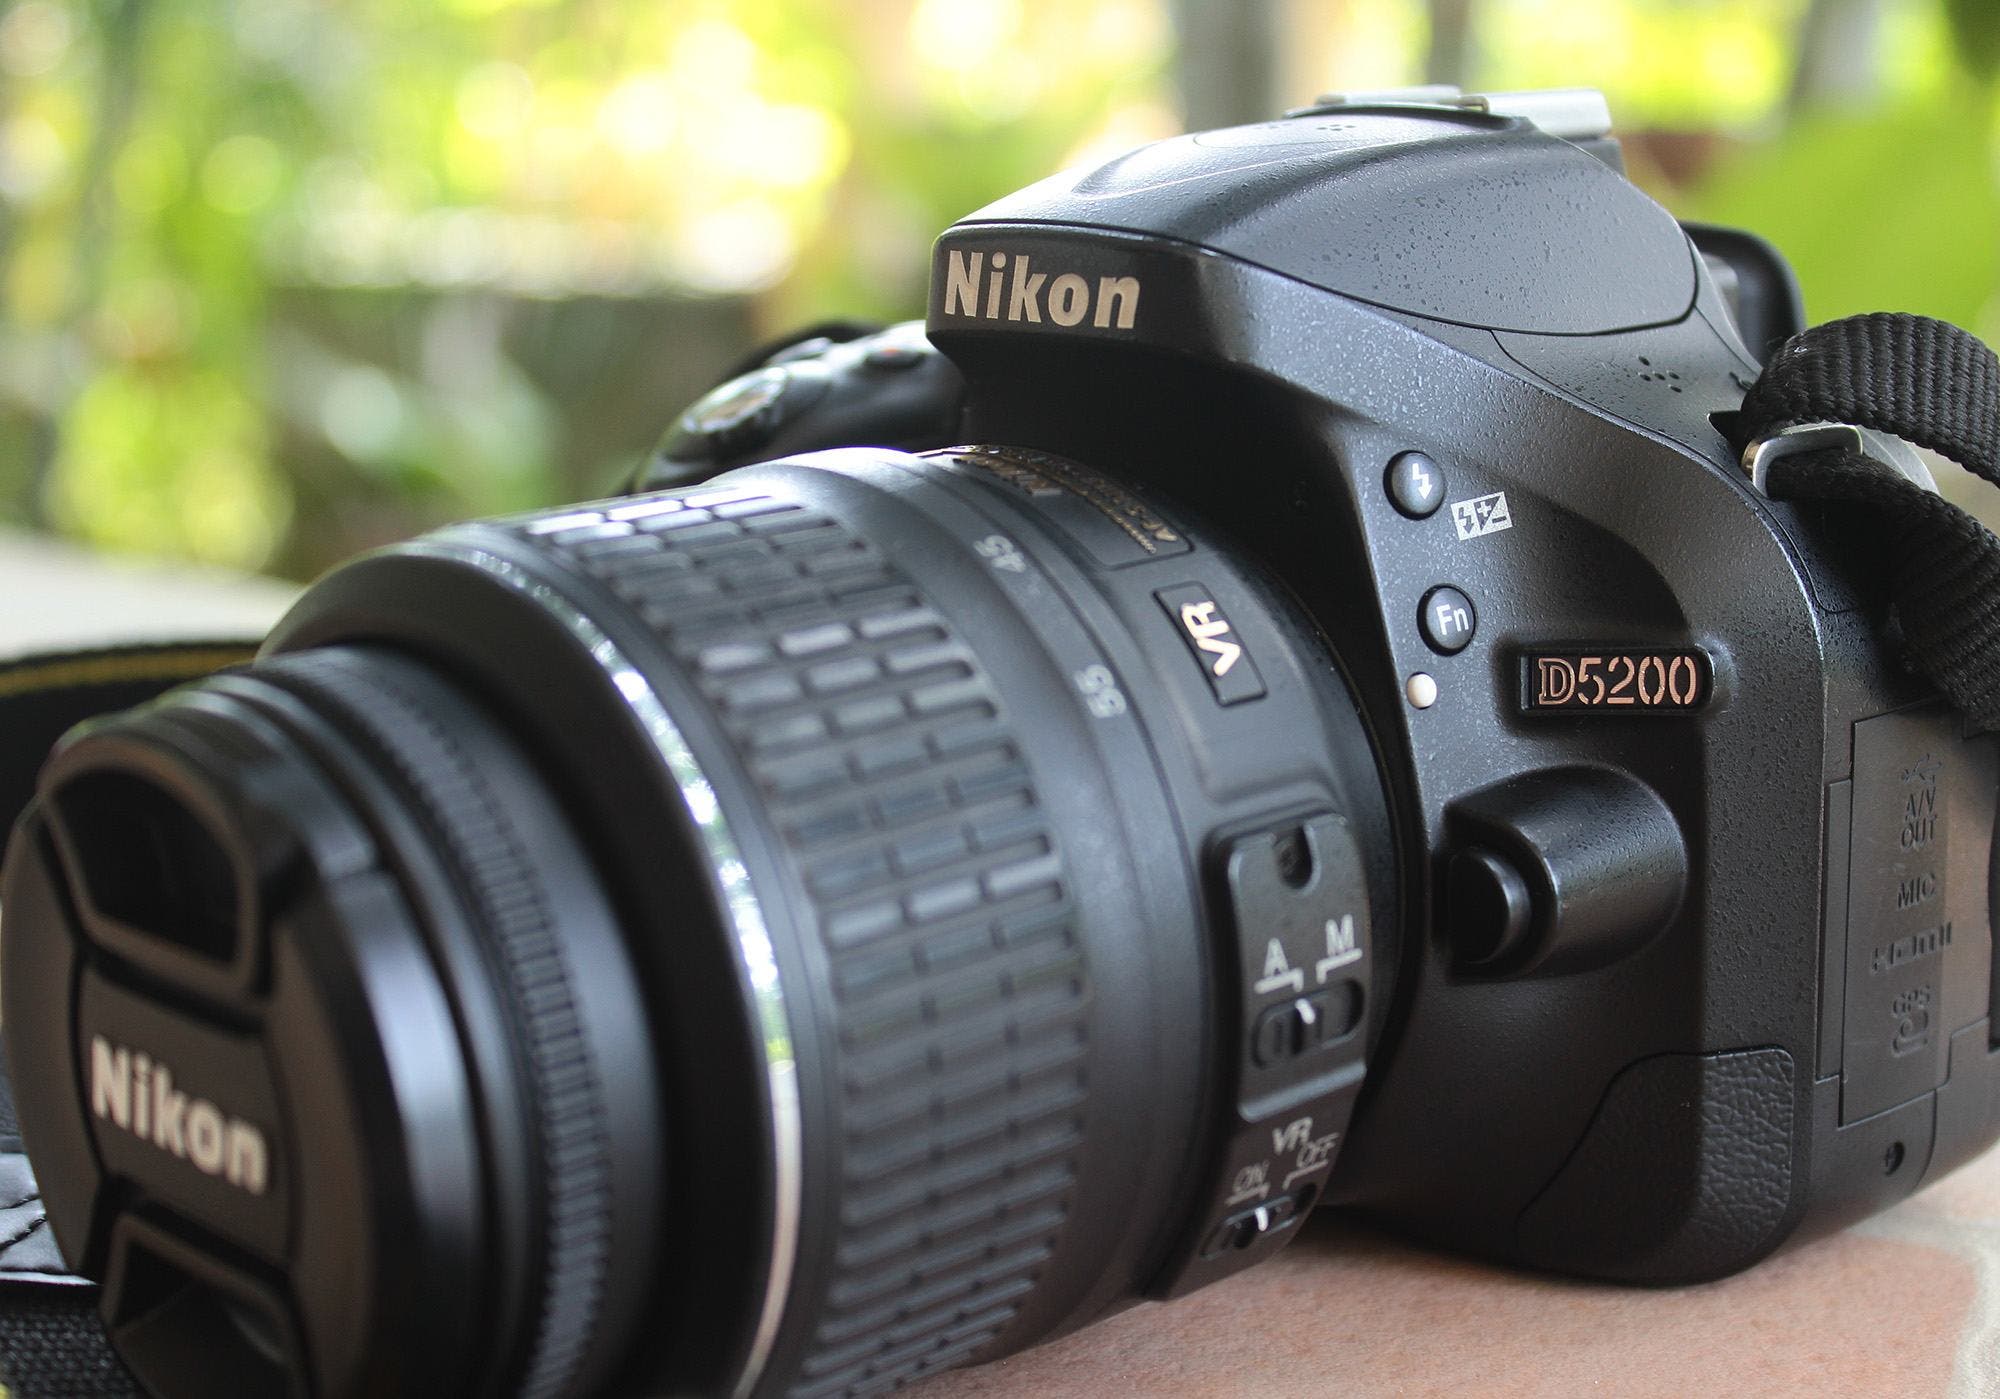
A kit lens or a “starter” photography lens is a basic zoom lens with a moderate wide-angle and moderate telephoto focal range. A kit lens is a lens sold together with a camera. Many vendors sell camera packages that include a camera, lens, battery, memory card, and sometimes even a camera bag. Often, the kit lens is an 18-55mm zoom lens. However, some packages may include a 55-200mm or a 24-70mm zoom lens. Therefore, you should always ask the vendor, “What is the kit lens?” before buying the package.
Most beginner cameras come bundled with a proprietary kit lens and a few other accessories. These bundles are a great option for newbie photographers, as it’s far more economical than buying a camera and lens separately. But of course, the kit lens is affordable for a reason. Compared to other lenses that are more specialized for a specific purpose, the kit lens is on the lower end of the spectrum in terms of construction and image quality.
Pros and Cons of a Kit Lens
Once you know what the kit lens is, you can start assessing its features. The good news is buying a camera with a kit lens is cheaper than buying them separately. You also know from the start that they are compatible. Another advantage is the versatile zoom range of the lens that allows you to explore any photographic genre and experiment with different focal lengths. Kit lenses are usually small, lightweight, and easy to use.
However, a kit lens comes with its share of drawbacks. Because it is a cheap lens, it isn’t always the most qualitative lens of the brand. It may have fewer optical capabilities and, as a result, introduce more distortions and chromatic aberrations, especially at the extremes of the focal length range.
Pay attention to the maximum aperture too. Most zoom lenses don’t maintain the same maximum aperture throughout their entire zoom range. Therefore, when you move into the telephoto zoom range, the maximum aperture is smaller, and the lens doesn’t perform optimally in low light conditions.
People tend to dismiss the kit lens due to the preconceived notions of its lesser capability—but that is a mistake. Kit lenses, particularly modern ones that include features like vibration reduction and aspherical elements, are much better than we give them credit for. If your camera comes with a kit lens, take the time to shoot with it and learn more about it instead of setting it aside and rushing out to buy a new prime or wide-angle. The humble 18-55mm lens may not be made of premium glass, but it is highly versatile and can certainly take some impressive images.
As long as you know how to make the most out of it, of course.

Here are some tips for getting the most out of your kit lens:
One day, you and your camera will graduate to bigger, better, and more expensive lenses. But in the meantime, don’t let your kit lens go to waste. Use it to the best of its abilities, and you’ll be pleasantly surprised at how truly useful and versatile that 18-55mm lens can be.
So, how can you make the most out of your kit lens?
1. Use the shortest focal length for wide-angle shooting.
Wide-angle lenses are best used for landscape, architecture, interior, and environmental photography. If these are the types of photos you want to shoot, your kit lens is certainly a viable option.
While technically not a wide-angle lens, 18-55mm lenses allow you to shoot wide-angle by using the shortest focal length (18mm) and playing around with shooting angles and composition techniques. Most kit lenses typically have an 18-55mm focal length range, though it won’t give you the same results as a dedicated wide-angle lens, but it’s an acceptable alternative when you’re still learning and experimenting with different types of photography.
2. Shoot at the widest aperture and use longer focal lengths for portraits.
Didn’t think you could shoot great portraits with your kit lens? Think again. At its longest focal length, your kit lens can be considered a short to medium telephoto, which makes it good for portraiture. Telephotos are the best lenses for portrait work, as they allow you to create a shallow depth of field and isolate your subject from the background.
Kit lenses can be used as a telephoto, but since they have an aperture range (for 18-55mm lenses) of only f/3.5 to 5.6, with f/5.6 being the widest aperture you can use at the longest focal length, you won’t get that blurry background (and that beautiful bokeh) that’s typical in professional portraits. Nonetheless, you can still “fake” this effect by having your subject stand or sit as far away from the background as possible and shooting at the widest aperture your chosen focal length (preferably the longest one) will allow to produce some pleasing background blur.
Note that you’ll need to know the minimum focusing distance of your kit lens (this should be about 0.25 meters for 18-55mm lenses) so that you know how close you can get to the subject while still keeping your focus.

3. Buy a reversing ring for macro photography.
Invest in a reversing ring (which costs about $15 or so) to turn your ordinary kit lens into a macro lens. It’s an easy way to try out macro photography without having to spend a few hundred dollars on a brand new lens that you may not use all that much—especially once the novelty of taking cool macro shots wears off.
If you don’t want to spend any more money on camera accessories, you can still try shooting macro with your kit lens by using the same steps for shooting portraits. Shoot as close as you can (base it on the minimum focusing distance of your lens) at the longest focal length, and use the largest aperture. Play around with the shooting angles to further enhance the macro effect. Of course, this technique won’t result in a true macro photo, but it’s still a great way to diversify the shots you take with your kit lens.
For true macro shots of tiny bugs, water droplets, plants, and various other subjects that are usually popular with macro shooters, use a reversing ring.

4. Use a tripod when shooting night scenes or landscapes.
Most Canon and Nikon kit lenses come with Vibration Reduction or Image Stabilization (such as in the Canon 18-55mm f/3.5-5.6 IS lens) feature to provide stability and reduce camera shake. Still, you’ll get better results with your kit lens by using a tripod (particularly when shooting certain scenes such as landscapes) to achieve accurate focus and maximum sharpness, as it allows you to use slower shutter speeds at the widest maximum aperture for better lighting.
Kit lenses are generally not built for low light, so using a tripod will help you out when it comes to night photography or low-light shots.
5. Take advantage of bright natural lighting.
Instead of focusing on your kit lens’ shortcomings, why not play to its strengths? Typical kit lenses don’t work well with low-light scenes, but they’re great with brighter lighting. Use this to your advantage and shoot more sunlit scenes, or try it out with some bright artificial lighting in a studio setting.
If you’re shooting portraits, bring a collapsible reflector with you to make full use of the natural light.
6. Learn to shoot fully manual exposures.
If you really want to make the most out of that kit lens, don’t be content with allowing your camera to automatically adjust certain settings for you. Even if you’ve stopped using the Automatic shooting mode, but are still using the other modes like Program Automatic, Scene Modes, Shutter Priority, and Aperture Priority, then you’re still not shooting manual.
If you haven’t already done so, make it a priority to learn how to set everything in Manual Mode. Once you know the basics of fully manual exposures, experiment with different settings to see what works best for each focal length. You also need to take the scene you’re shooting, as well as the lighting conditions, into account.
The humble kit lens may not be fancy, but it’s effective. You just need to learn how to work with it to fully explore its potential.
7. Always shoot RAW.
If there’s one thing amateur photographers are always advised to do, it’s to shoot RAW. There are pros and cons to using RAW and JPEG, and both have their uses, but unless you’re planning on shooting burst sequences in rapid succession, then always shoot in RAW format. This way, even if you can’t perfect every single shot you take with your kit lens, there’s still plenty of information in the image to allow you to fix any issues in the post-processing stage.
Kit lenses are extremely useful and versatile—but they do have their limitations, and it’s important to know what those are. Less noise reduction, less sharpness, little to no bokeh, slower autofocus, and weaker low-light capability are some of the usual issues that are to be expected in most modern starter lenses. Therefore, to get the most out of your kit lens, it’s best to learn where its weaknesses lie, so you can compensate with innovative solutions.
And if all else fails, shooting RAW will at least allow you to make your photos look better in Photoshop.